
Makeup Changes Through a Camera Lens
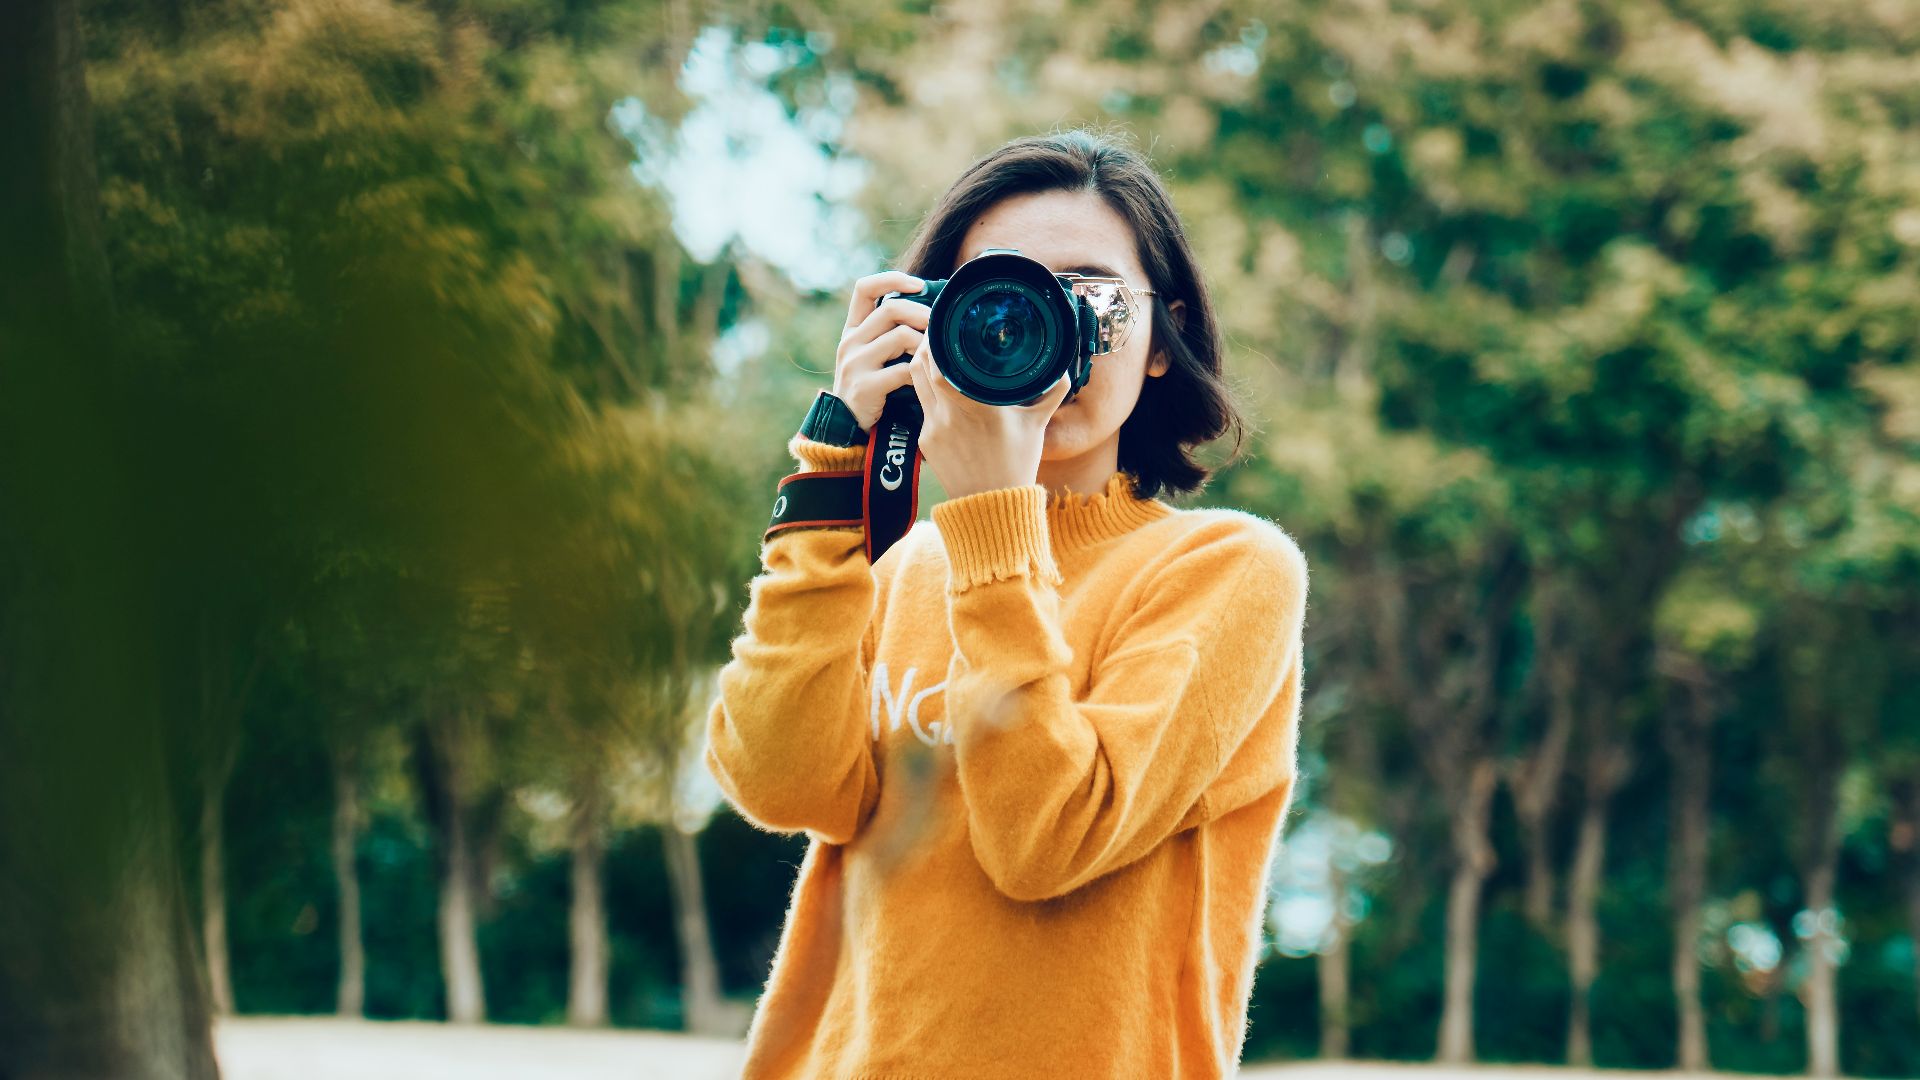
Makeup that looks balanced in the mirror doesn't always produce the same result in photographs, since lighting, flash, camera exposure, and lens detail can change how color and texture appear. Certain techniques add definition that cameras tend to flatten, while others can become much more noticeable when face-to-face with another person. Here are 10 makeup techniques that photograph well and 10 that look heavy in real life.
1. Building Foundation in Thin Layers
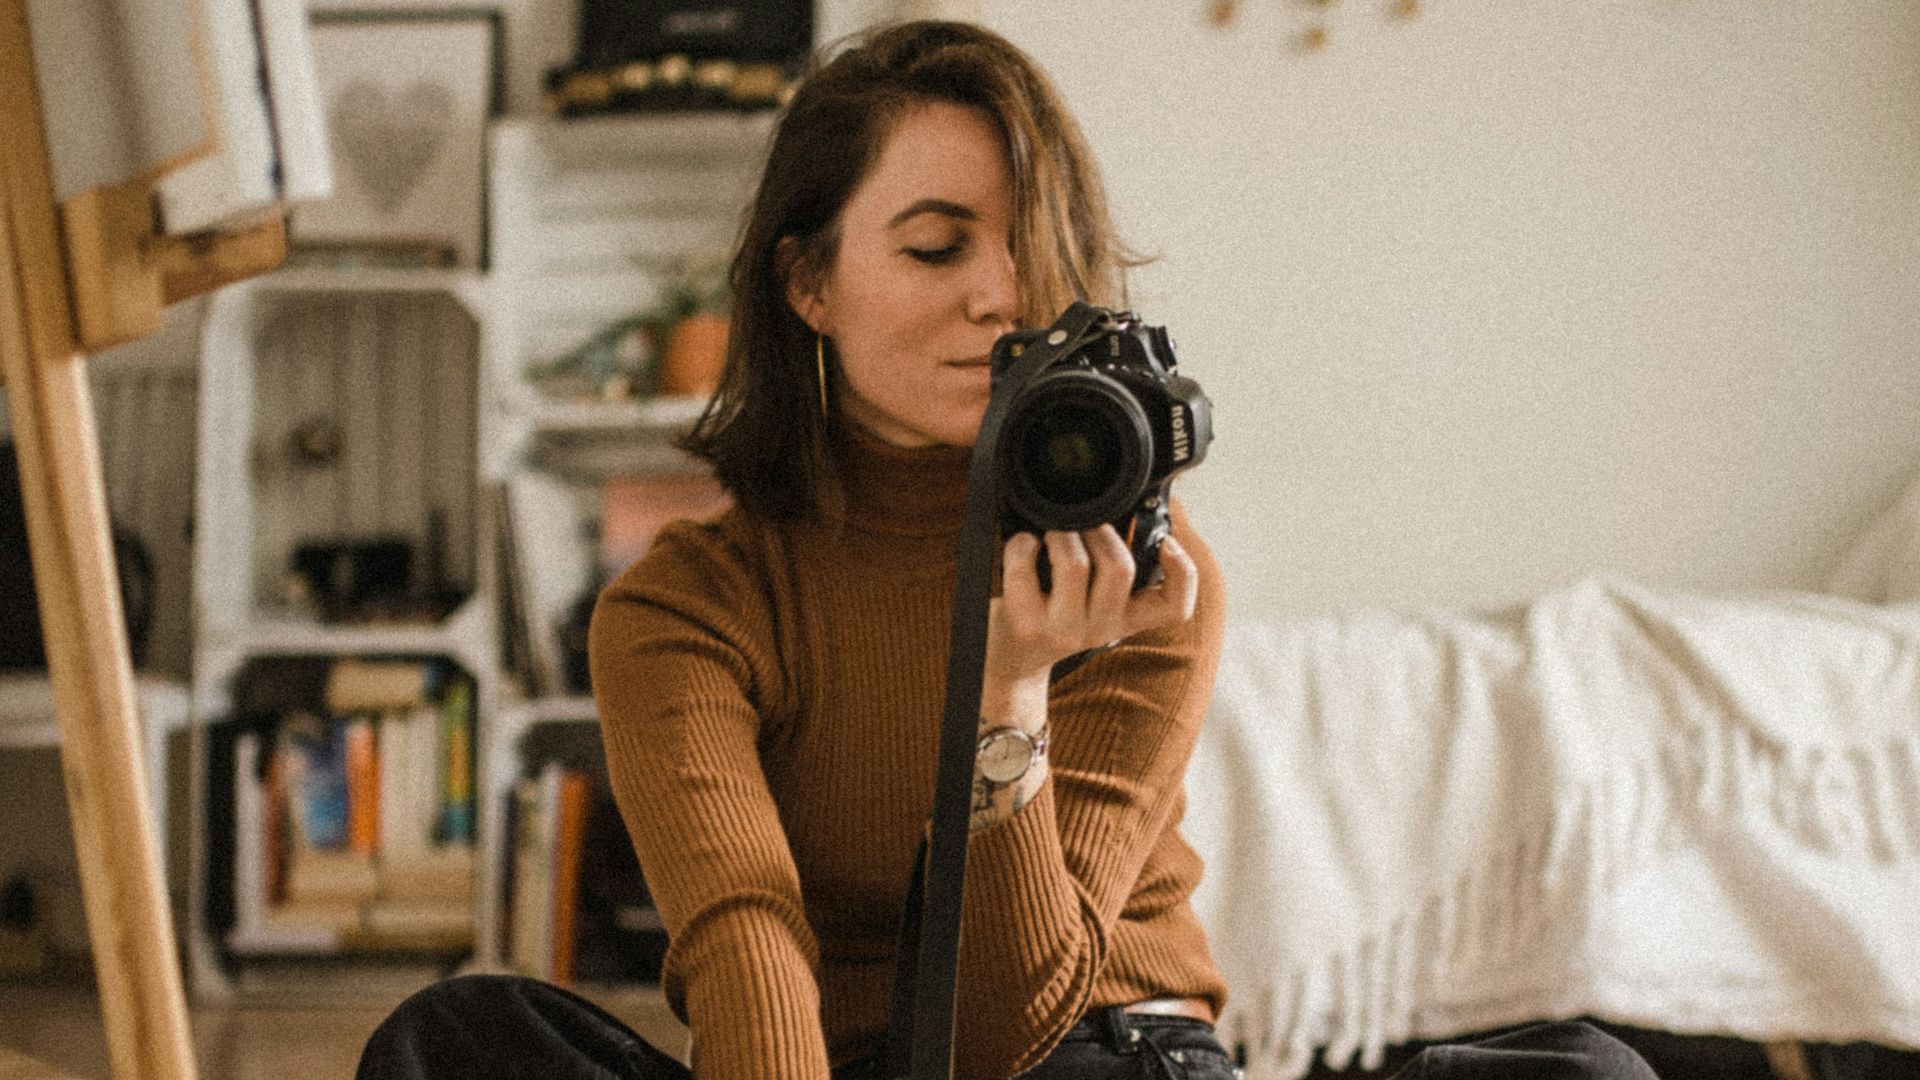
Applying foundation in layers provides more control over coverage while keeping the complexion from looking overly opaque. In photographs, that coverage can make the skin appear even without completely removing its natural dimension.
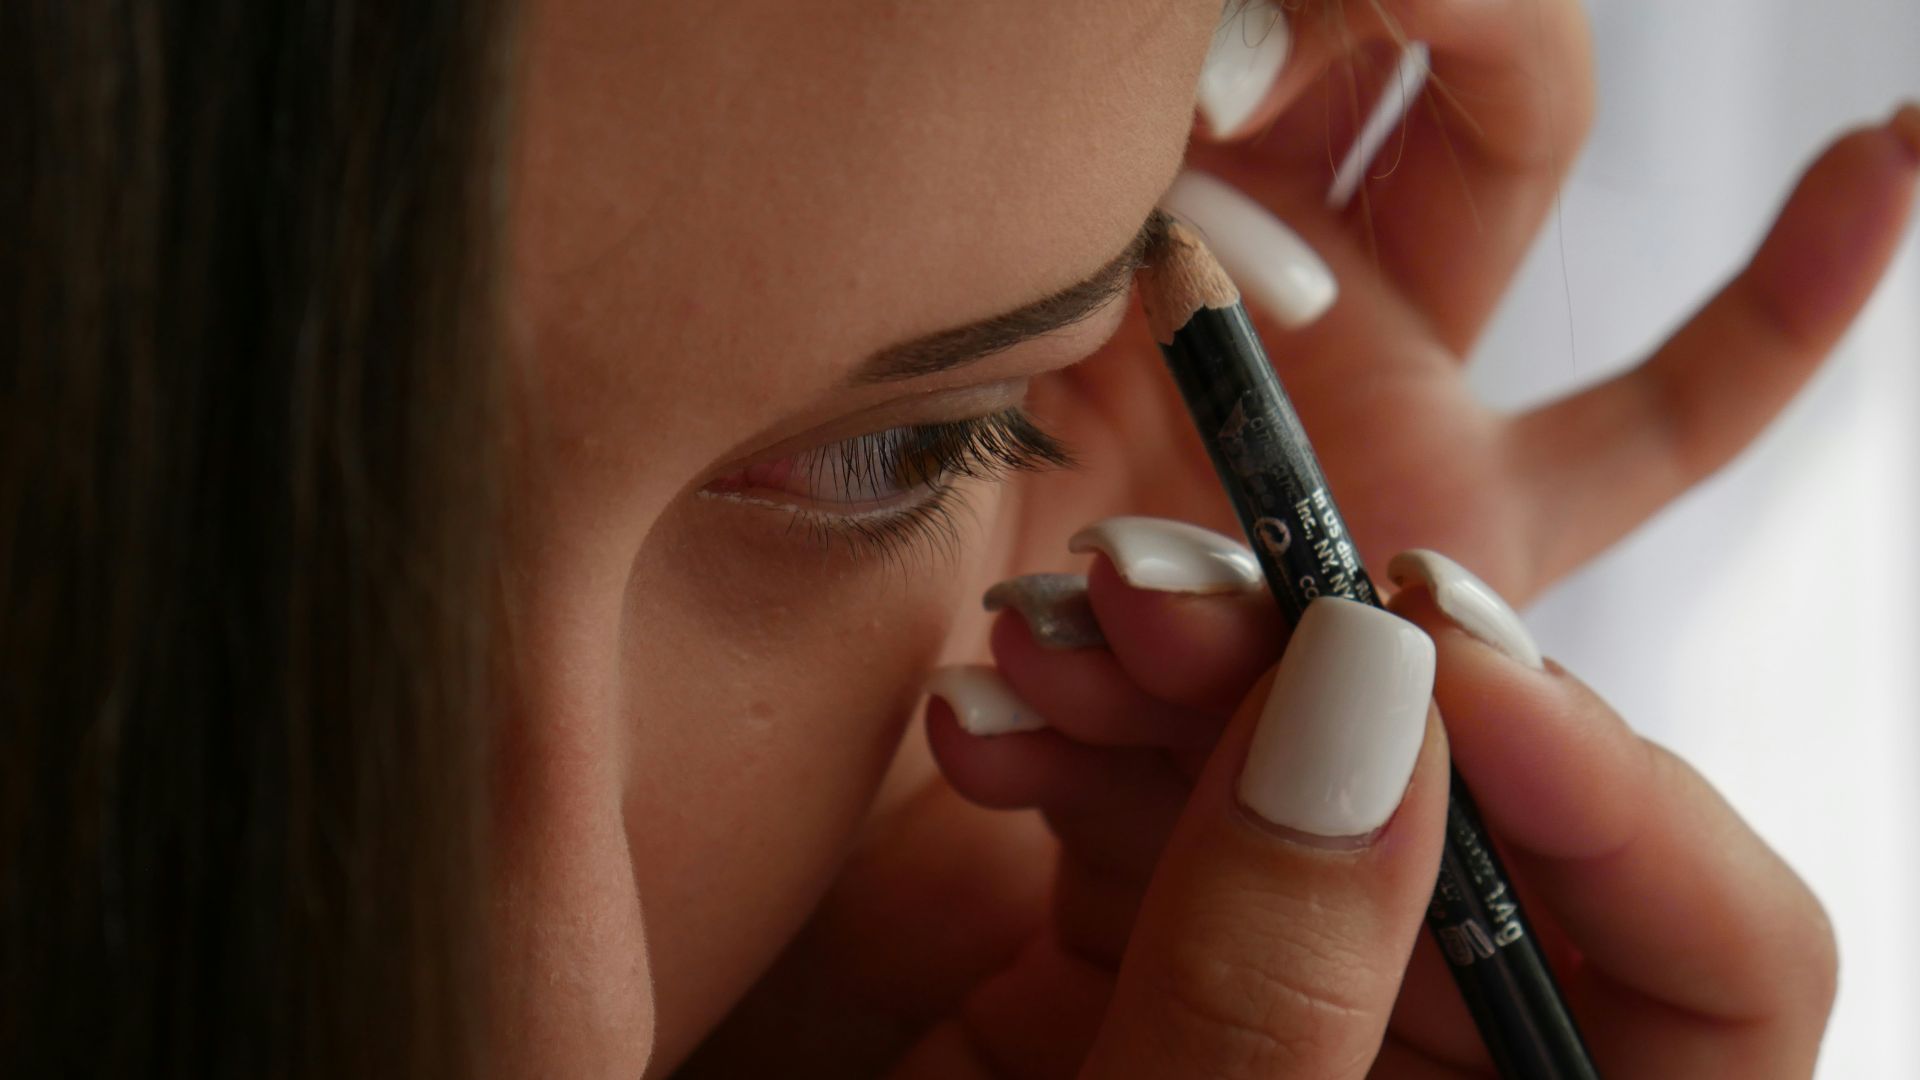
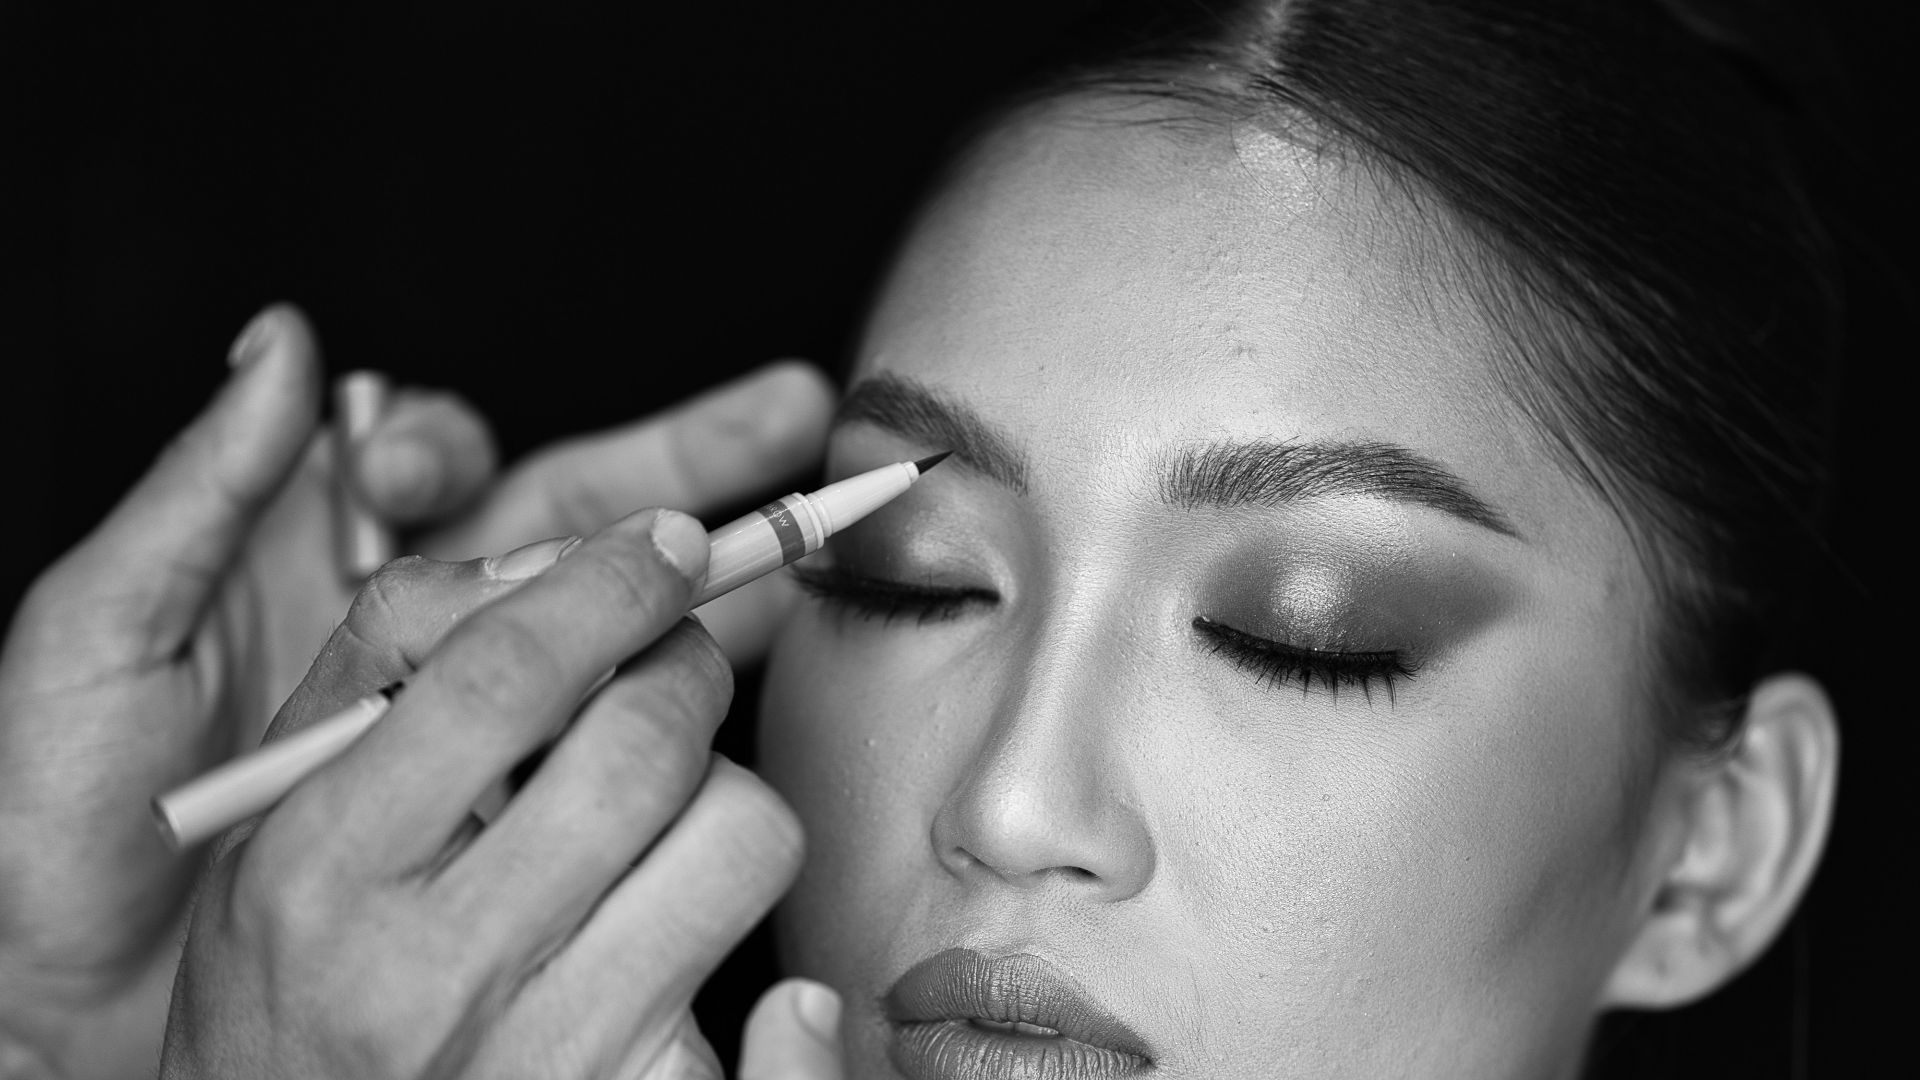
2. Defining the Brows Slightly More
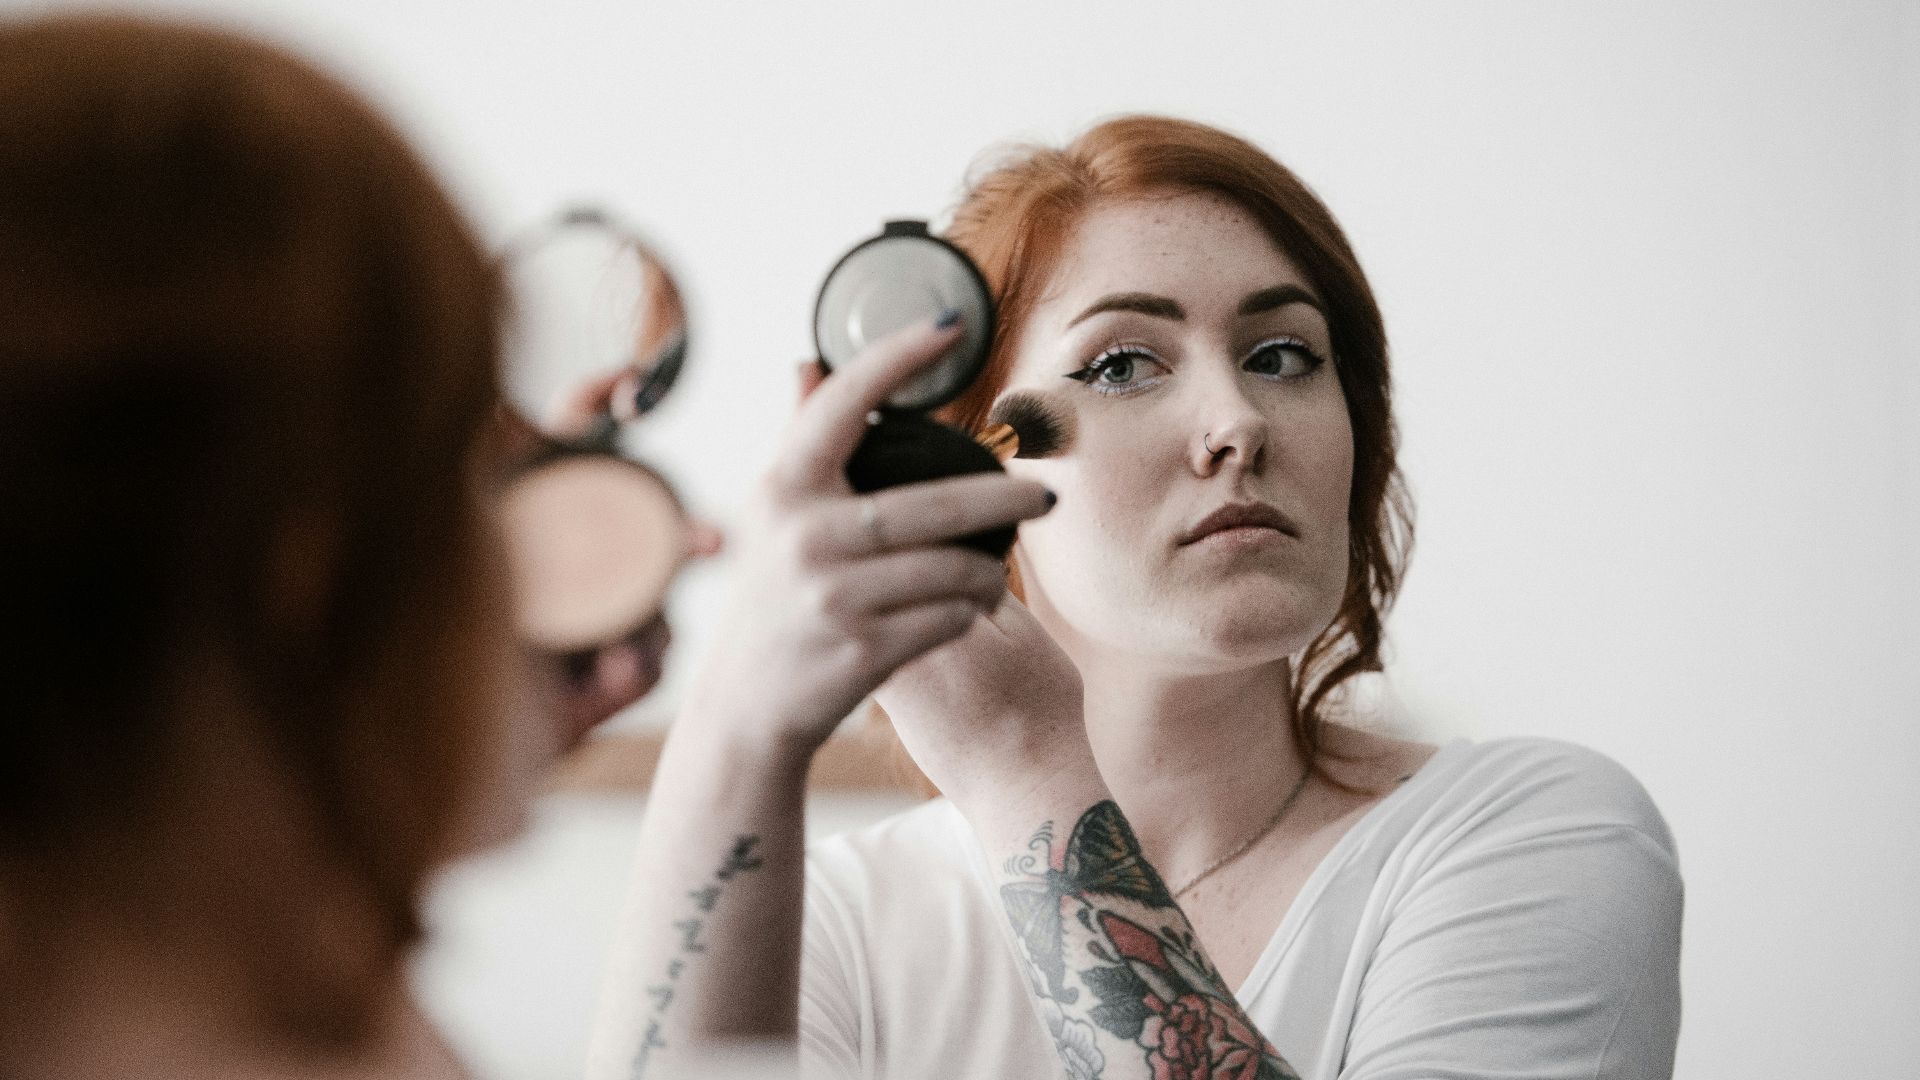
Cameras have the ability to make subtle facial features appear less prominent, particularly under bright or flat lighting. Adding a touch more definition through the arches and sparse sections helps the brows frame your face without requiring an unusually dark shade. The best result still comes from following your existing brow shape rather than drawing a dramatically different one.
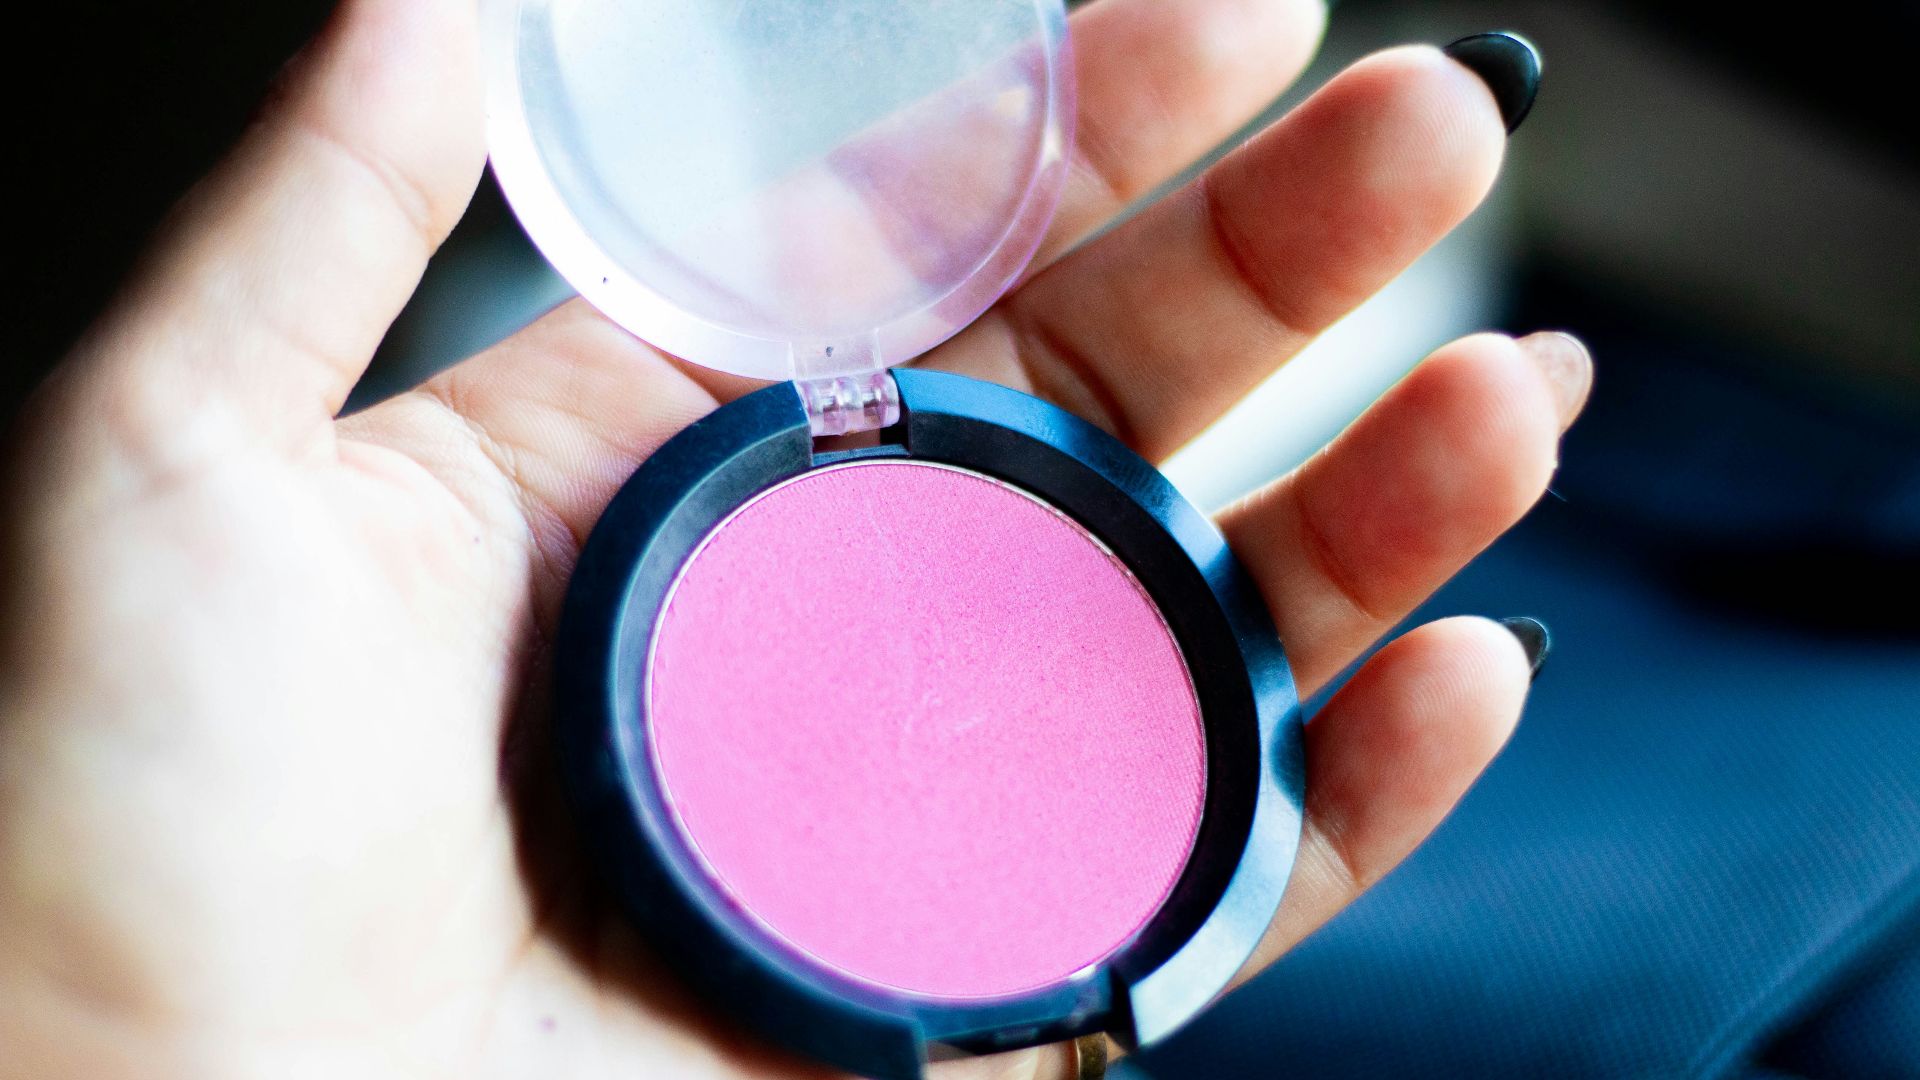
3. Placing Blush a Little More Generously
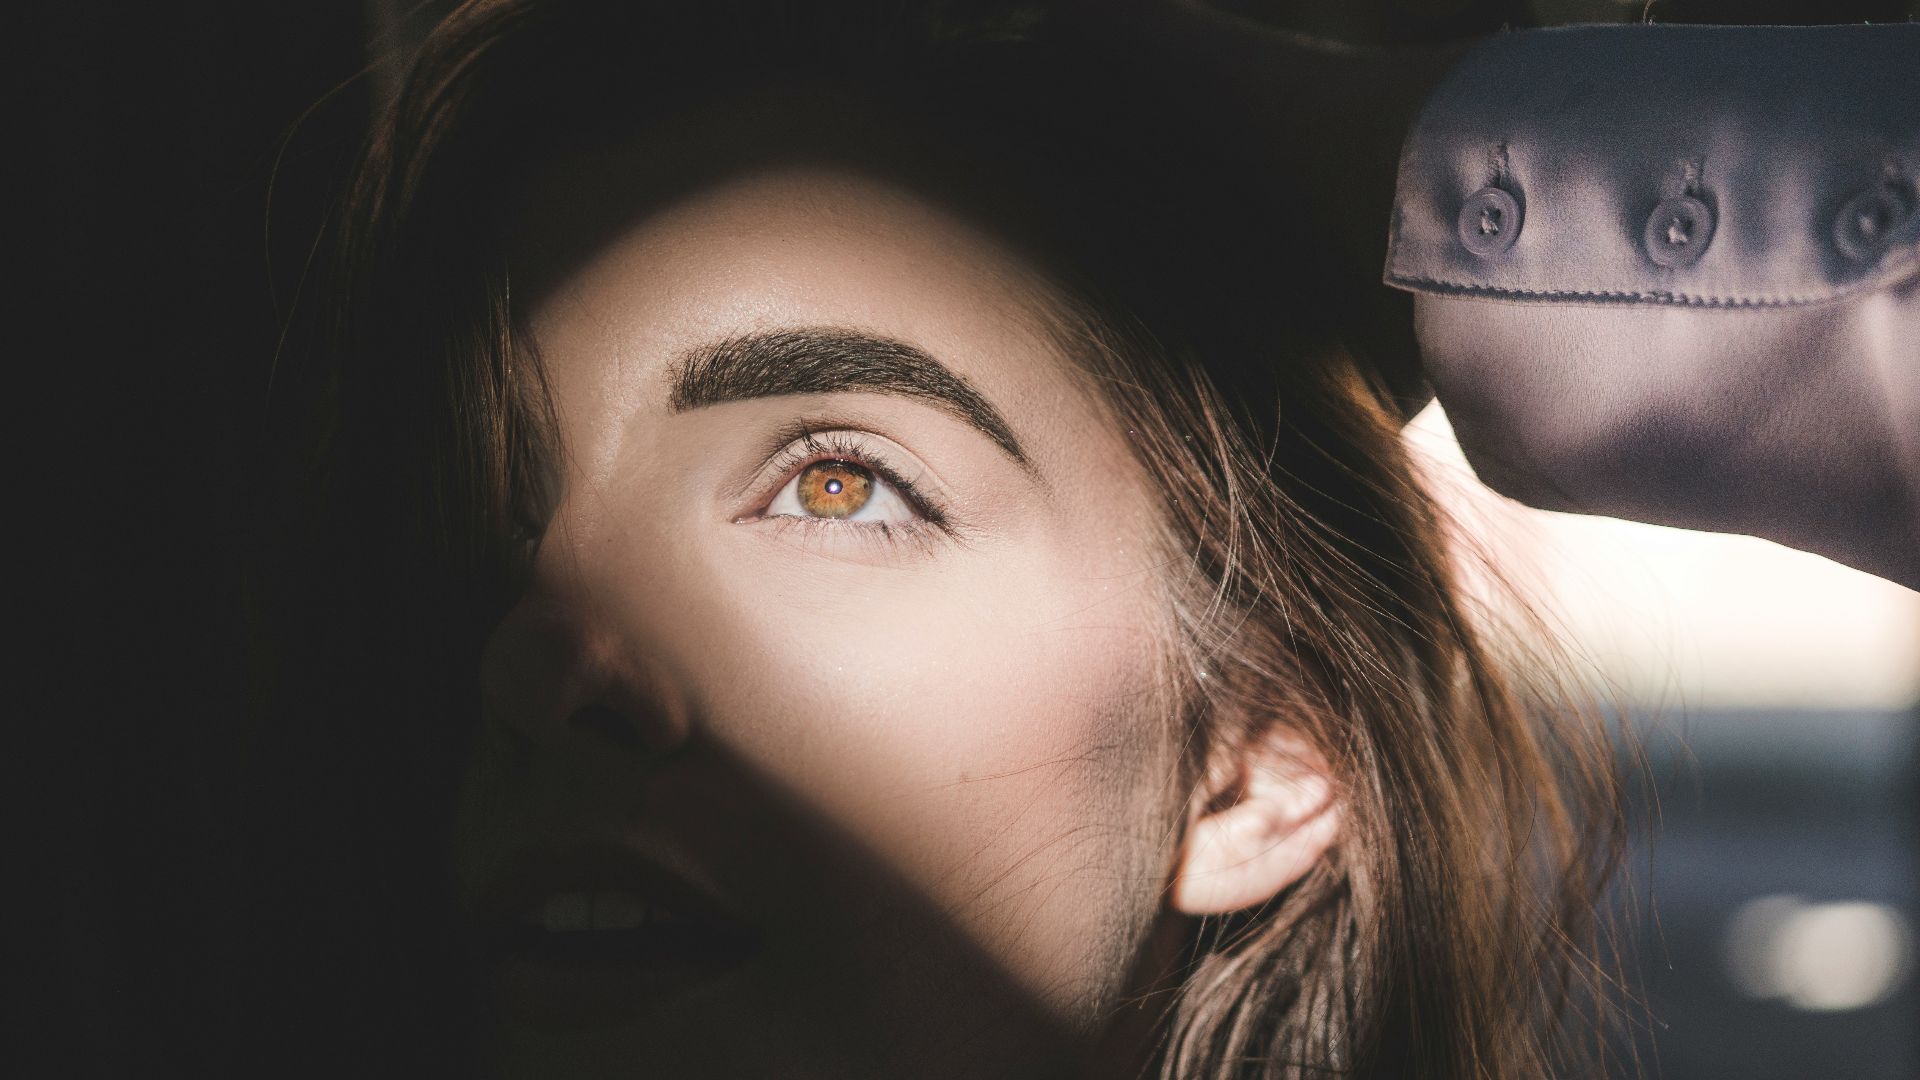
A slightly stronger blush application can work well for photographs because bright lighting may reduce the apparent intensity of facial color. Building the shade gradually across the cheeks gives the complexion noticeable warmth without creating an obvious block of pigment.
4. Subtle Contour for Definition
Adding a subtle contour can restore some of the facial dimension that directional lighting or photography may reduce or eliminate. Applying a modest amount beneath the cheekbones, around the forehead, or along the jaw can help define structure.
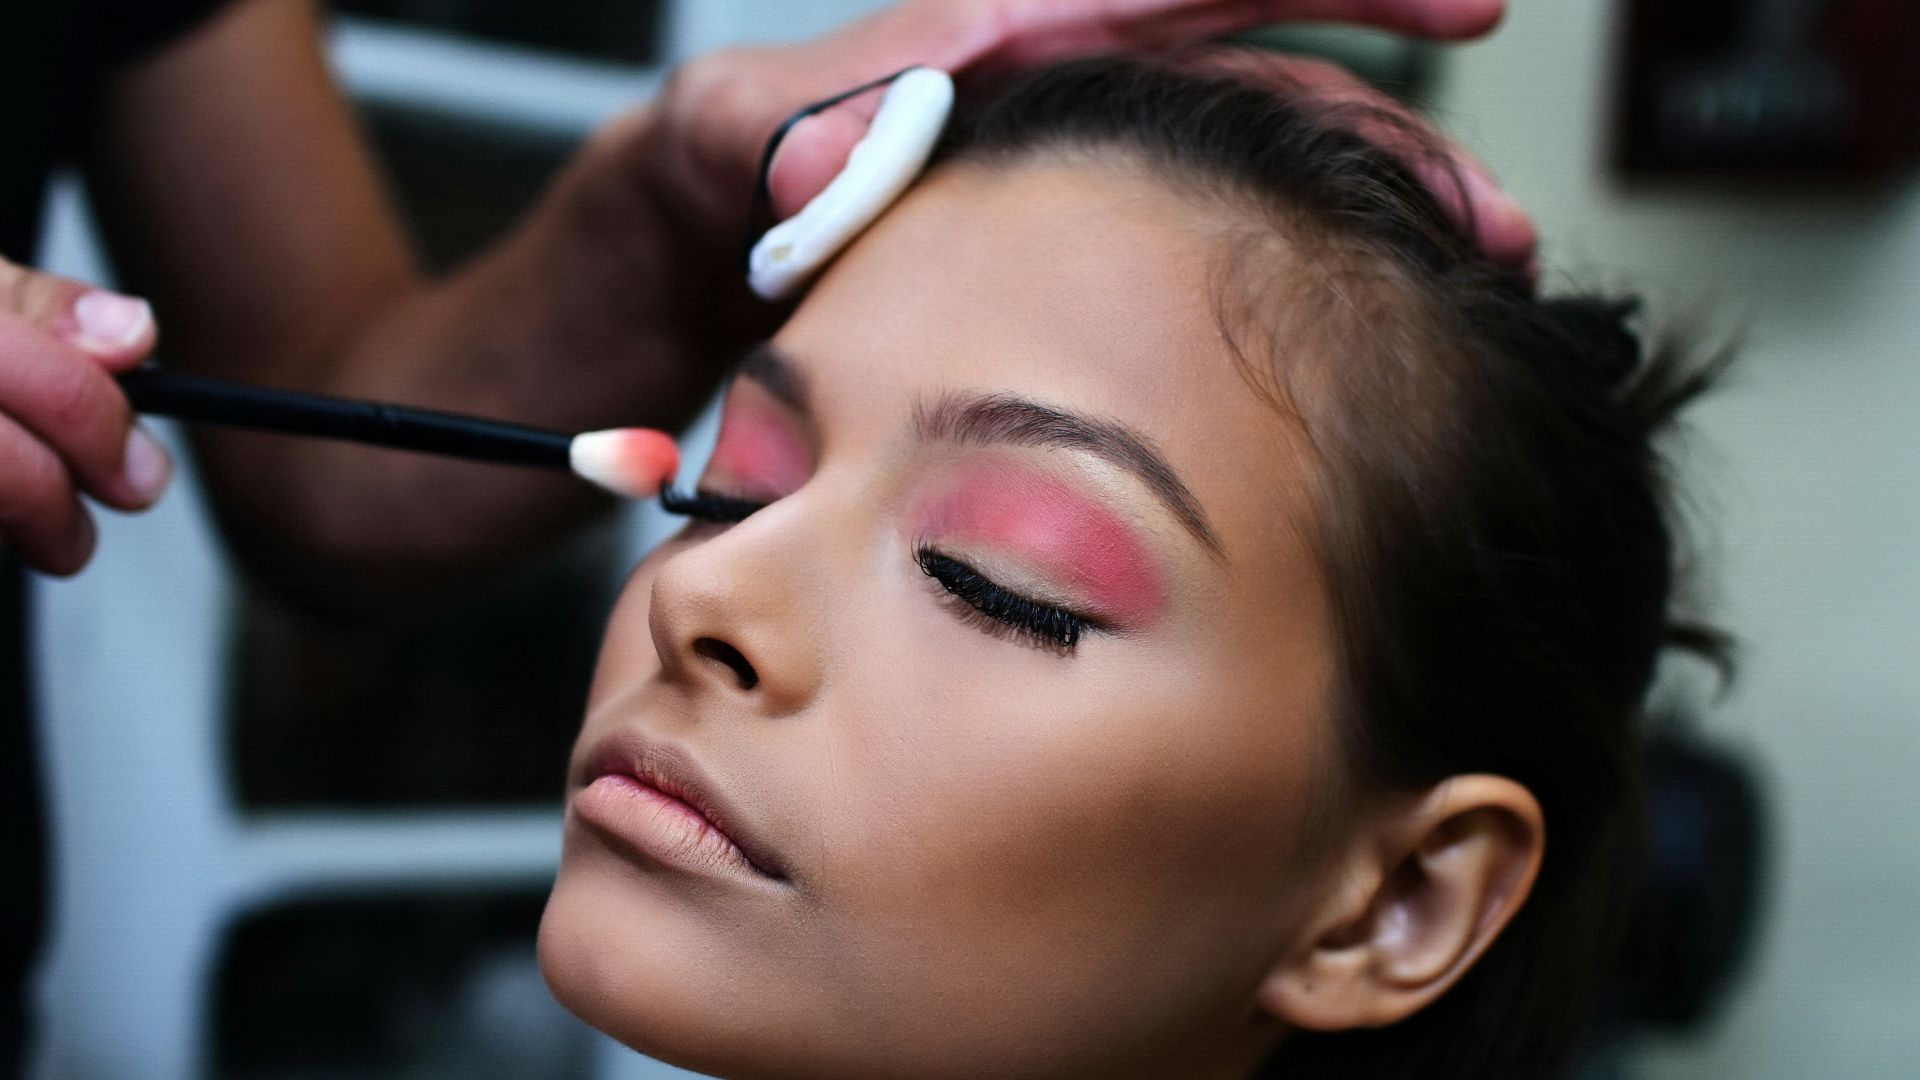
5. Keeping Powder Concentrated on Shiny Areas
Powder can help you control unwanted shine, but covering the entire face heavily isn't necessary for most photo situations. A light application also reduces the likelihood of makeup appearing dry or textured.
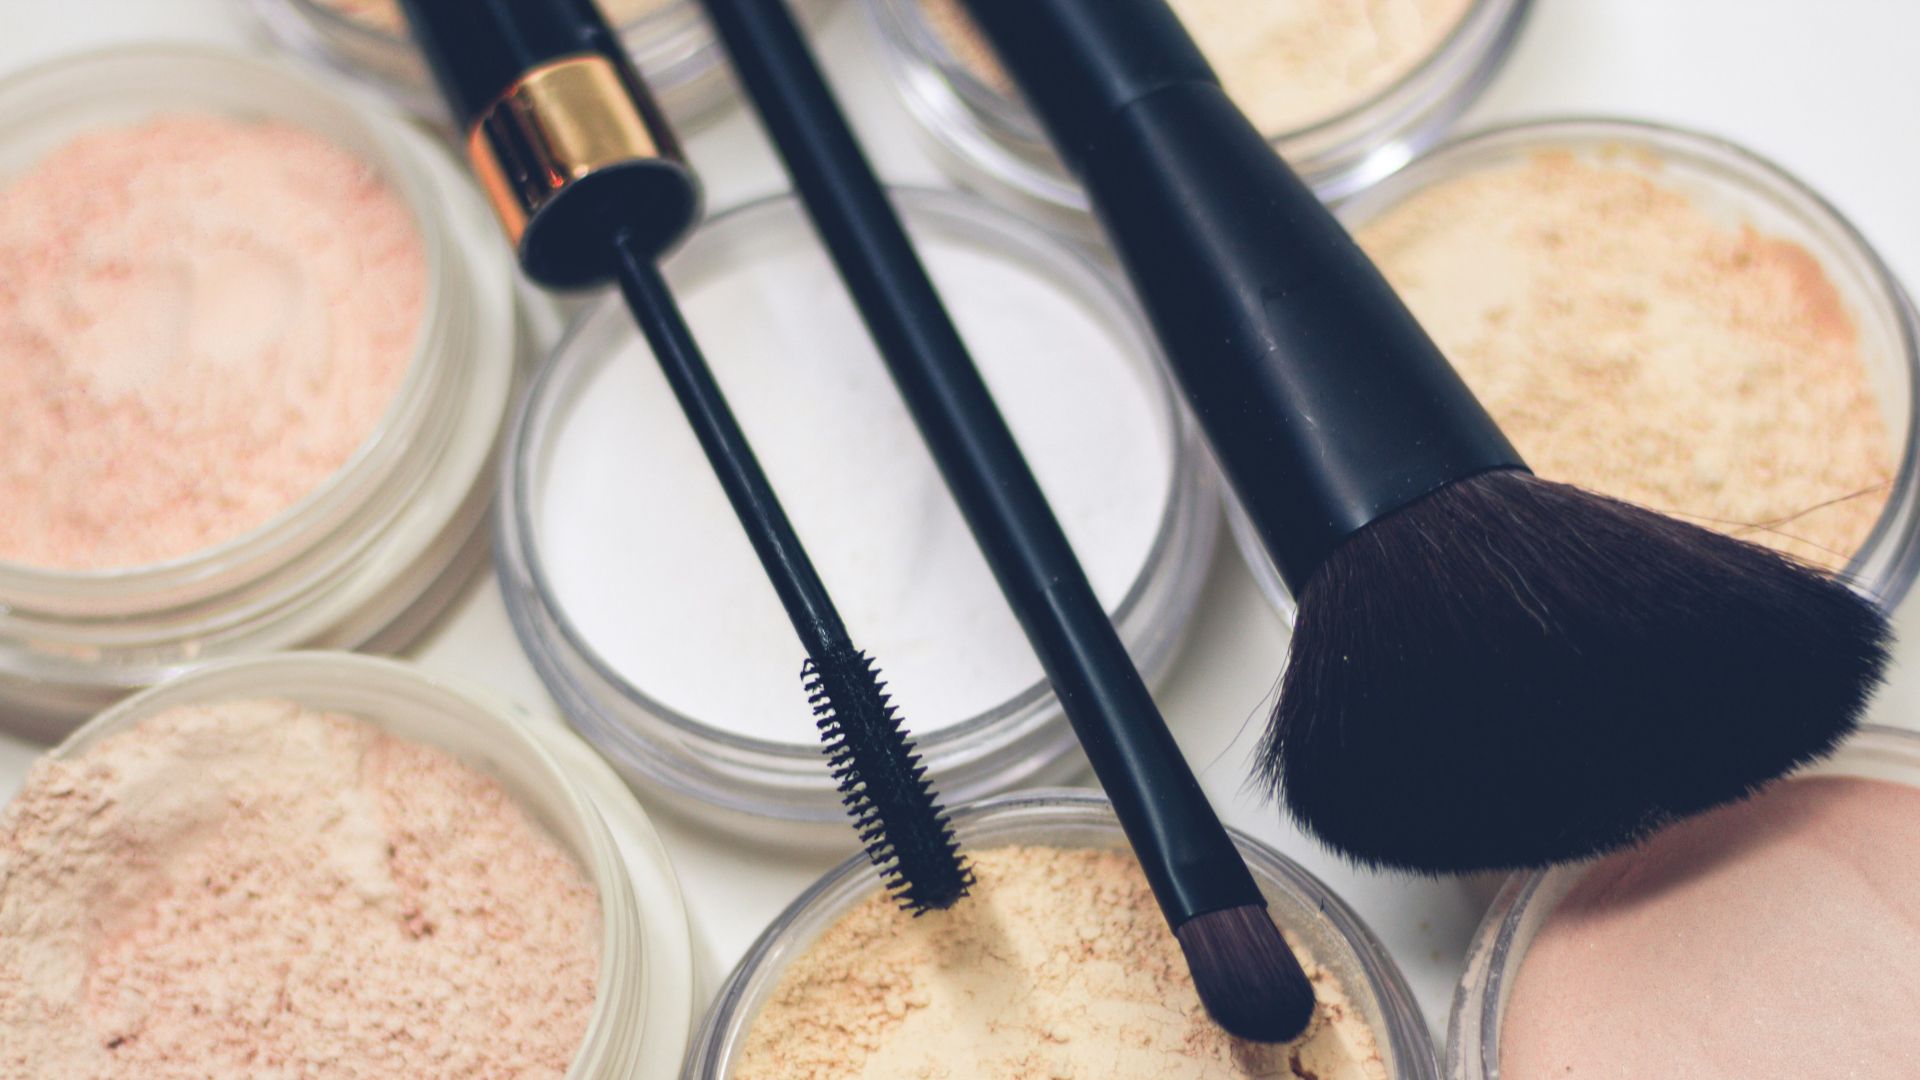
6. Using Photo-Friendly Setting Powder
Some setting powders are specifically designed to remain virtually invisible under flash photography, making them useful for events where photographers and selfies will be present. Apply a small amount and blend it thoroughly instead of leaving a thick layer.
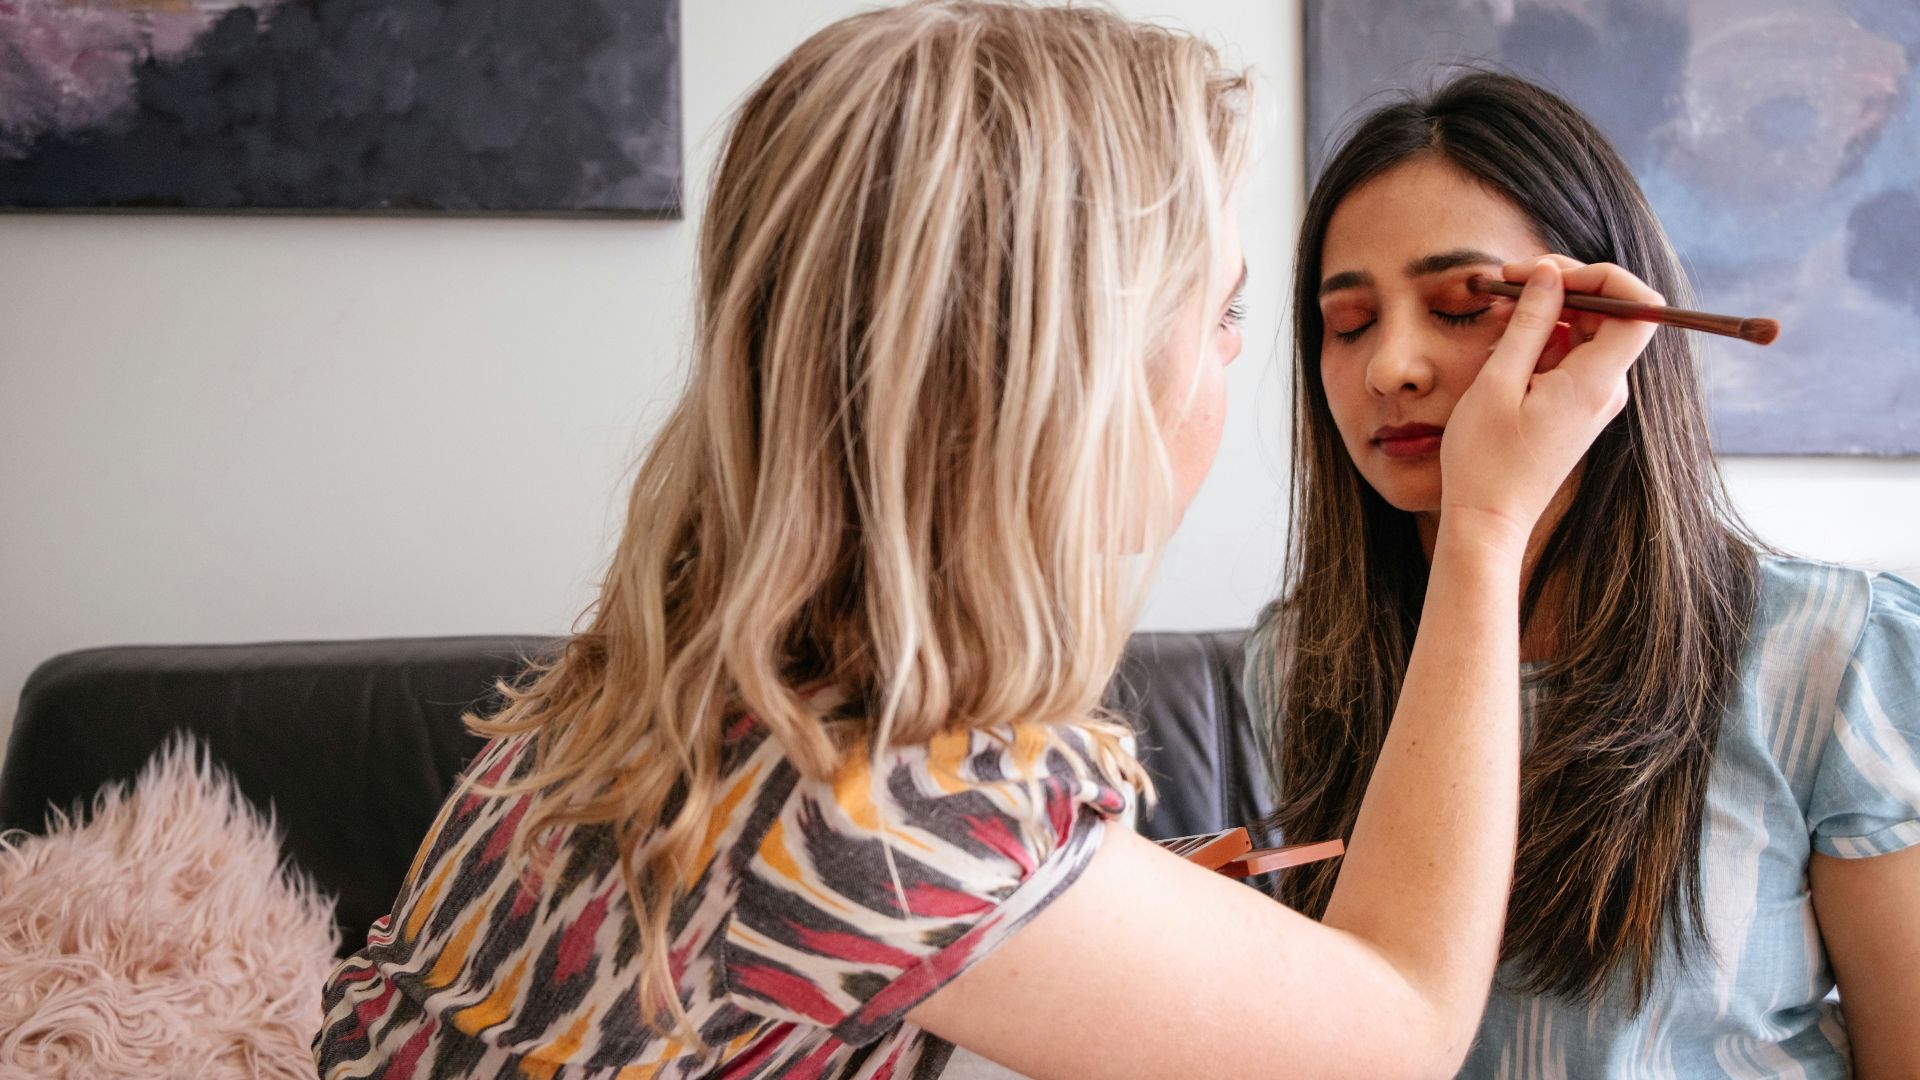
7. Defining the Upper Lash Line
Making the upper lash line slightly darker can give the eyes clearer definition in photographs. A thin pencil, shadow, or liner application between and above the lashes strengthens their appearance without demanding an elaborate eyeliner shape.
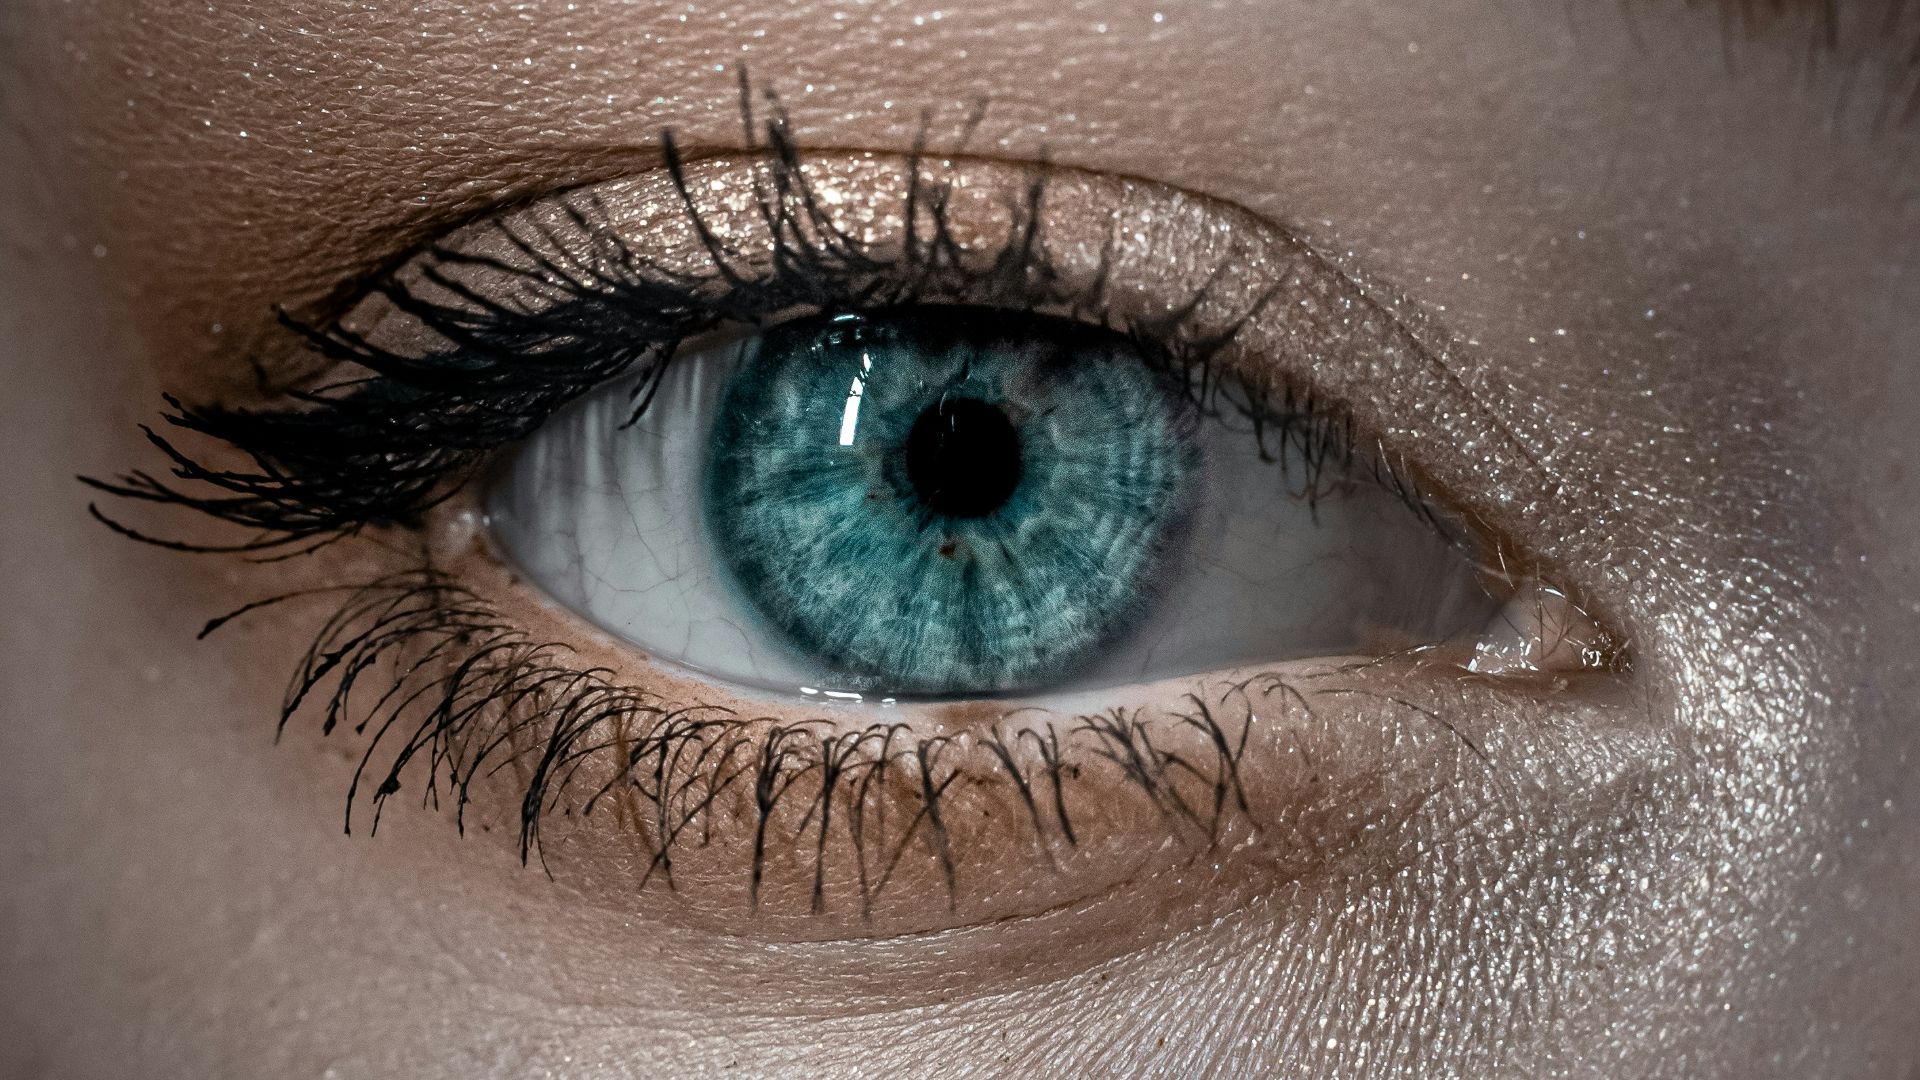
8. Curling the Lashes Before Mascara
Lash curl can make the eyes appear more open because it lifts the lashes away from their naturally forward or downward position. Following with mascara adds contrast and makes individual lashes easier for the camera to notice.
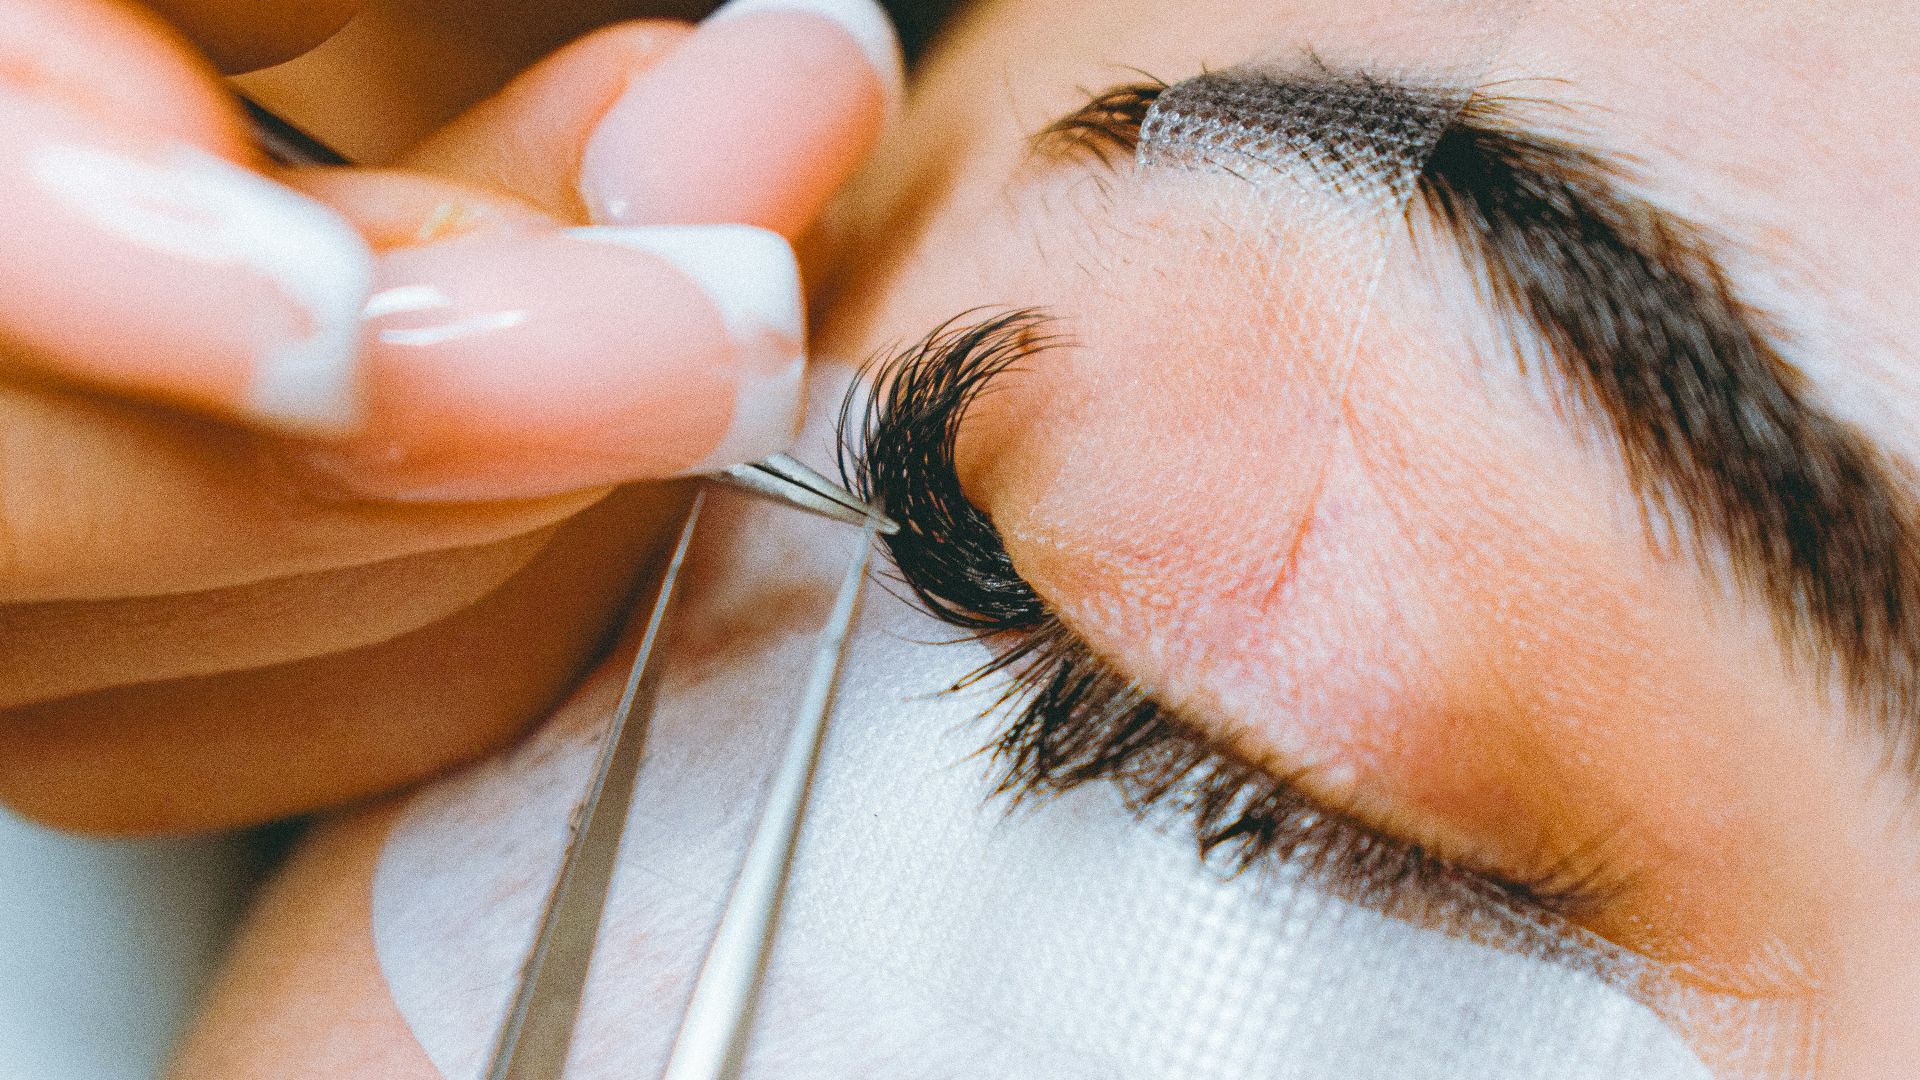
9. Highlighting With Controlled Placement
A restrained amount of highlighter can catch light attractively on areas such as the cheekbones. Keeping reflective products away from heavily textured areas can prevent pores or bumps from becoming more noticeable under heavy lighting.
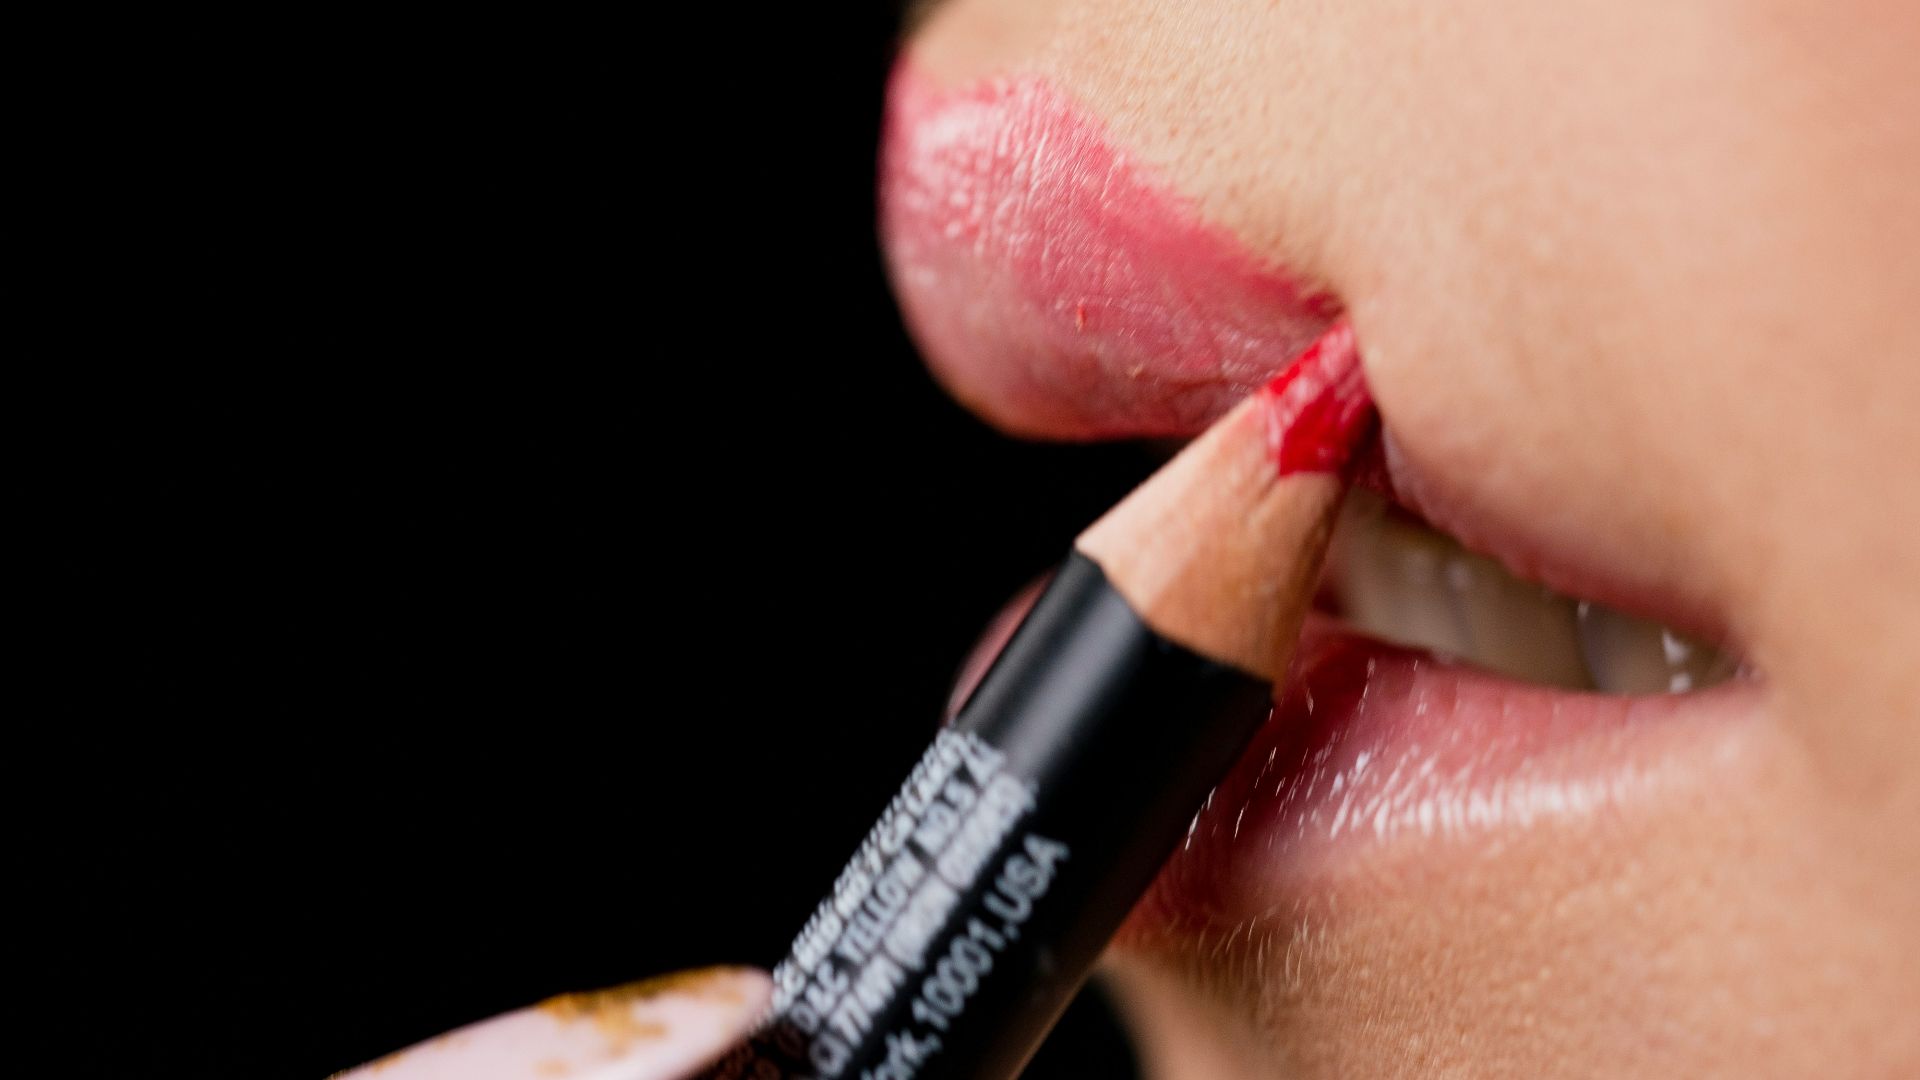
10. Defining the Lips With Coordinating Liner
Lip liner can sharpen the outline of the mouth, which is useful when cameras reduce some of the distinction between neighboring colors. Using a liner close to your lipstick or natural lip tone produces definition without creating a visible border.
1. Applying Full-Coverage Foundation Everywhere
Full-coverage foundation can look exceptionally smooth in a carefully lit photograph, yet applying a thick amount across the entire face may appear more obvious at a distance. Natural skin contains subtle differences in color and texture that dense coverage can conceal easily.
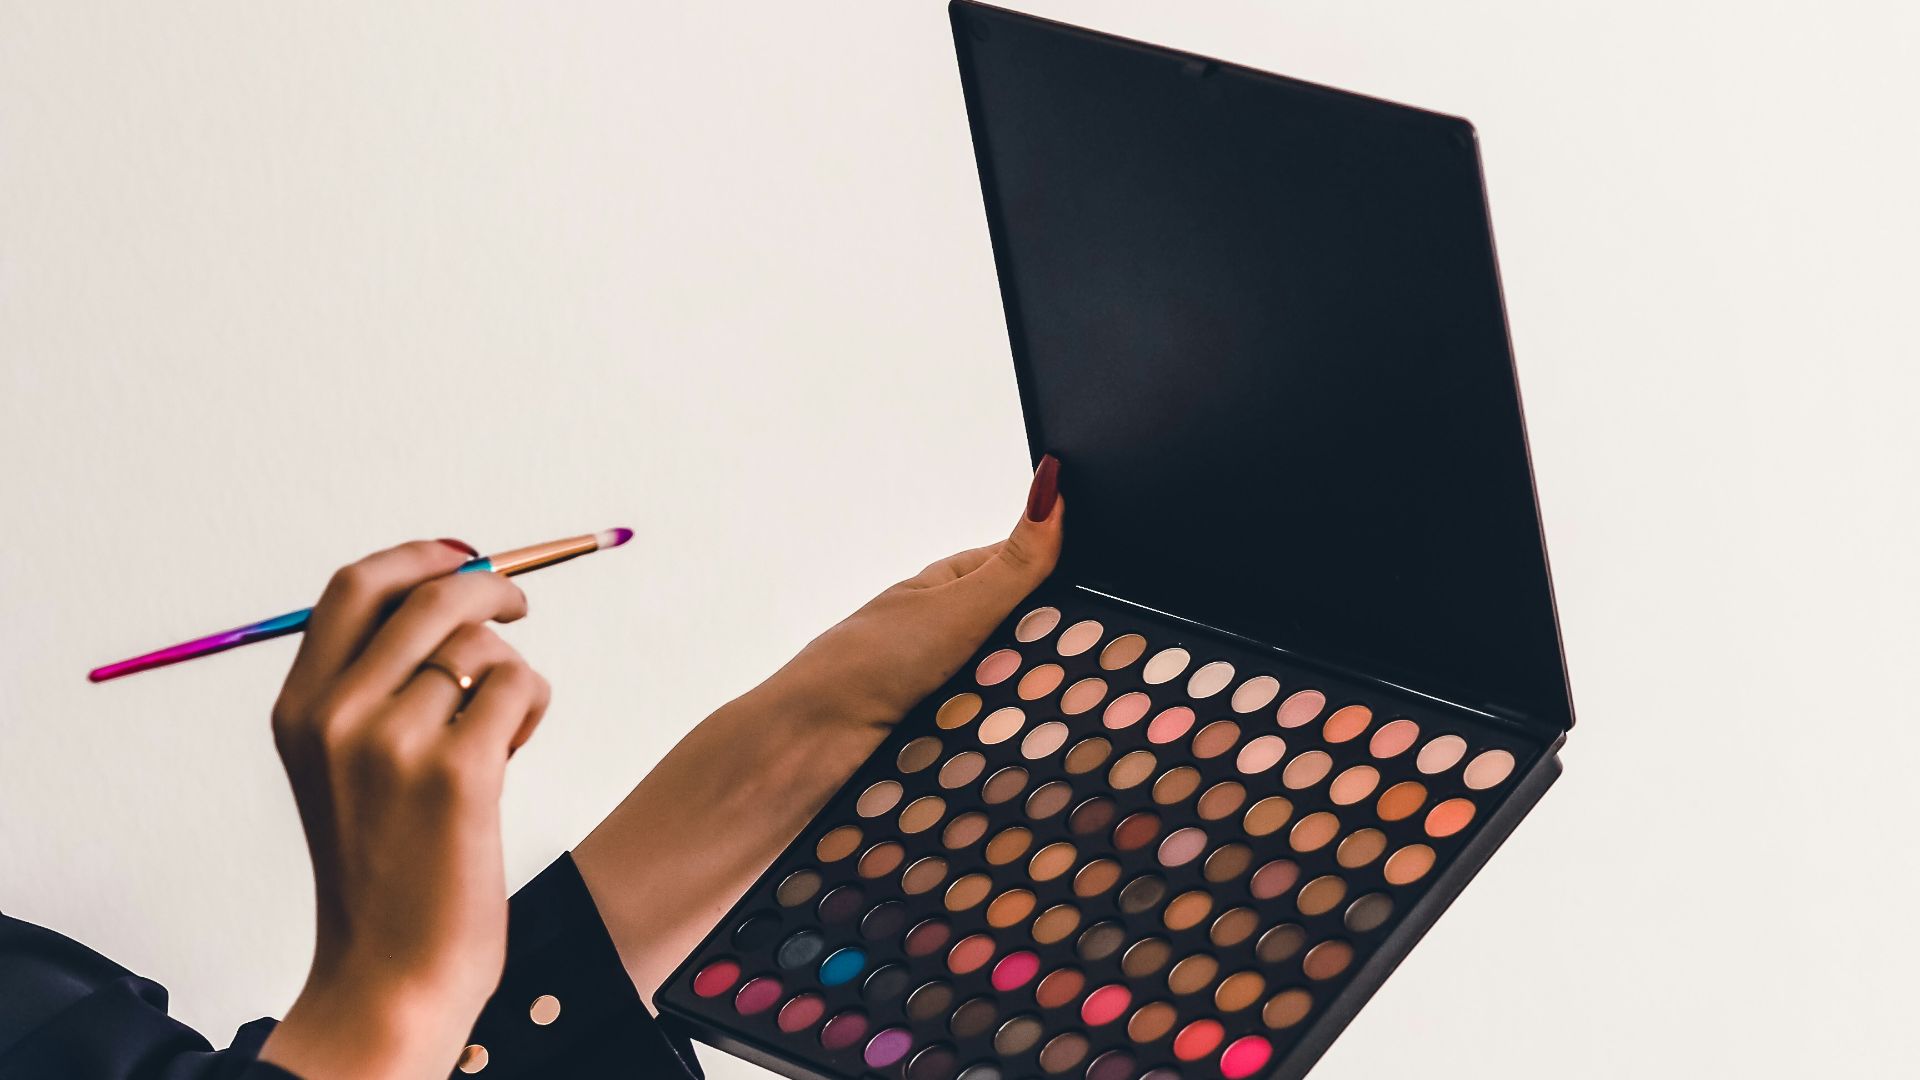
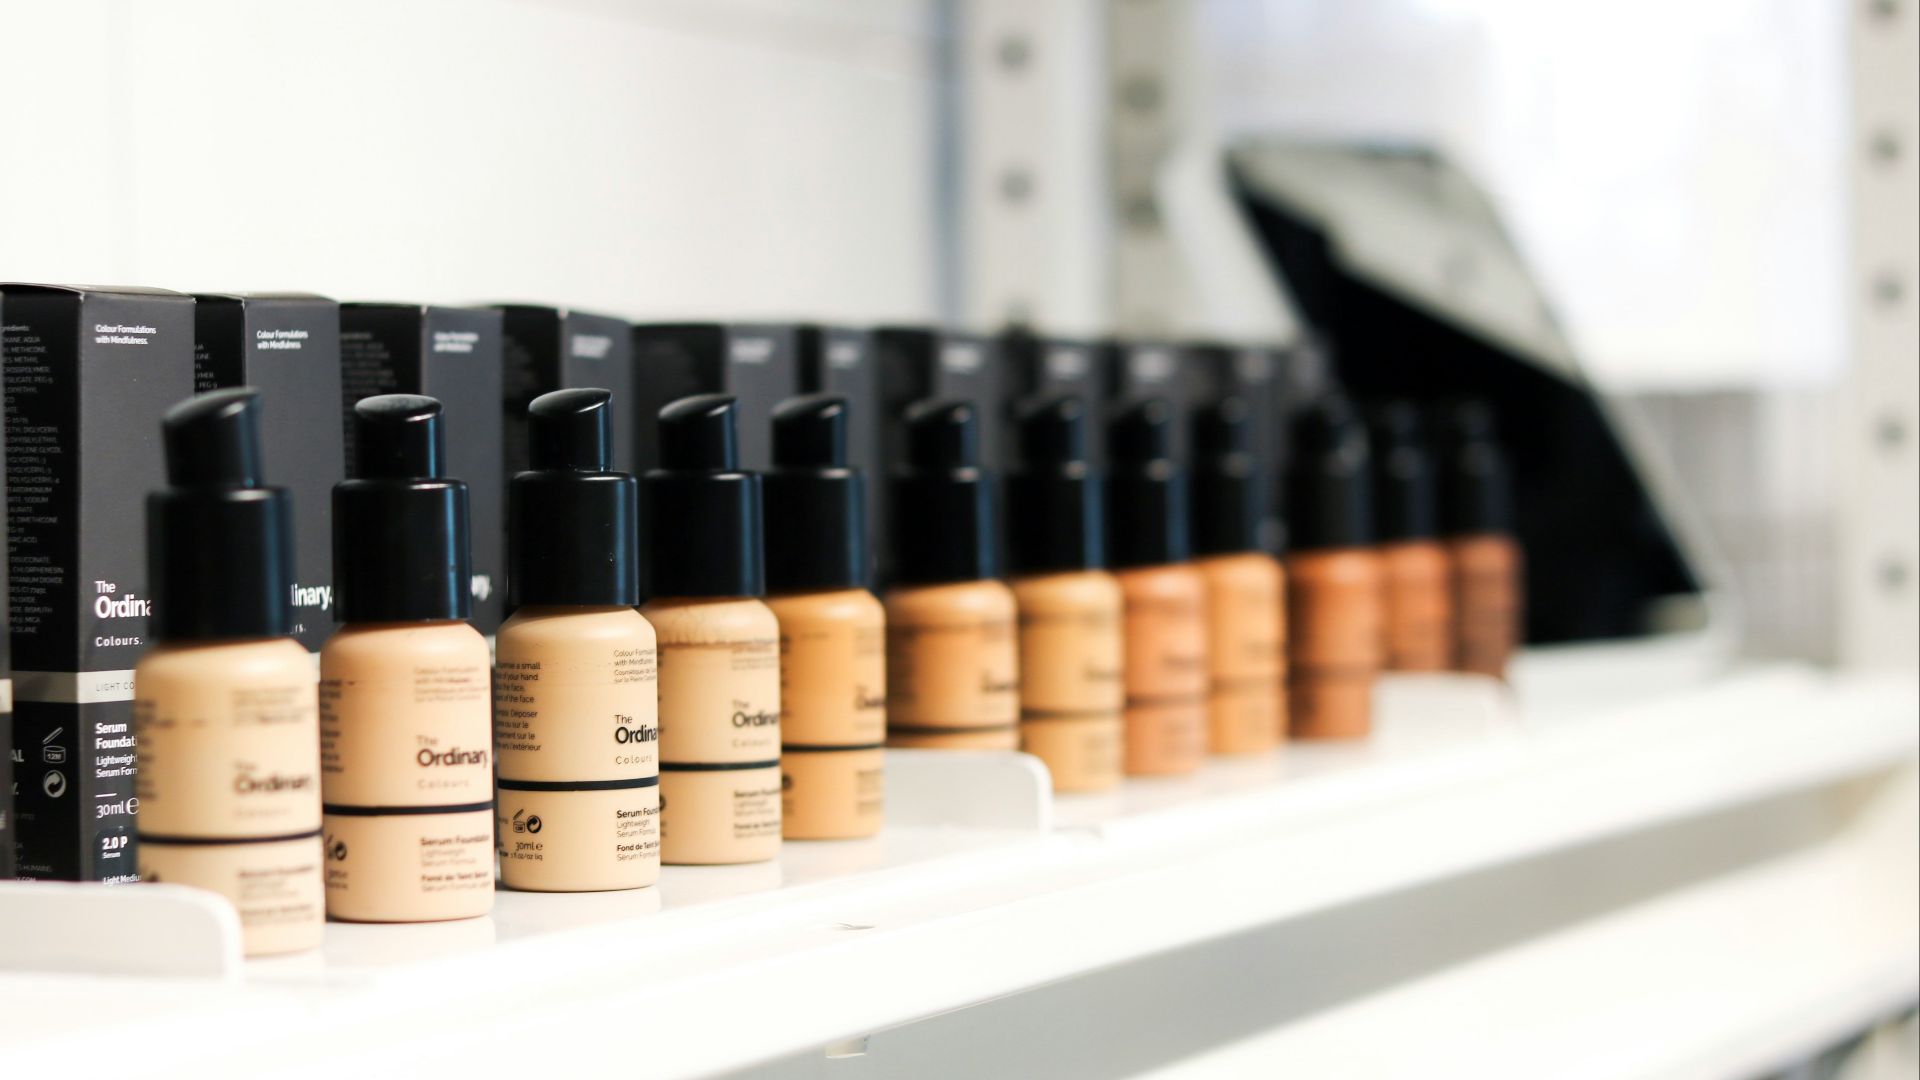 Felicia Buitenwerf on Unsplash
2. Creating Extremely Sharp Contour Lines
Strong contouring can provide dramatic definition in photographs, particularly when lighting reduces natural shadows. Up close, however, strongly sculpted cheekbones and jawlines can reveal visible stripes or sudden tone differences.
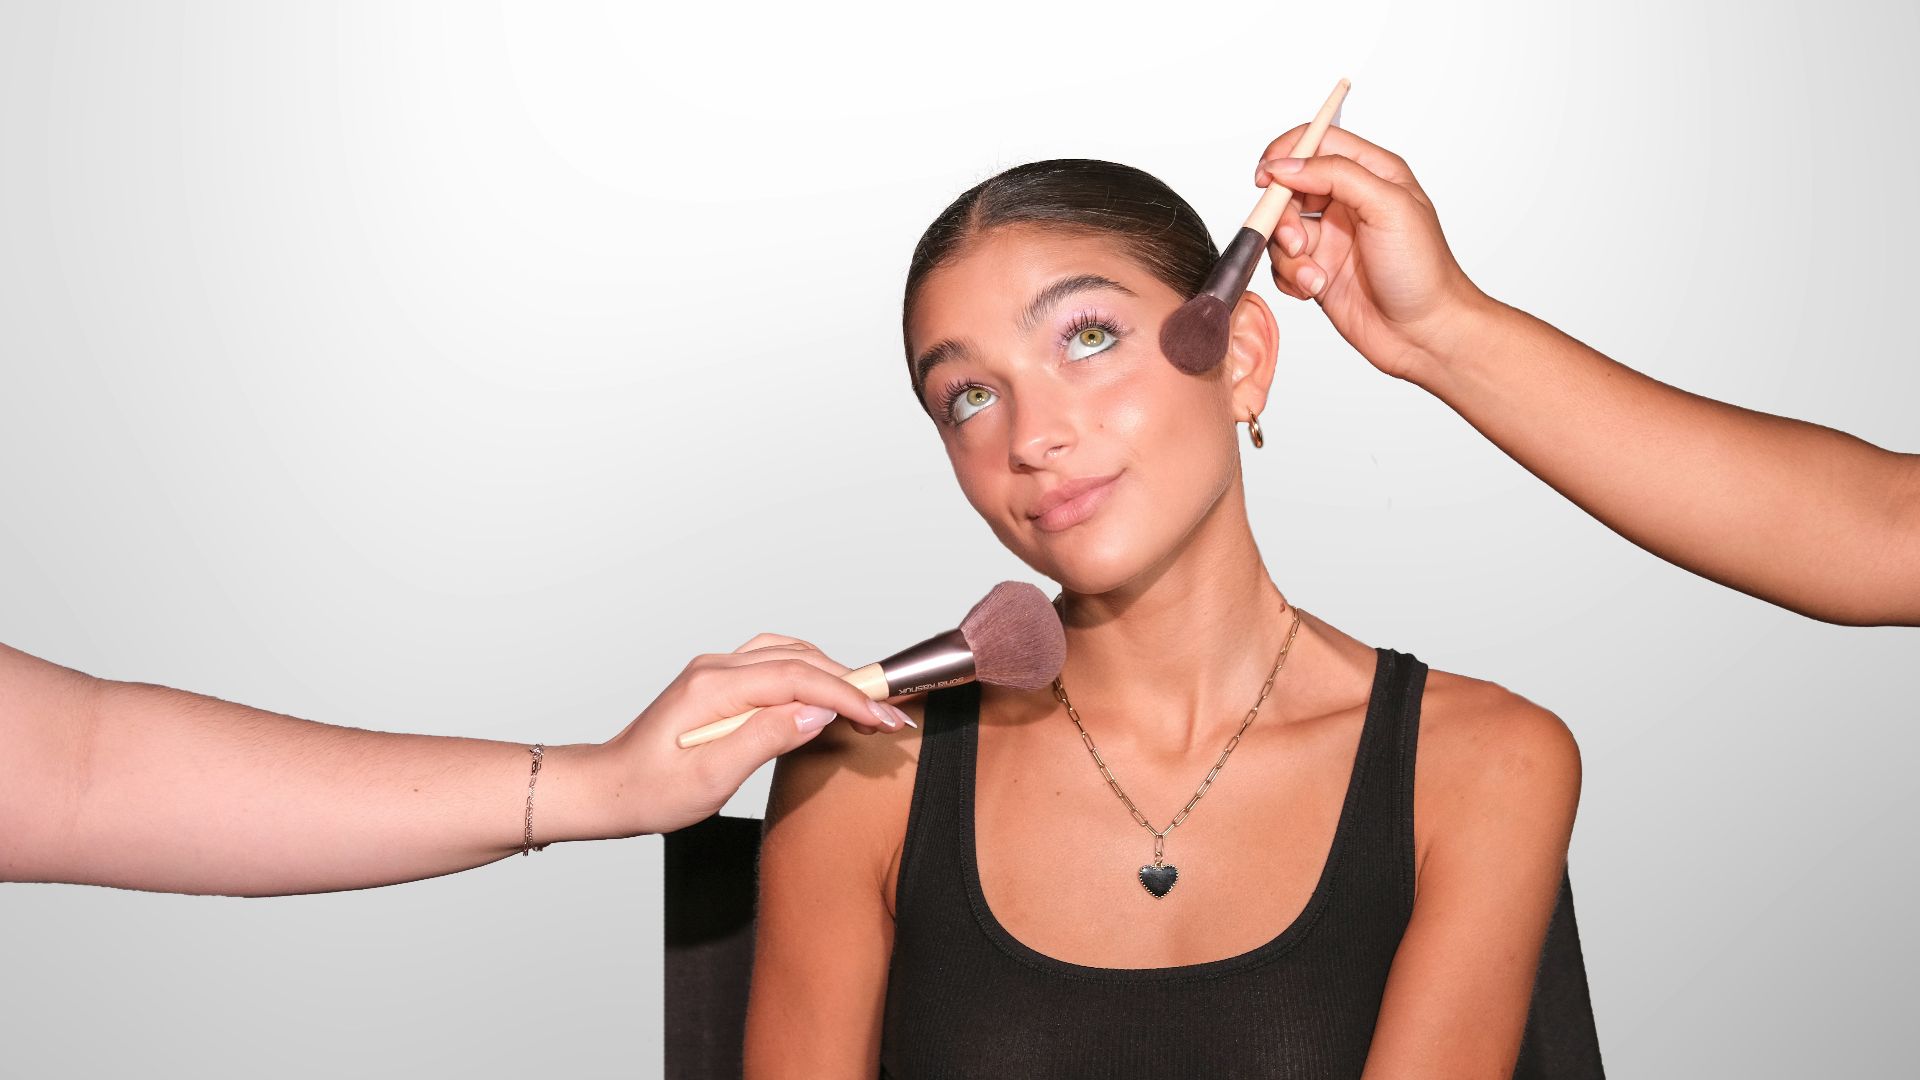
3. Baking With a Large Amount of Powder
Baking traditionally involves leaving a generous layer of loose powder on selected areas before brushing away the excess. Although the technique can create a very matte, set finish, substantial powder may emphasize dryness or skin texture up close.
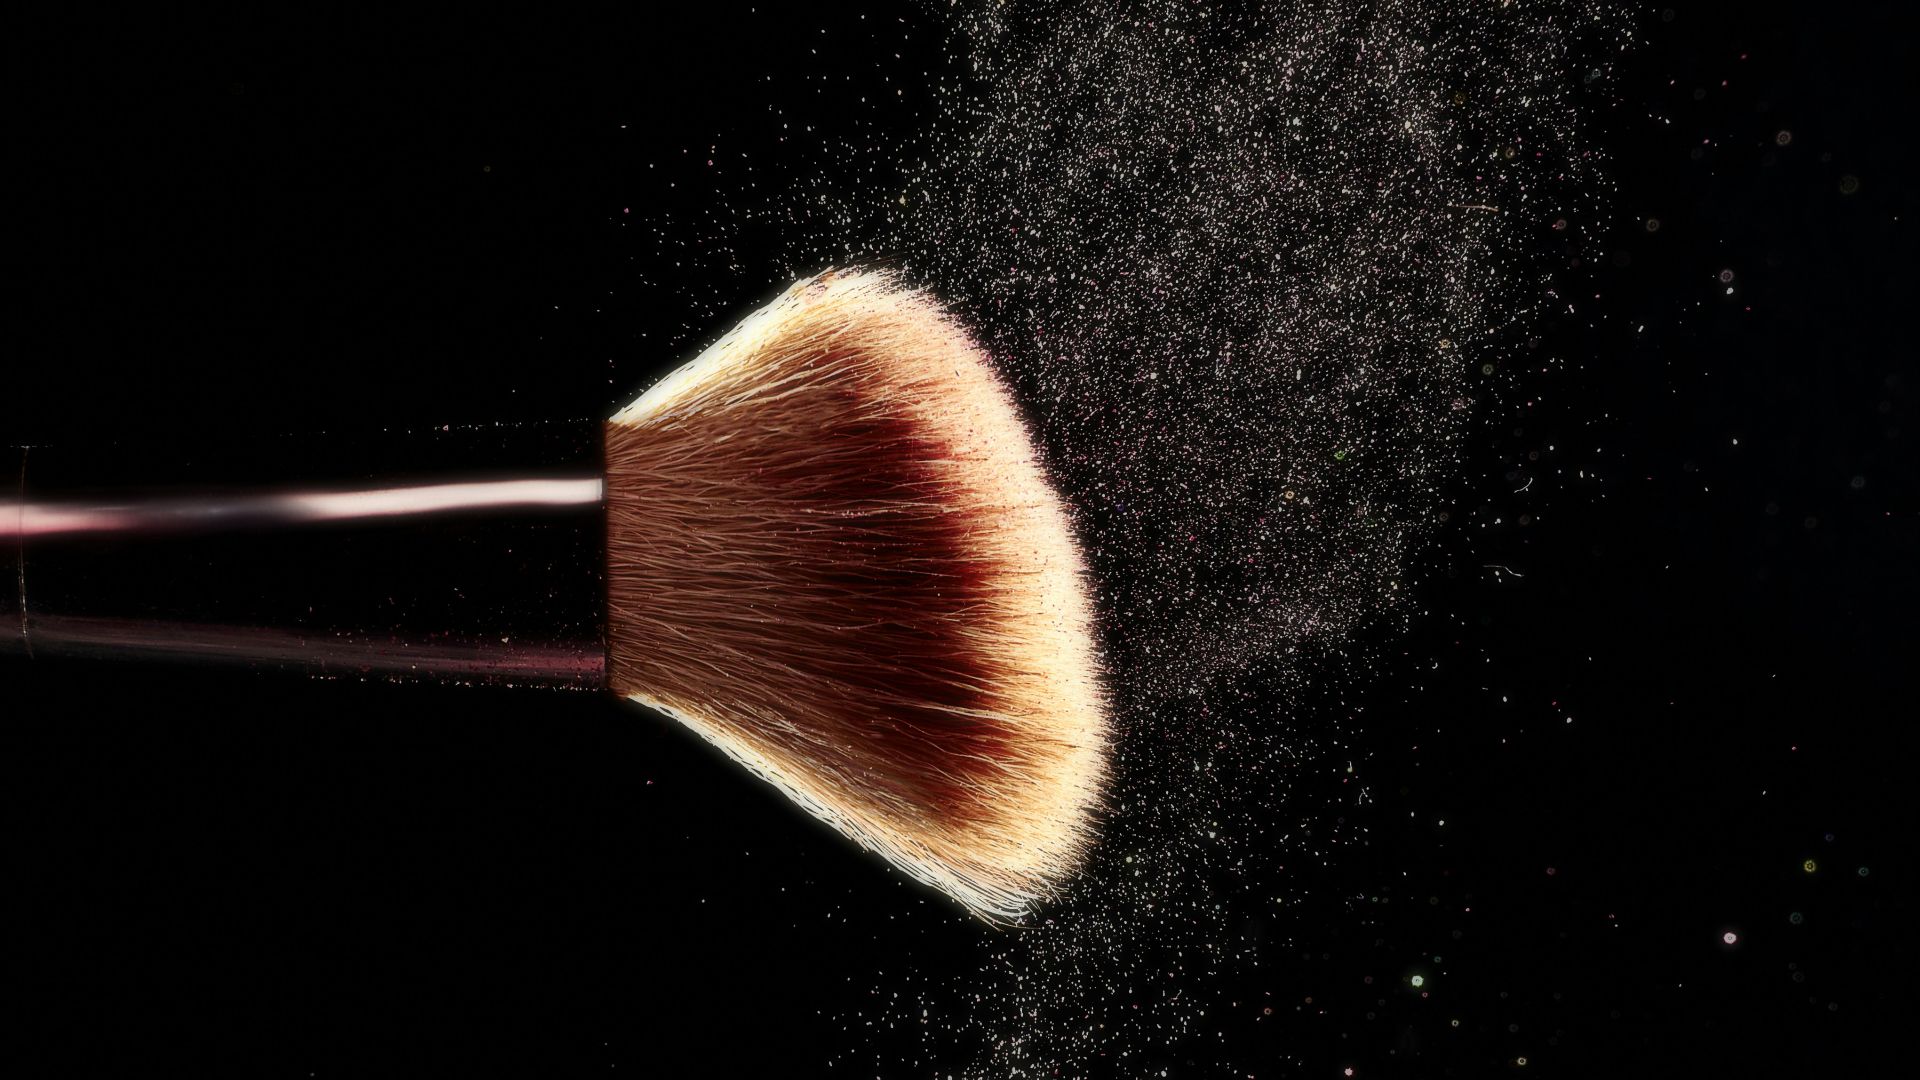
4. Using Very Bright Under-Eye Concealer
A noticeably lighter concealer can make the under-eye area look brighter in photographs, but an extreme shade difference can look fake in natural light. It can also create a clear contrast between the center of the face and the rest of the complexion.
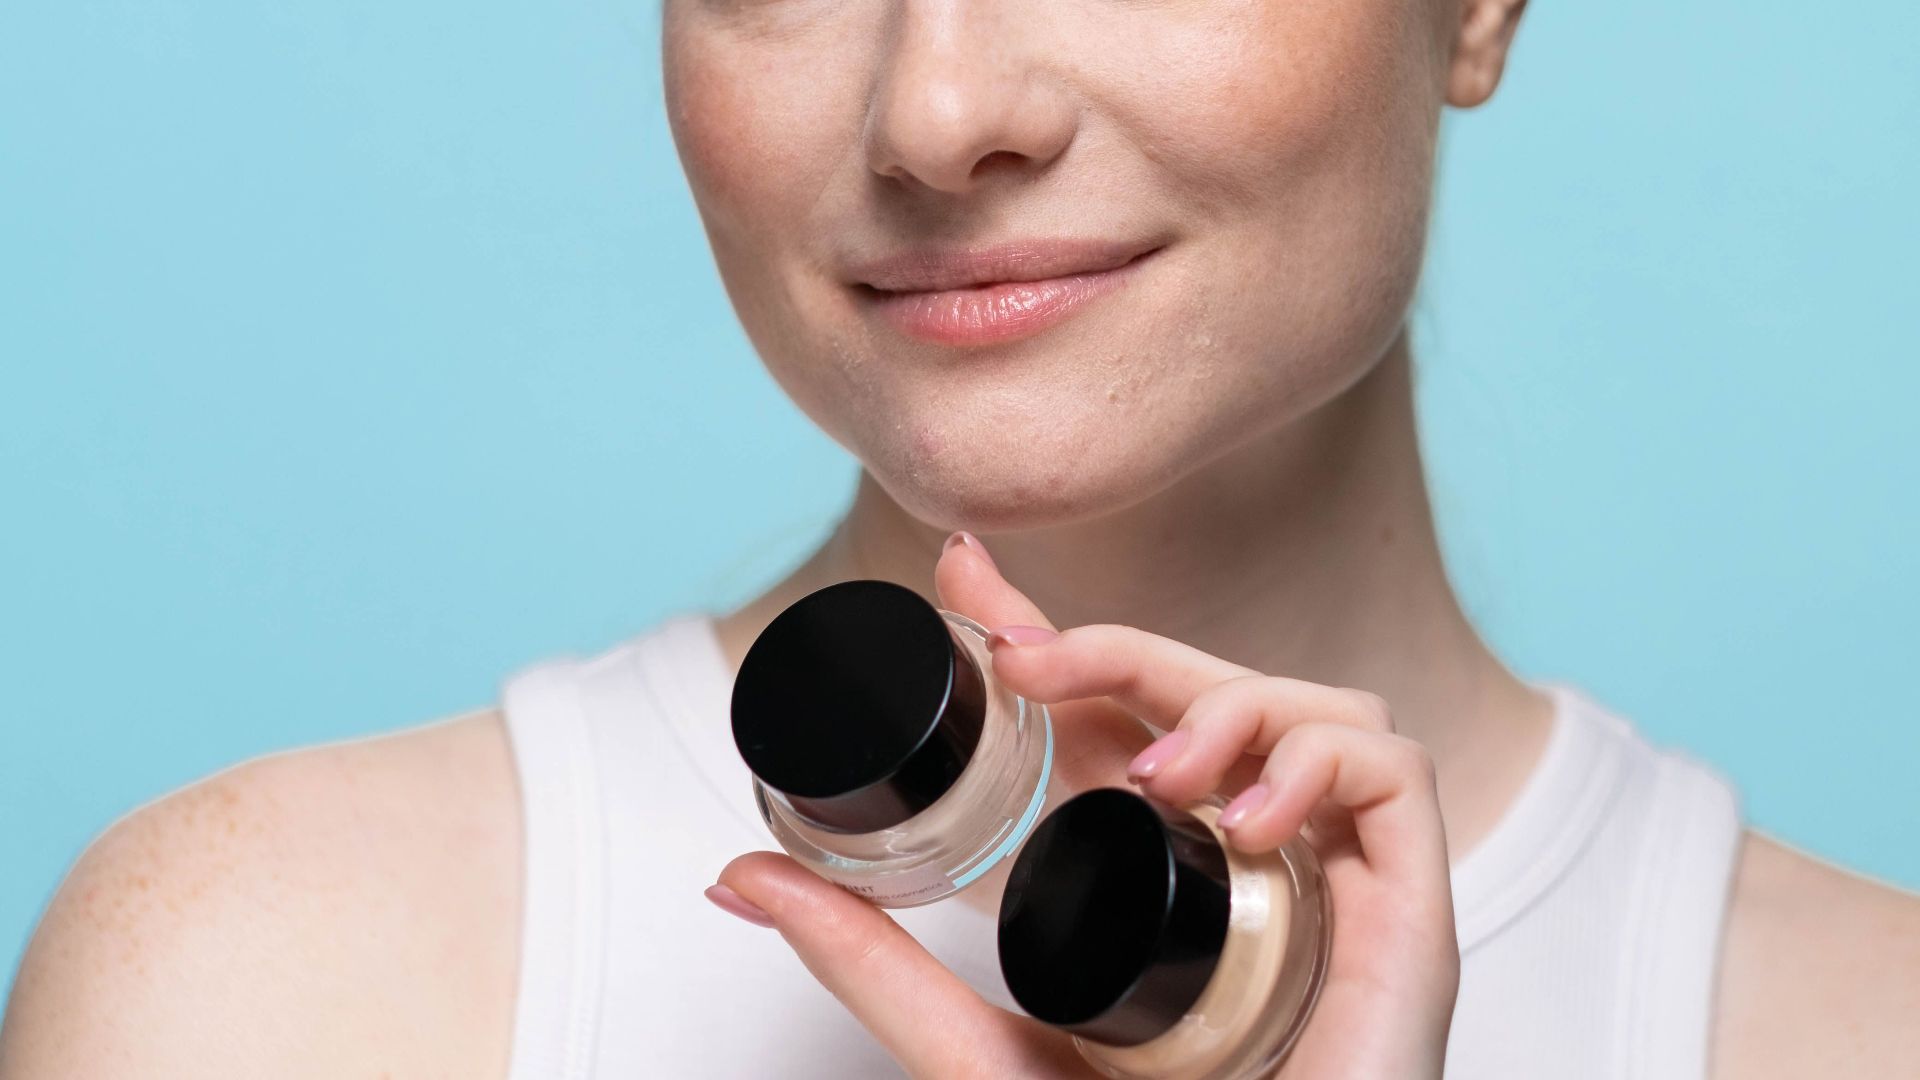
5. Drawing Eyebrows Beyond Their Natural Shape
Precisely constructed brows can photograph impressively because strong definition can be seen from afar. Extending the front, arch, or tail substantially beyond normal hair growth can be much more apparent up close.
6. Layering Shimmer Products
Highlighter, luminous primer, metallic shadow, and glossy complexion products can look attractive on their own, but combining several or all of them may create excessive reflection in everyday lighting.
7. Overlining the Lips
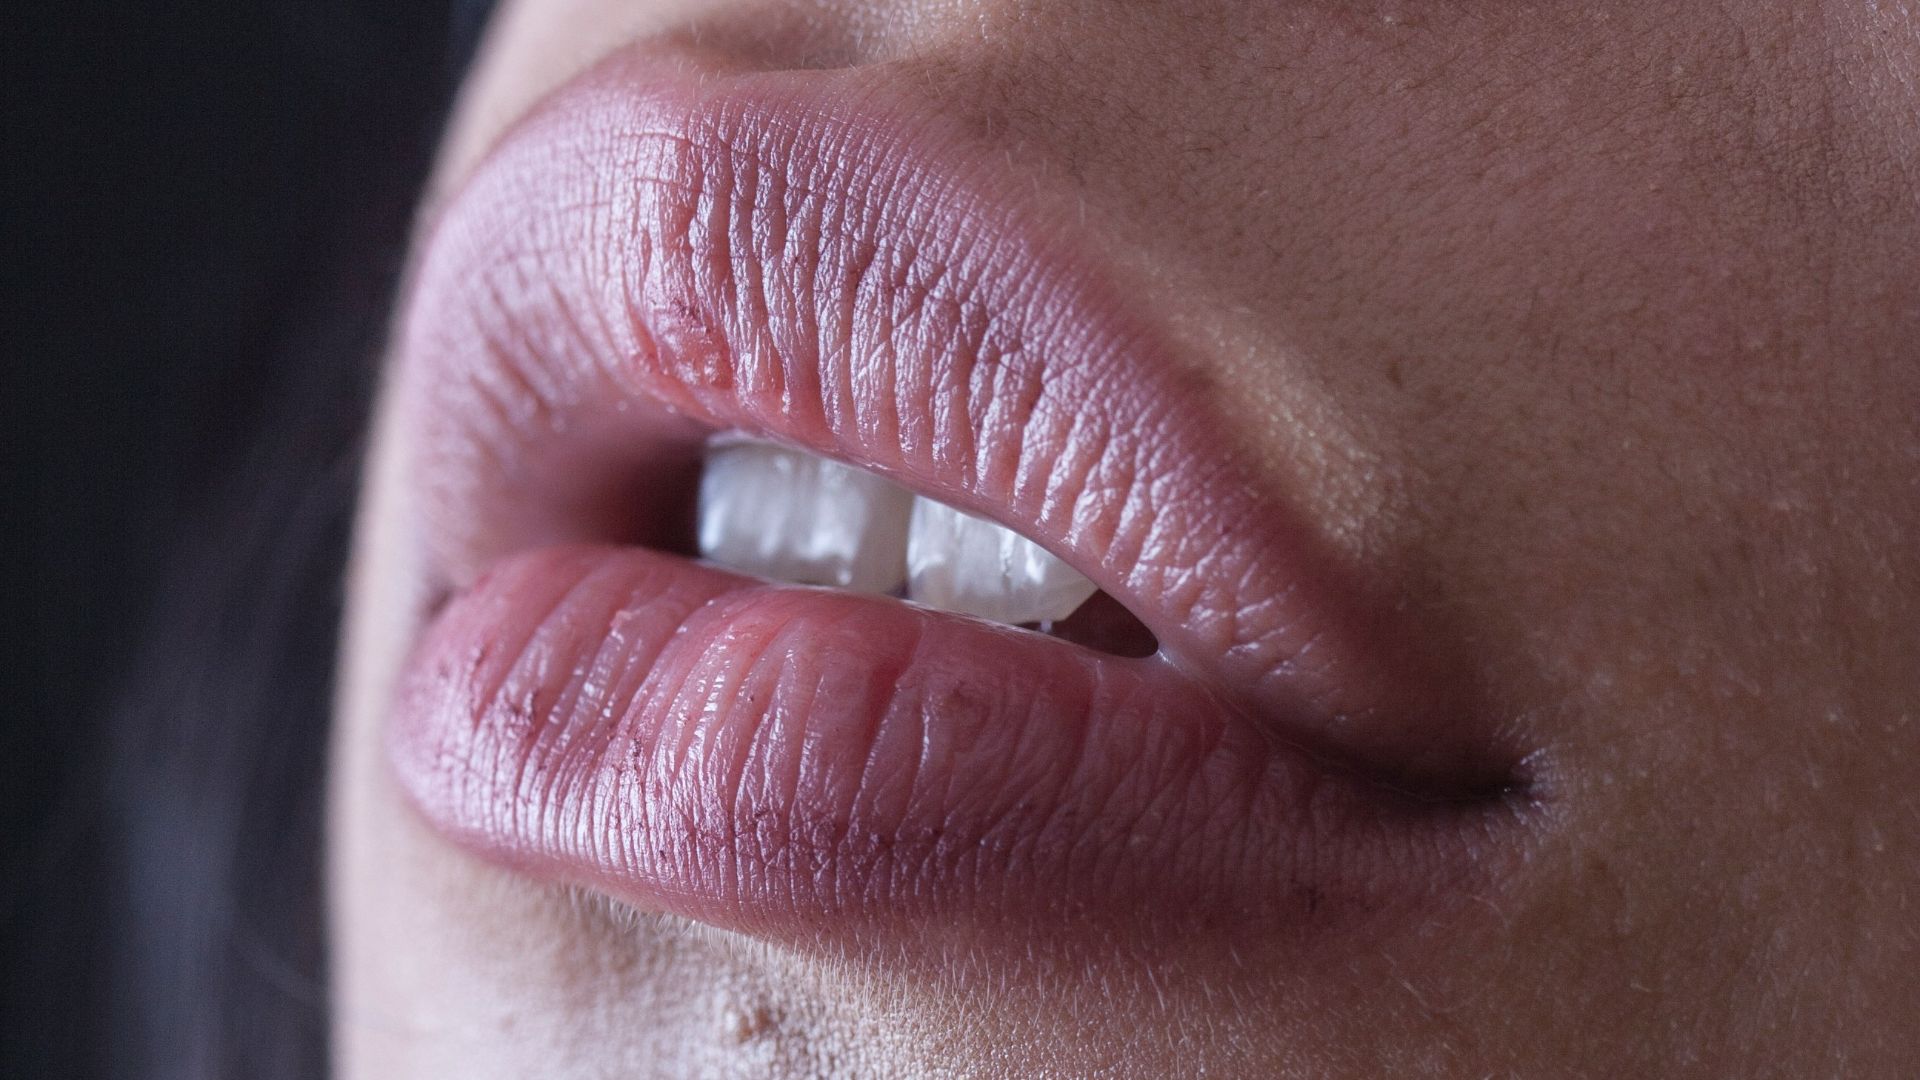
Slightly tracing beyond the natural lip edge can subtly adjust the appearance of shape and fullness. Taking the liner significantly farther outside the border becomes easier to detect in person, especially around the corners of the mouth.
8. Wearing Dense False Lashes
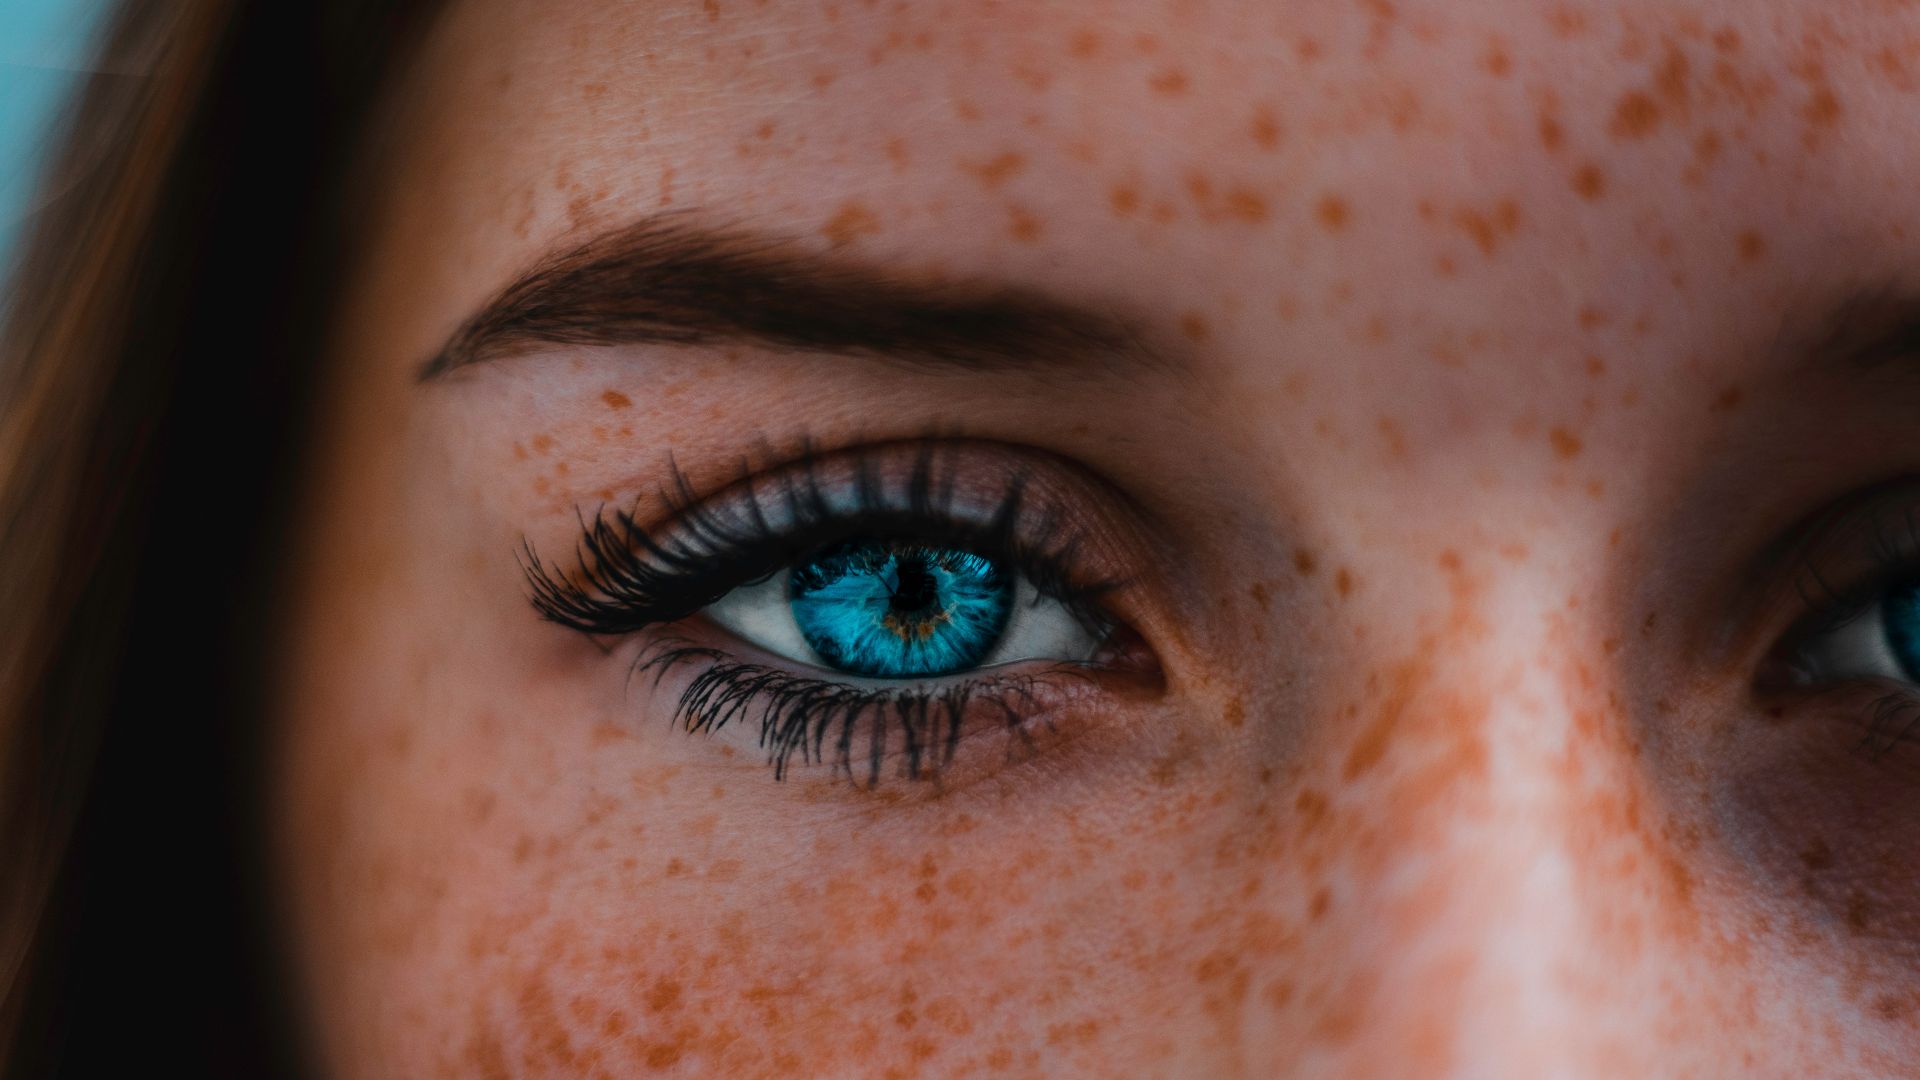
Thick false lashes can look beautiful in photographs where delicate lashes might otherwise disappear. In daylight or in conversation, very dense strips can look noticeably separate from the natural lash line and may cast shadows around the eyes.
9. Packing on Pale Setting Powder
Using a large amount of pale or translucent powder can leave the complexion looking unusually chalky even before a camera becomes involved. The effect may be noticeable if the shade doesn't disappear completely into your skin tone.
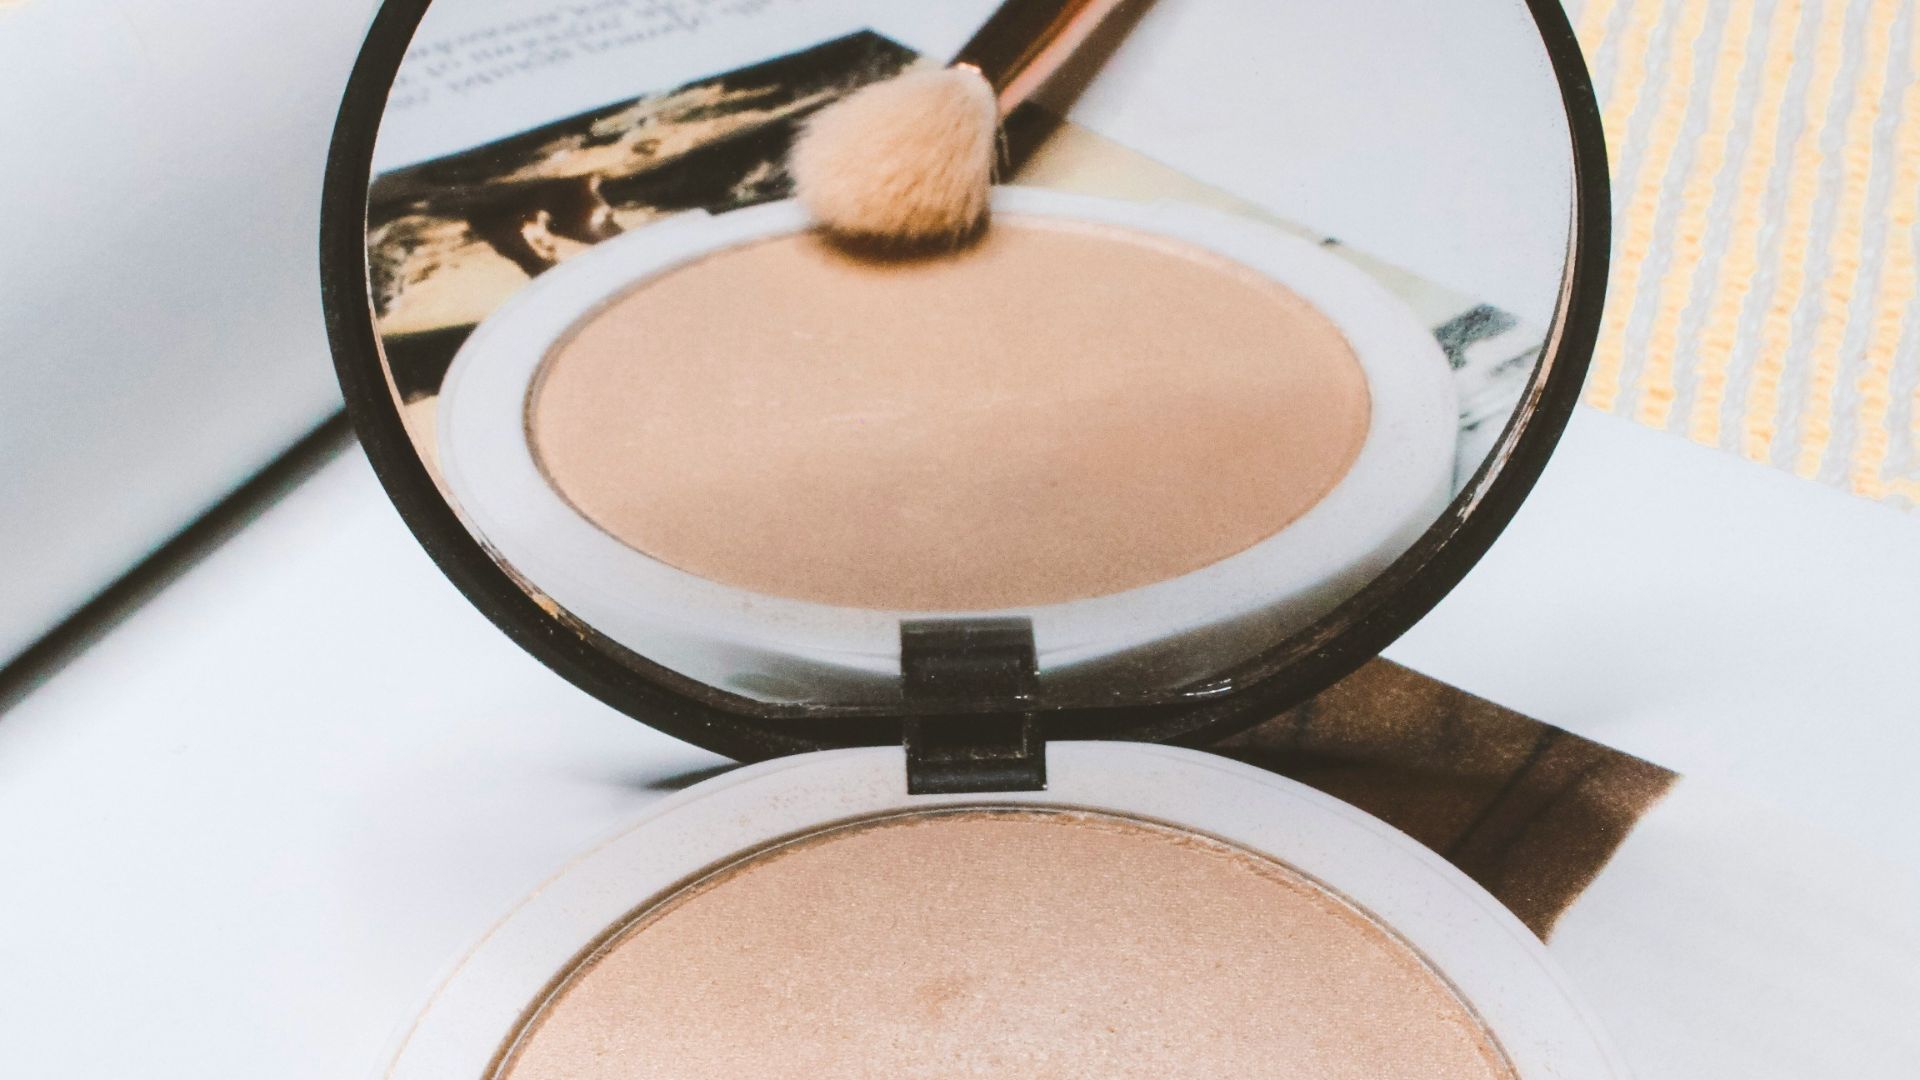 Joanna Żołnierkiewcz on Unsplash
10. Using Extremely Crisp Highlight and Contour
Highly precise placement can create striking facial structure for staged photographs, but real-life movement lets people see your makeup from constantly changing angles. Softer transitions usually hold up better when you're being seen from more than one fixed viewpoint.