
A Simple Routine That Makes Everything Look Better
Makeup can be fun to apply, but it’s also a lot easier when your routine has a dependable structure. From keeping your base smooth and clean to applying foundation in thin, even layers, the strategies you use will determine how long-lasting your look is. You don’t have to do a full face every day, but skipping the wrong ones is often what makes your application look uneven, fade early, or sit oddly on the skin. With that said, here are 20 makeup steps you should never skip.
1. Start With Clean Skin
Trust us: you’ll get a more even application when you begin with a freshly cleansed face. Removing leftover oil, sunscreen, and skincare residue helps products grip instead of just sliding around. If you’re in a rush, a gentle cleanser beats makeup wipes for a cleaner base.
 Karolina Grabowska www.kaboompics.com on Pexels
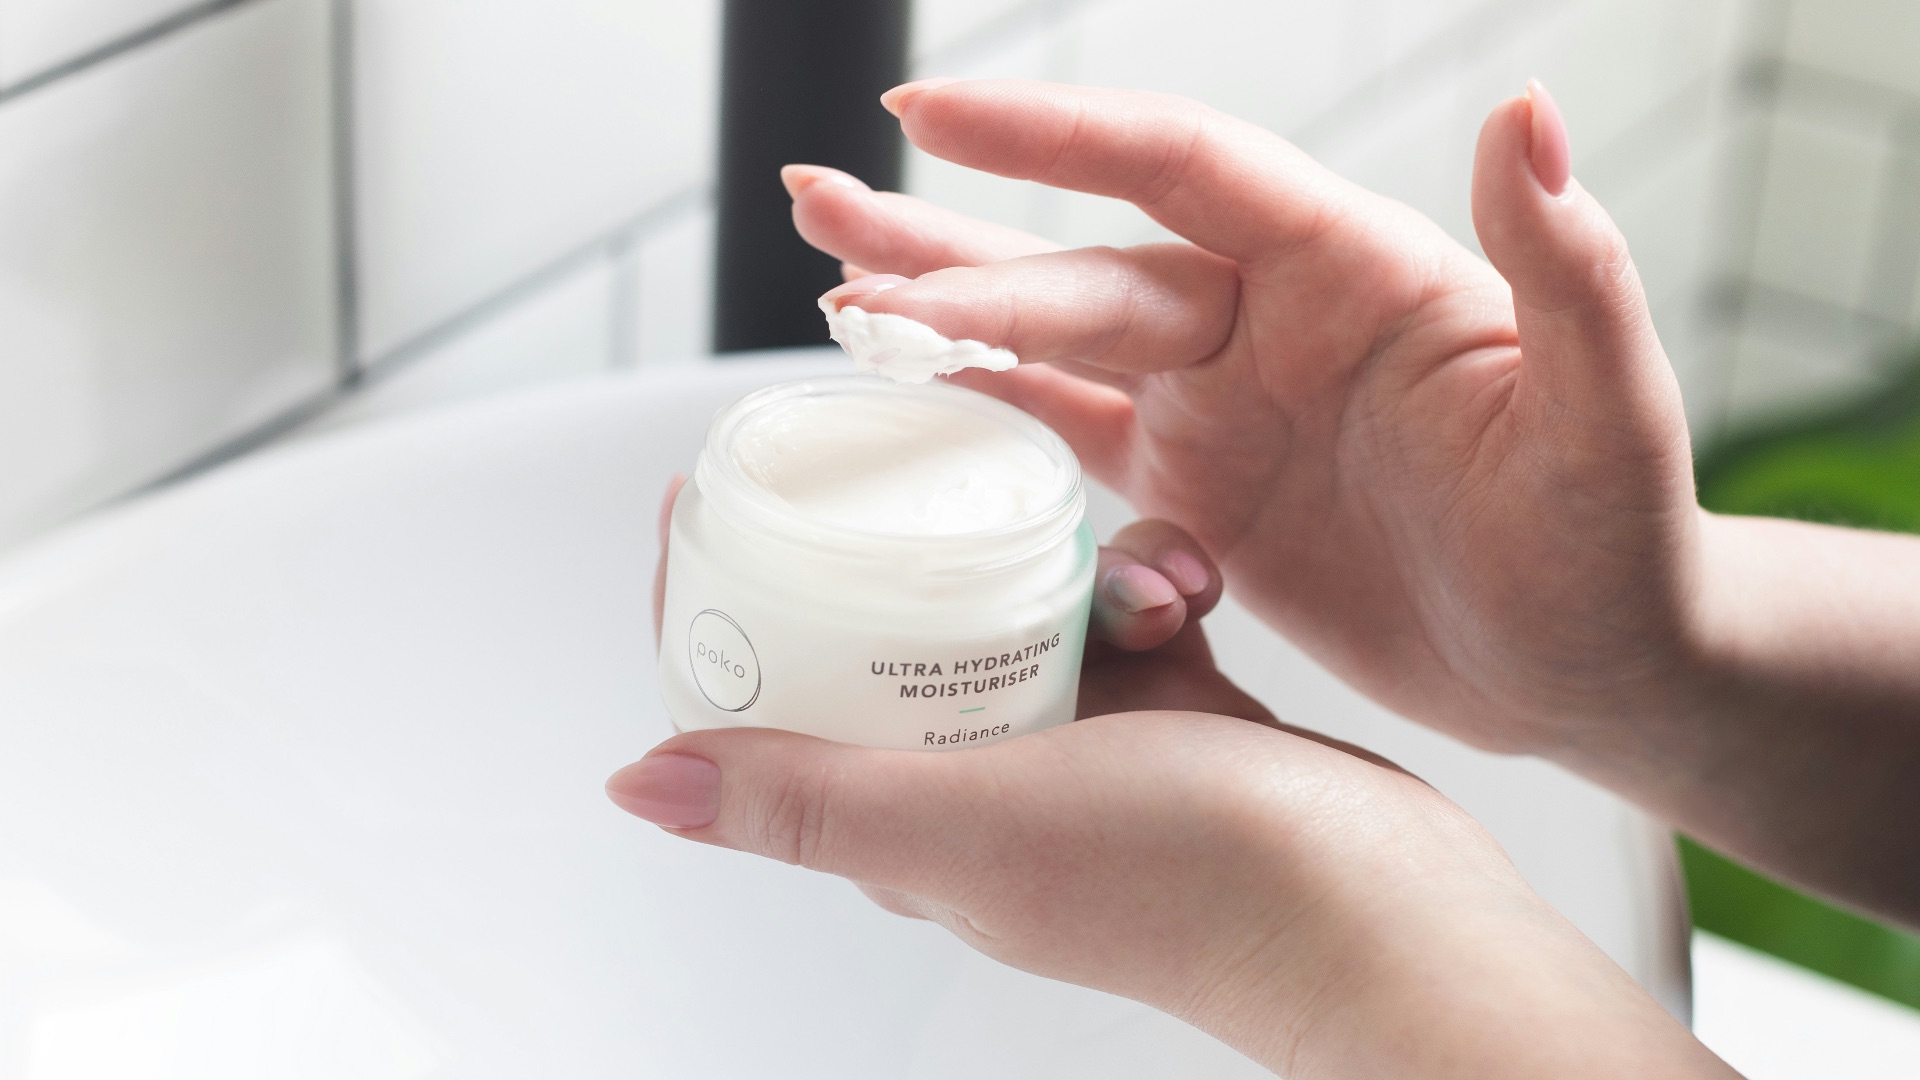
2. Apply a Hydrating Moisturizer
Moisturizer keeps makeup from catching on dry patches and makes blending much smoother and easier. Choose a formula that suits your skin type so you don’t feel greasy or tight later. Give it a minute to settle so your base products don’t end up pilling.
3. Use Sunscreen During the Day
Sunscreen matters even when you’re wearing foundation, because makeup doesn’t replace UV protection. Pick a broad-spectrum SPF that plays nicely with your base products and doesn’t leave a heavy cast. Remember to let it dry down fully before moving on so layers don’t shift.
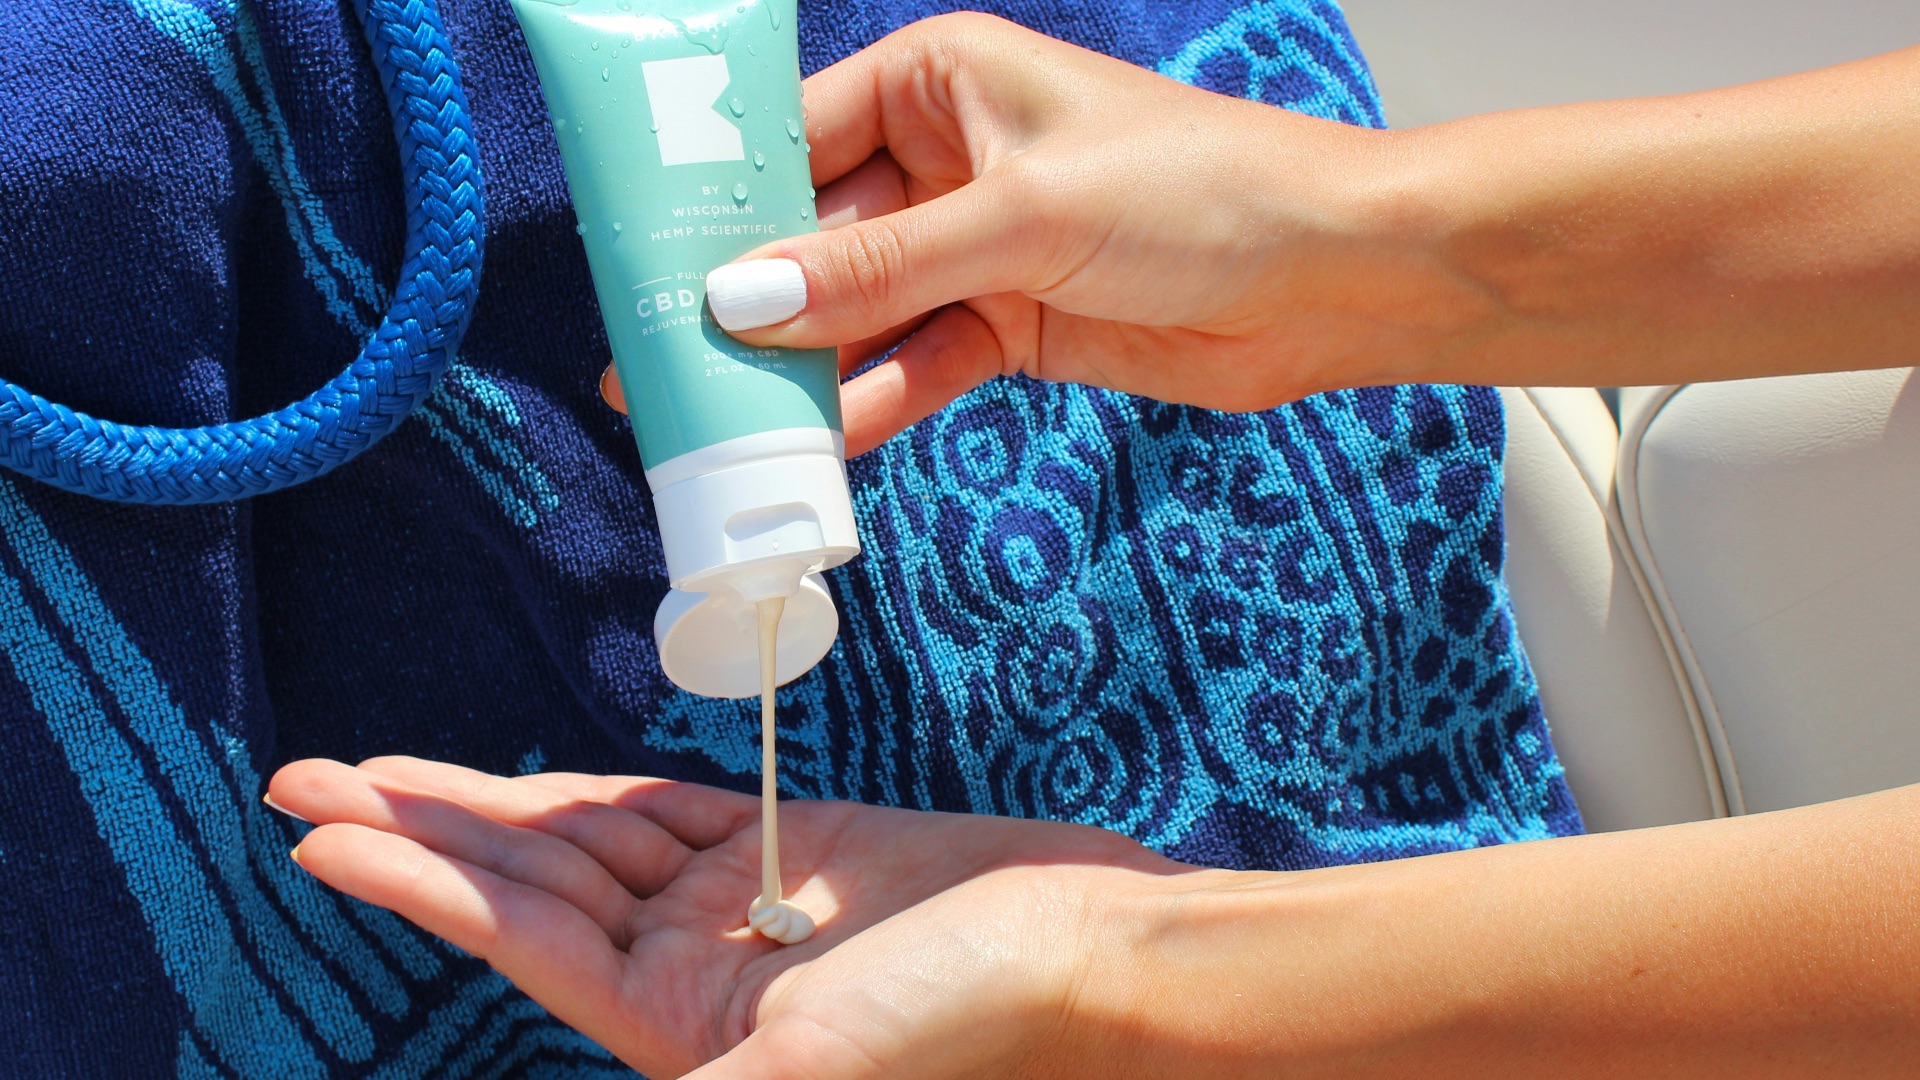 BATCH by Wisconsin Hemp Scientific on Unsplash
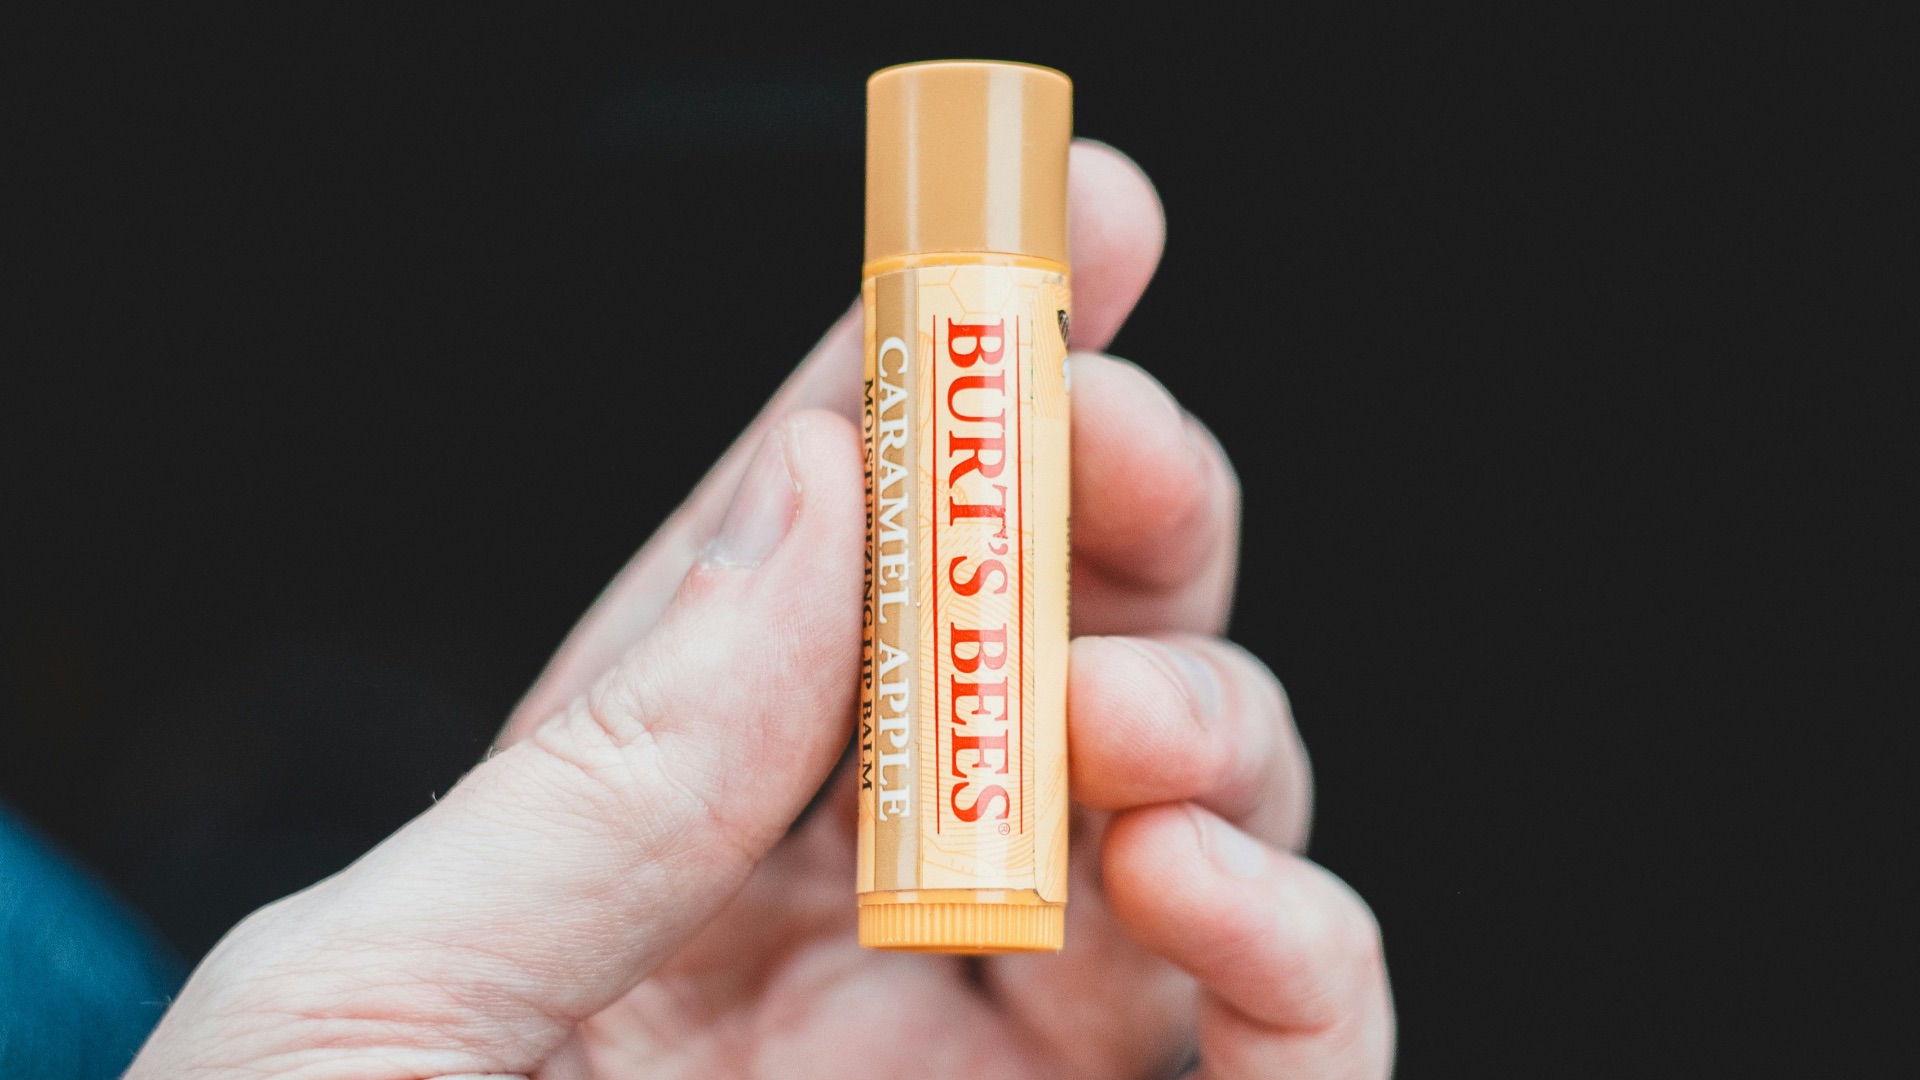
4. Don’t Skip Lip Balm
Prepping your lips early gives balm time to soften texture before you apply any color on top. It also helps lipstick look smoother and keeps stains from clinging to dry spots, which no one wants. Wipe off excess right before lip color so it doesn’t make things slide.
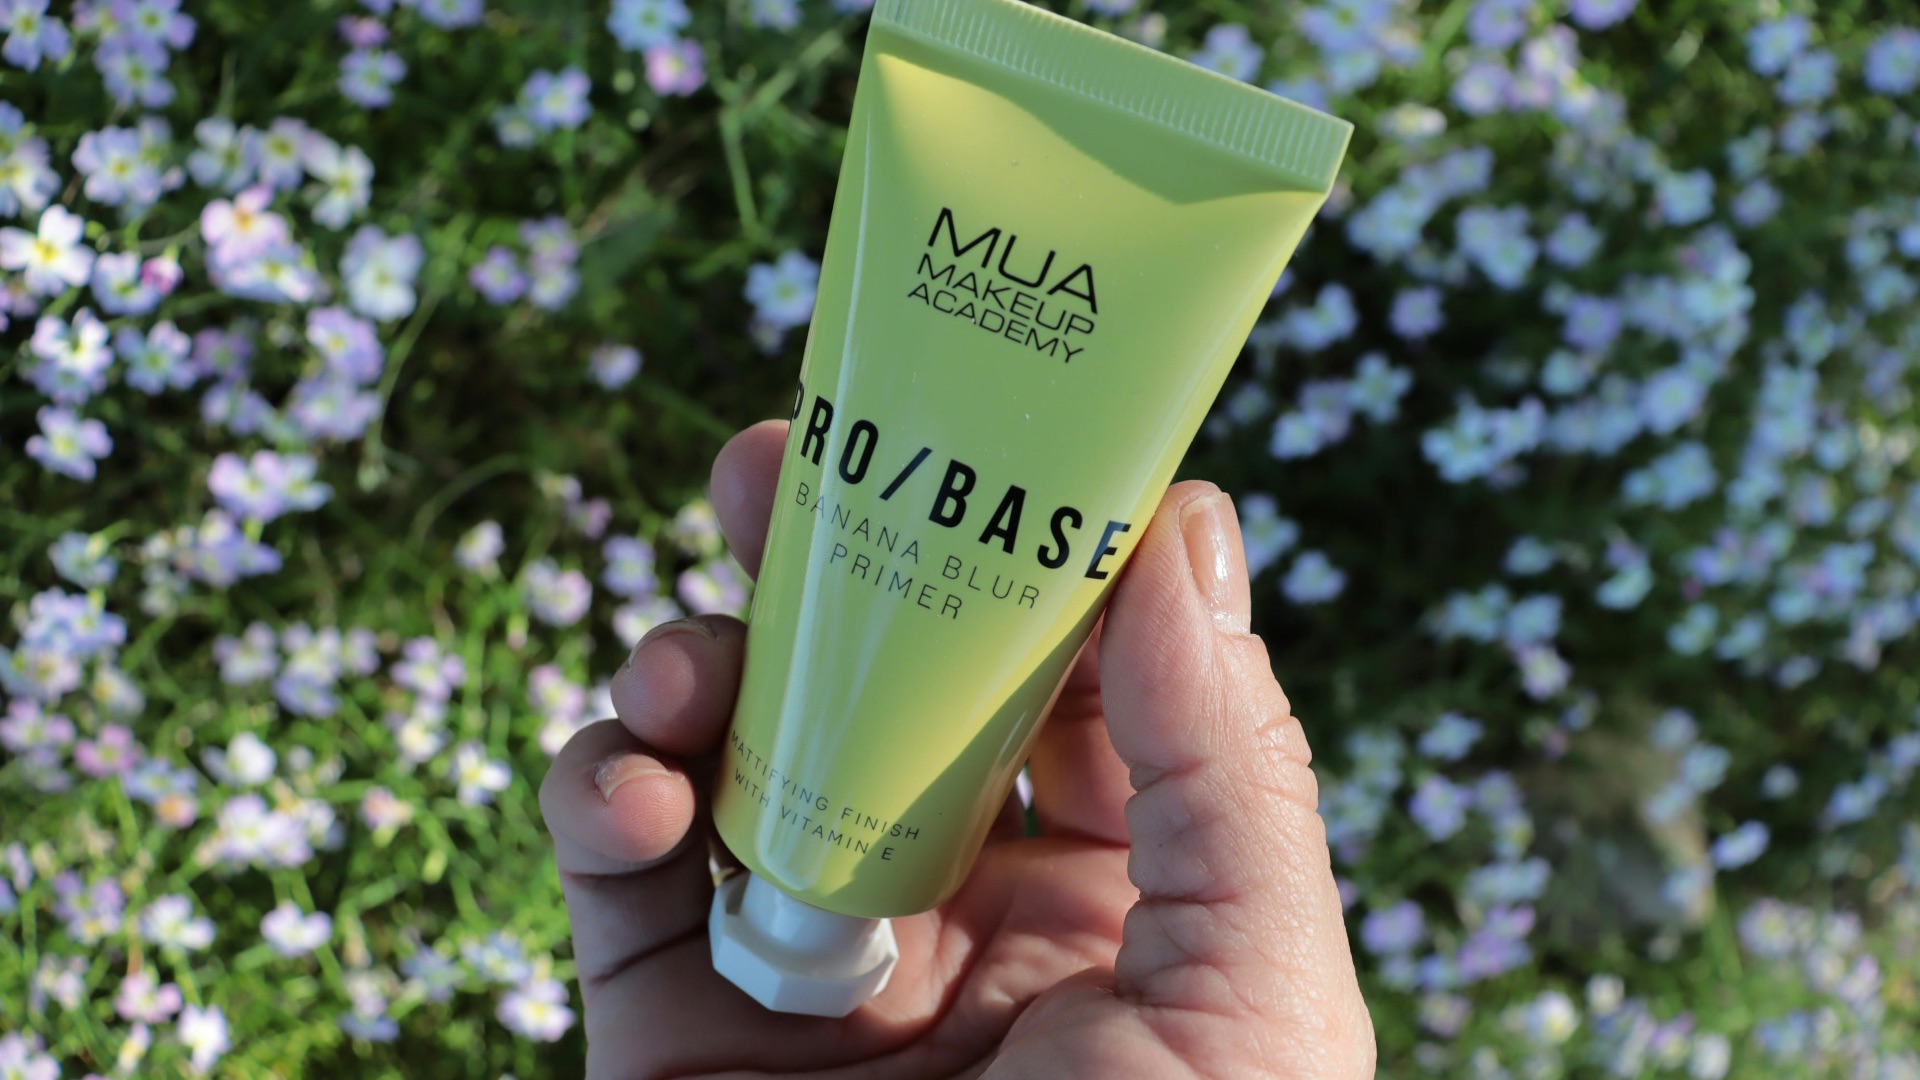
5. Add Primer Where You Actually Need It
Primer isn’t one-size-fits-all, so place it based on your concerns. Use pore-blurring formulas where you get texture and gripping primers where makeup fades fast. Keeping it targeted prevents buildup and helps your foundation look and feel more natural.
6. Color Correct with Intention
Color corrector works best when you use the smallest amount so it doesn't end up caking. Apply it only on areas that truly need it, like under-eye darkness or redness around the nose and blemishes. Let it set briefly so it won’t mix into your concealer and turn muddy.
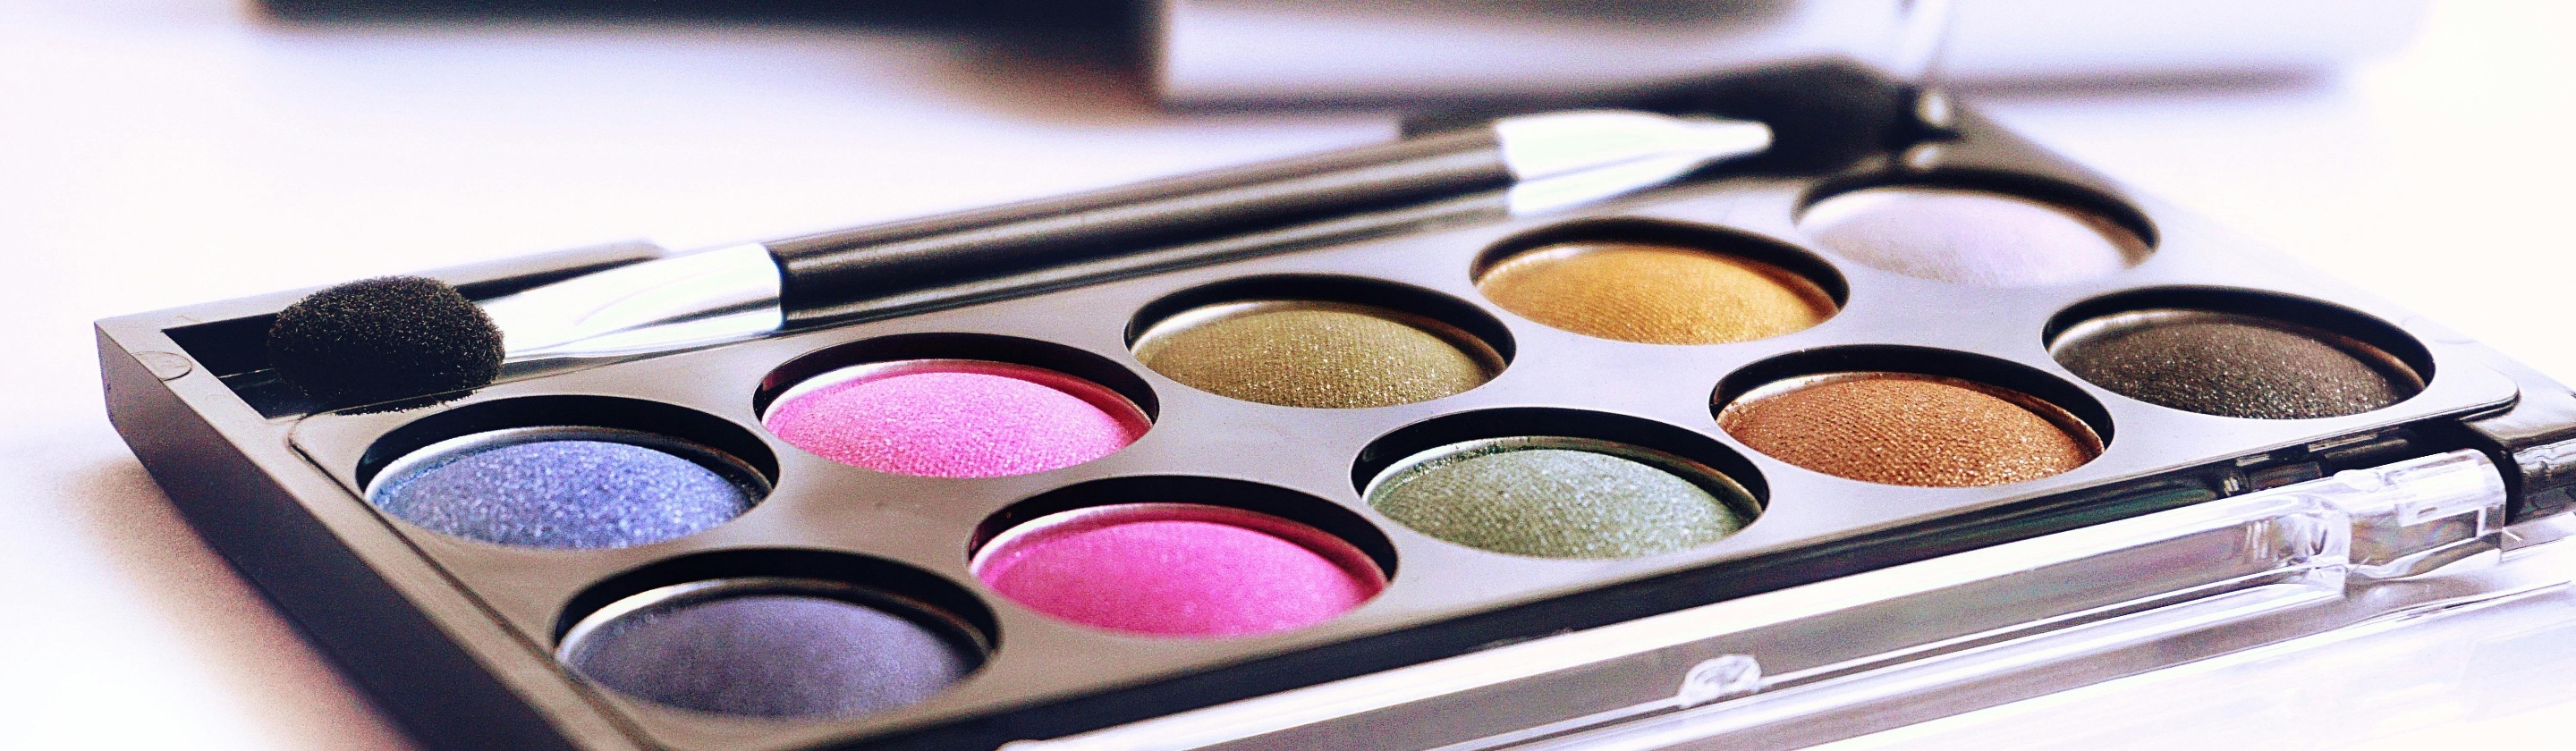
7. Choose the Right Foundation Finish
Picking a finish that matches your skin’s needs saves you from overpowdering or adding too much glow later. Matte can control shine, while radiant or dewy finishes can soften the look of dryness and give you that natural shine. Test it in sunlight when you can, because indoor lighting can be misleading.
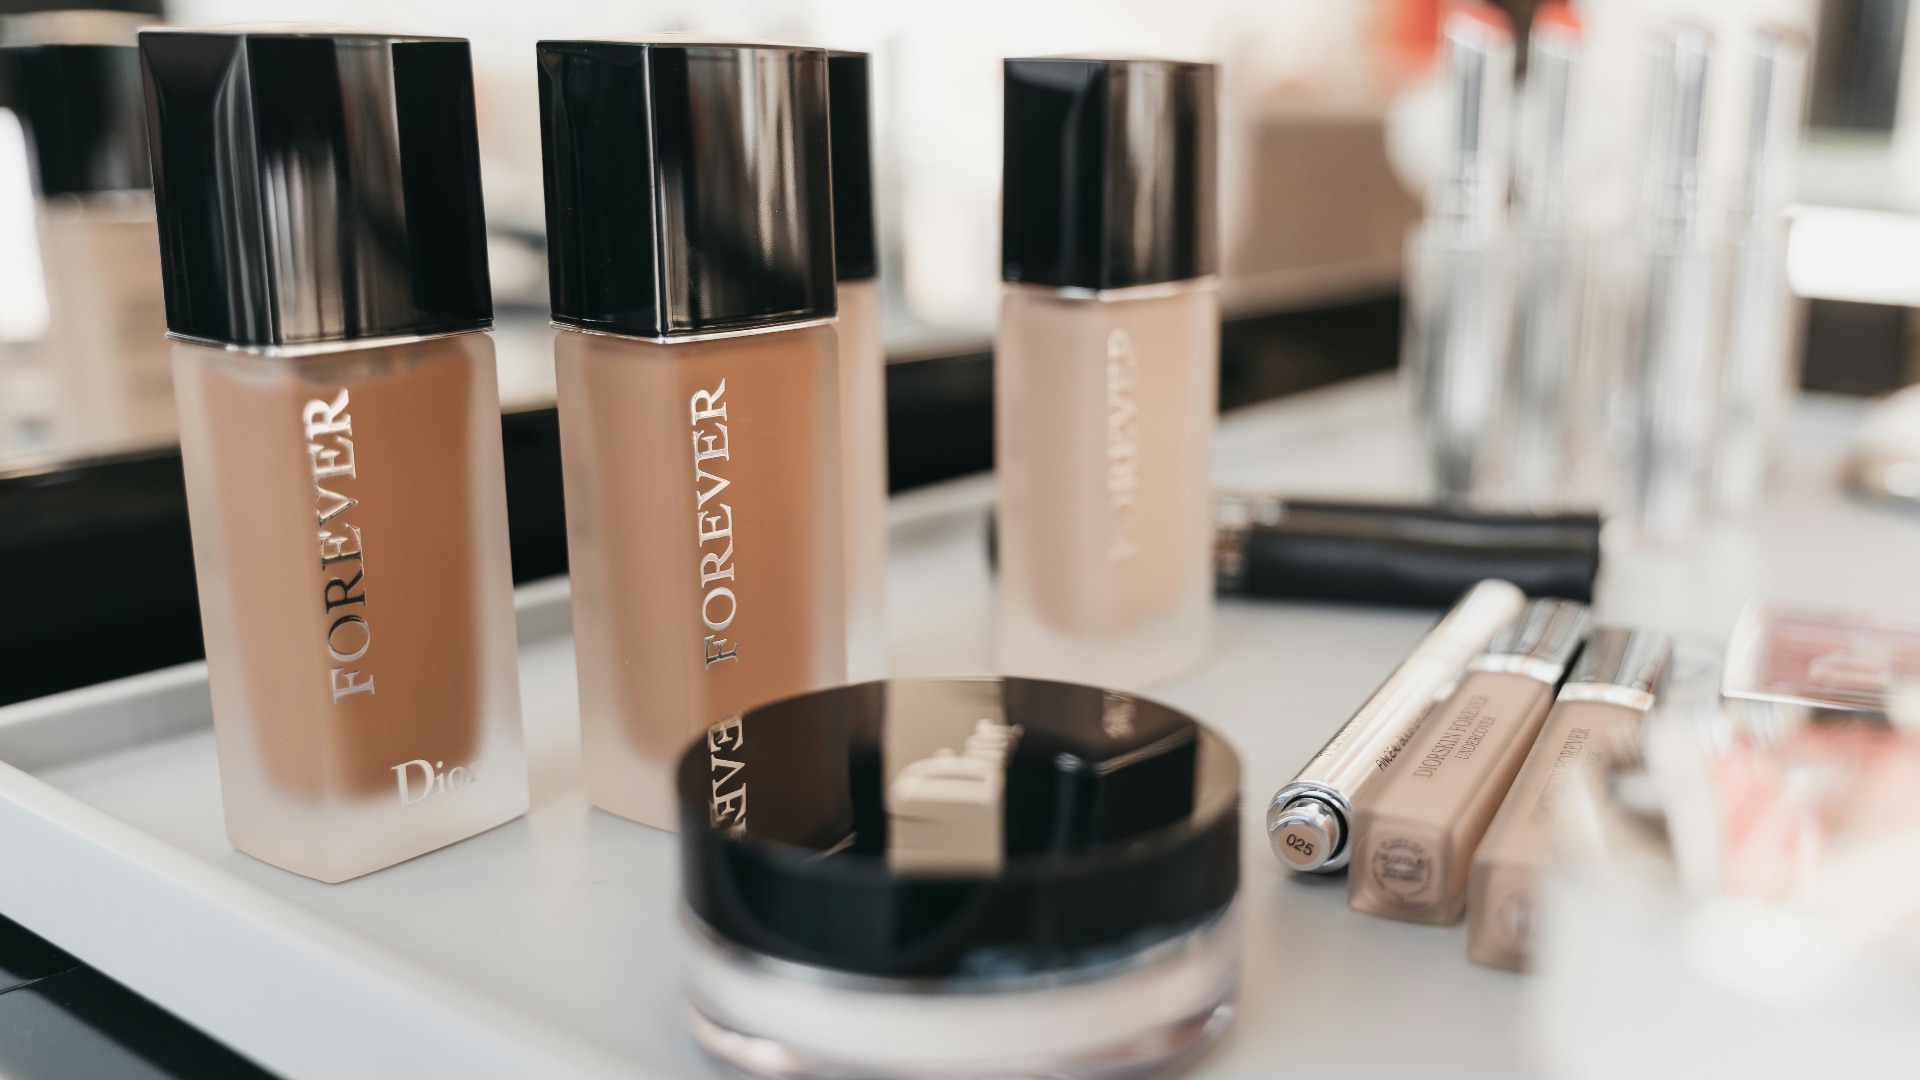
8. Match Your Shade in Natural Light
Foundation that looks perfect indoors can look off when you head outside, especially around the jawline. Check your match along the jaw and blend down the neck to ensure there's a smooth transition. If you’re between shades, adjust with a tiny bit of mixer rather than forcing the wrong color.
 Karolina Grabowska www.kaboompics.com on Pexels
9. Apply Foundation in Thin Layers
Don't rub a handful of foundation onto your face, no matter what the trending TikToks suggest. A lighter first layer gives you room to build coverage only where you want it. Thin layers move less, crease less, and usually look more like skin. Work outward from the center of the face so you don’t overload the perimeter.
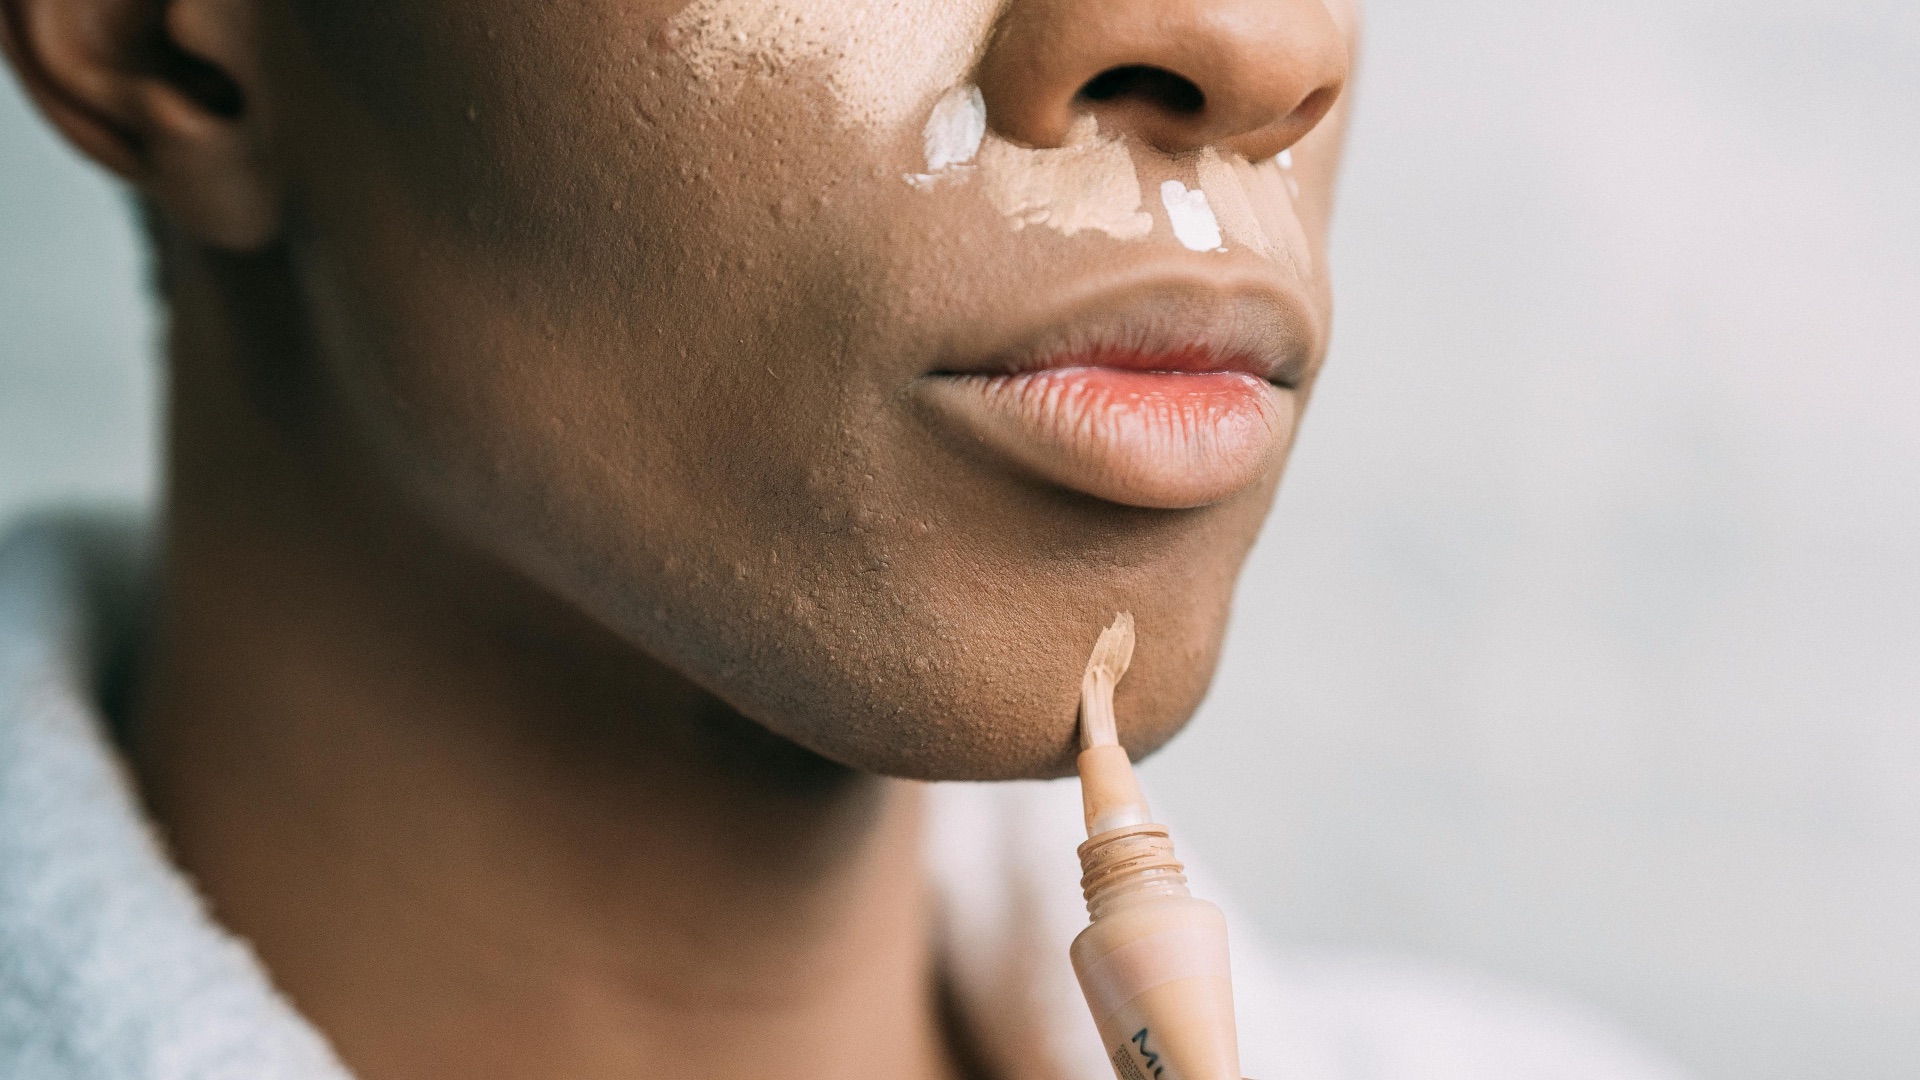
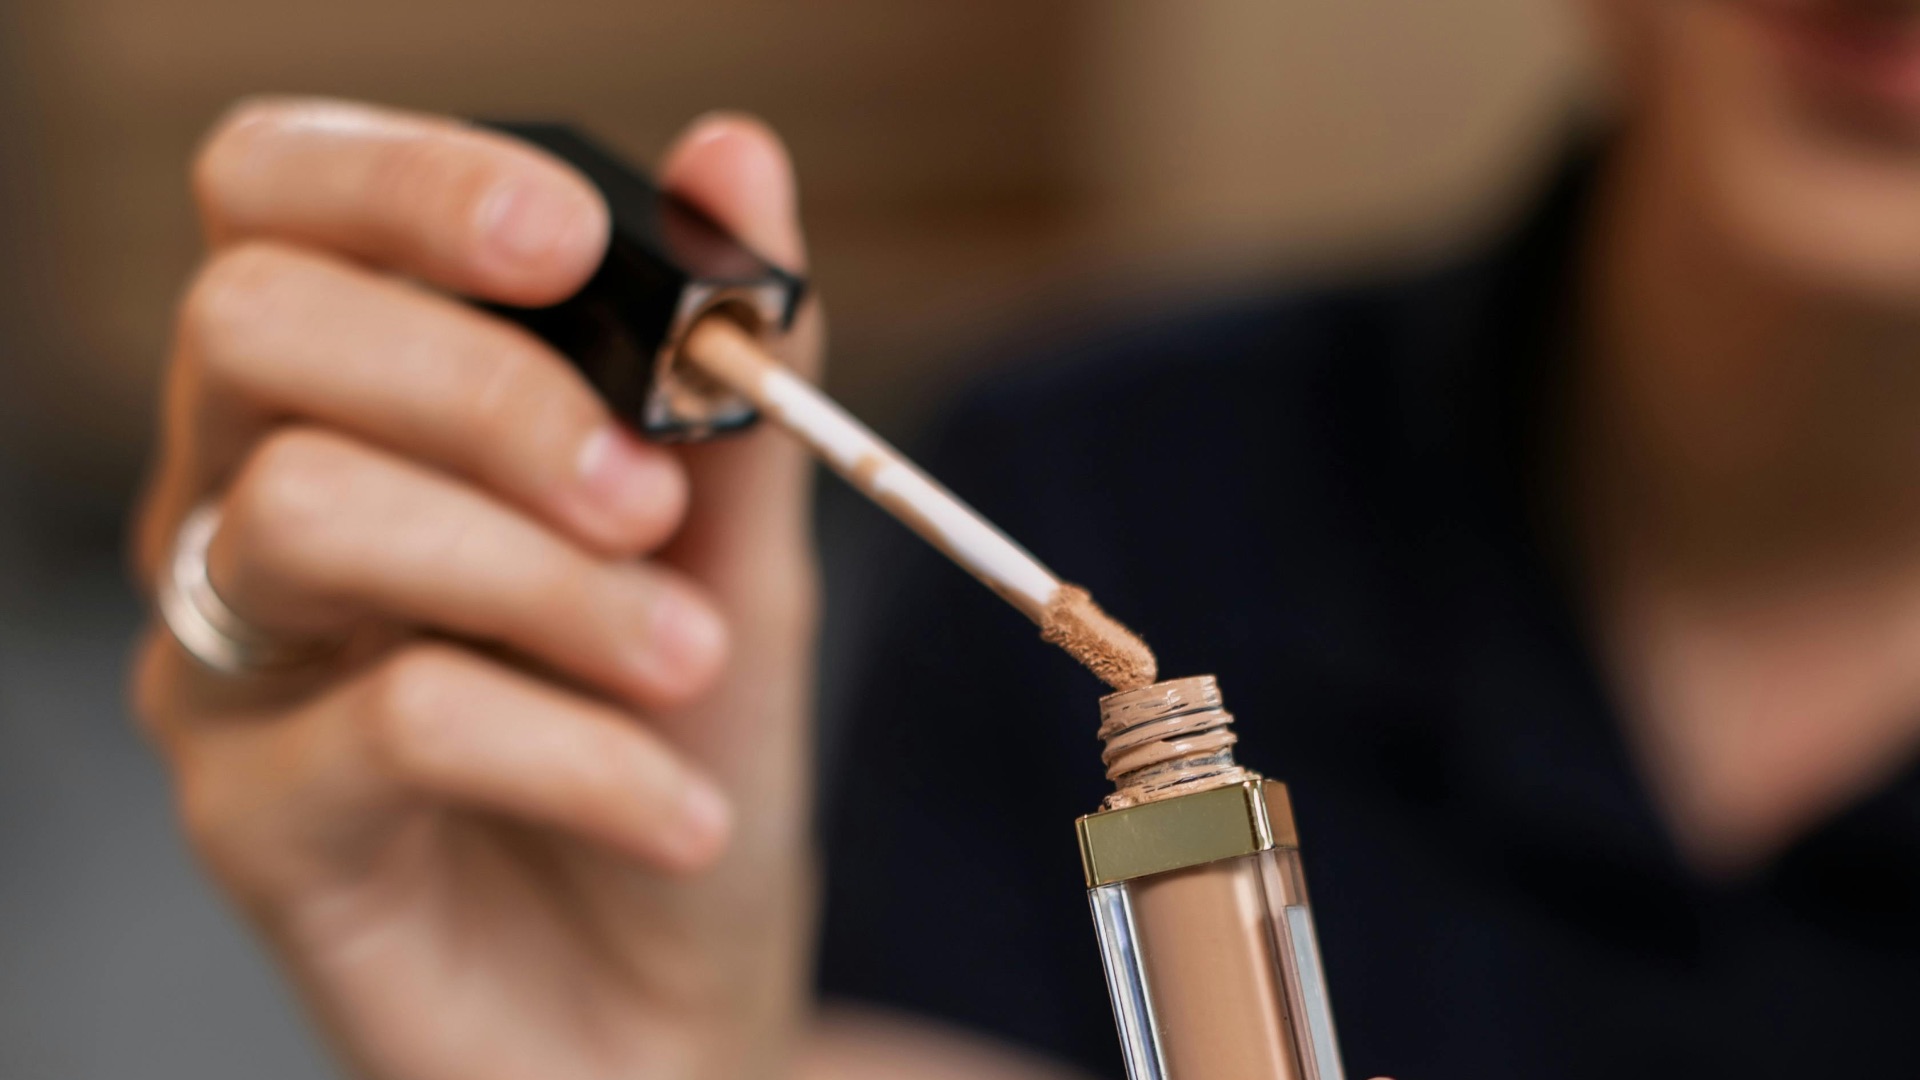
10. Conceal Strategically, Not Everywhere
Concealer looks best when it’s used to refine, not to blanket the face. Place it under the eyes, around the nose, and on spots that still peek through after foundation. Then blend the edges carefully so it melts into the base without leaving bright patches.
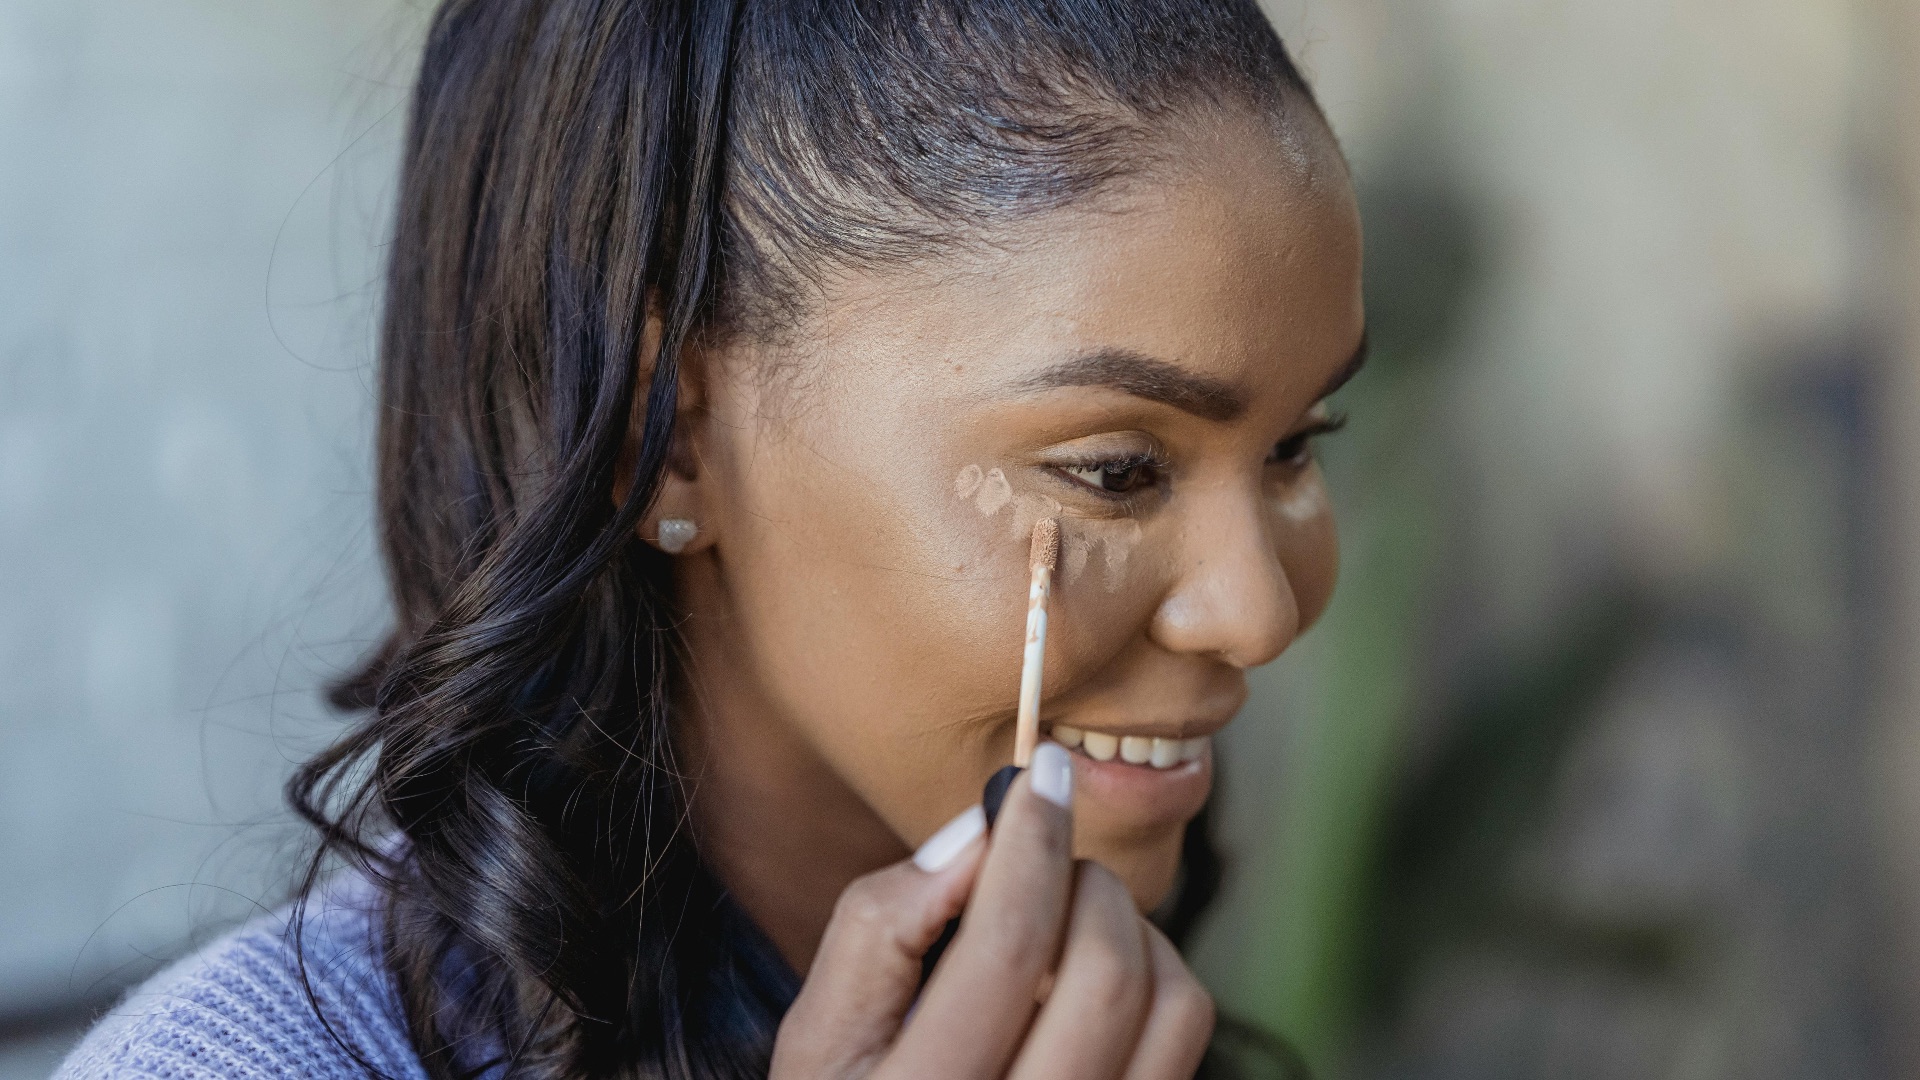
11. Set Under-Eye Concealer Carefully
Under-eye product loves to crease, so a small amount of powder is your friend. Use a finely milled one and press it in lightly where you crease most. Too much powder, on the other hand, can emphasize texture, so keep a light hand.
12. Lock the Base with a Light Powder Set
Even if you like a dewy look, setting key areas helps your base last longer. Focus on the T-zone, sides of the nose, and anywhere foundation tends to crease or break apart. Use a fluffy brush or puff depending on how much control you need.
 Karolina Grabowska www.kaboompics.com on Pexels
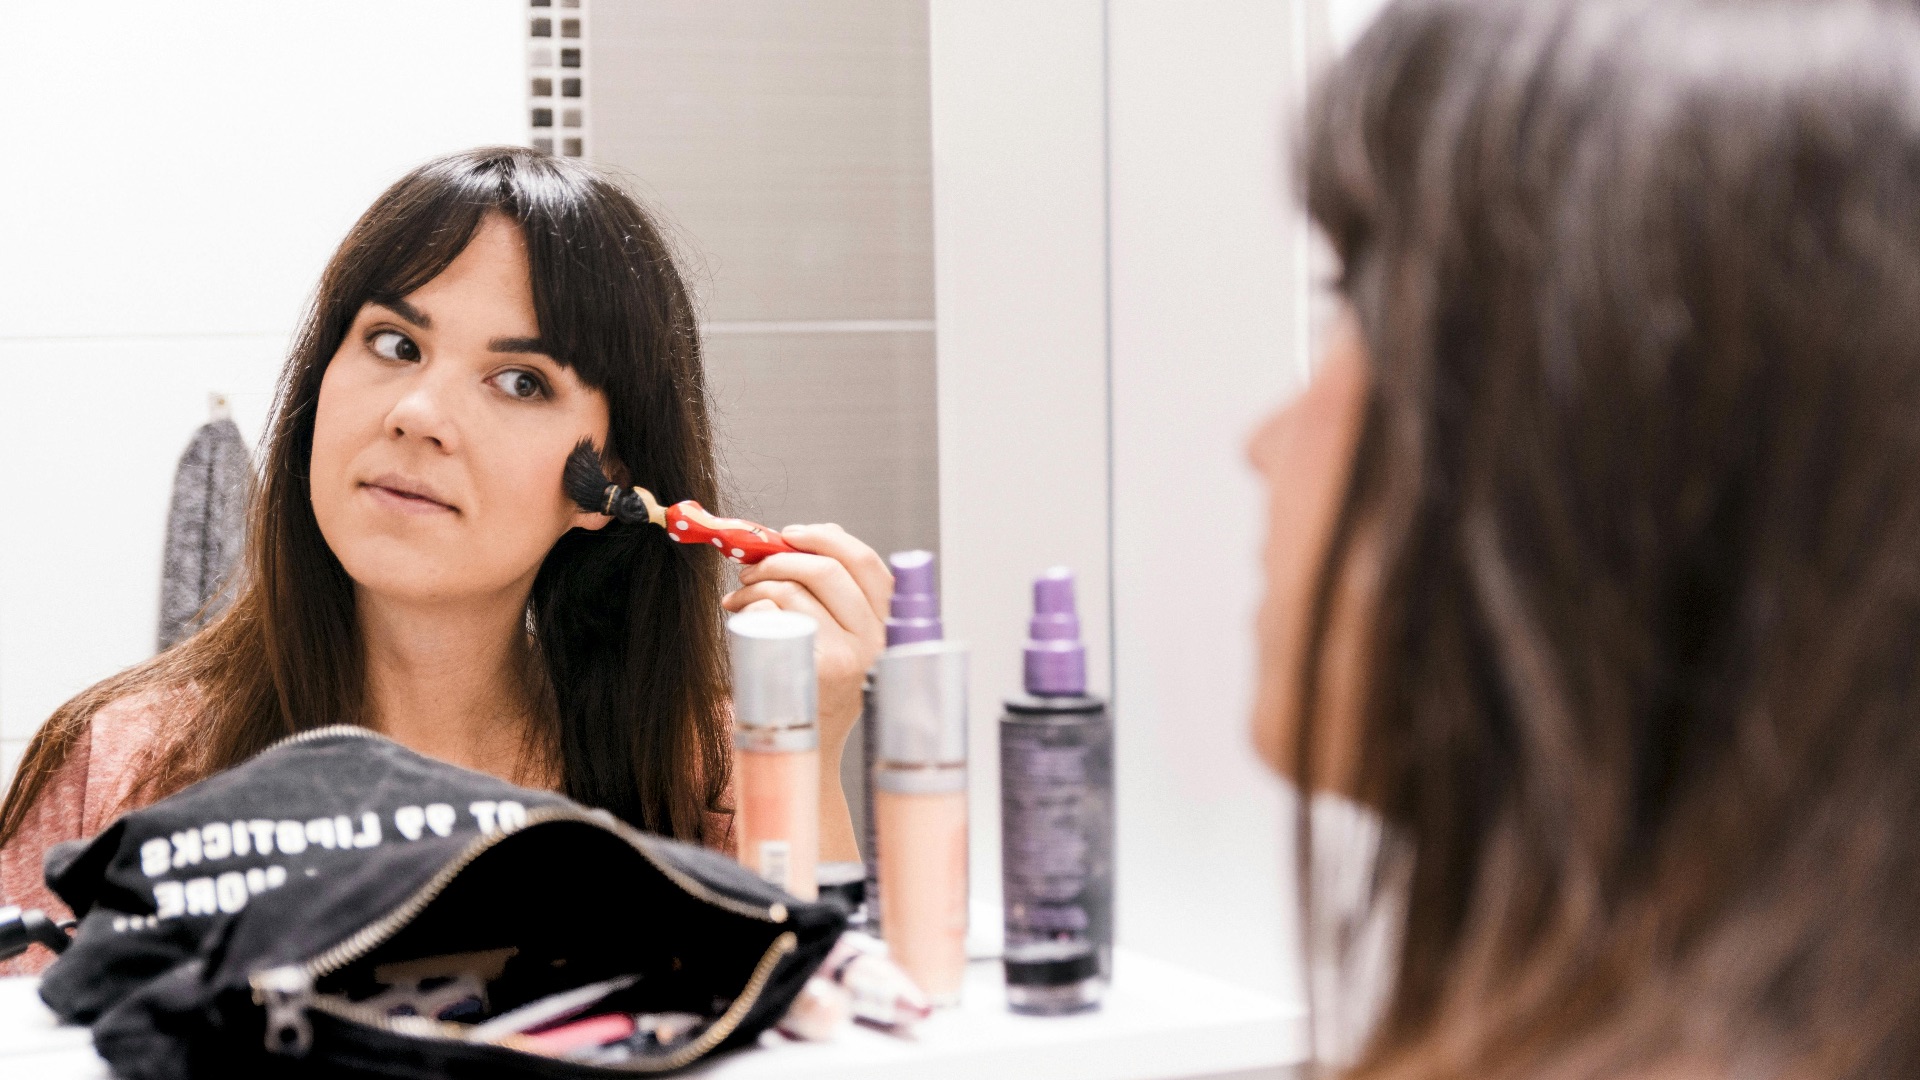
13. Warm Up the Face with Bronzer
Bronzer brings warmth and balance back after foundation evens everything out. Apply it where the sun naturally hits, like the forehead perimeter and along the cheeks. Blend well so it looks smooth rather than striped, or you might end up with some odd looks.
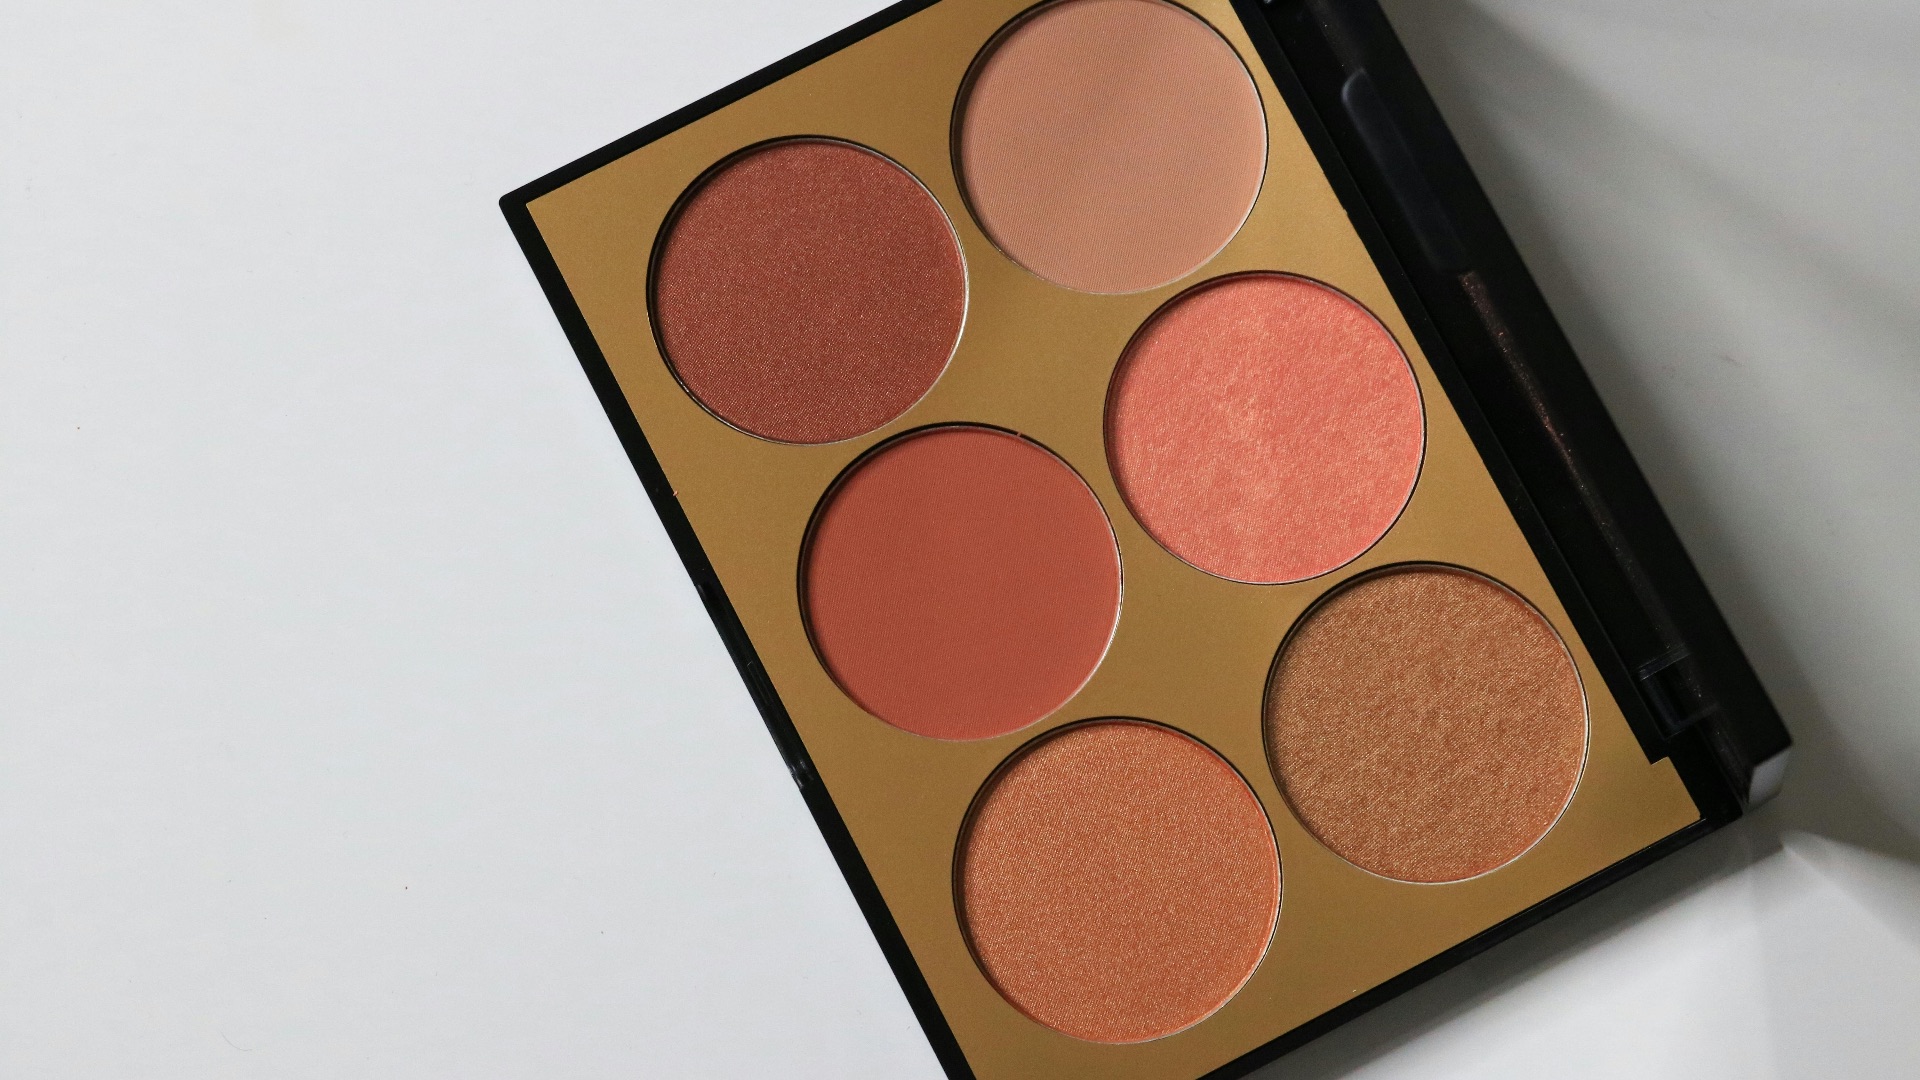
14. Add Blush for a Healthy, Polished Look
Blush makes the face look more alive, even when the rest of your makeup is minimal. Place it based on the effect you want, along the upper cheekbone for a lifted look or dabbed across the apples for a softer look. Tap and blend gradually so it stays seamless.

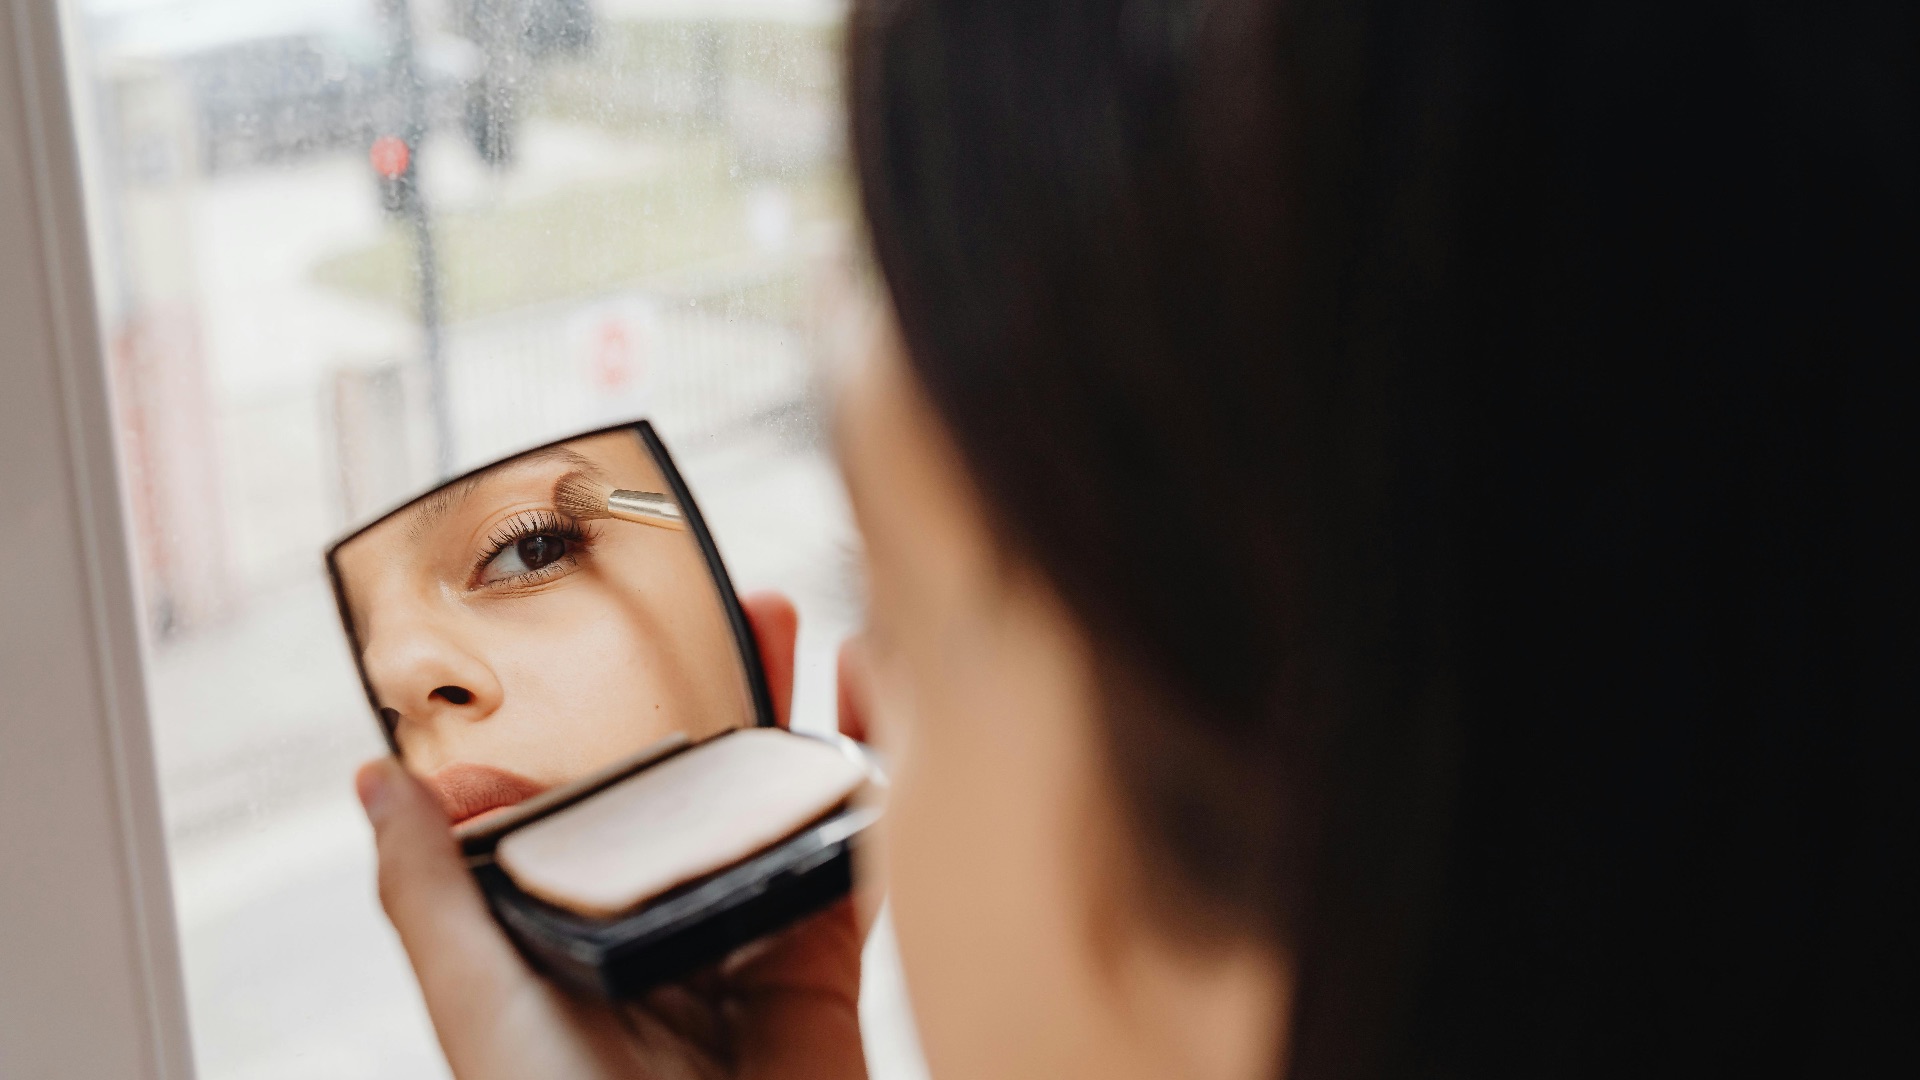
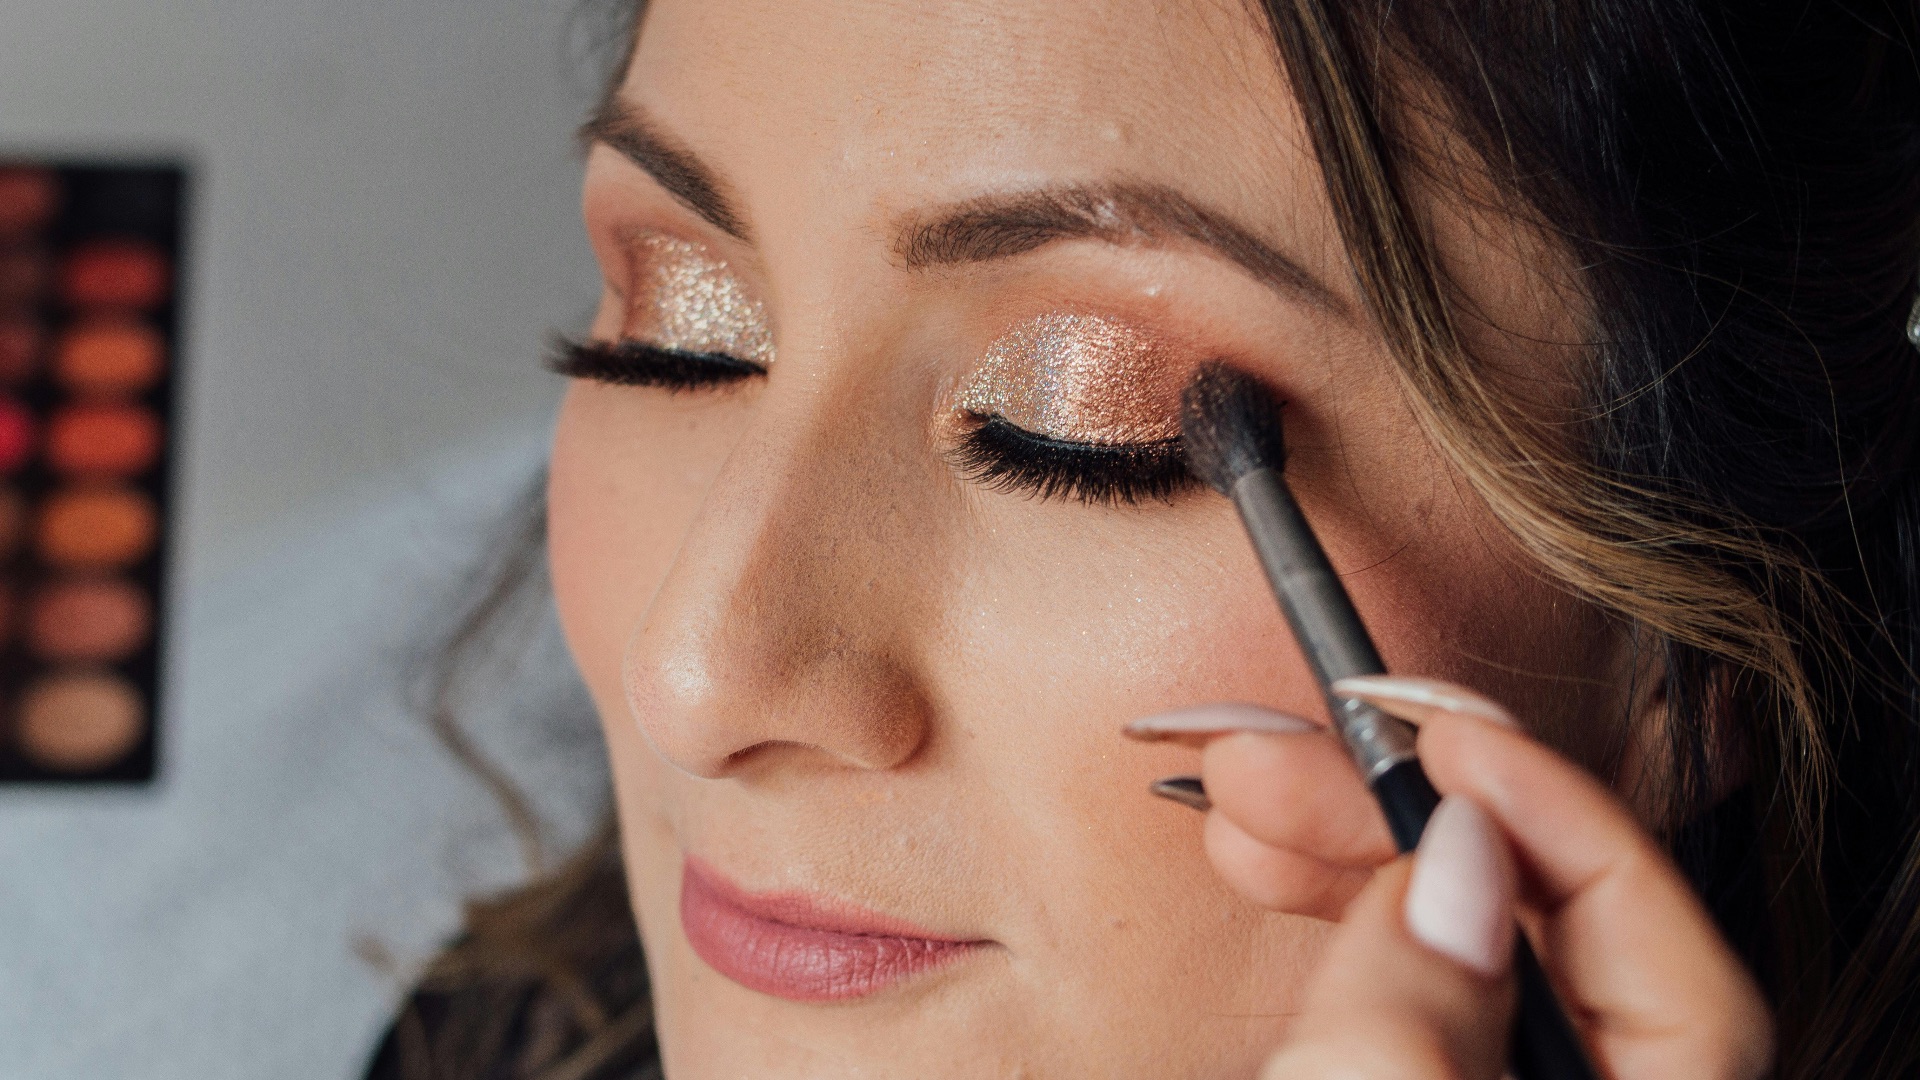
15. Use Highlighter with a Light Hand
No one can turn down a dewy glow! Highlighter can bring some shine back in when placed on the high points of your face. Keep it on areas like the tops of the cheekbones and the bridge of the nose where light naturally hits. Avoid going too heavy-handed or applying on textured spots if you don’t want emphasis.

16. Brush and Shape Your Brows
It's true: brows frame your face, so even a small amount of grooming changes your whole look. Brush hairs into place and fill gaps with short, realistic strokes. Make sure to set them with gel so they stay put and don’t lose shape by midday.
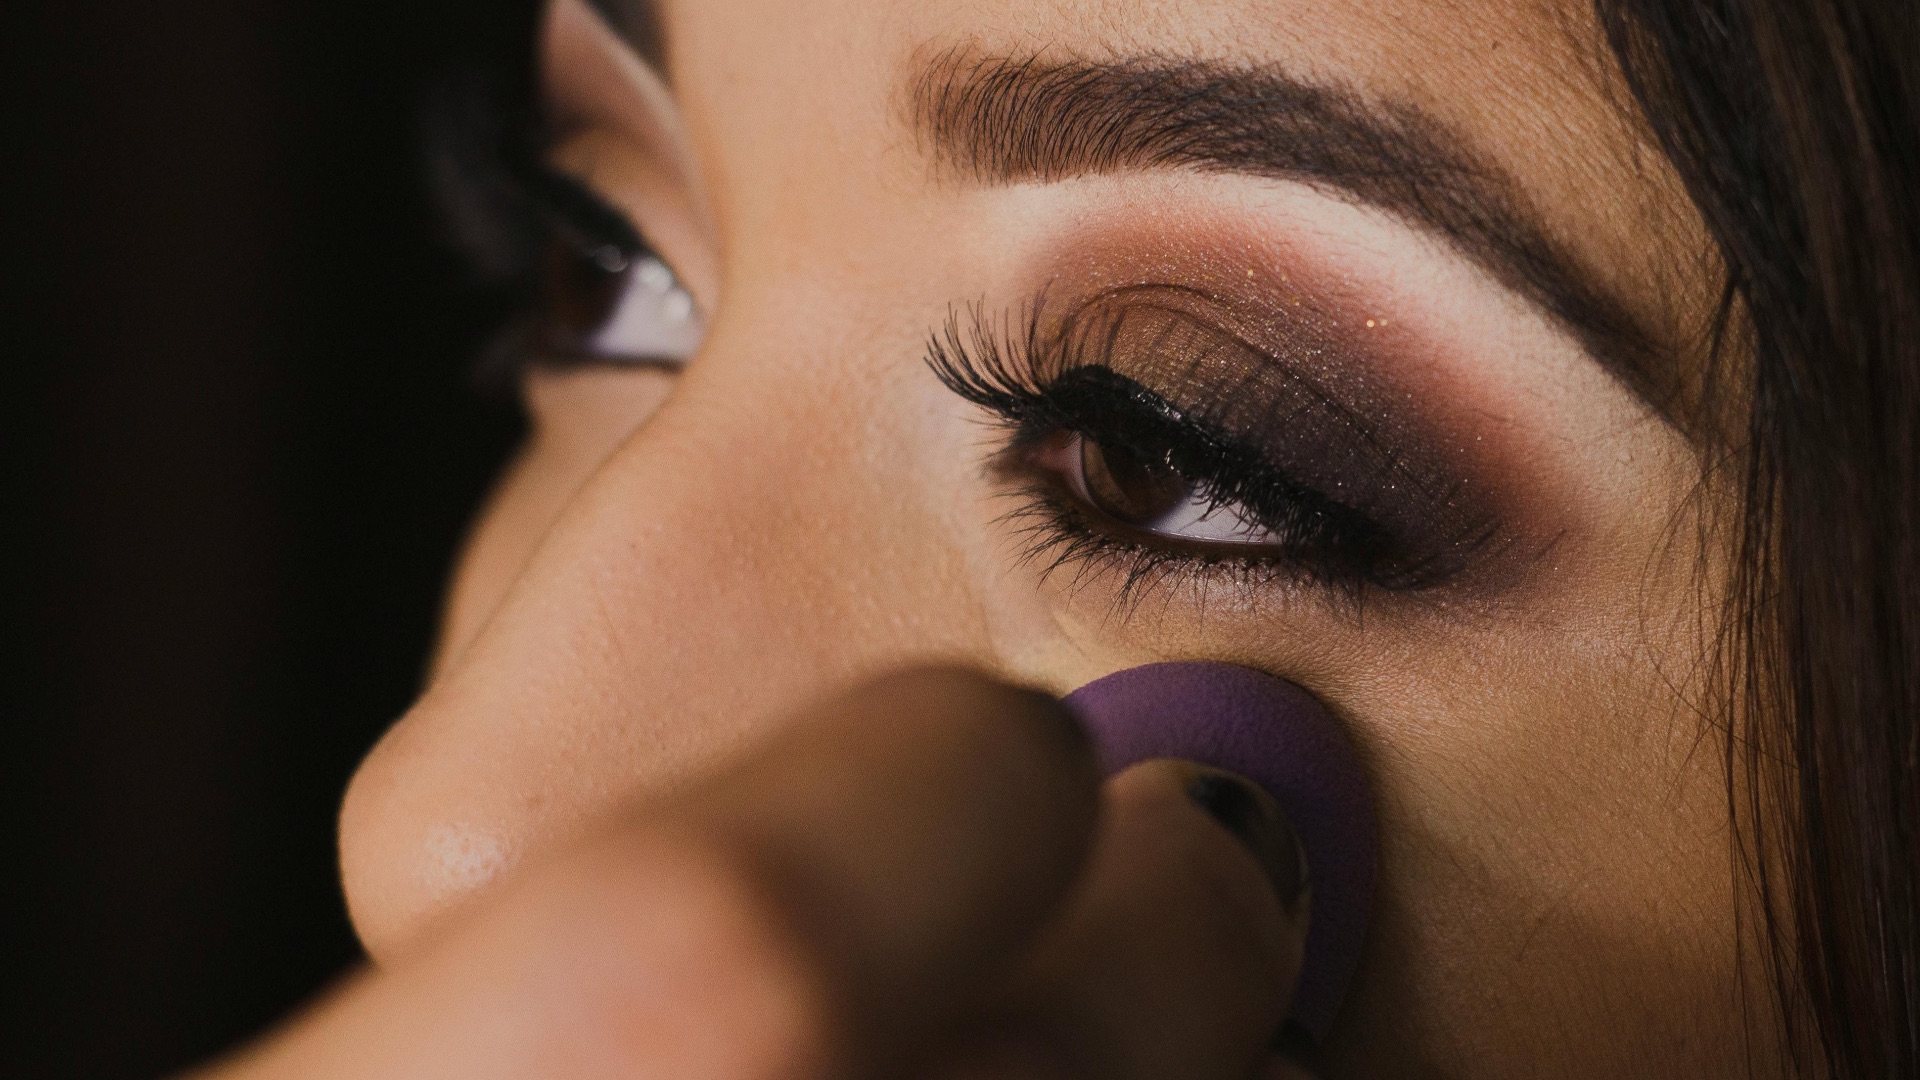
17. Prime Your Eyelids
Eyelid primer keeps shadows from creasing and helps color look more vivid. Before going in with your brush, apply a thin layer of primer with your finger and smooth it from lash line to crease. Give it a moment to become tacky so shadow blends without patchiness.
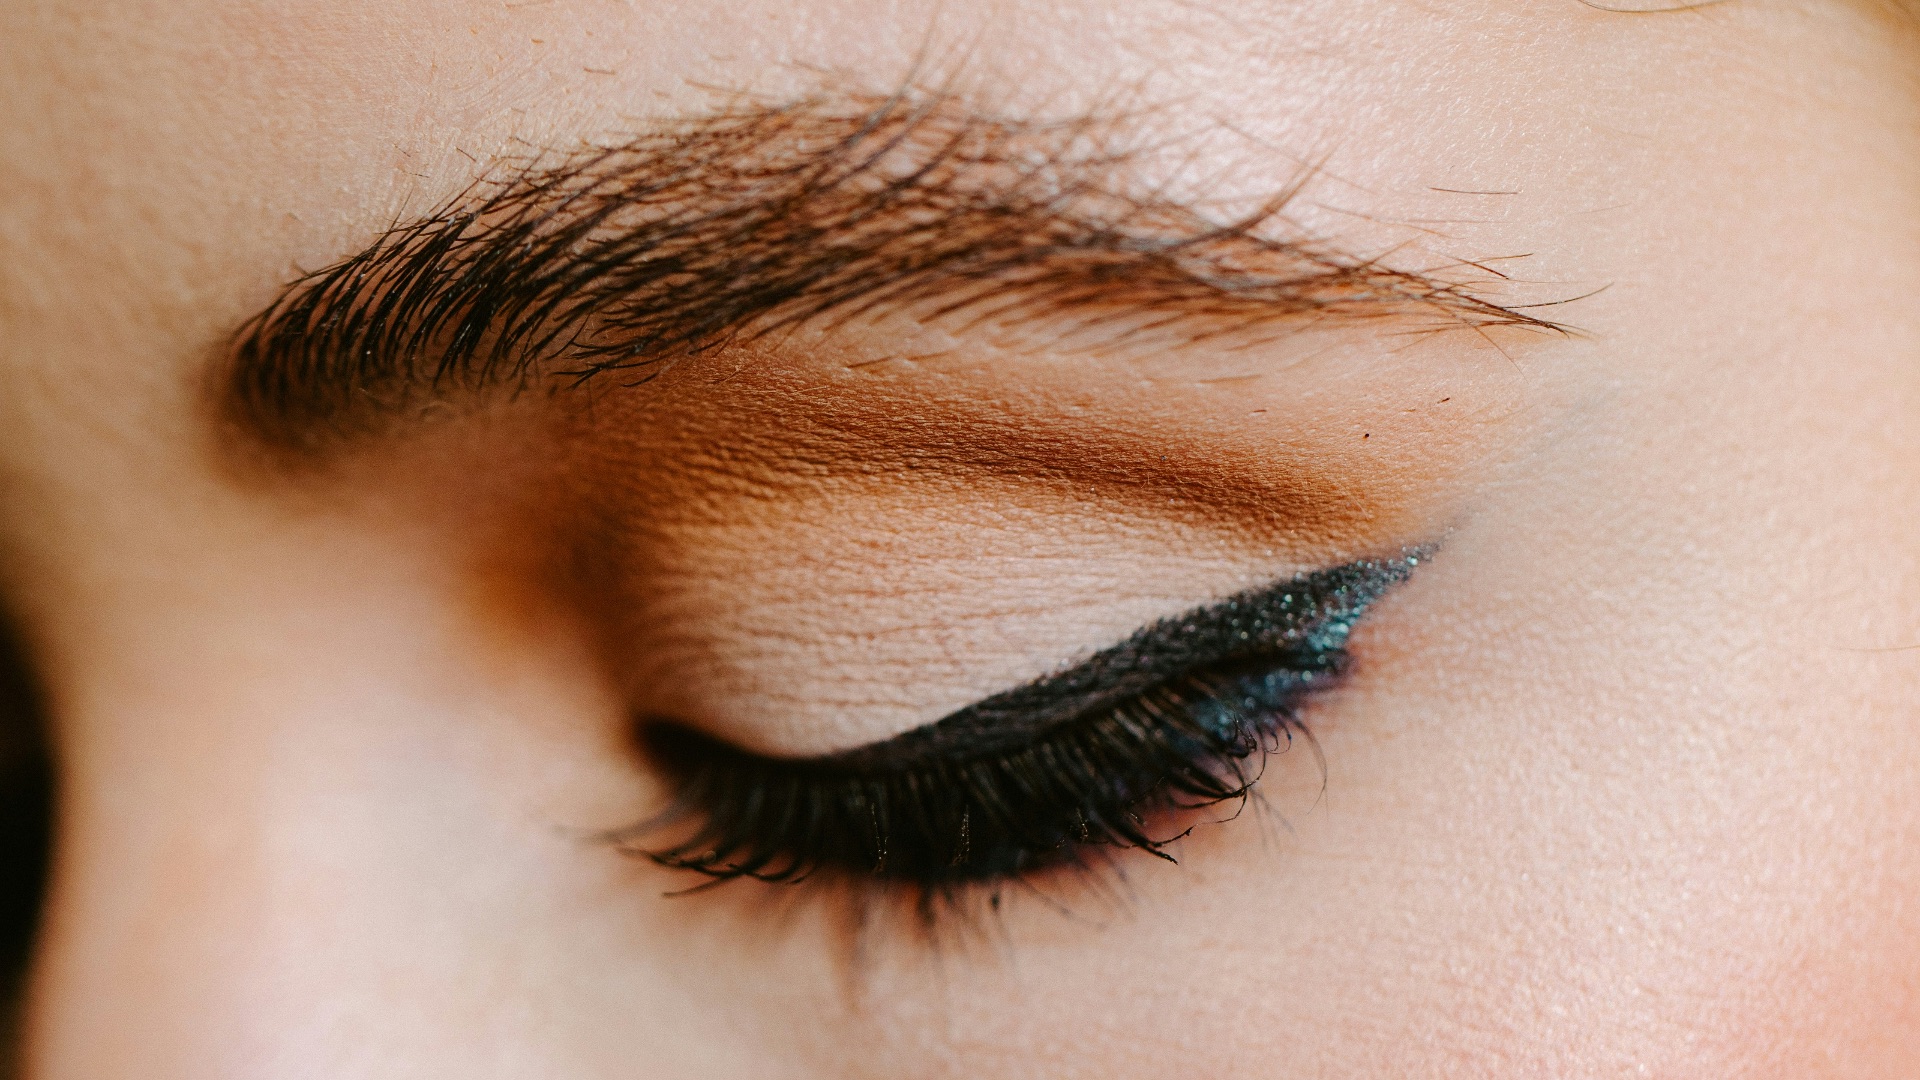
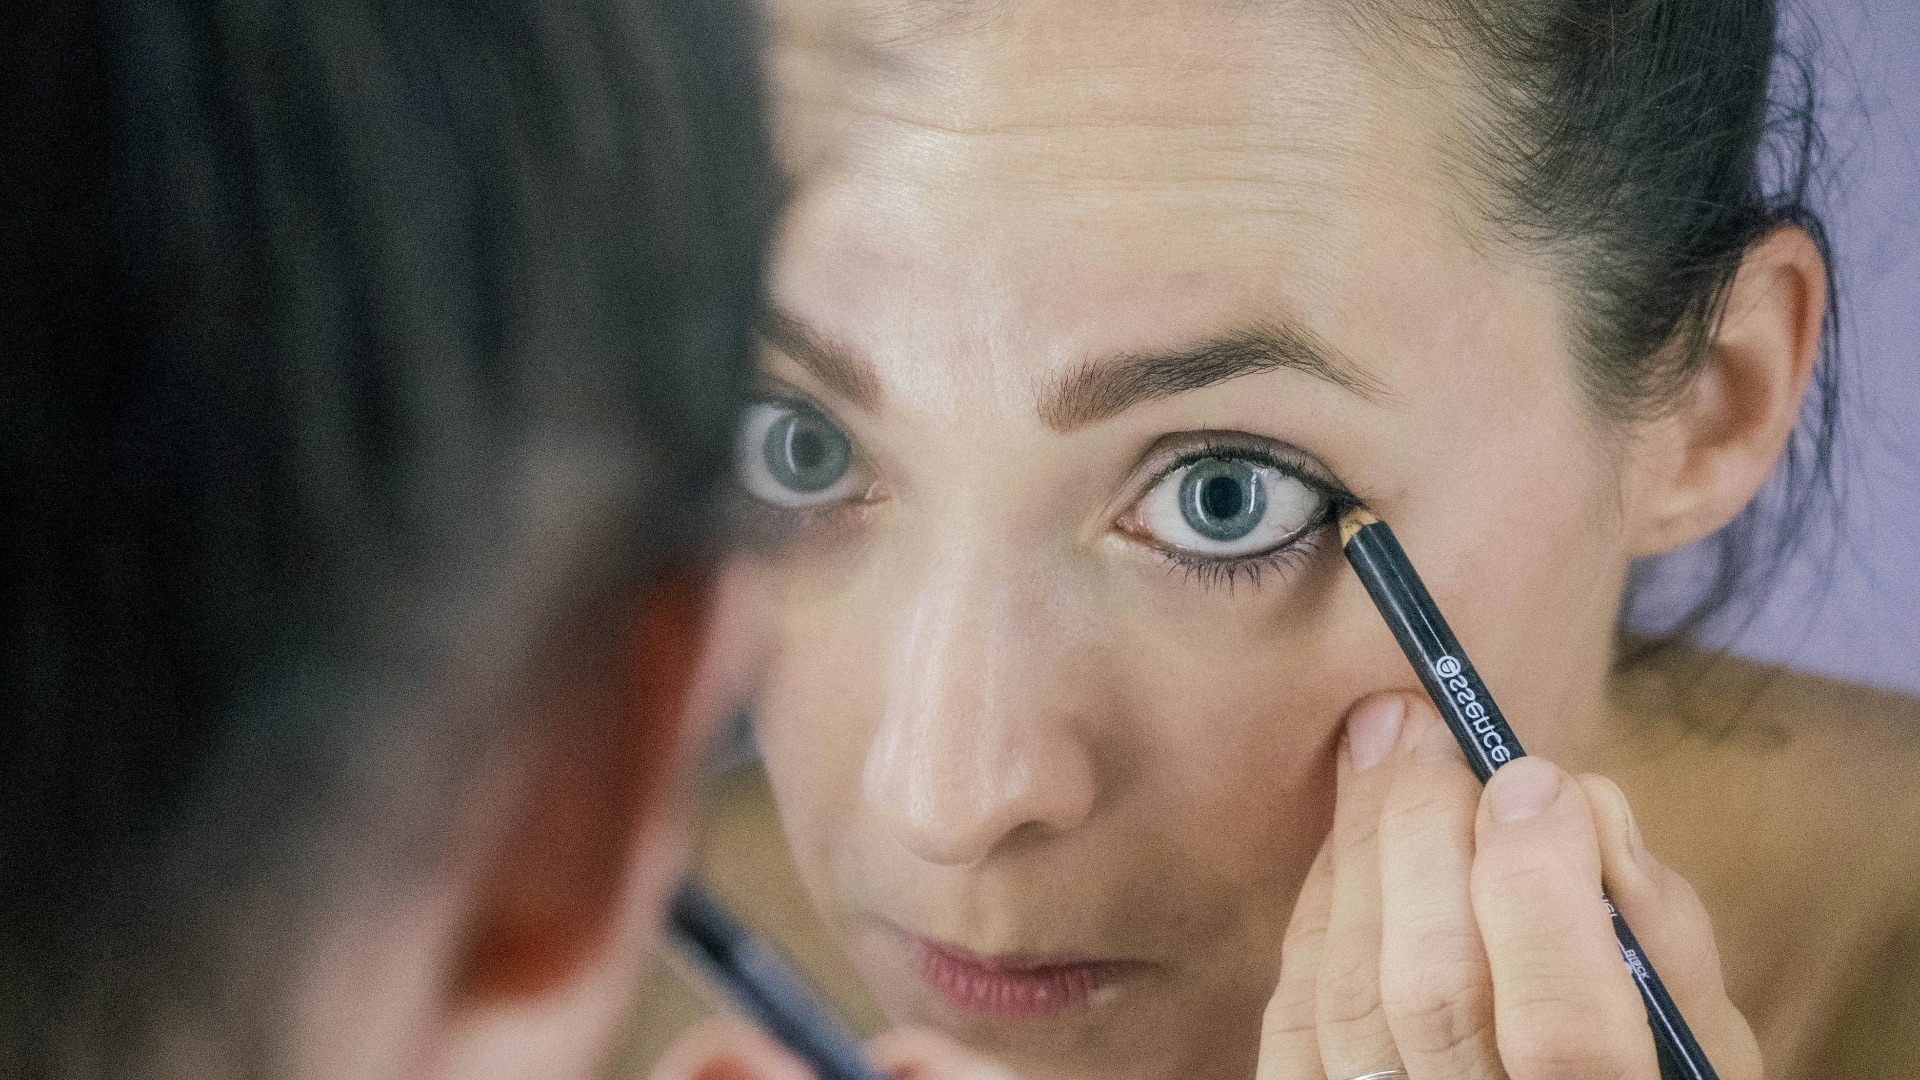
18. Define the Eyes with Liner or Tightlining
You might think eyeliner means doing a dramatic wing, but not everyone has to do the same look. You can also make it subtle or tightline the upper or lower lash line to add depth and make lashes look thicker. Just remember to keep the application close to the lashes so it looks intentional and clean.
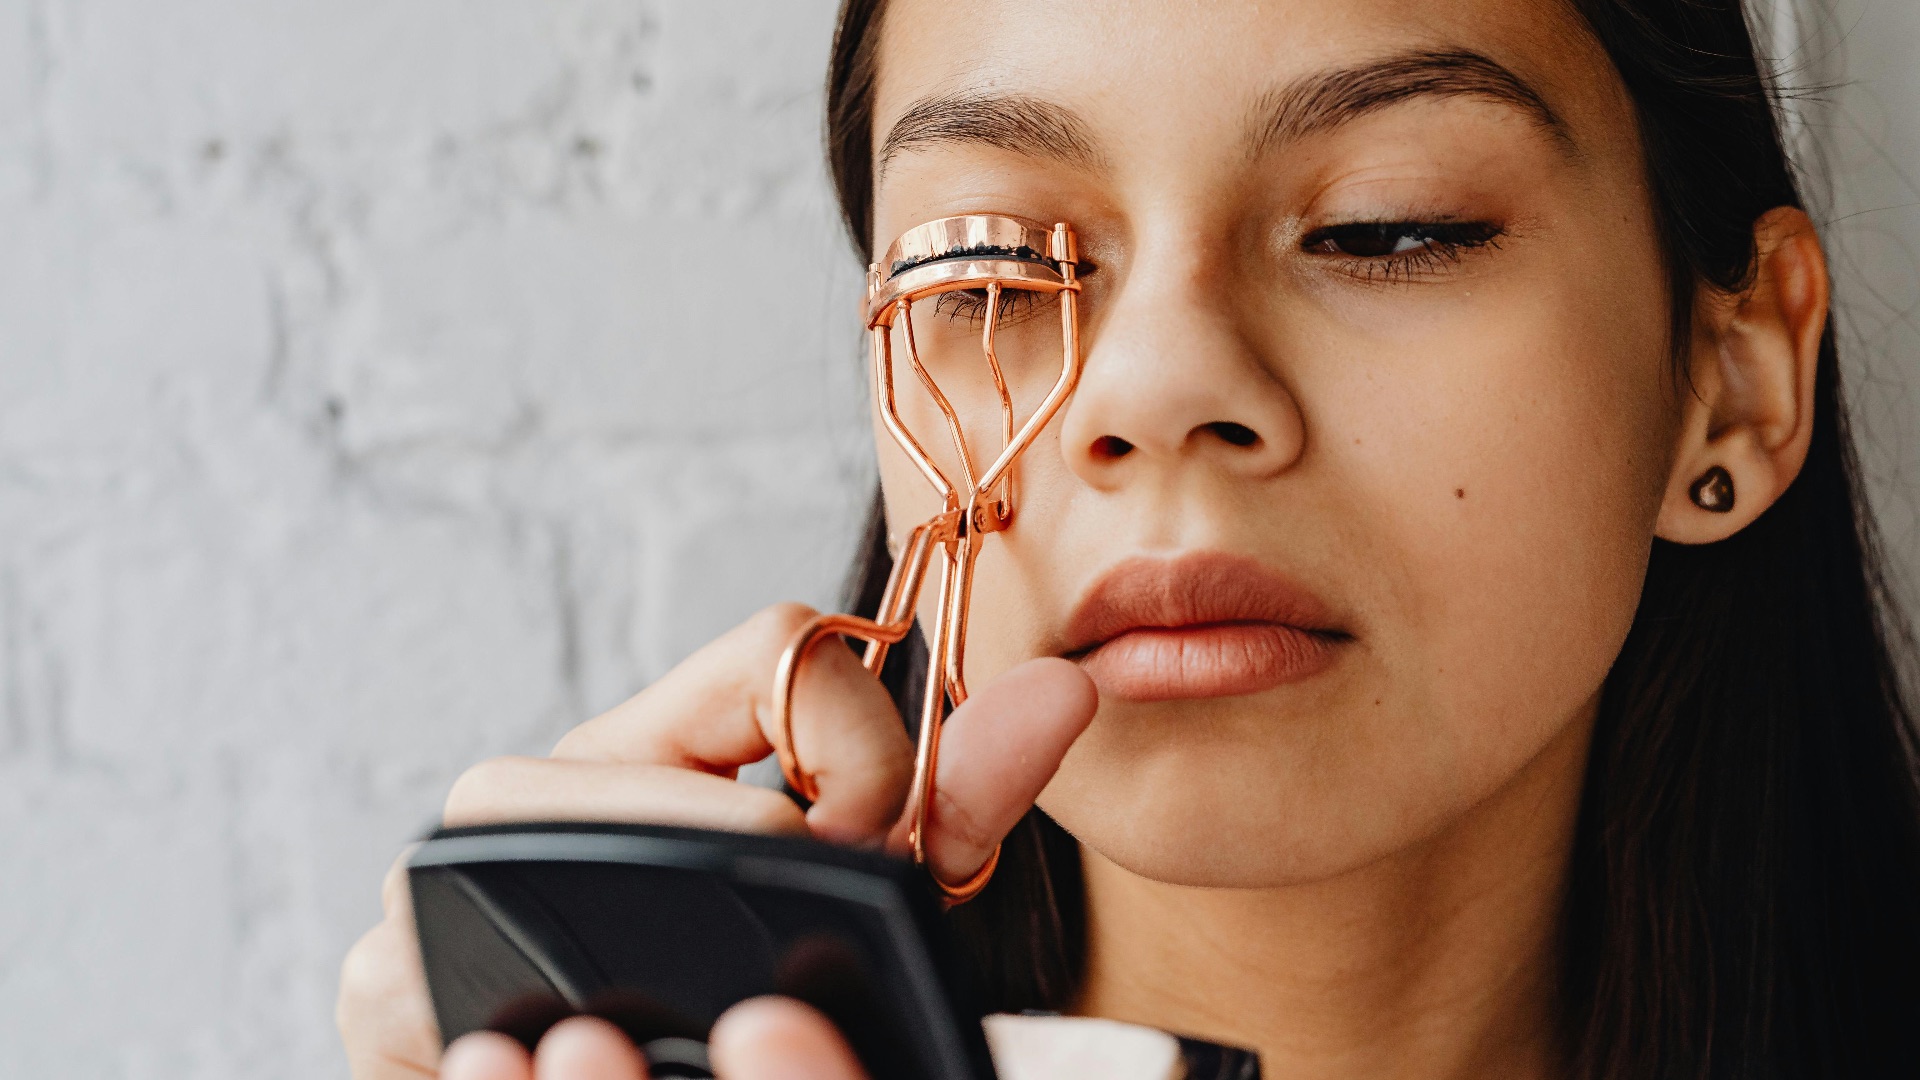
19. Curl Lashes Before Mascara
Curling first lifts the lashes and helps your eyes look more open. It also improves how mascara sits, so you get length and separation instead of sad, droopy lashes. Squeeze gently and check placement so you don’t pinch the lid, and never, ever curl after mascara or you risk pulling all your lashes out.
 Karolina Grabowska www.kaboompics.com on Pexels
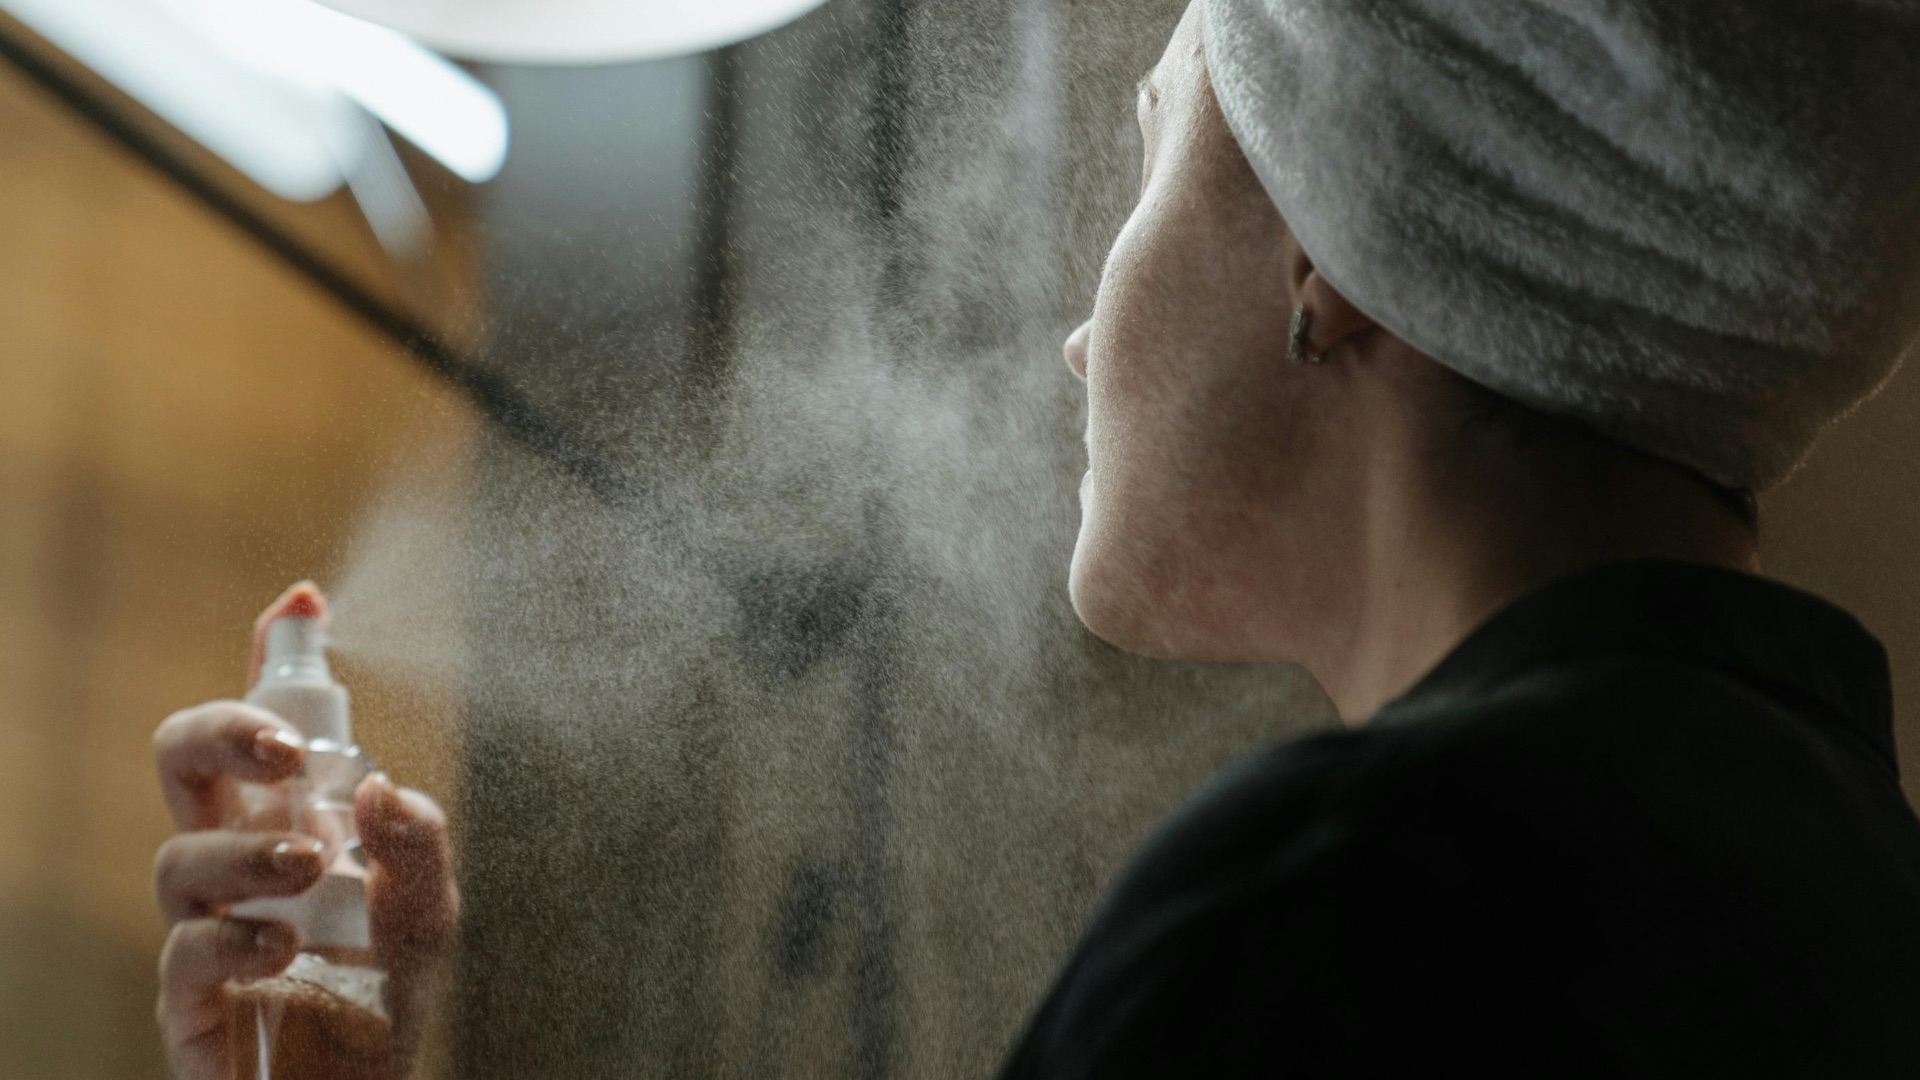
20. Set Everything with Setting Spray
Setting spray helps powders better melt into the skin and may reduce dryness. Choose a finish that matches your preferences, like more matte for long wear or more radiant for comfort. Mist evenly (and generously) and let it dry without touching your face so it can do its job.