
A Fresh-Coated Reality Check
A great manicure isn’t about having fancy tools or salon-level skills—it’s about avoiding the little slip-ups that wreck your polish before it even has a chance. If you’ve ever watched a perfect coat smudge in real time, you already know the struggle is real. Let’s fix that with 10 mistakes to dodge and 10 tips that’ll make your nails look clean, glossy, and salon-perfect!

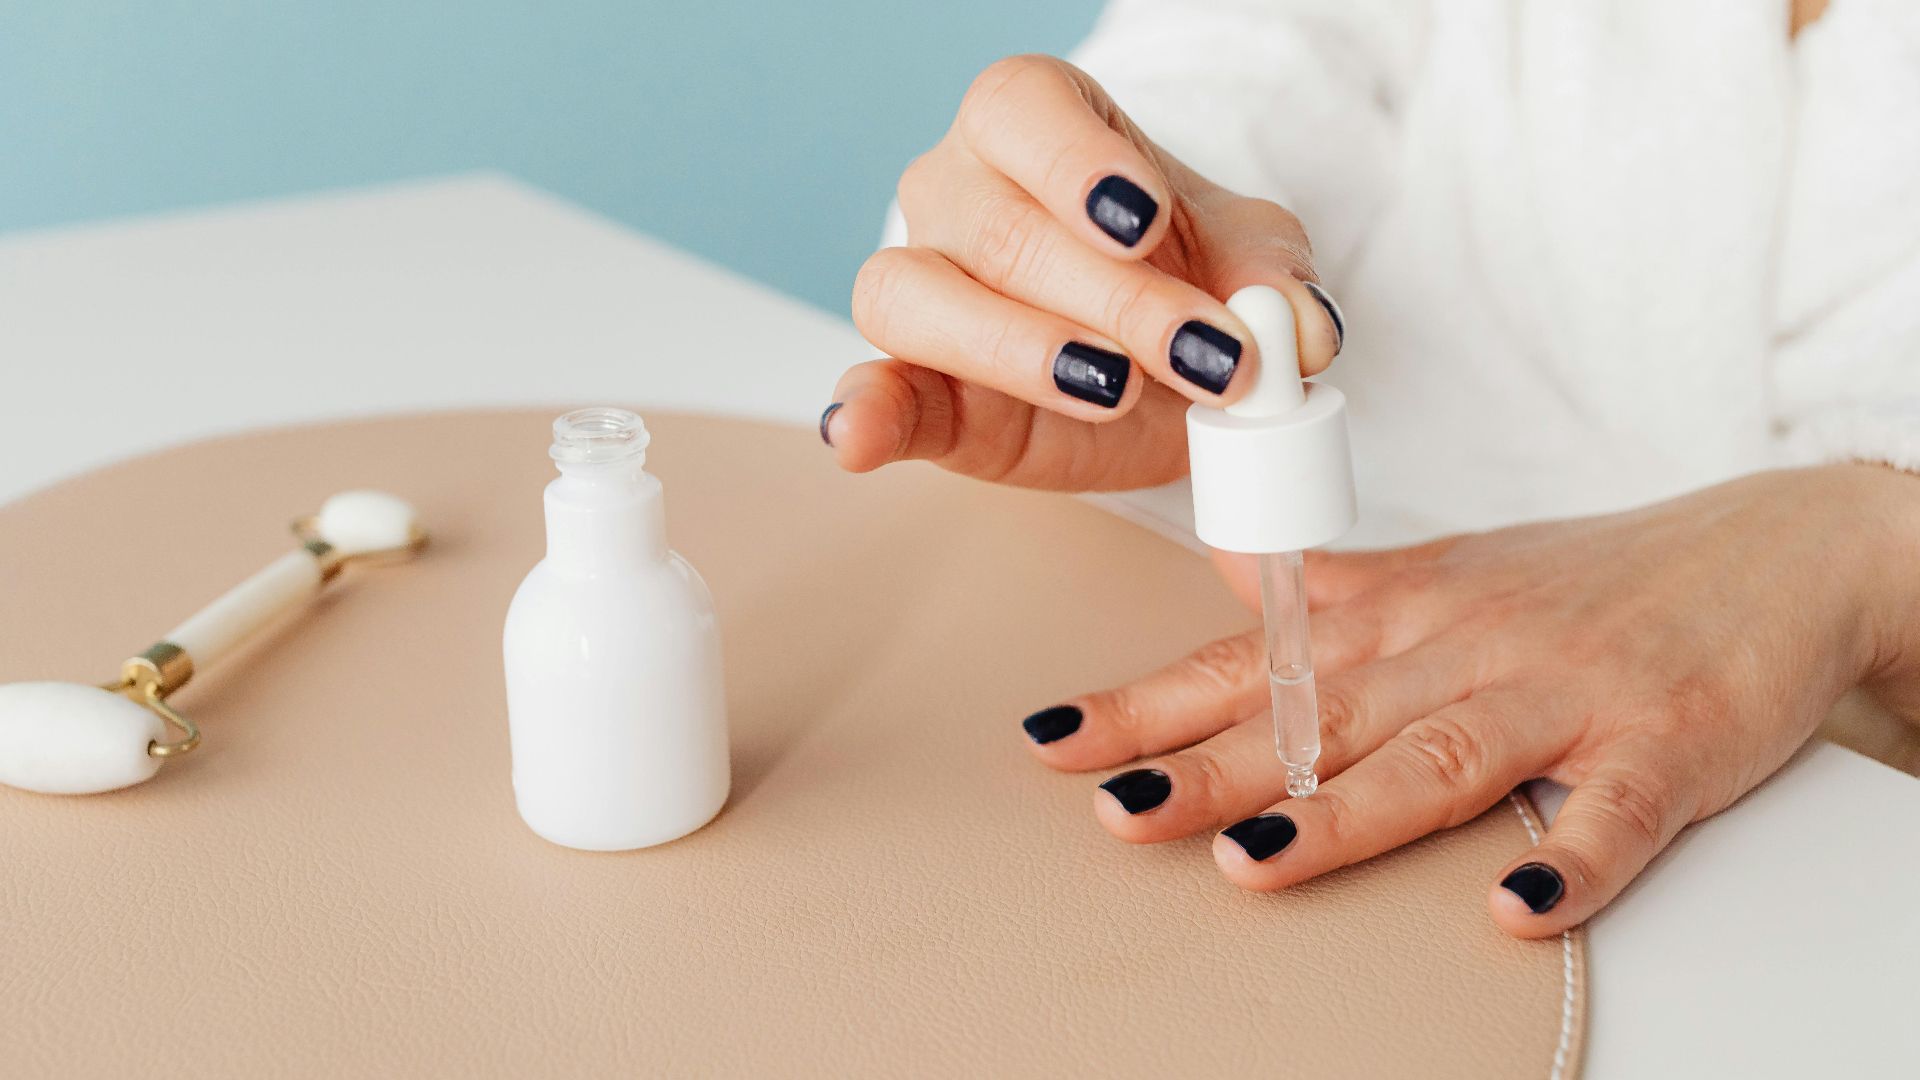
1. Skipping Nail Prep
If you paint right over oily nails, the polish won’t grip properly, and you’ll experience peeling way sooner than you should. Wash your hands, then wipe each nail with remover or alcohol to clear off residue. That extra minute makes your manicure last days longer.

2. Forgetting to Shape Before You Paint
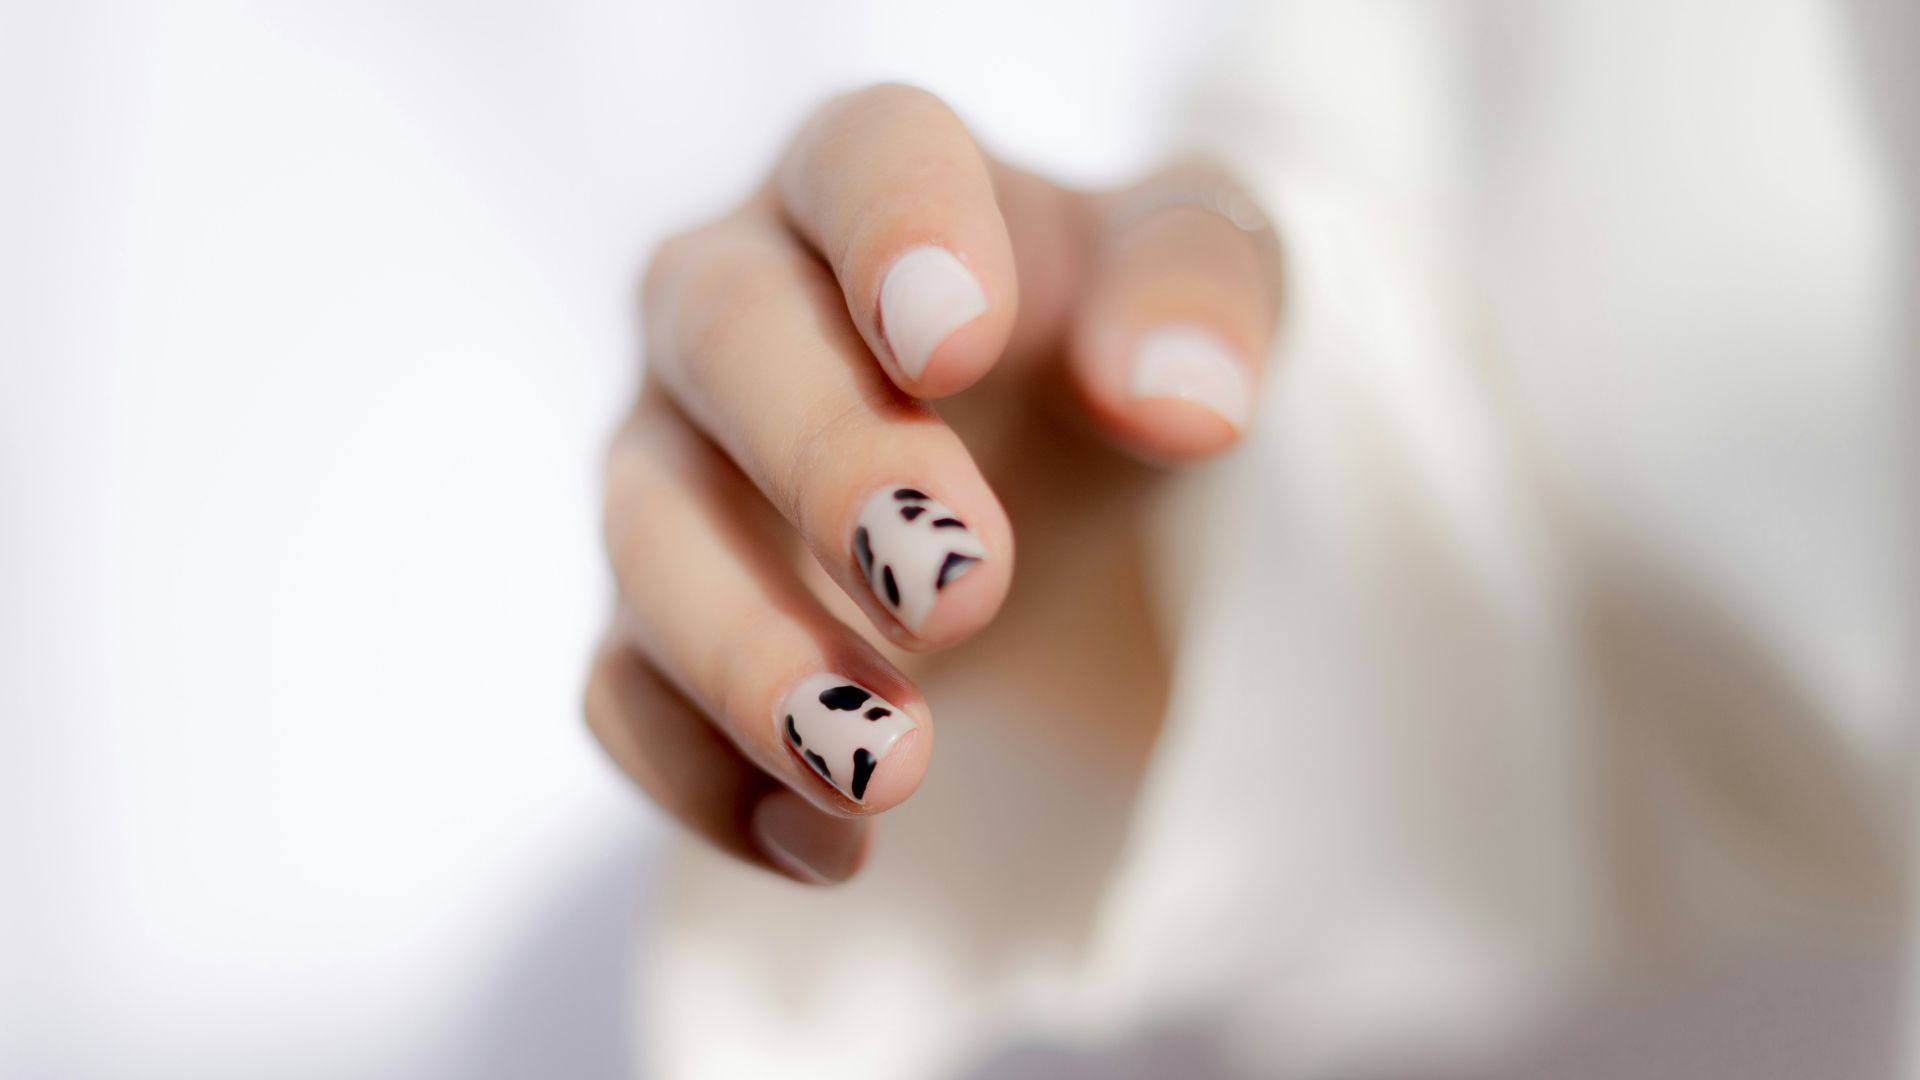
Shaping after you apply polish is just asking for chips; filing can crack the edges you just sealed. Get your length and shape sorted first so you’re not messing with your fresh color. You’ll also get a cleaner, more intentional look.

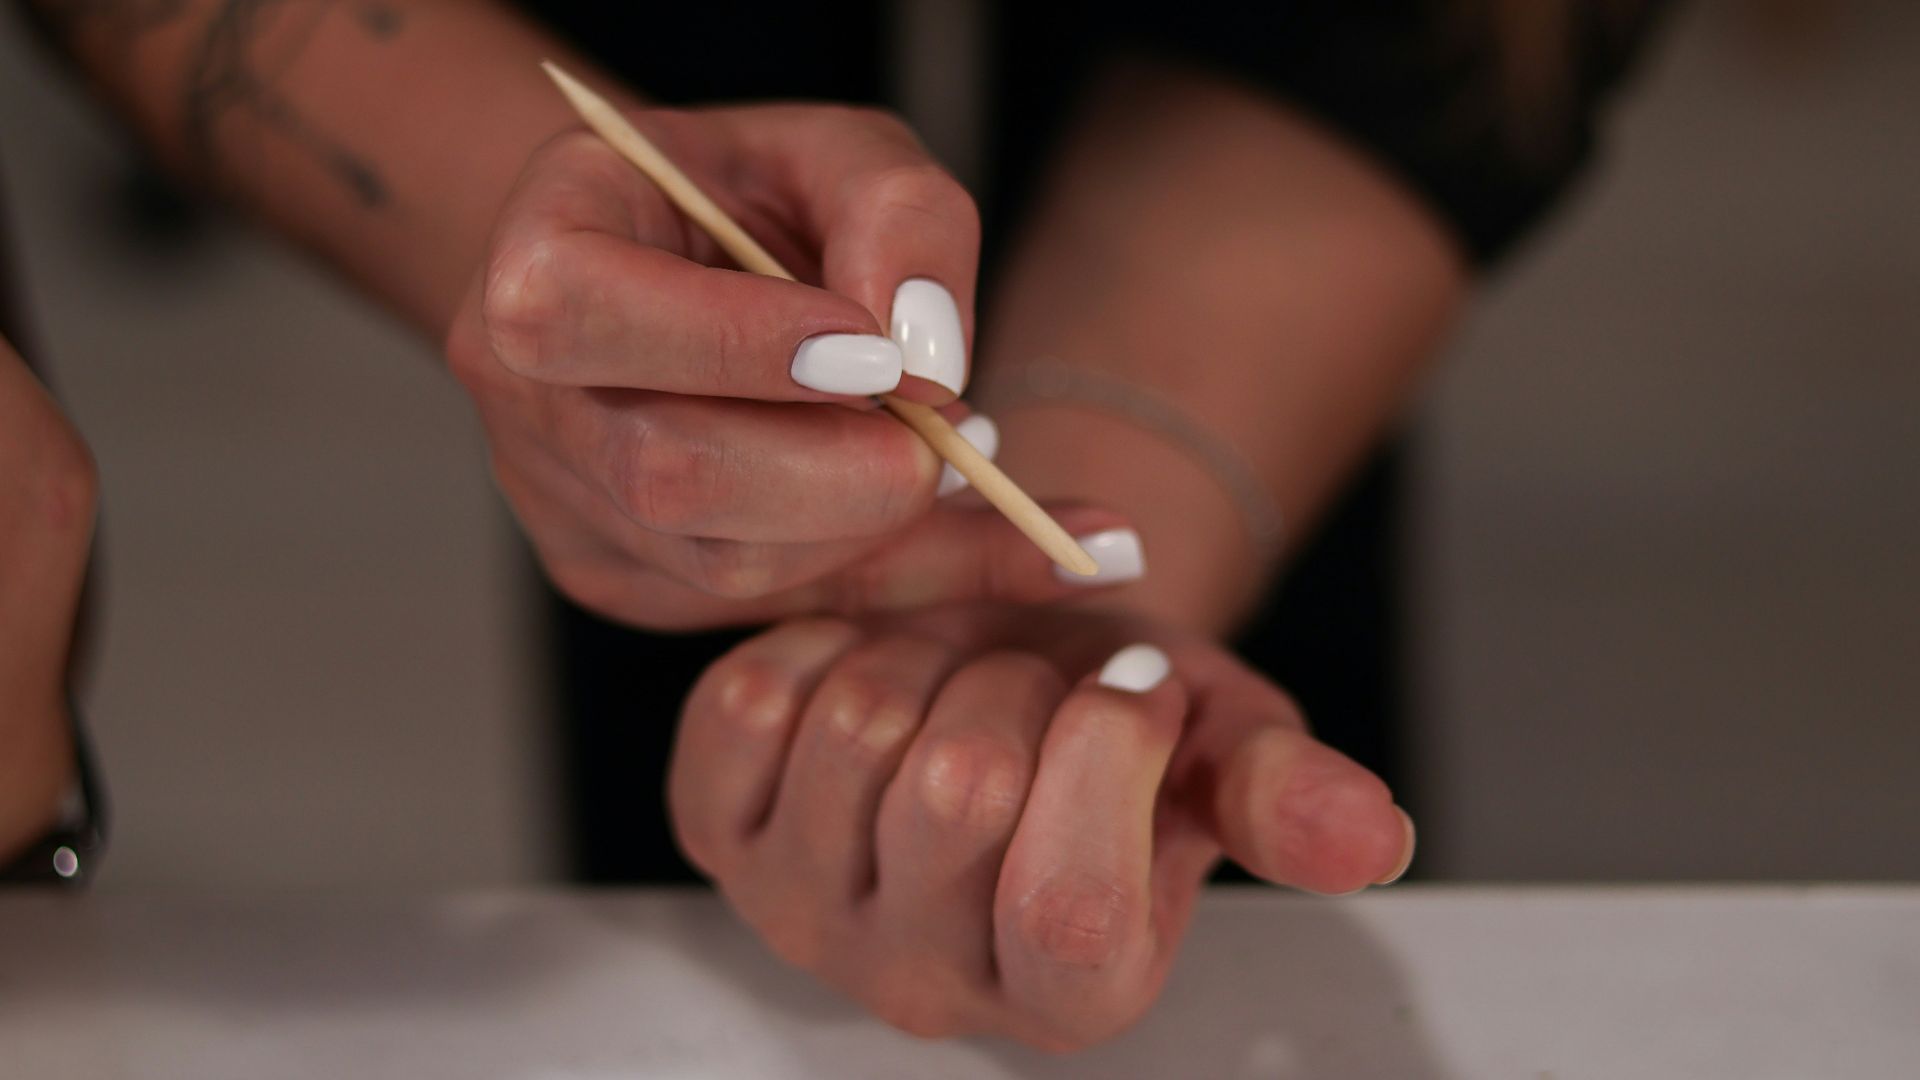
3. Cutting Cuticles Instead of Softening Them
When you cut cuticles, you can accidentally nick the skin and invite irritation. It’s better to soften them with warm water or cuticle remover and gently push them back. Your nail area will look neat without causing any injuries (or unsightly color).
4. Leaving Old Polish Residue Behind
Even tiny leftovers can ruin a smooth new coat. That expired pigment creates bumps and makes the next color look uneven. Remove the old stuff thoroughly, especially around the edges and near the cuticle line.
5. Applying Polish Too Thick
Thick coats feel efficient, but they actually stay gummy and smudge. Heavy layers also trap solvents, which can lead to dents hours later. Thin coats dry better and look more professional.
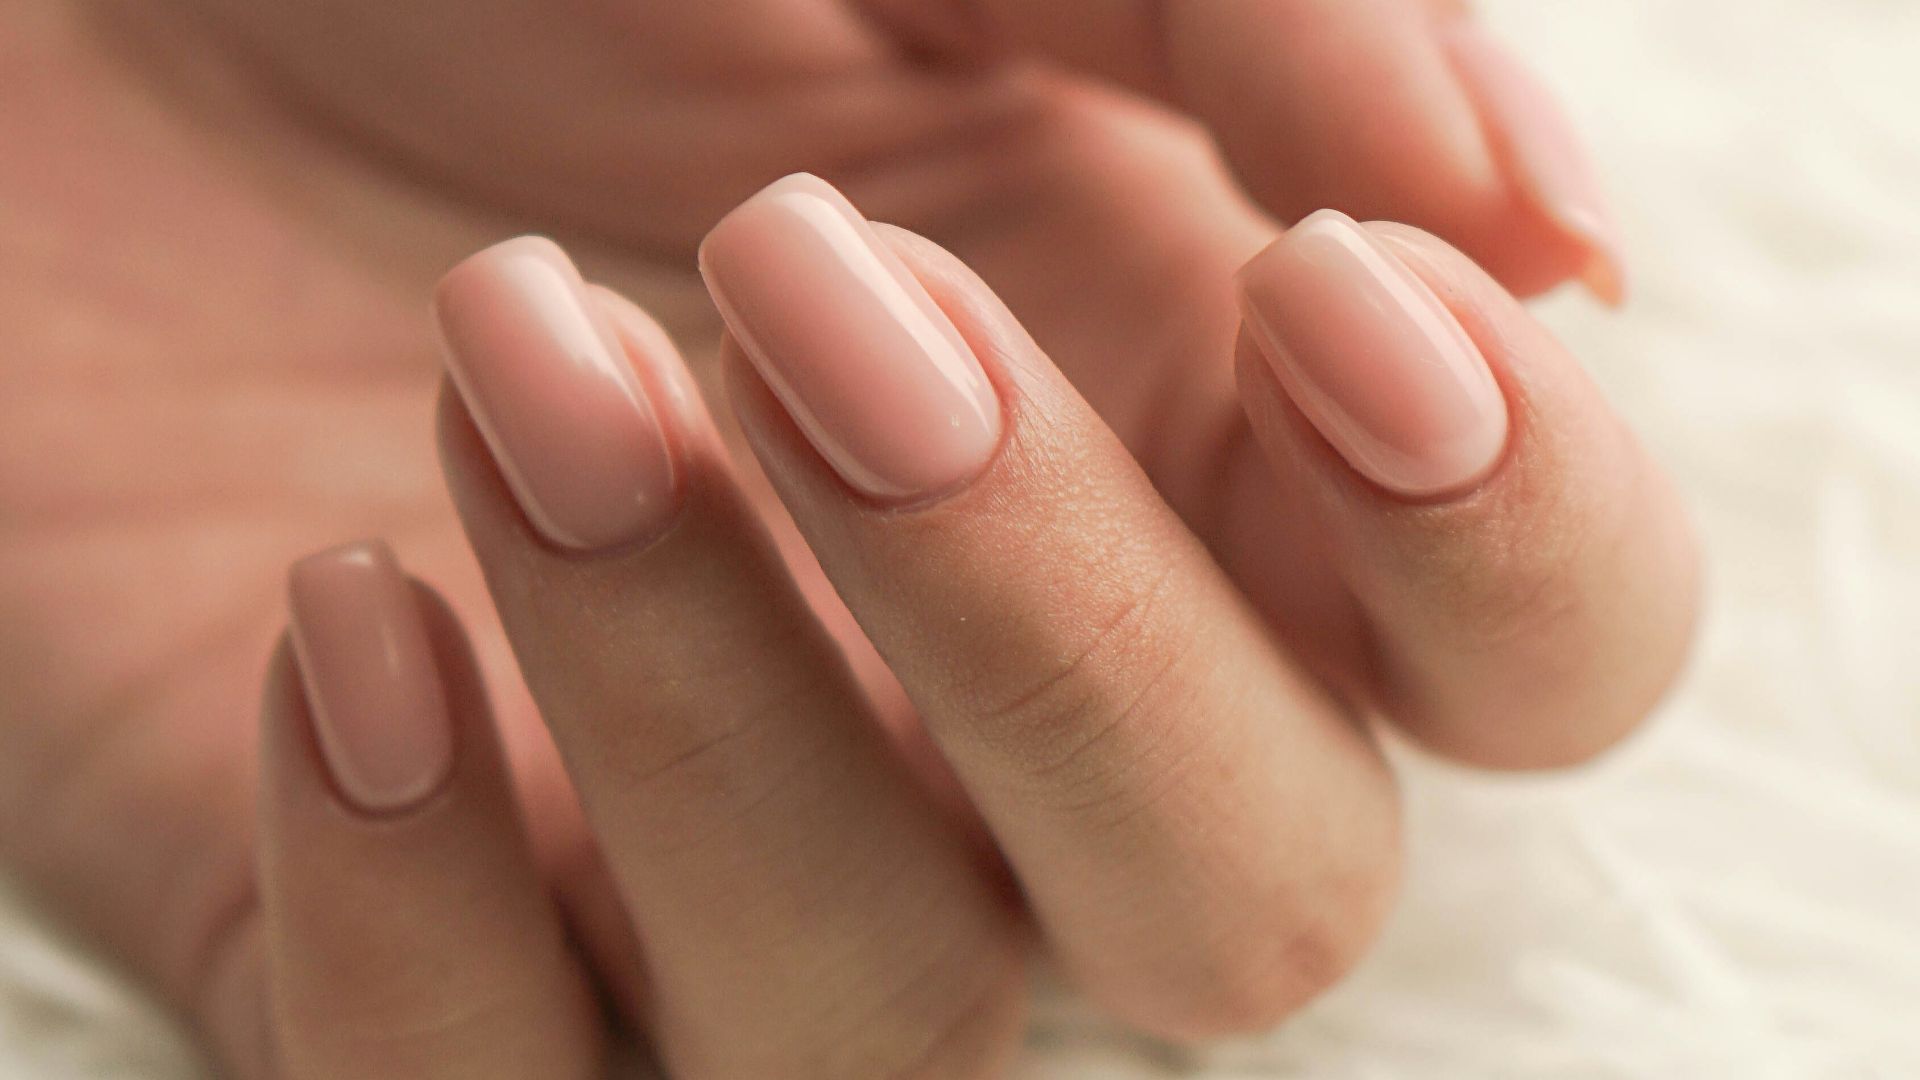
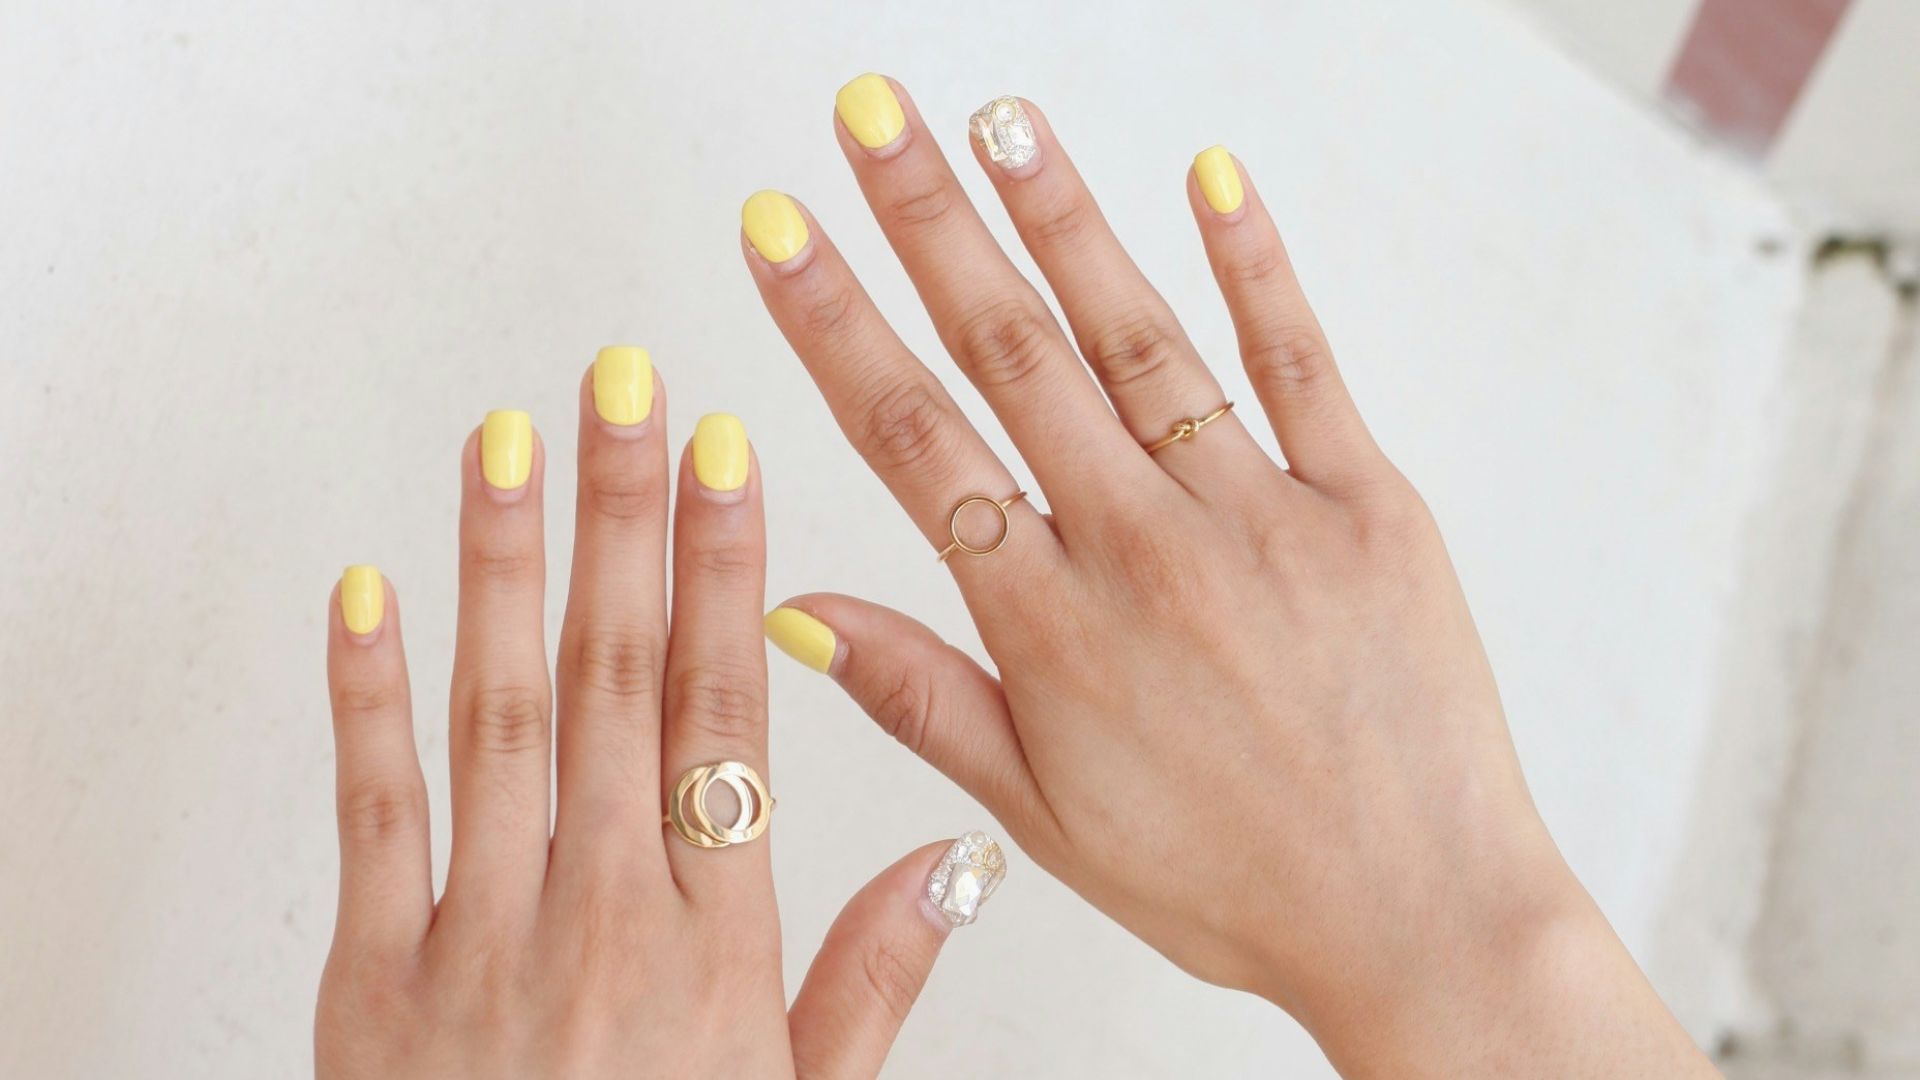
6. Flooding the Cuticle Area
When polish pools at the cuticle, it lifts faster and makes the manicure look messy. It’s easier to control the brush if you leave a tiny gap around the base. Your nails will look cleaner, and the polish will last longer.
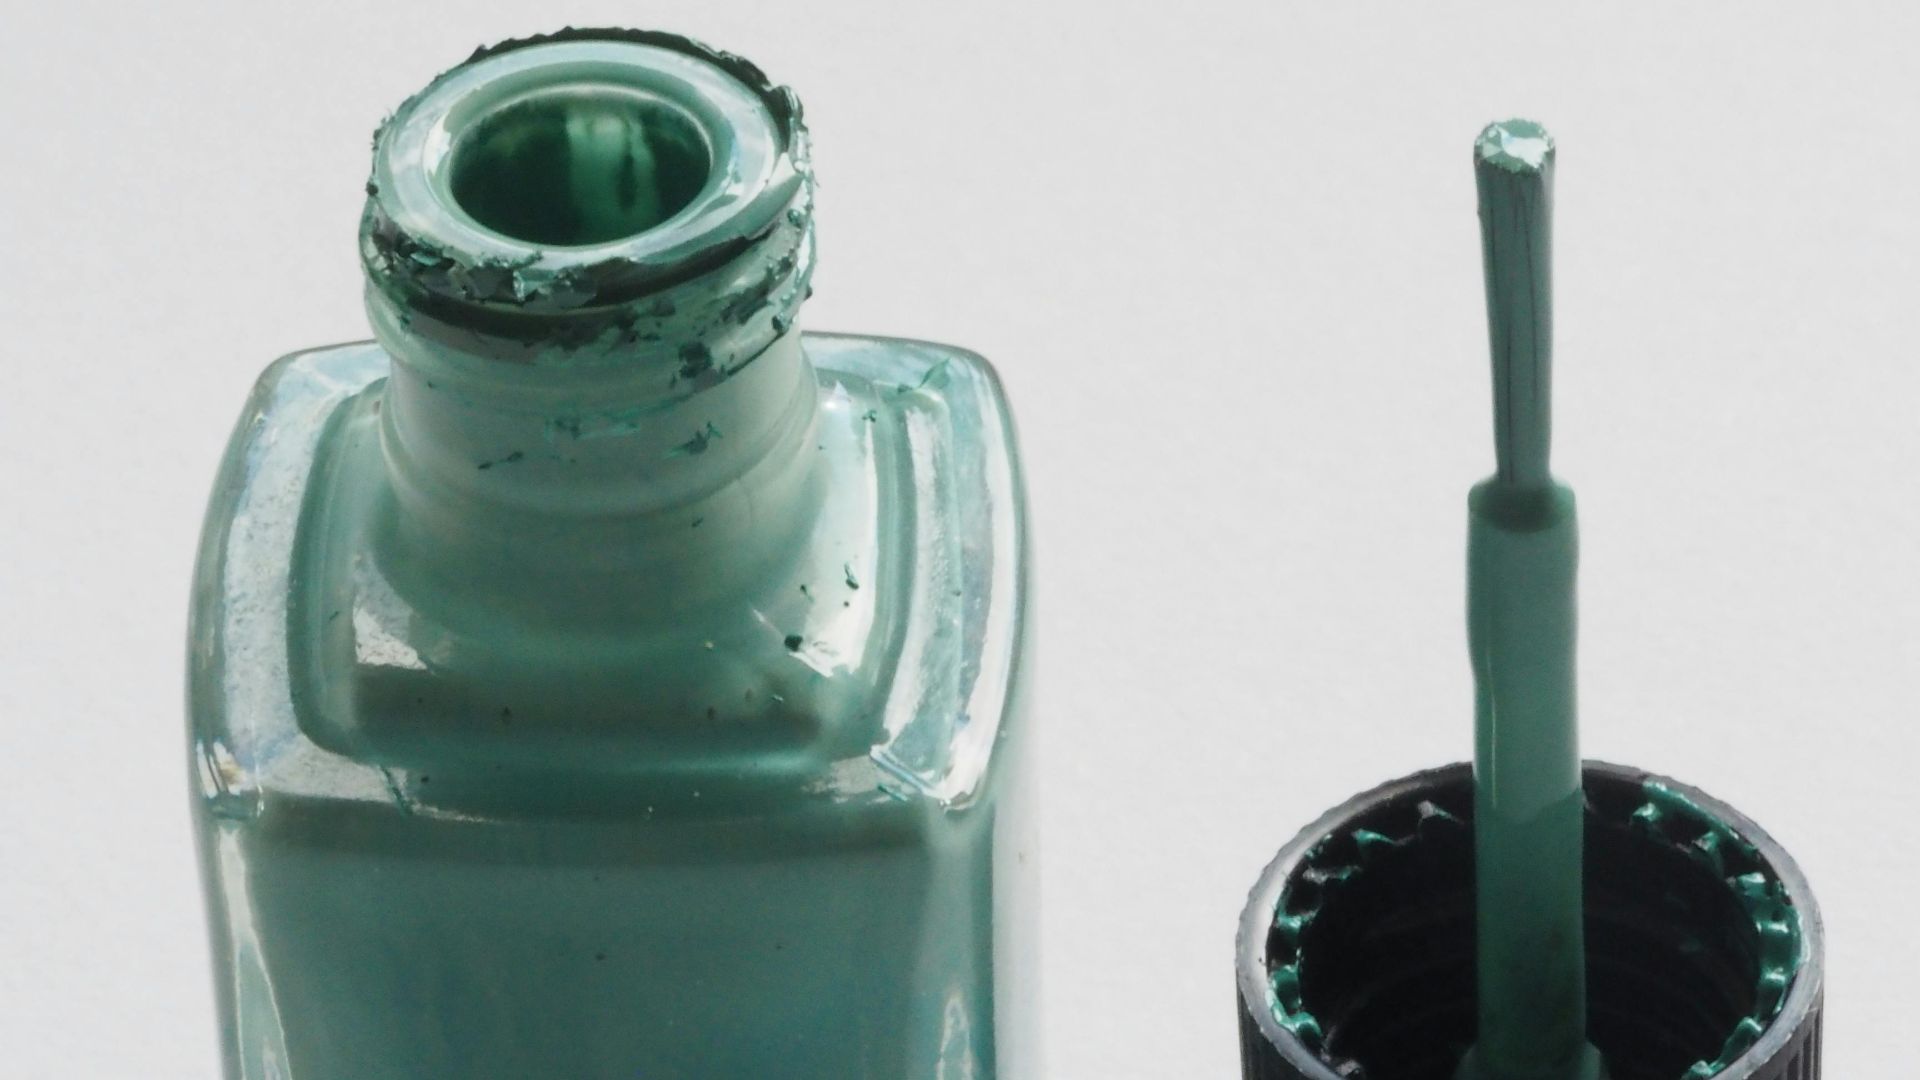
7. Shaking the Bottle Too Vigorously
Shaking creates tiny air bubbles that show up as bumps once the polish dries. If your color needs mixing, roll the bottle between your palms to get smoother coats without the weird texture.
8. Ignoring Dry Time Between Coats
If the first layer is still soft, the next one can drag it around and create streaks. Waiting a couple of minutes helps the layers stack neatly instead of sliding. Best of all, it’s one of the easiest fixes for a cleaner finish.
 Anastasia Ankudinova on Pexels
9. Painting in a Humid or Dusty Spot
It’s not just about your hands—it’s also about your environment! Humidity can slow drying, while dust can land in your wet topcoat like it owns the place. Do yourself a favor and pick a clean, dry area with decent airflow. Your manicure will look smoother and feel less fragile.
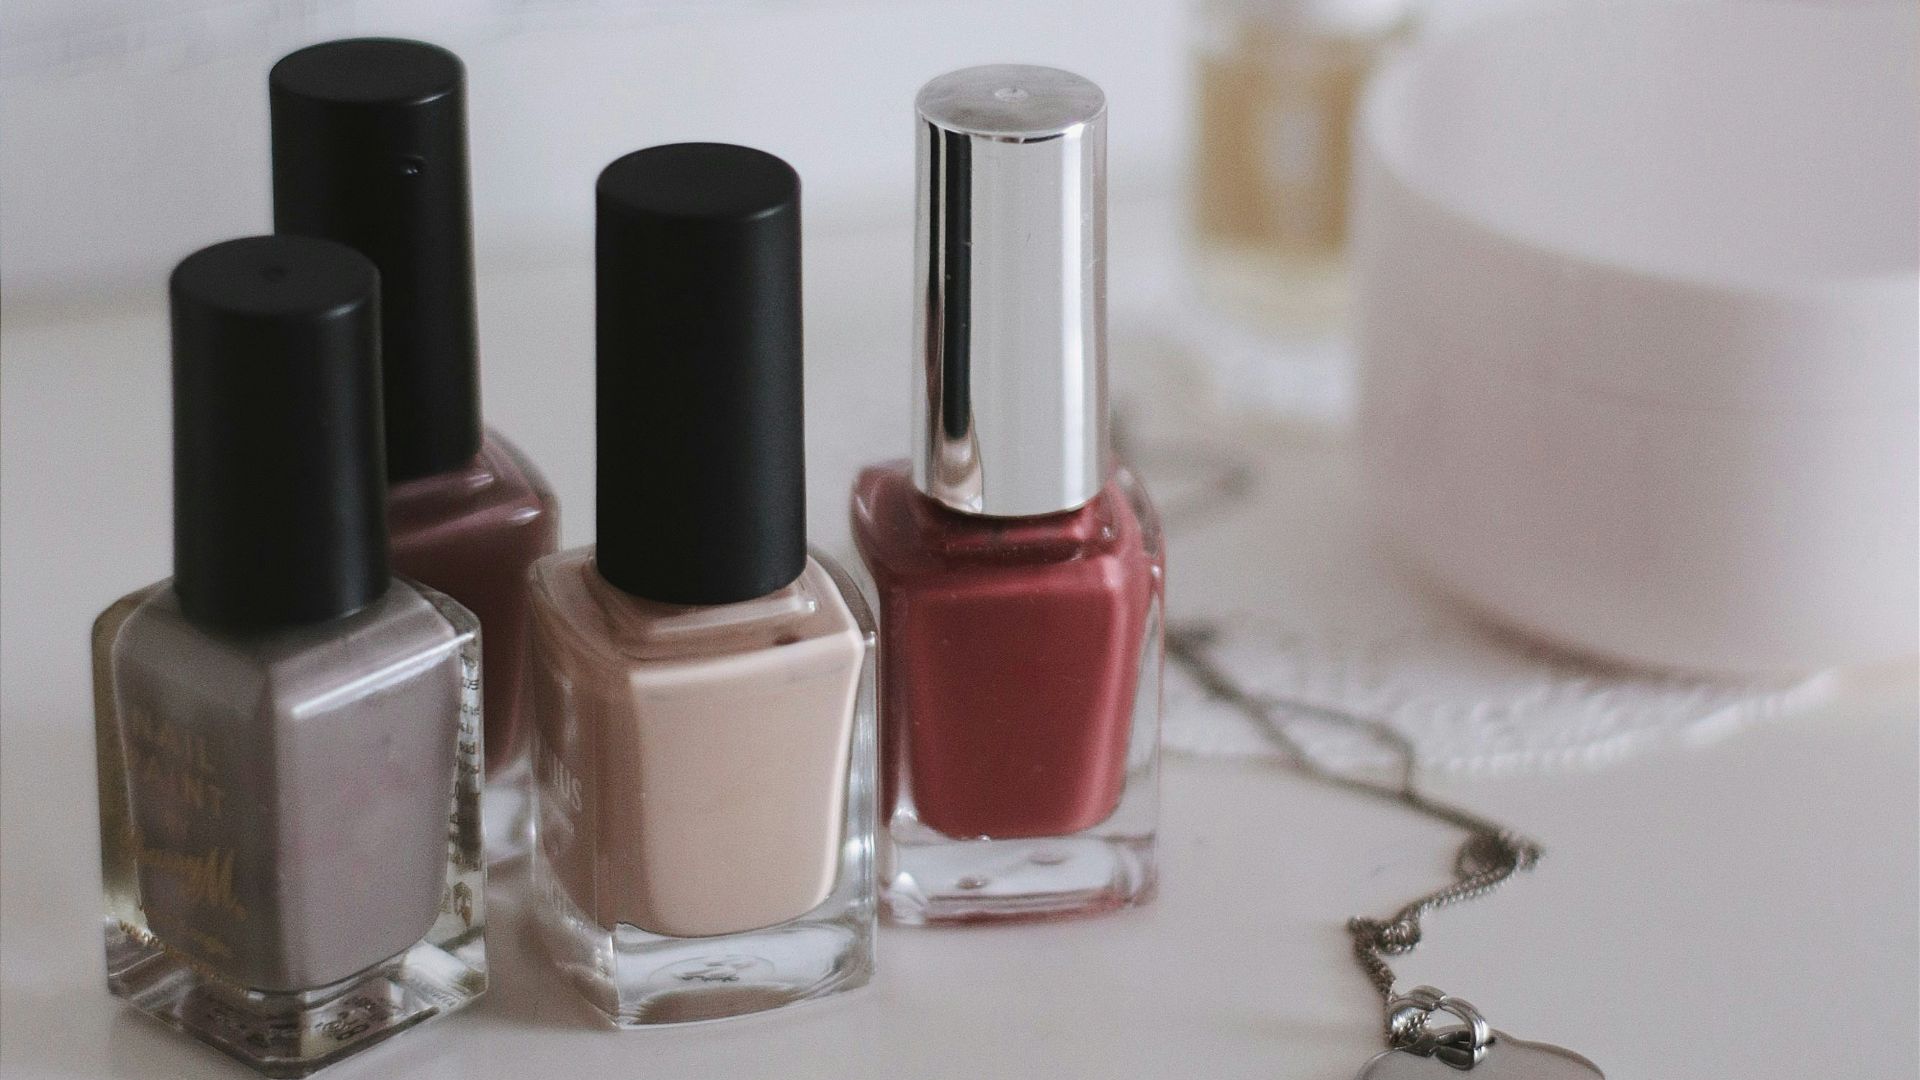
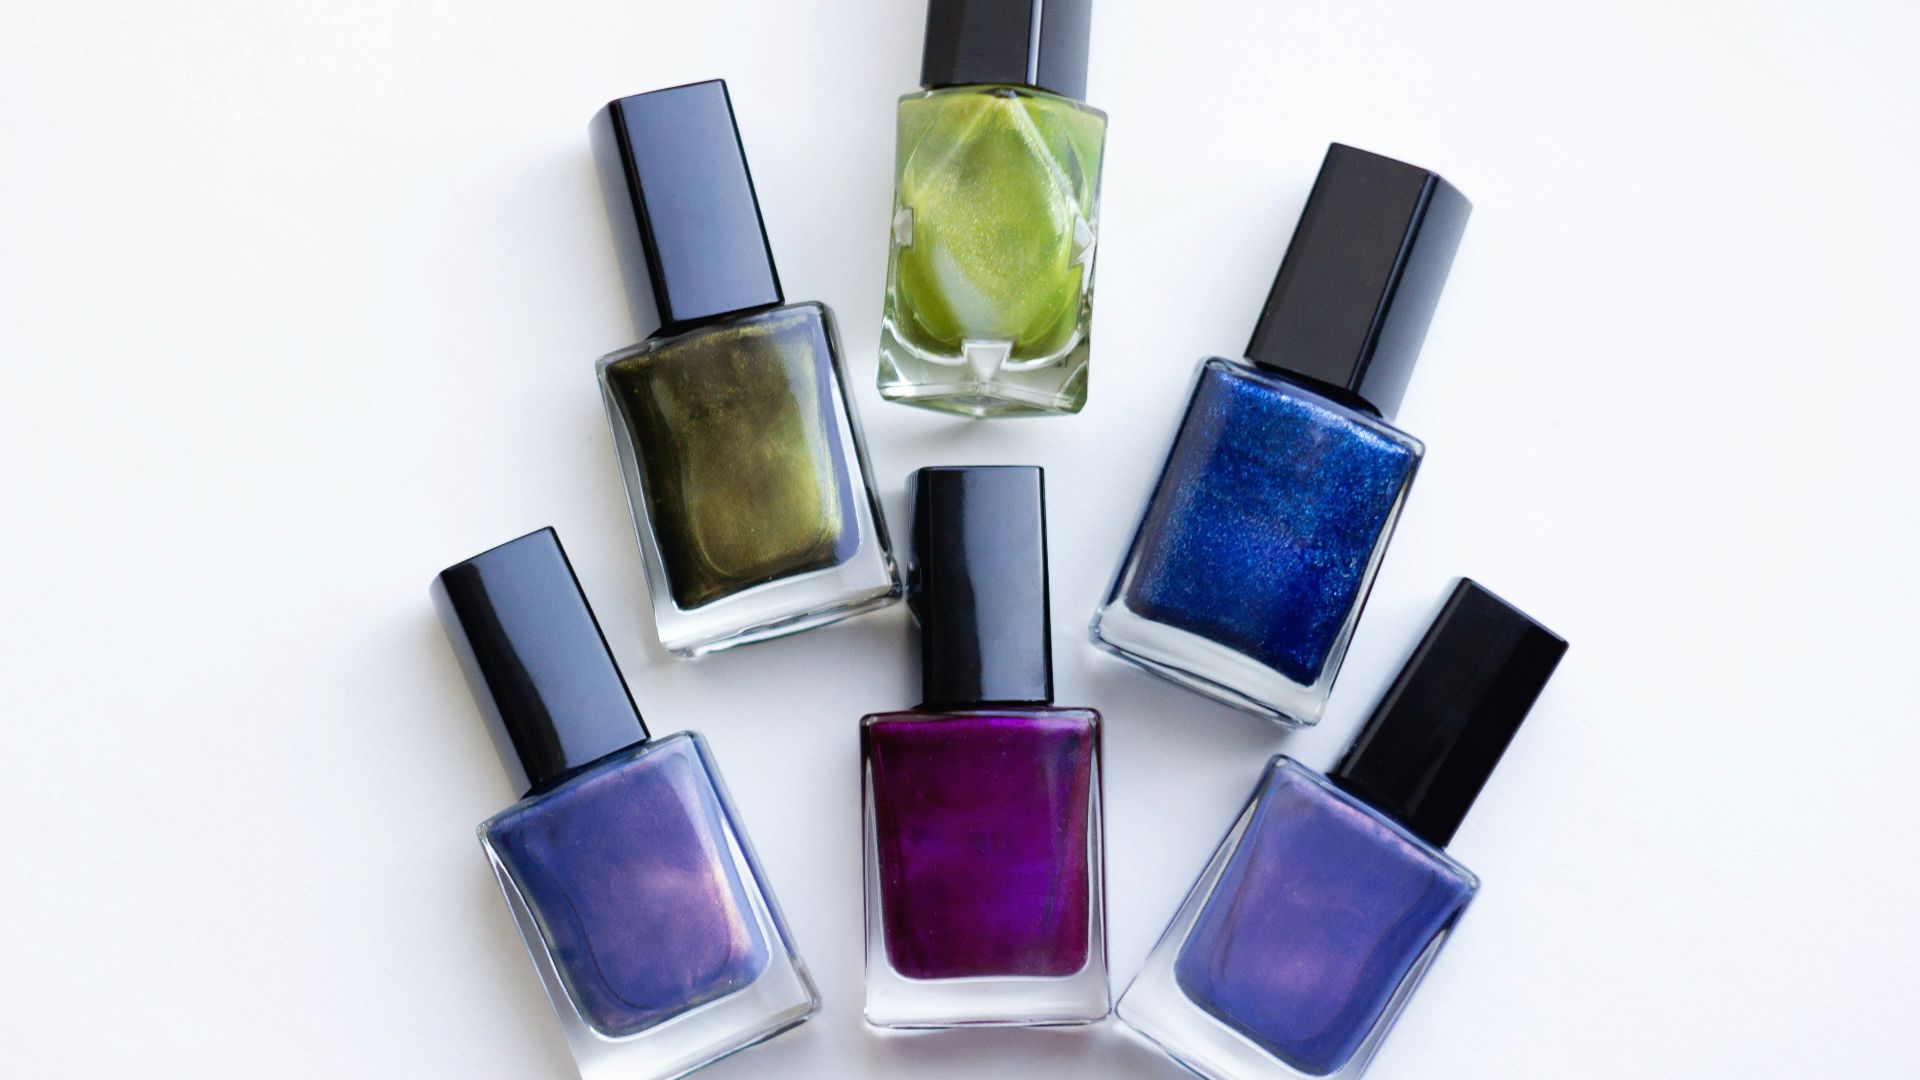
10. Using Old Polish
Thick, stringy polish doesn’t level well, and it tends to clump or streak. If it’s past saving, let it go and grab a fresher bottle. On the other hand, if it’s just a bit thick, a proper polish thinner can bring it back to life.
Now that we know what to avoid, it’s time we dove into classic tips that nail a proper manicure! Here’s how you can score one for yourself without dumping all that cash.
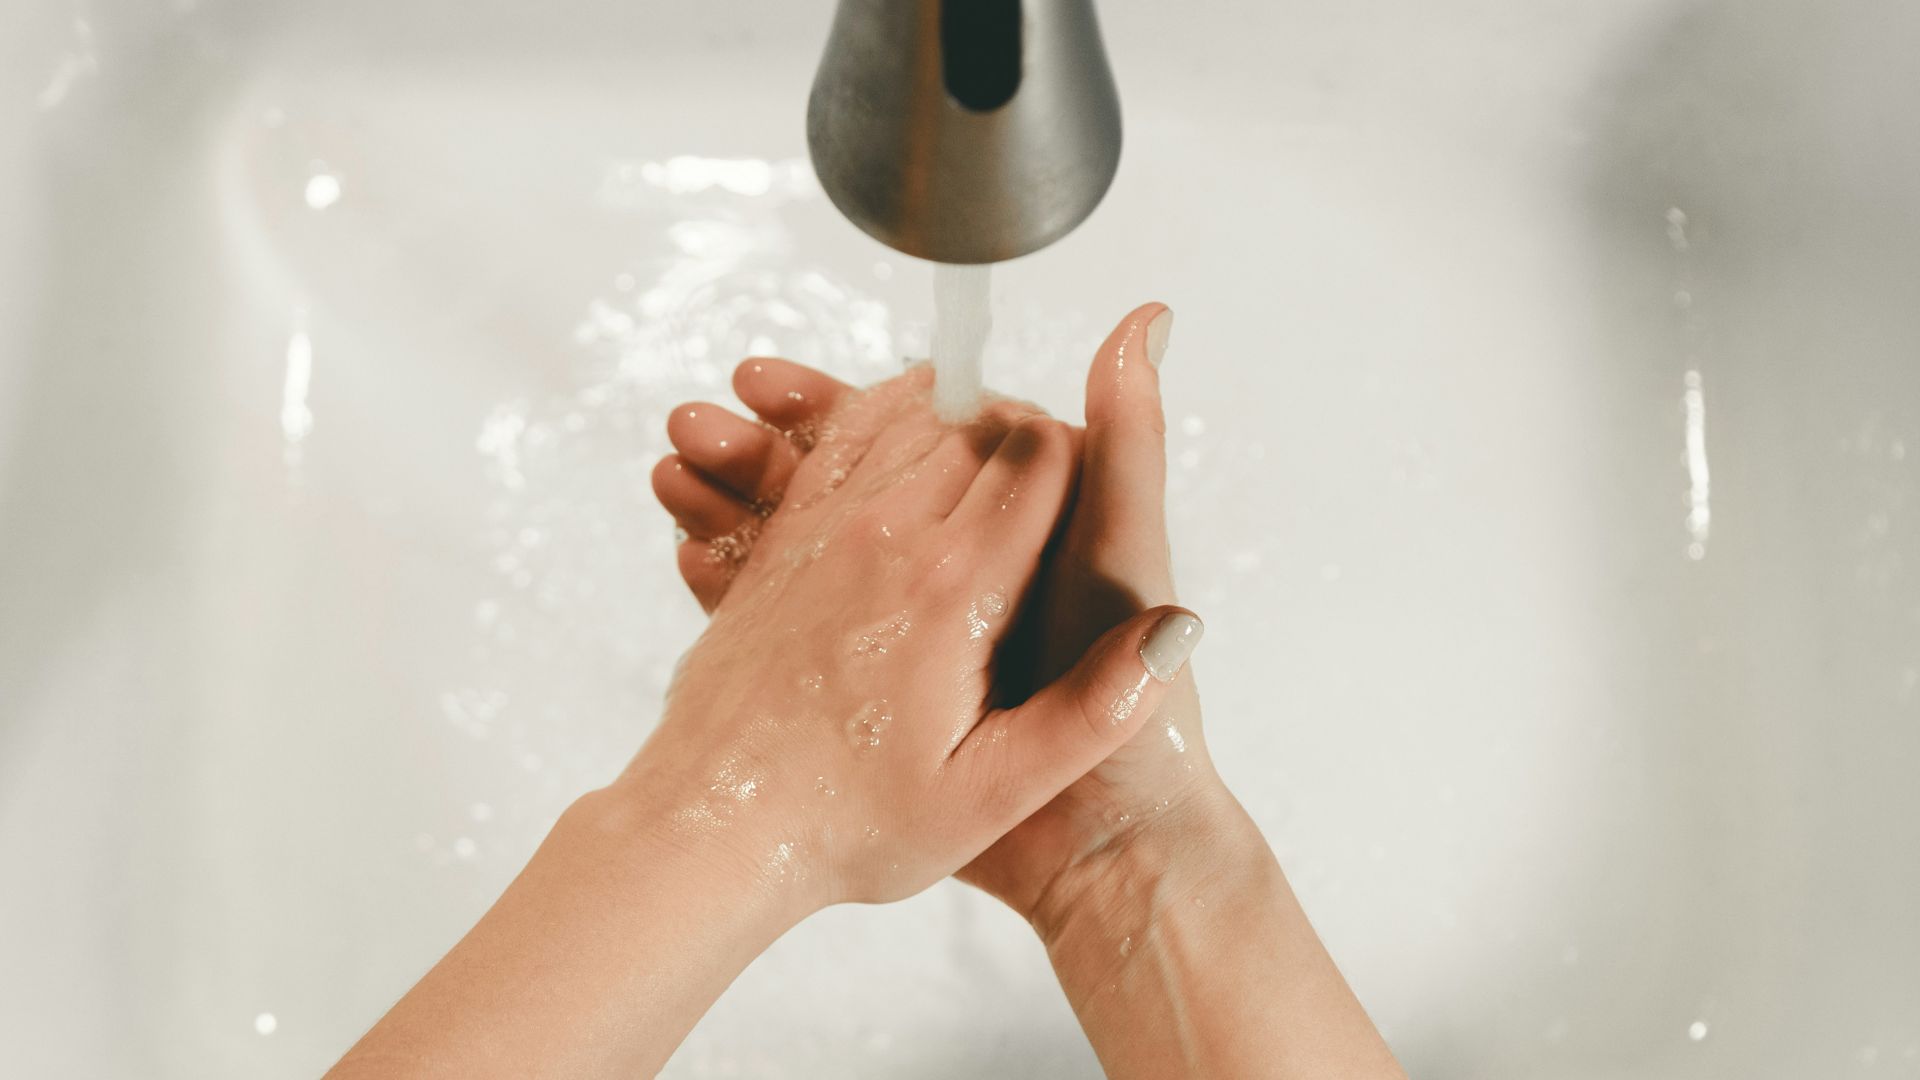
1. Start With a Quick Hand Wash
Clean hands mean less oil on your nails, and that helps polish stick. Dry them well so you’re not trapping moisture under your base coat. It’s a quick trick that ensures your manicure behaves from the very first swipe.
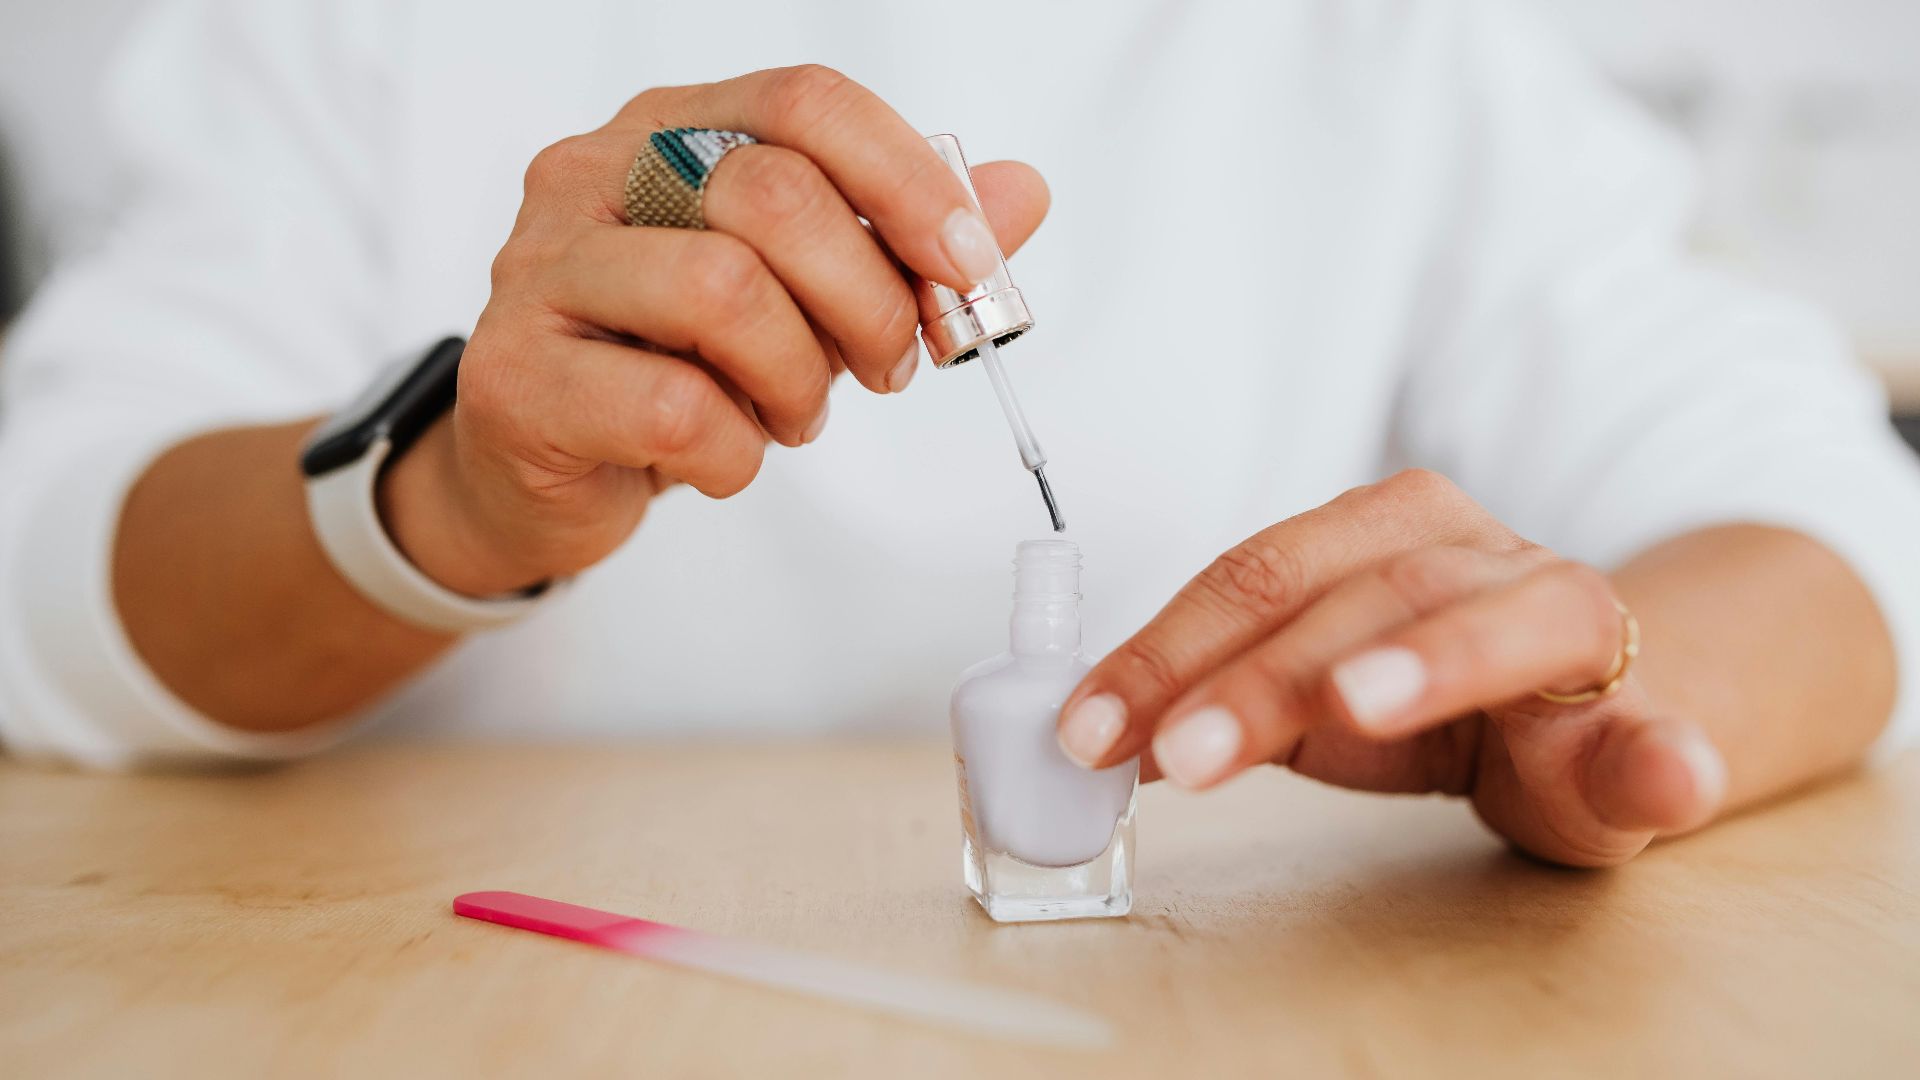
2. Use the Right Base Coat
A good base coat can smooth ridges, prevent staining, or help polish last longer, depending on what you pick. Think of it like a primer for your nails, not an optional extra. Once you find the right one, you’ll notice fewer chips and a more even finish.
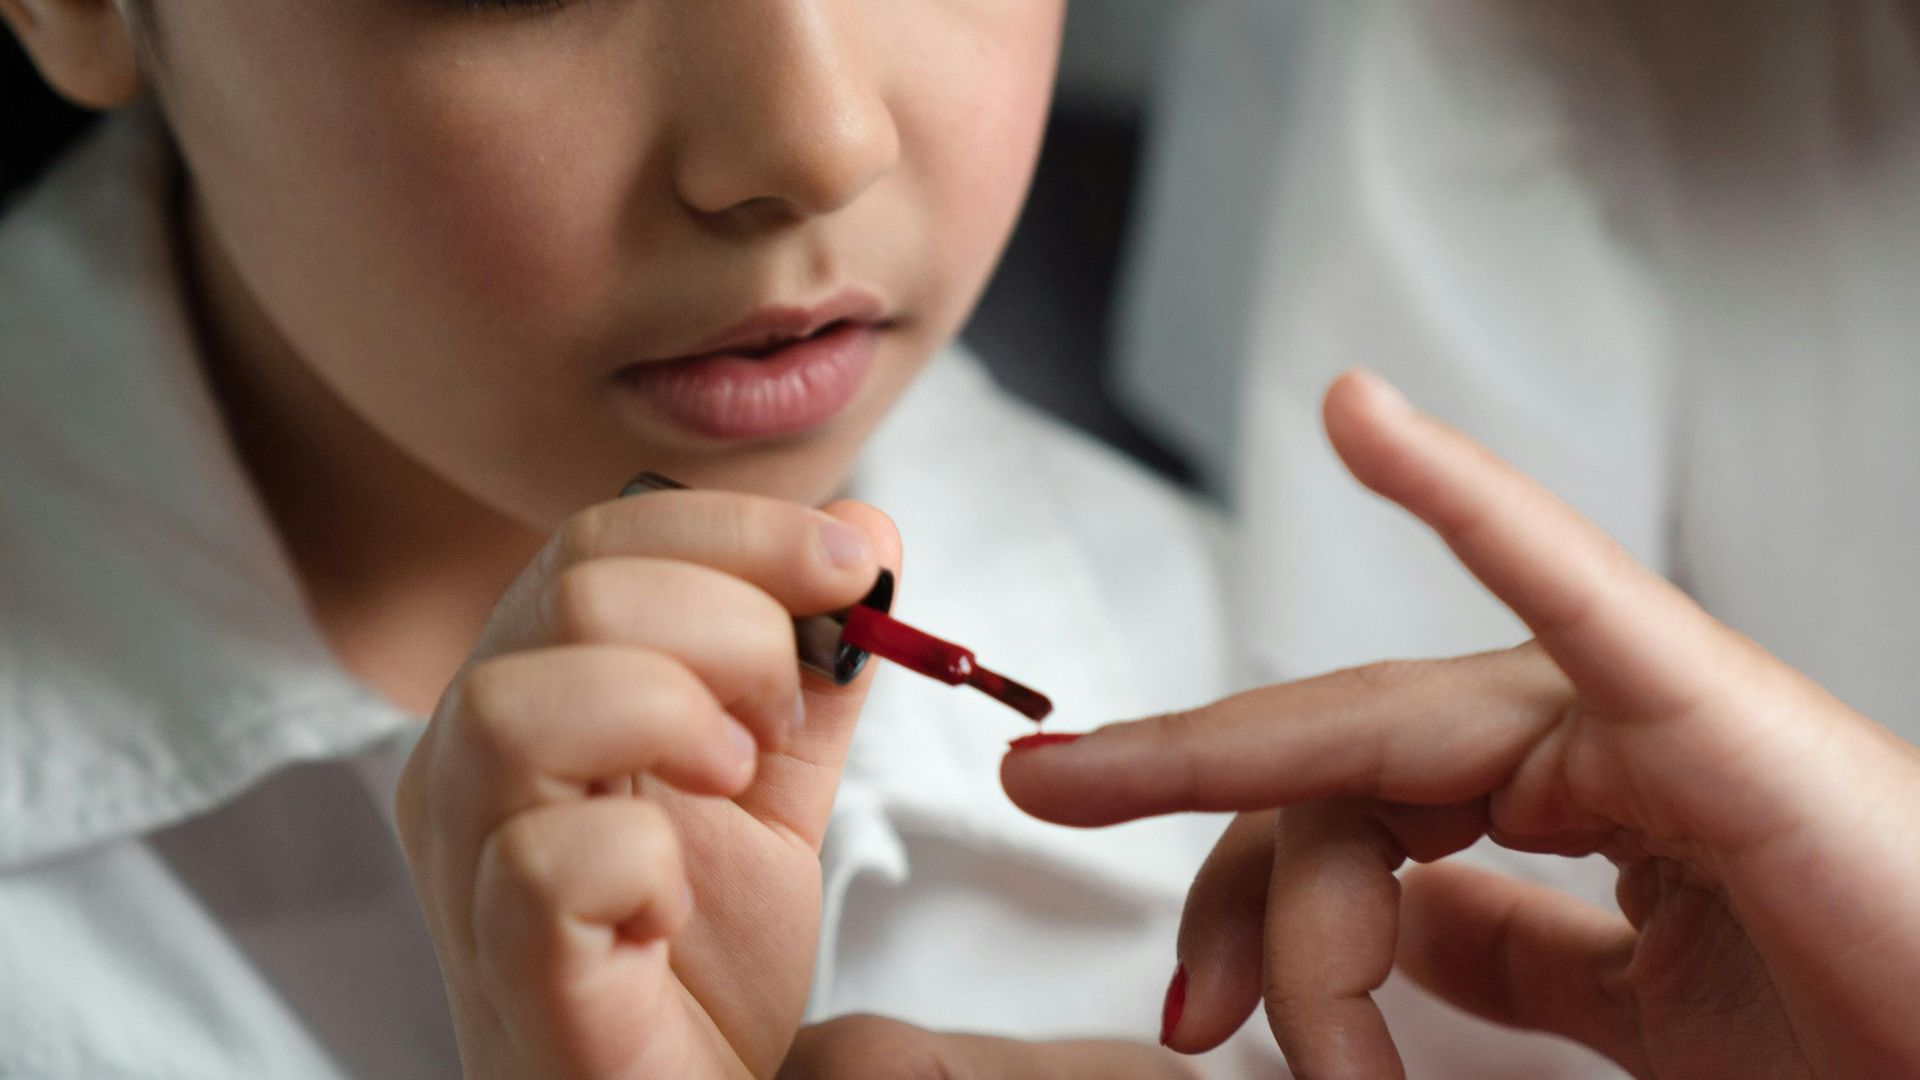
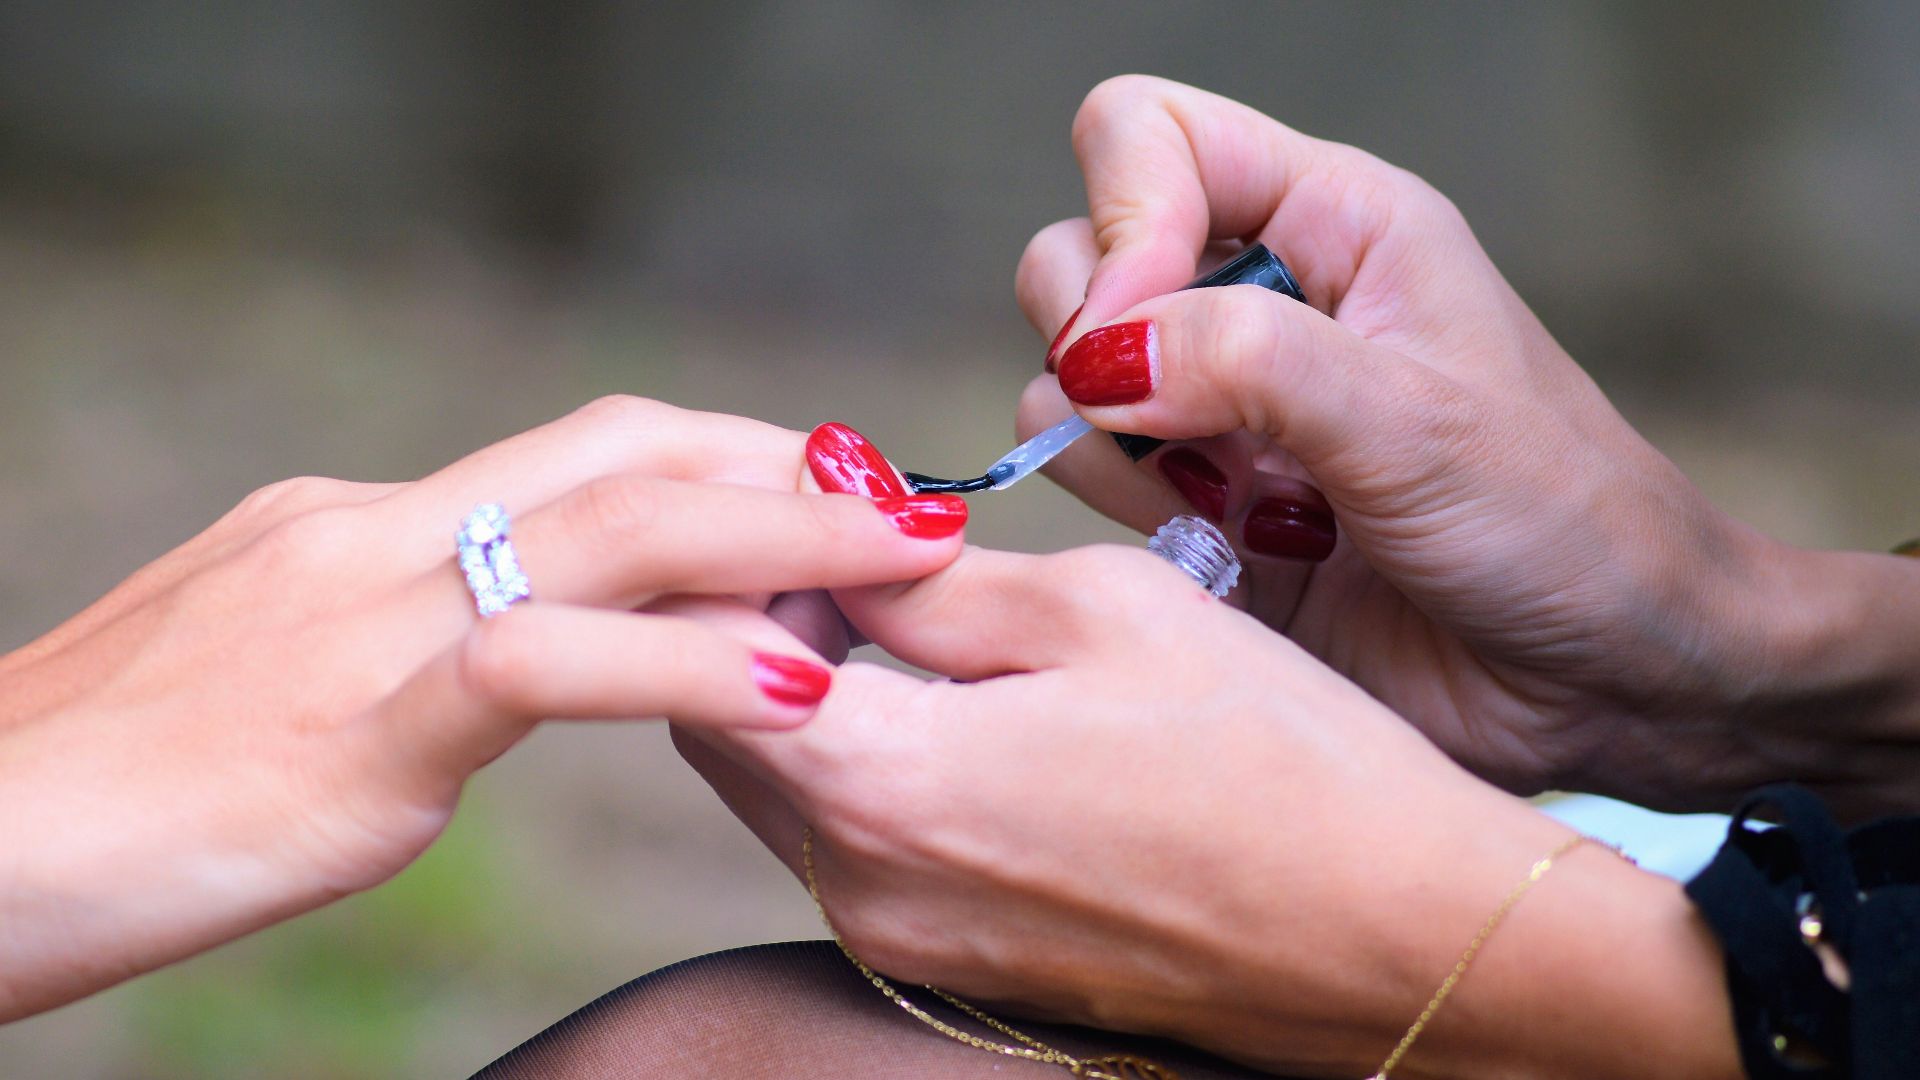
3. Load the Brush, Then Wipe One Side
You want enough polish to glide, but not so much that it spills into the cuticles. Wiping one side of the brush leaves a controlled amount that’s easier to place, and it instantly improves your application.
4. Use the Three-Stroke Method
Place the brush in the center and pull down, then do one stroke on each side. The simple method keeps things symmetrical and reduces overworking, leaving you with a smooth finish you don’t have to fuss over.
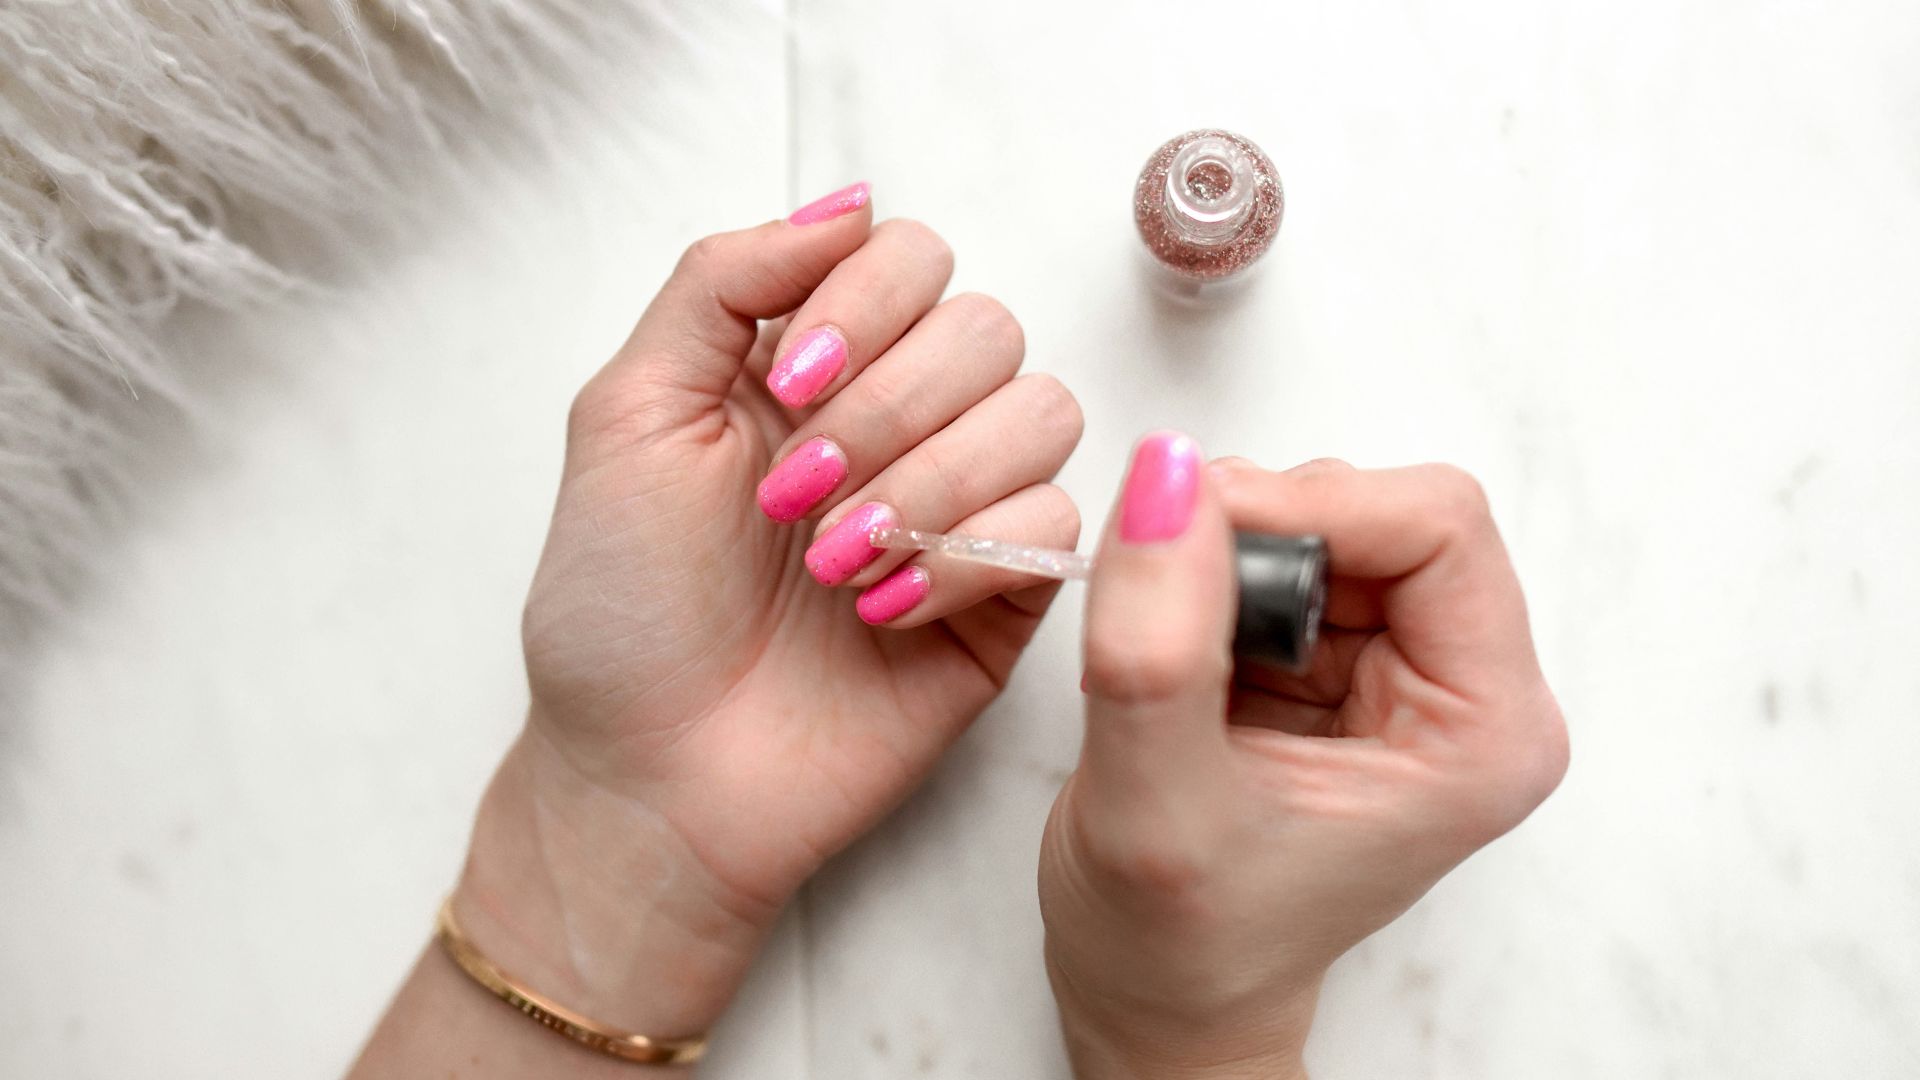
5. Keep Coats Thin and Build Slowly
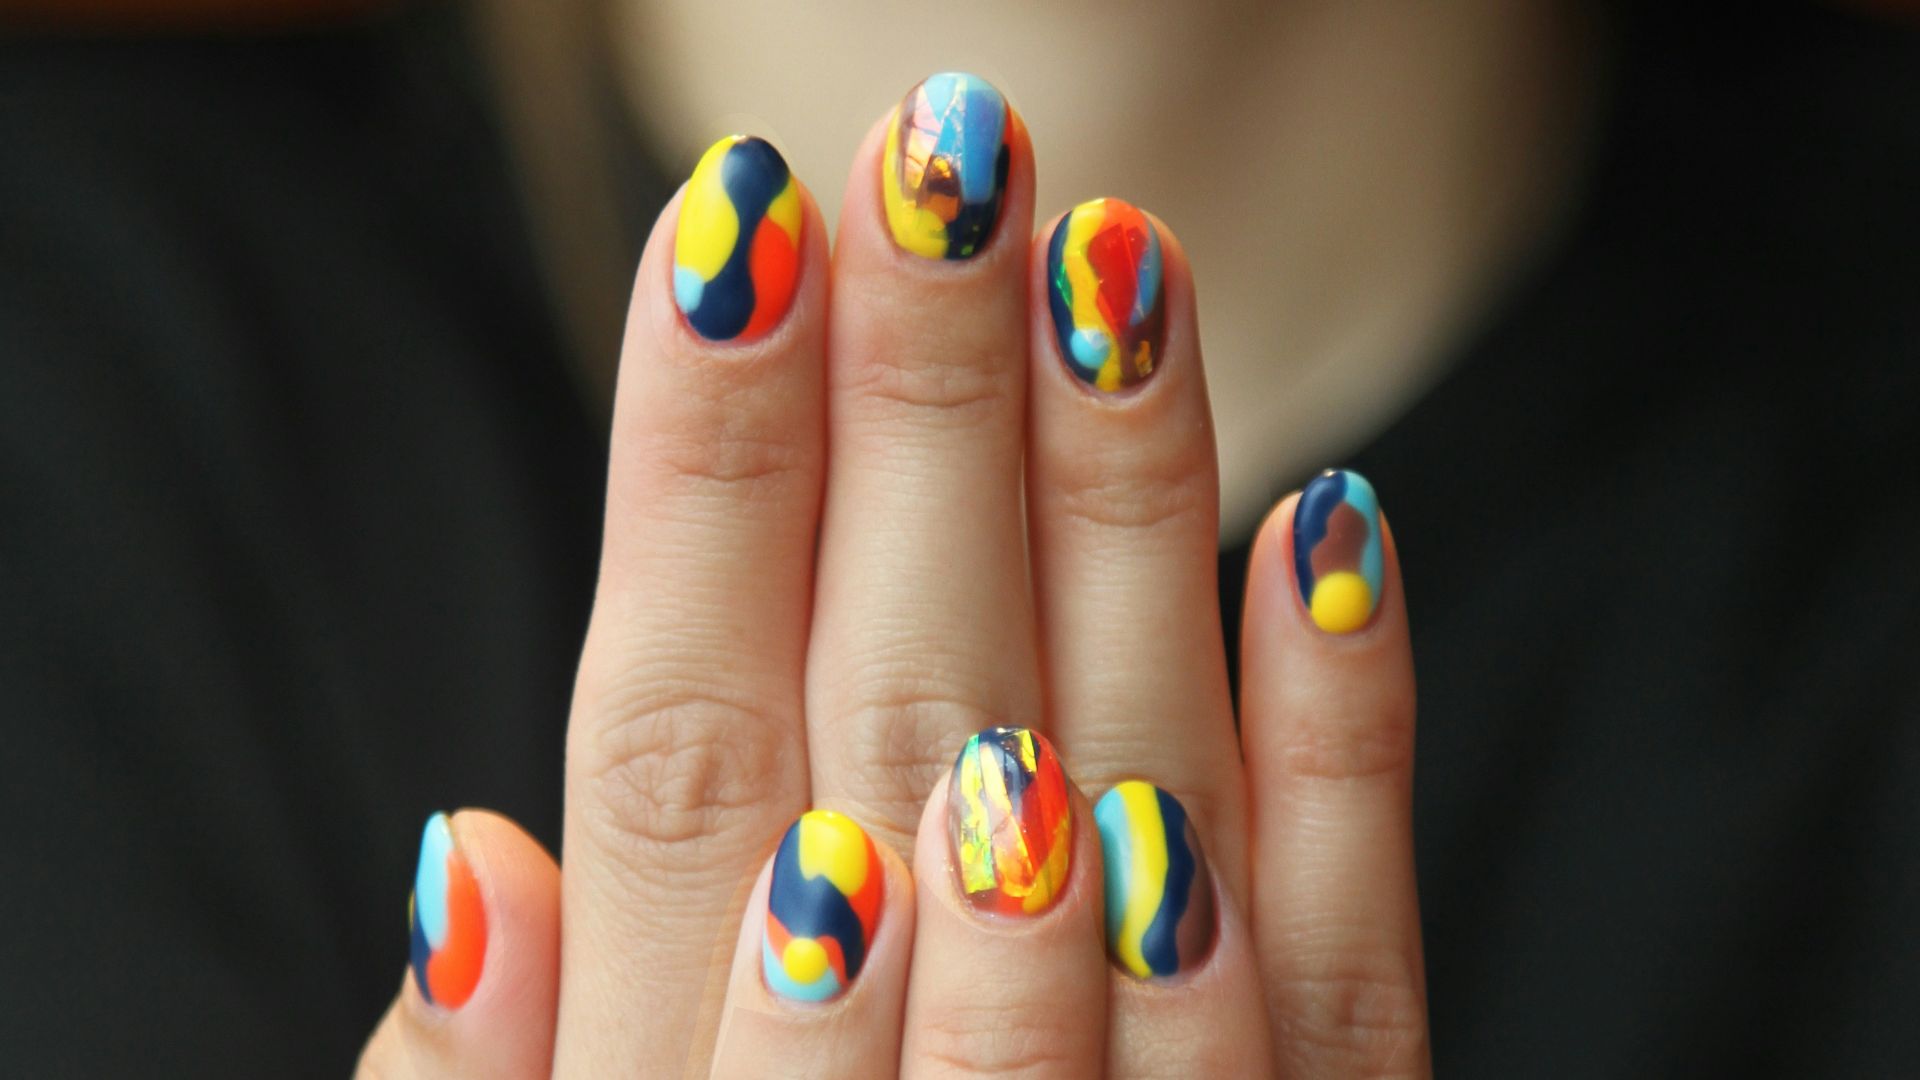
Thin layers dry faster and look more even, especially with bold colors. You’ll get better opacity by stacking two or three light coats than forcing one heavy one, plus, fewer smudges means less dramatic sighing!
6. Cap the Free Edge
When you swipe polish across the tip of your nail, you’re sealing it like a little protective jacket. But that edge is where chips start, so sealing it matters. Do it with both color and topcoat for the best payoff.
7. Clean Up Edges With a Small Brush
A tiny cleanup brush dipped in remover can erase messy lines like magic, and it makes your manicure look crisp, even if your painting skills aren’t great. Think of clean edges as a cheat code for a salon look.
8. Use a Quick-Dry Topcoat for a Glossy Shield
A quality topcoat adds shine and protects the color from scuffs and dents. Quick-dry formulas also help lock everything down so you’re not terrified of touching anything. Your nails will look glassy and feel more durable.
9. Let Your Nails Fully Cure Before Doing Anything
Dry to the touch isn’t always fully set, even if it feels okay! Give it time before showering, rummaging through bags, or doing anything that presses the surface. You’ll avoid those mysterious dents that appear out of nowhere.

10. Maintain With Cuticle Oil and Small Touch-Ups
Cuticle oil keeps the skin and nails flexible, which can reduce peeling. If you get a tiny chip, reapplying your topcoat can save the whole manicure. A little maintenance keeps your nails looking fresh well past the common expiration date.