
Color Mistakes & Pro Fixes
Hair dye disasters sneak up on people fast, usually right after they feel confident enough to skip the tiny details that actually matter. A small mistake turns bold color dreams into patchy surprises, and that’s when panic starts whispering louder than the instructions on the box. Luckily, color chaos has patterns, and the most common ones repeat everywhere. Ready to dodge those first? Let’s start with the mistakes many people often make before shedding light on how to do it right.

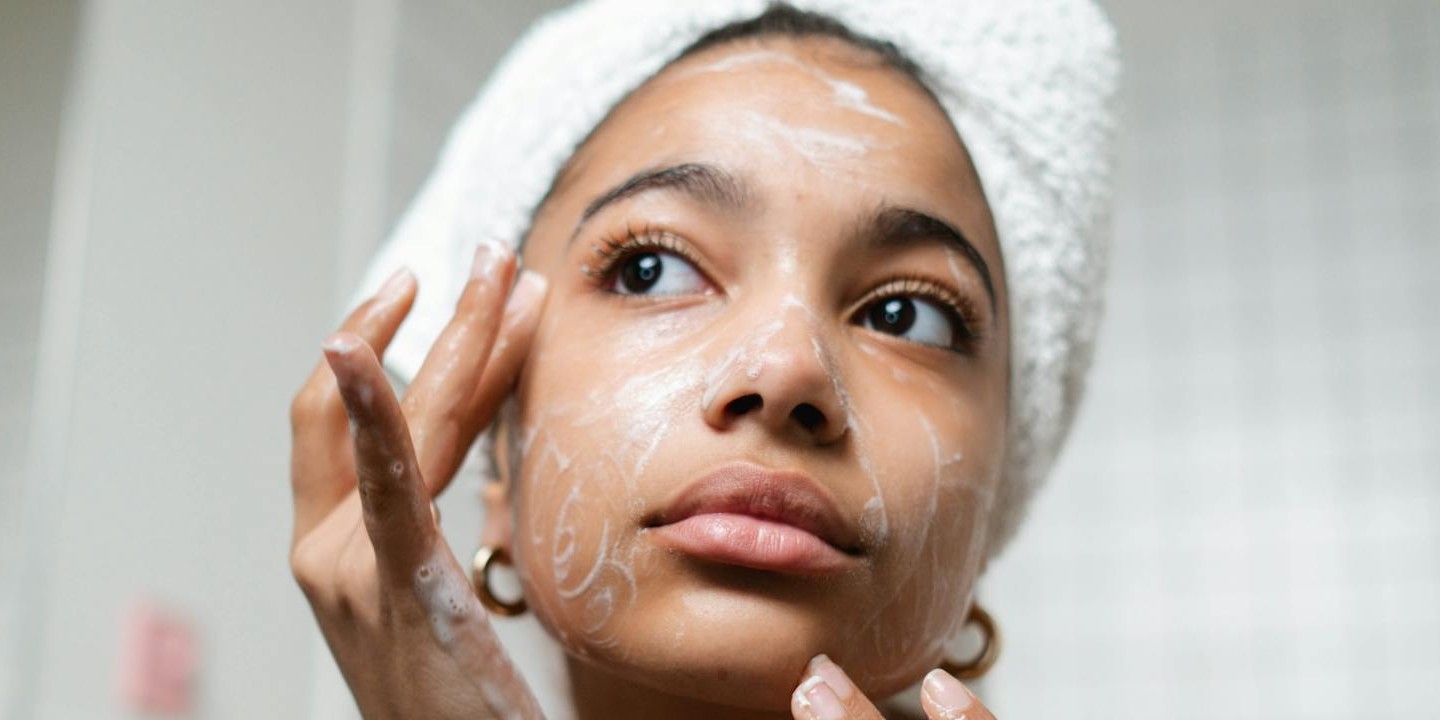
1. Applying Dye On Product-Coated Hair
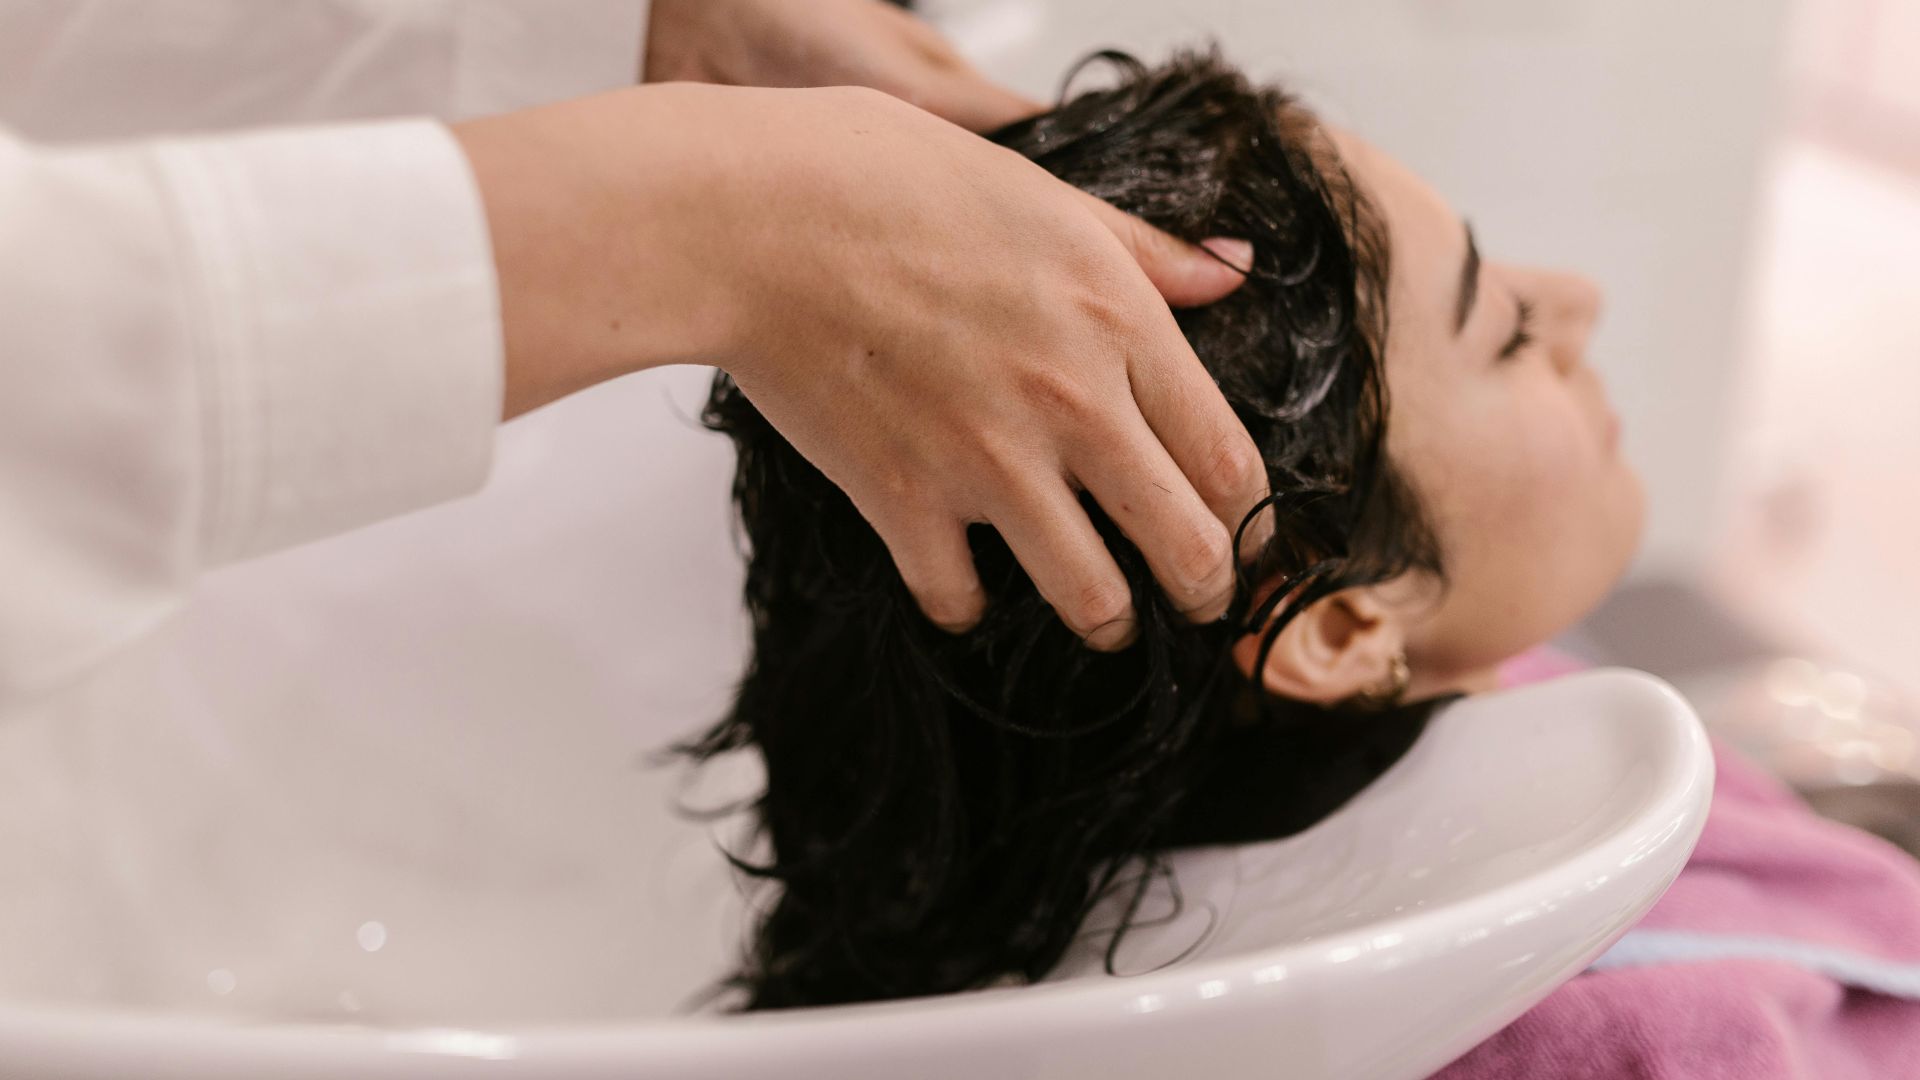
Product buildup blocks fresh color from settling evenly, so strands end up with patchy results that frustrate anyone hoping for a smooth finish. Oils, sprays, and heavy conditioners create barriers that resist pigment. Clean hair accepts color more predictably and holds it longer, which gives the final look a far better balance.
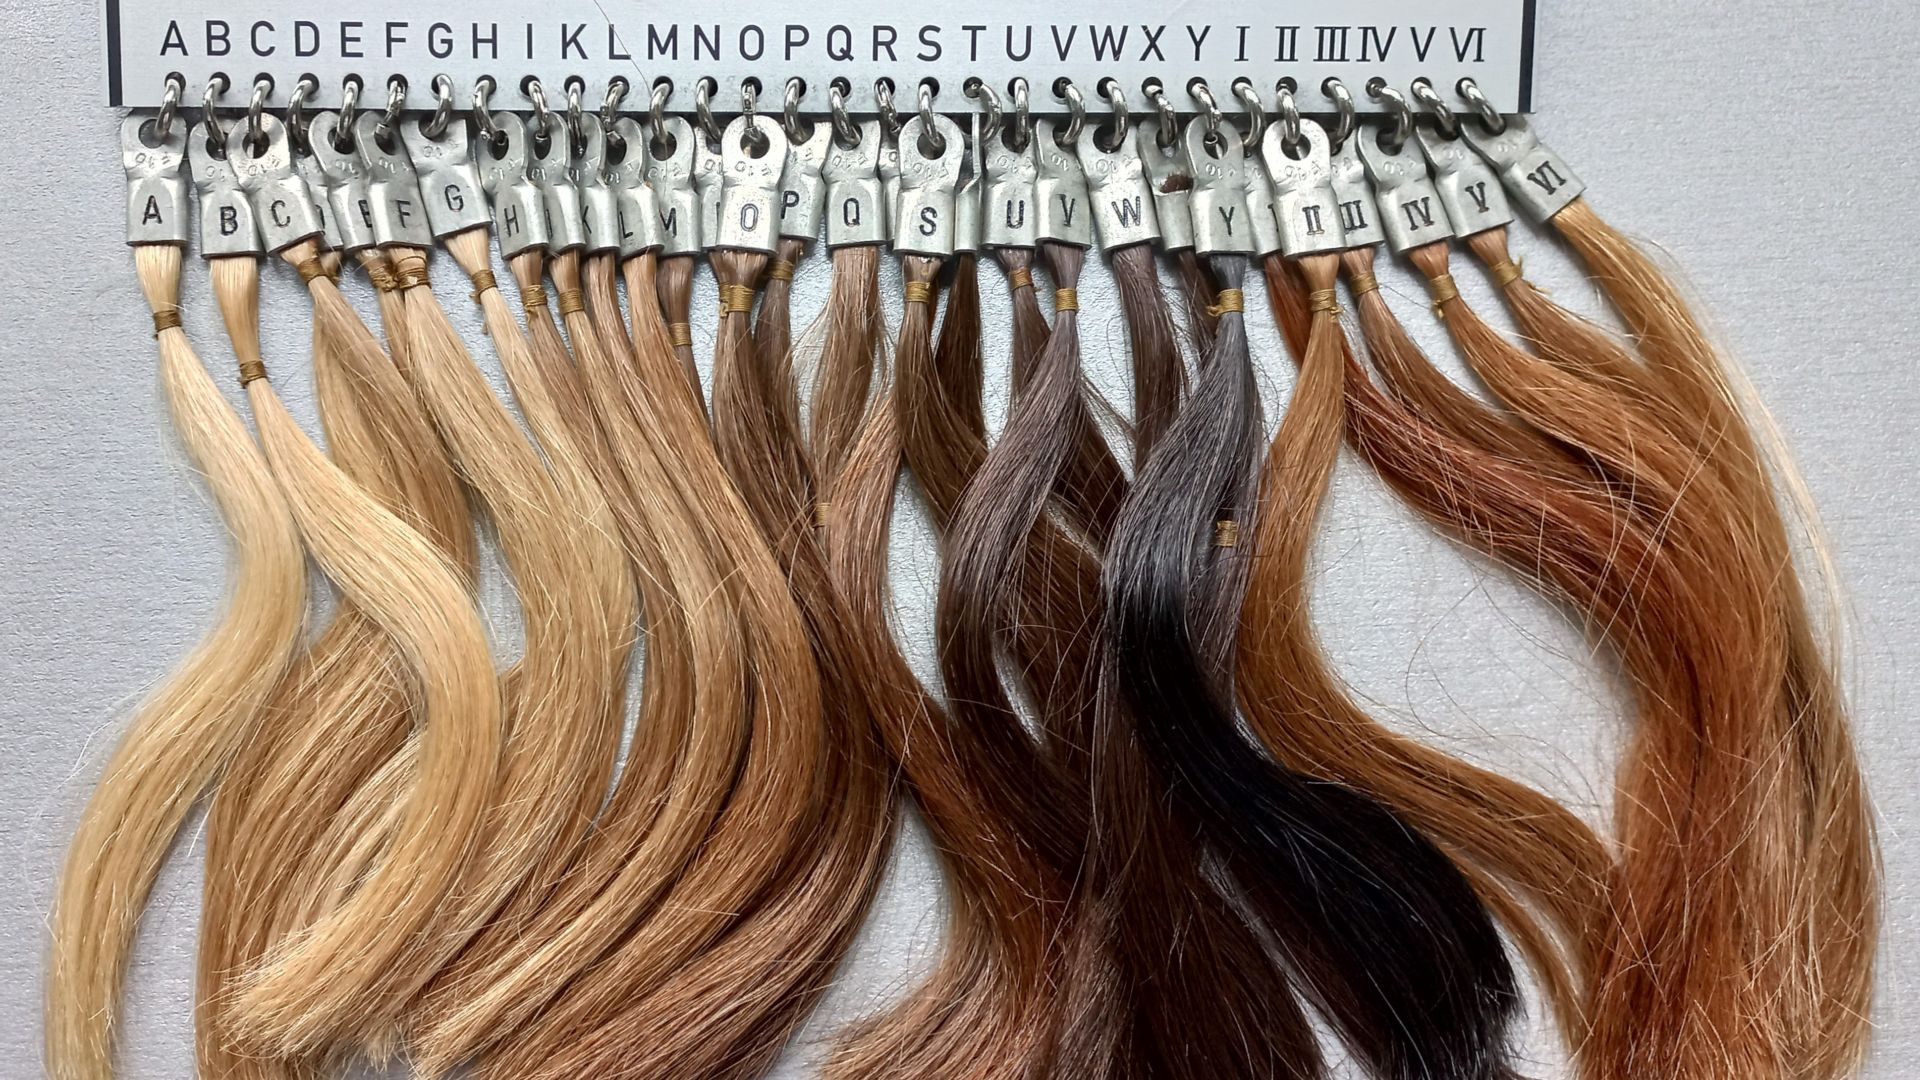
2. Choosing Shades That Clash With Natural Undertones
Wrong undertones disrupt harmony between hair and skin, creating a shade that attracts attention for the wrong reasons. Color theory explains why such mismatches look harsh. Charts exist to guide better choices and reduce that risk. A thoughtful selection enhances features rather than emphasizing uneven tones.
3. Skipping The Strand Test Entirely
Skipping the test invites chaos because hair rarely reacts the same way twice. A quick sample run shows the exact shade outcome before anything permanent happens. Damage level becomes clear, too. That tiny preview saves time, avoids surprises, and protects the rest of the hair from unnecessary stress.

4. Overlapping Dye On Previously Colored Sections
Overlap creates darker patches in areas that already absorbed pigment during earlier sessions. Repeated processing also weakens texture and reduces shine over time. Careful sectioning limits that problem and keeps tones consistent from root to tip. Ends even stay healthier and look brighter when each application targets only new growth.
 Matthis Burkhardt on Wikimedia
5. Leaving Dye On Far Too Long
Plenty of people believe extra minutes guarantee richer color, yet overprocessing usually delivers brittle strands and a shade harsher than expected. Instructions warn for a reason. Elasticity drops fast once exposure passes the safe window. Respect the timing and avoid turning a simple touch-up into a regret session.
6. Ignoring Root Regrowth And Creating Harsh Bands
Sharp lines appear fast when regrowth goes unchecked. Fresh roots reveal every delay and make color look uneven across the head. Banding often needs professional correction. Timely touch-ups also keep transitions smooth and protect the overall look from harsh contrast.
7. Relying On Box Dye Without Adjusting For Hair History
Many people remember their first box dye and the excitement of choosing a shade from the picture. Reality shifts once previous treatments influence the outcome. Plus, porosity changes everything, and repeated use builds stubborn layers. Adjusting for that history keeps the result closer to the imagined shade.
8. Applying Dye Unevenly And Missing Hidden Areas
A bold color dream fades fast when forgotten sections ruin the reveal. Back panels slip through rushed applications, creating streaks that immediately pull attention. Careful sectioning, on the other hand, turns the process into something intentional. Consistent coverage brings the vision to life and restores confidence in the final look.

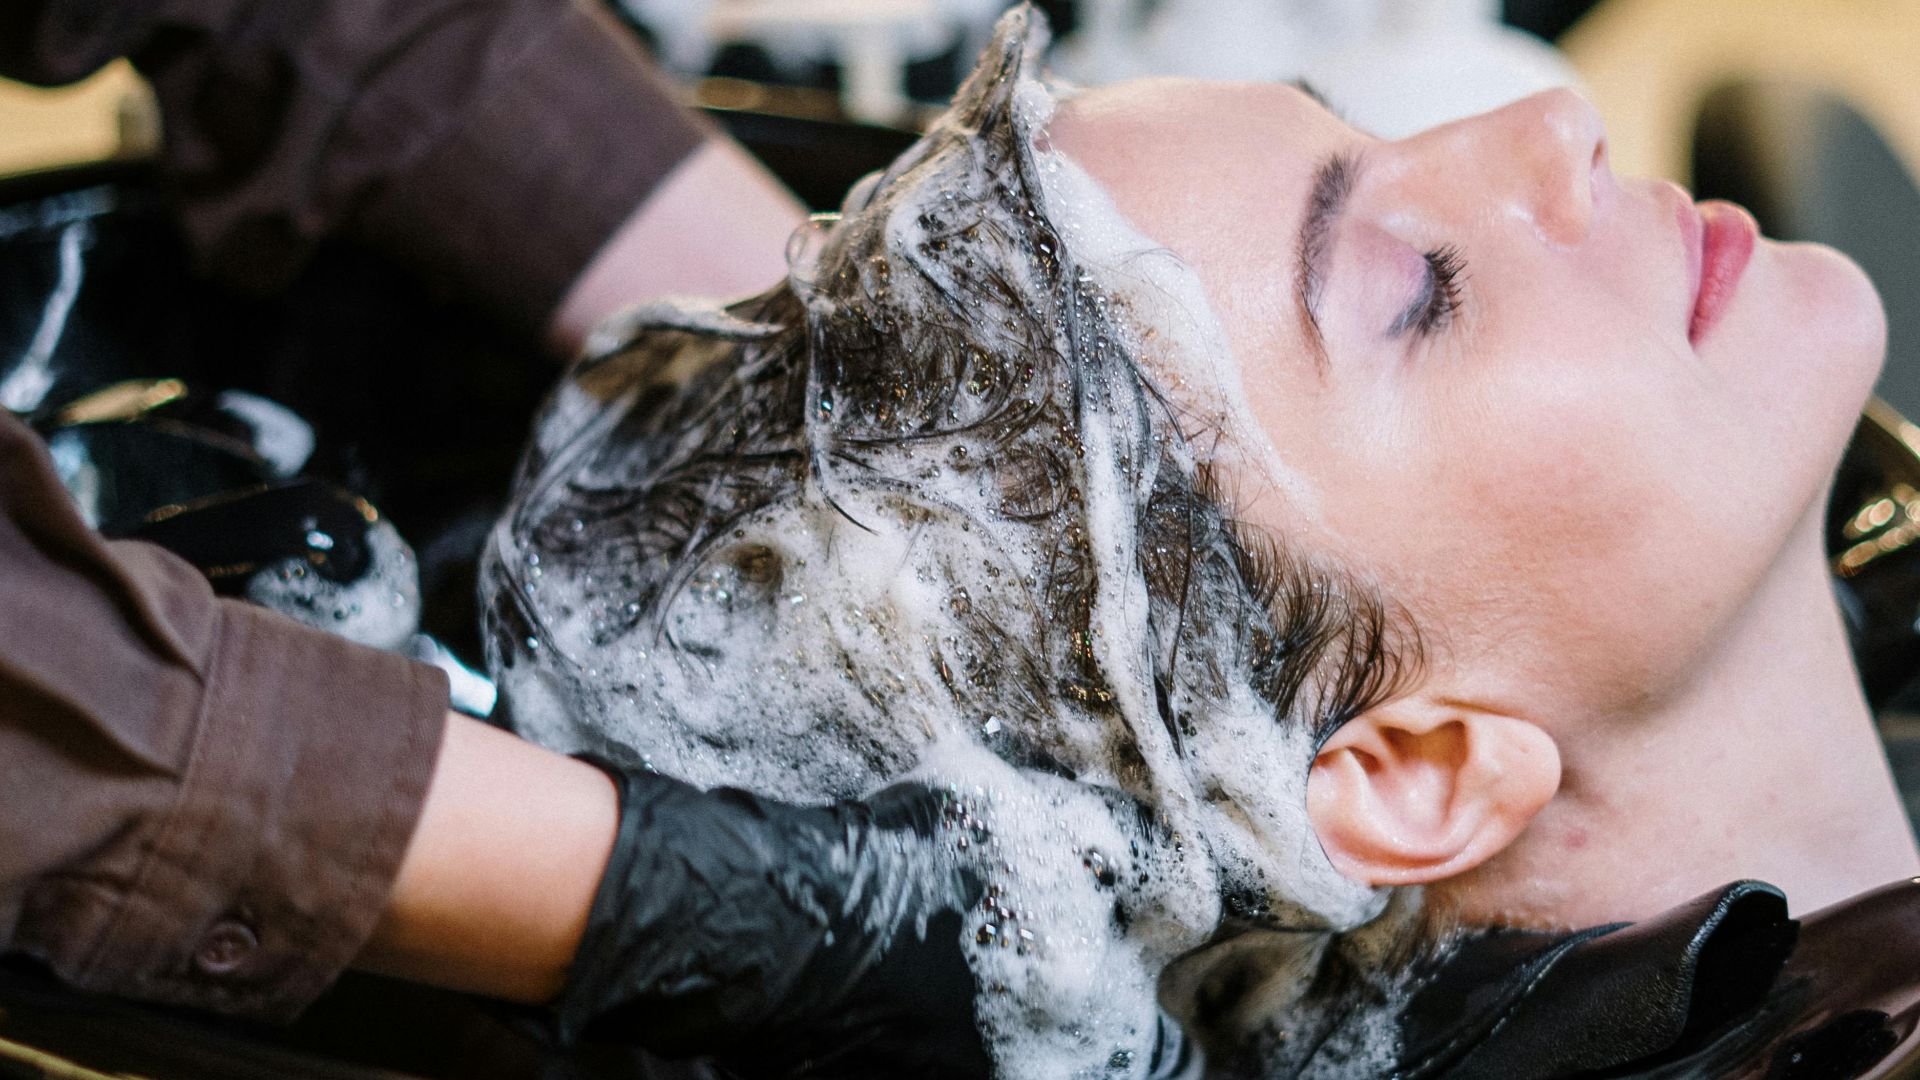
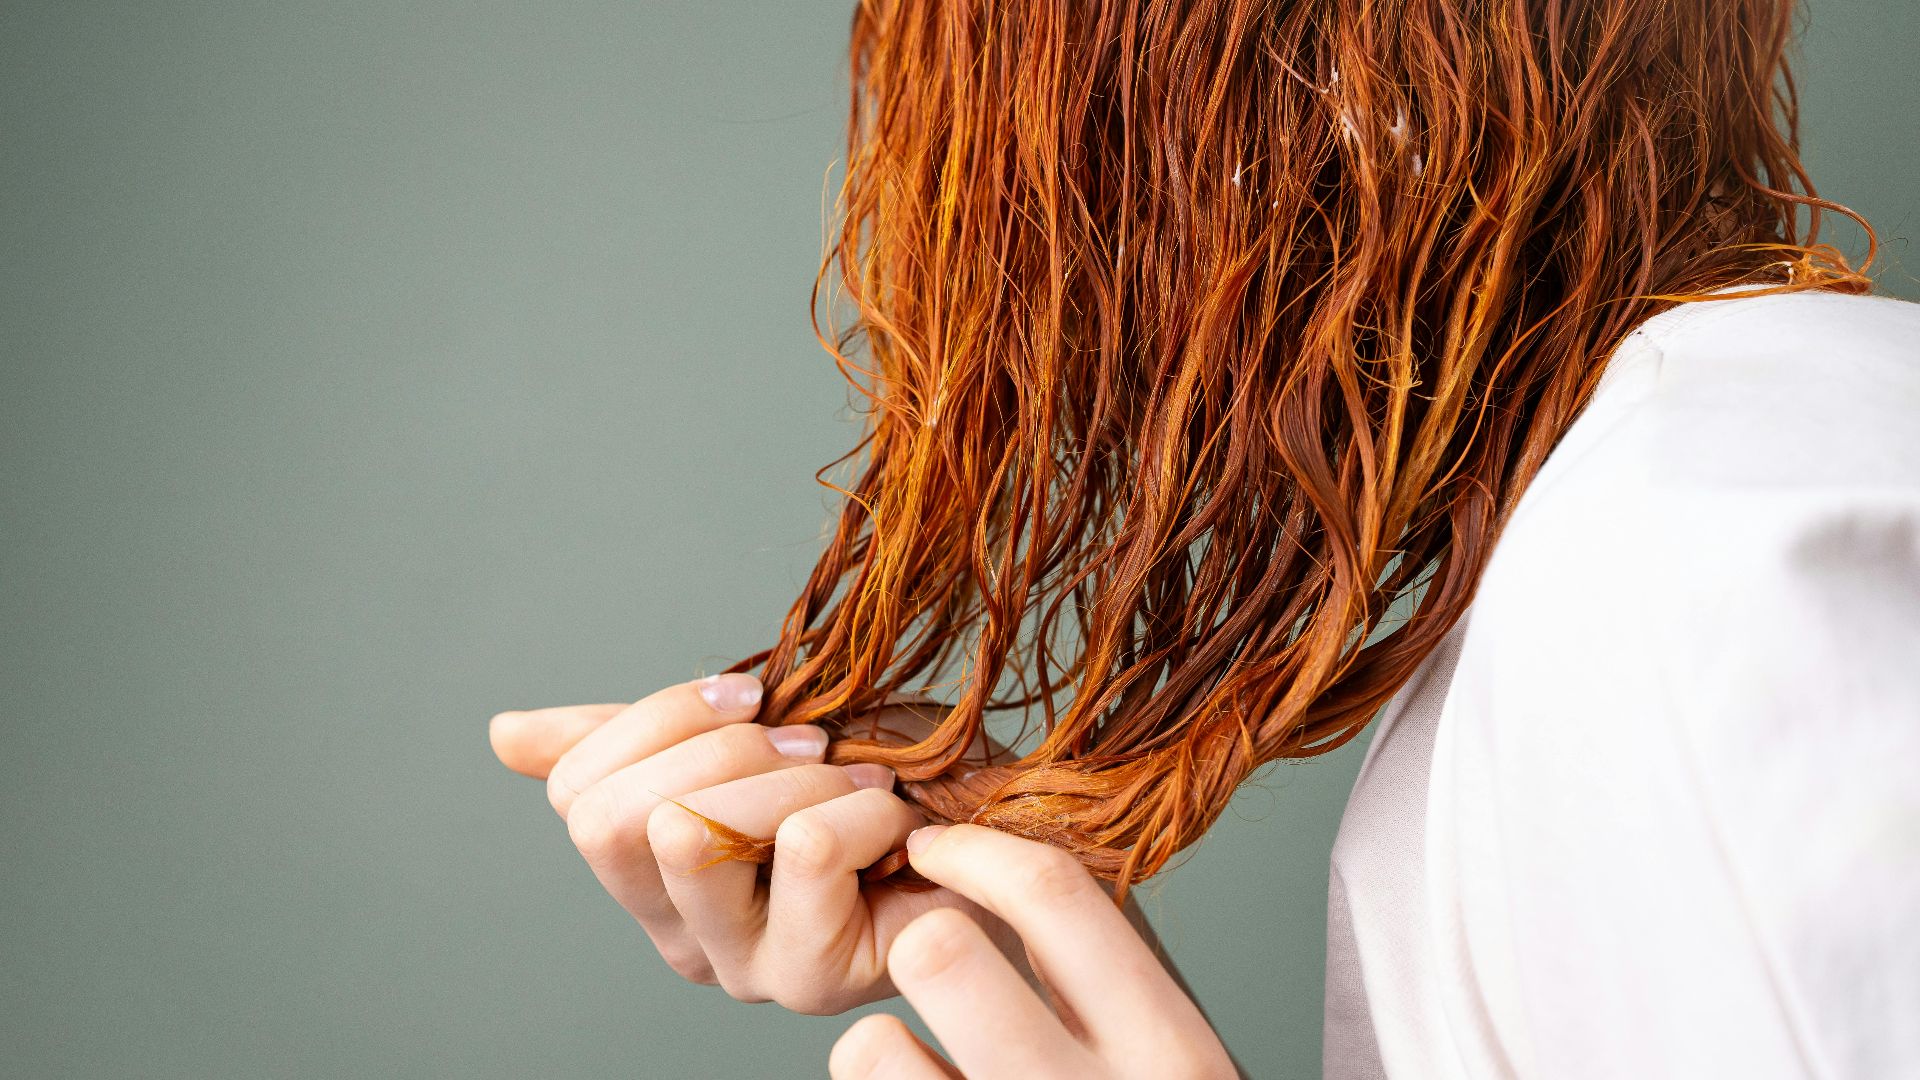
9. Rinsing With Hot Water Immediately After Coloring
Fresh color needs stability, yet hot water shocks open cuticles and sends pigment down the drain. Cool rinses calm the hair and slow that loss. Small choices influence longevity more than people expect, and this habit affects lasting vibrancy more than any product claim.
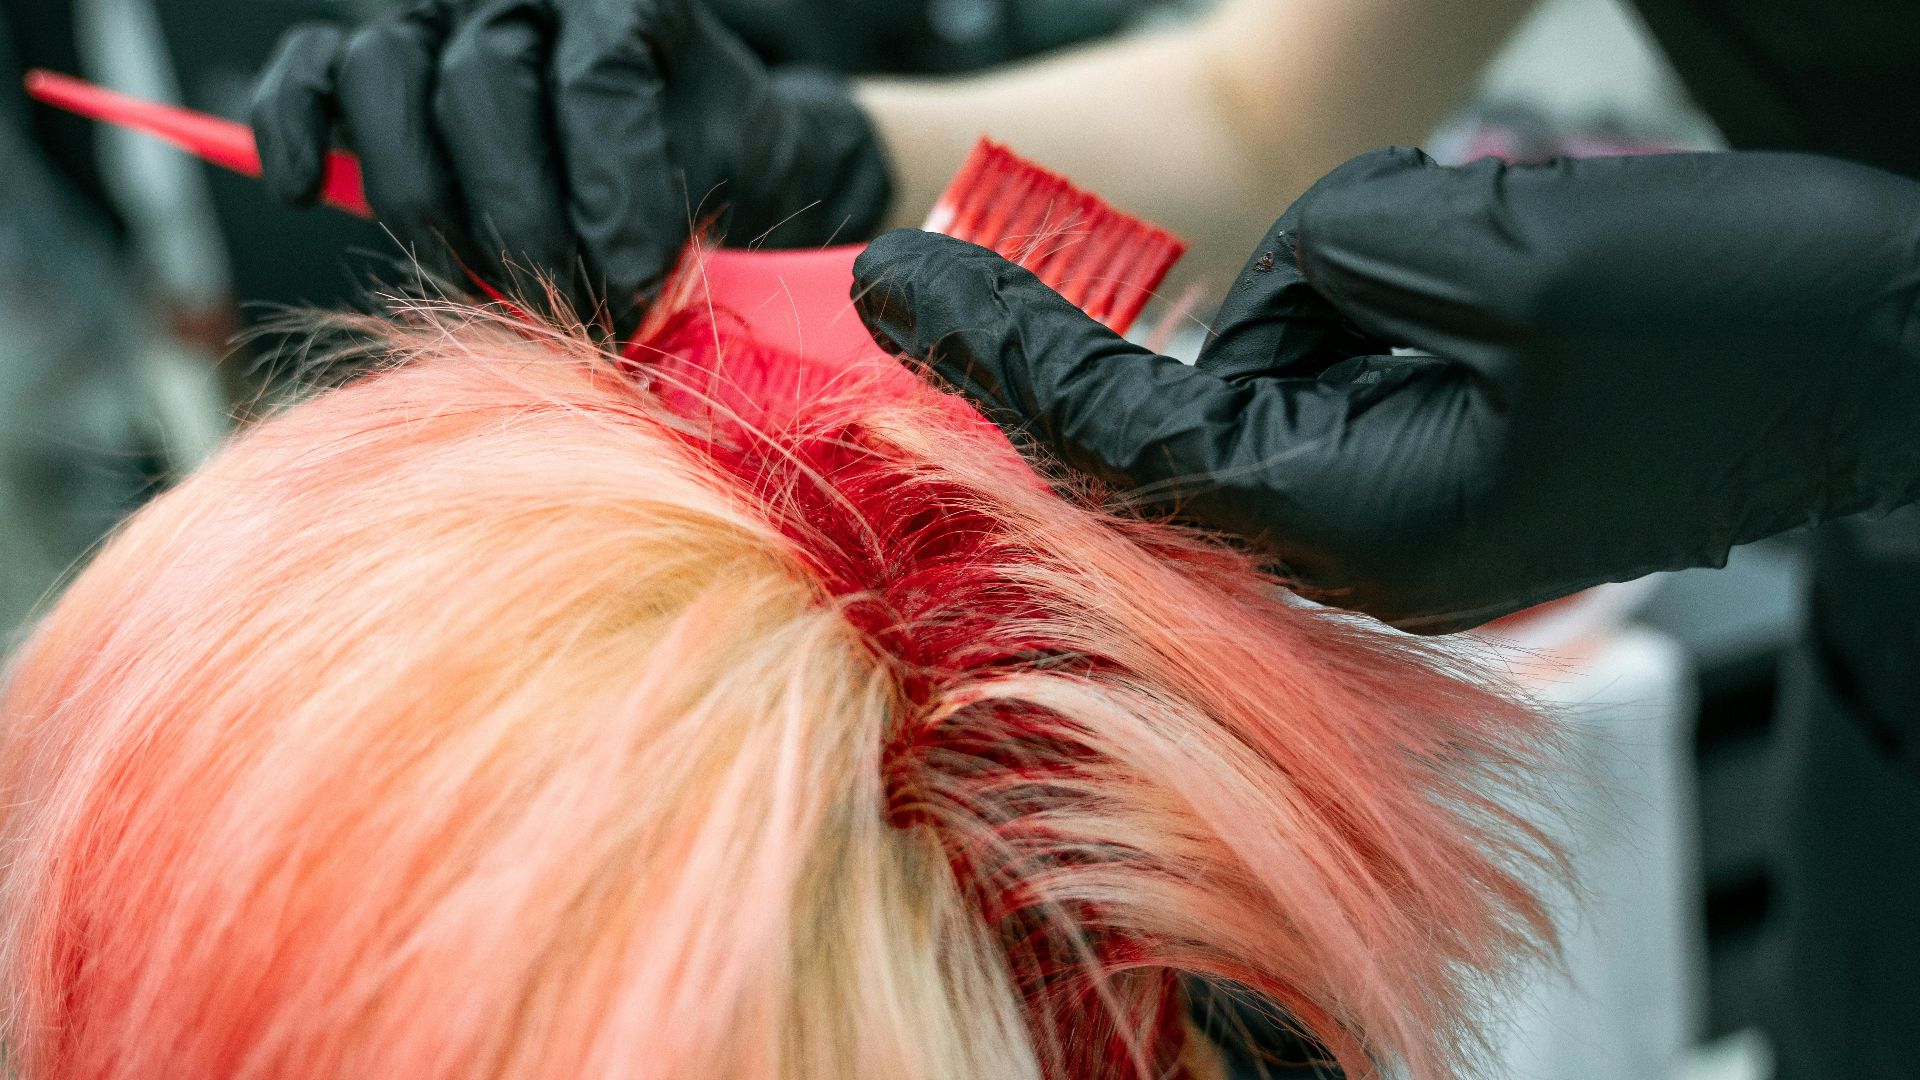
10. Neglecting Skin And Clothing Protection During Application
Stains announce themselves before the color develops, and no one enjoys explaining purple ears or ruined shirts. A quick barrier cream and an old towel prevent most disasters. Therefore, a simple prep saves outfits, skin, and dignity long before the dye finishes processing.

Now that the common mistakes are clear, the next set of tips shows how to elevate each coloring session with professional-level practices.
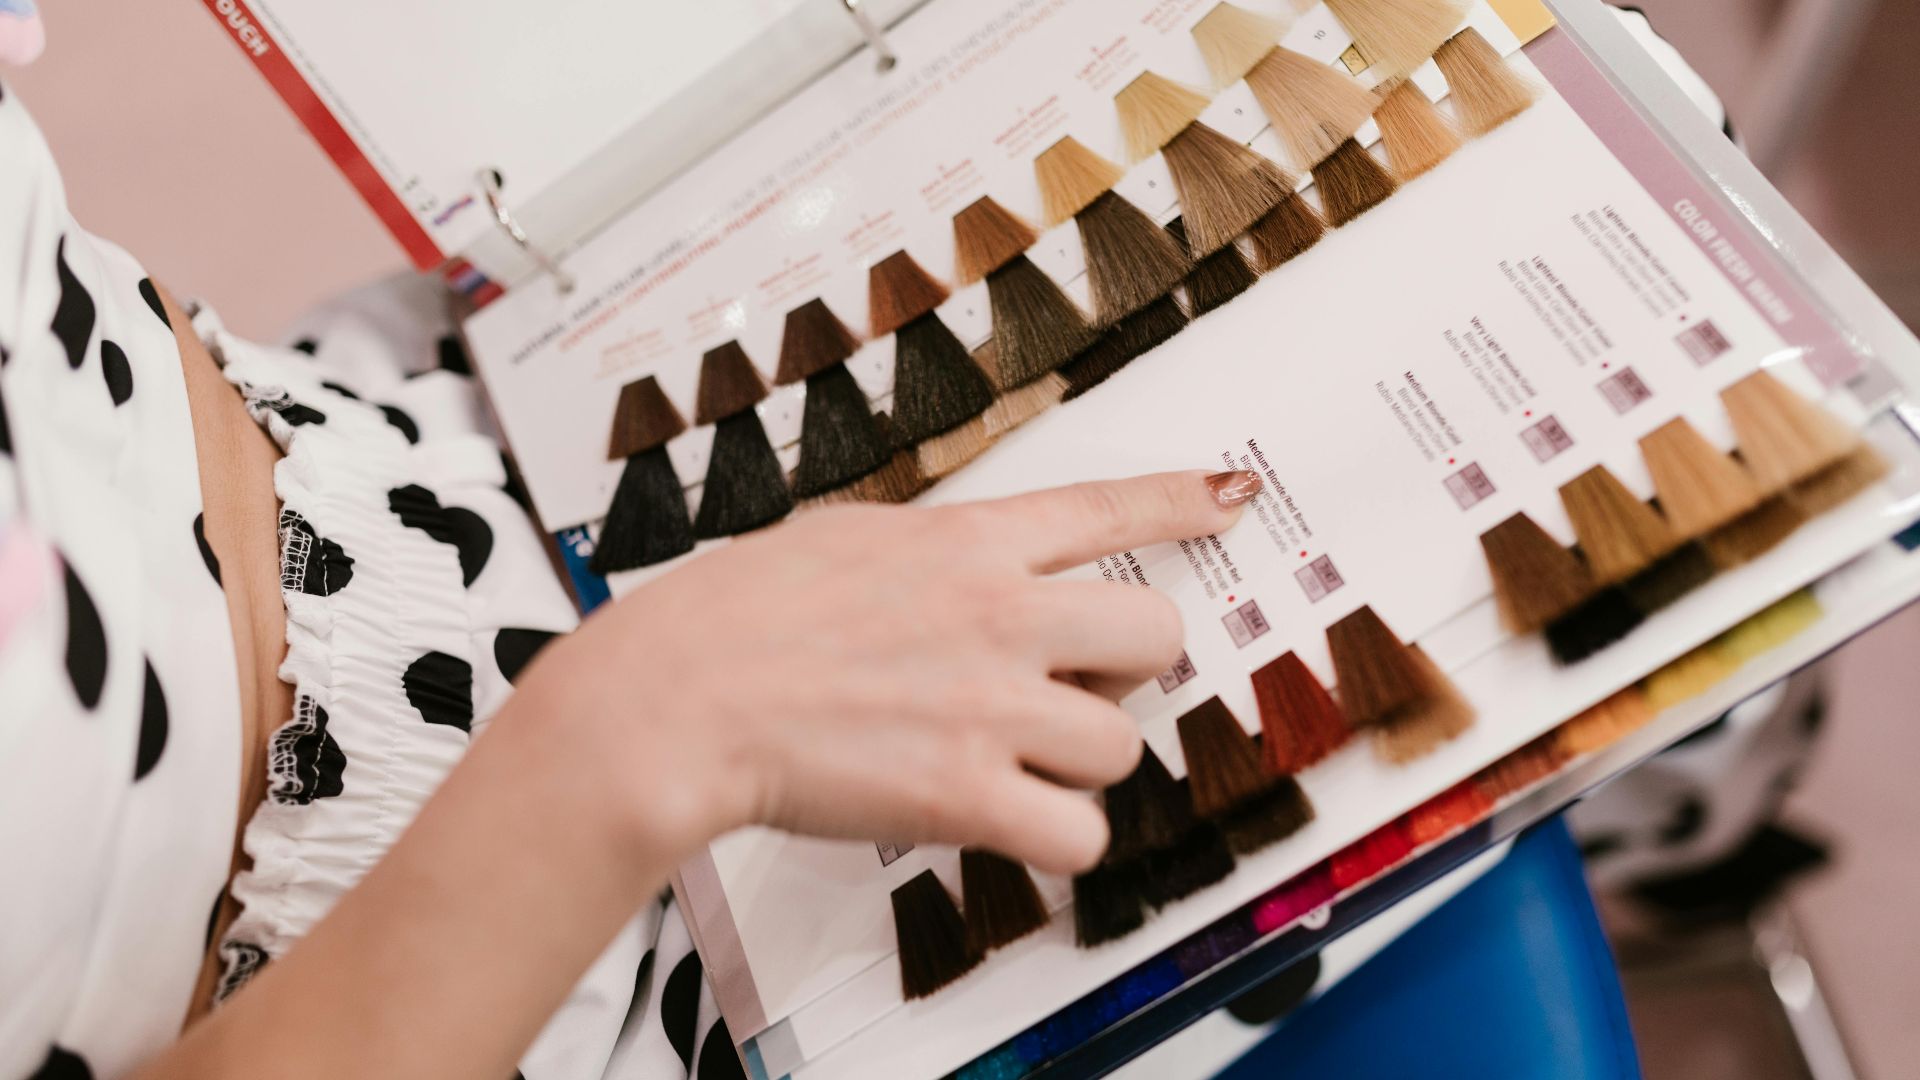
1. Consult A Professional Color Map
Stylists often begin with a color map because it reveals undertones that photographs hide. Matching those tones steers choices away from clashing results and supports future color plans. Clients also appreciate the clarity it brings, and stylists avoid unnecessary correction work later.

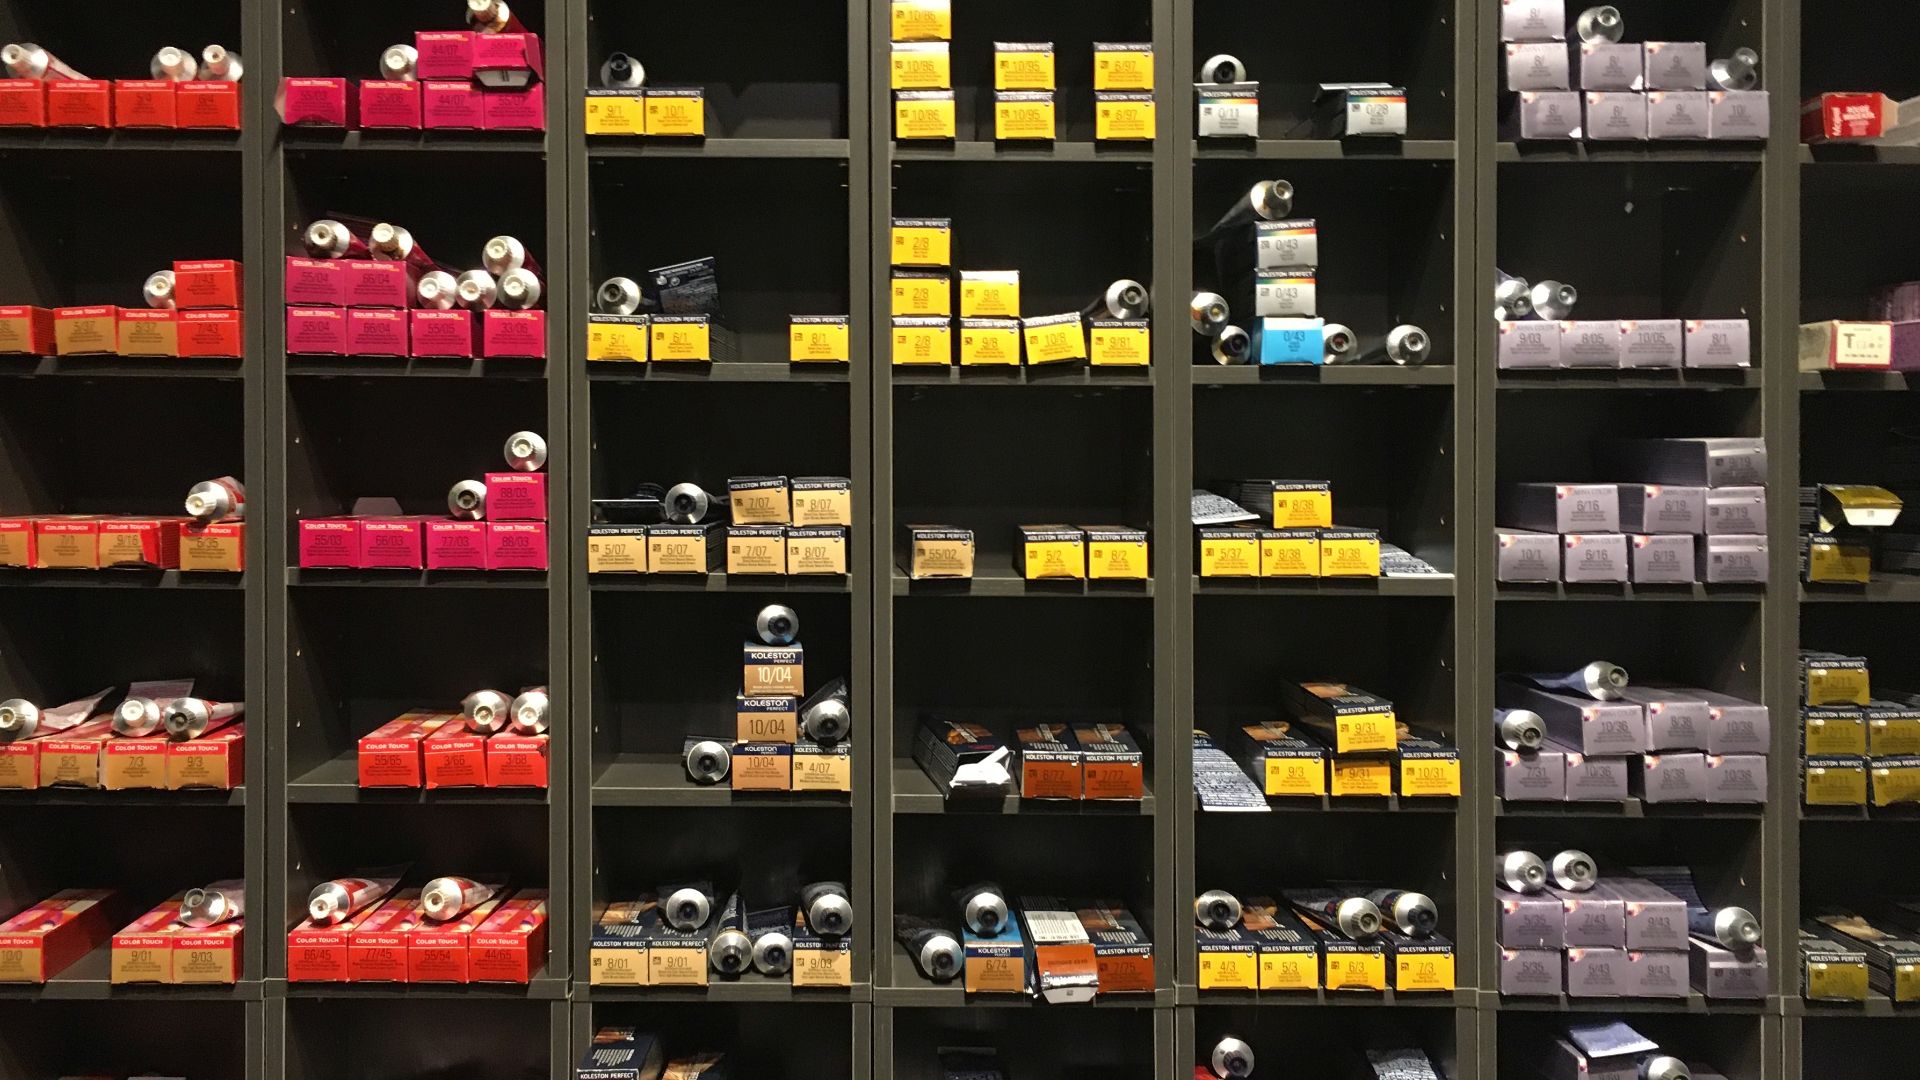
2. Invest In High-Quality Tools Like Brushes And Bowls For Precision
Consider how much smoother dye sessions become once sturdy tools replace flimsy kits. Dedicated bowls resist chemical wear, and firm brushes support cleaner root application. Plus, strong tools cut down on waste and reduce mess. A small upgrade can sometimes shape the entire experience.

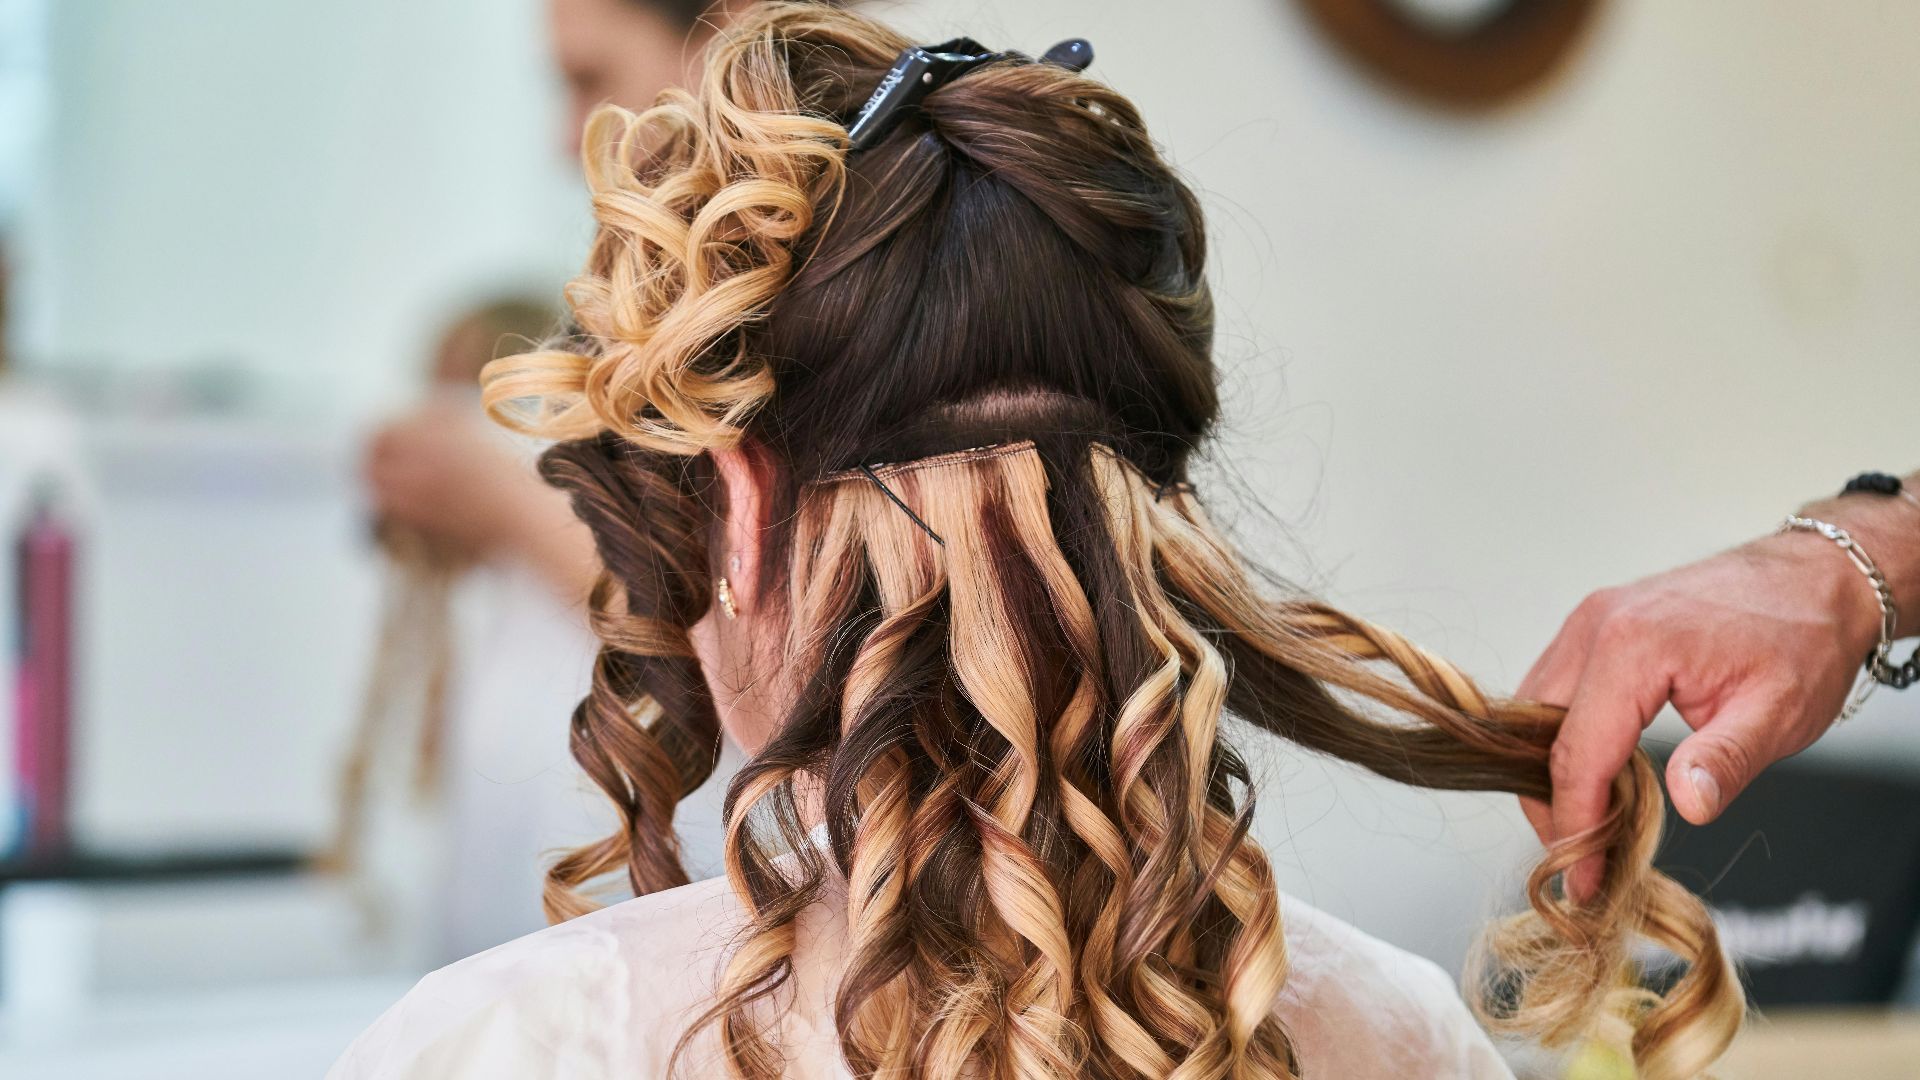
3. Use Sectioning Clips To Maintain Control During Application
Coloring gains structure once hair divides into controlled sections, almost like chapters arranged before the story begins. Clips help each movement and protect strands from unnecessary overlap. Organization speeds the process, too, and supports results that appear intentional rather than rushed.
4. Apply Barrier Creams Strategically Around Hairline And Ears
Barrier creams act like tiny guardians protecting skin from stubborn stains. A quick sweep around the hairline and ears creates a shield strong enough to save future photos. Cleanup stays simple, and irritation stays low, keeping attention on the color instead of the aftermath.

5. Track Dye Sessions In A Journal To Monitor Color History
A journal turns past dye attempts into a practical guide. Notes on timing, shade shifts, and product choices reveal patterns that shape better decisions later. Planning future sessions becomes easier once everything sits in one place. Fewer surprises appear when history stays organized.
 21775198.138-dopisnik on Wikimedia
6. Incorporate Bond-Building Additives To Protect Hair Integrity
Bond-building additives support internal hair structure during chemical processing. These formulas reduce breakage by reinforcing weakened links within each strand. Many salons rely on them to maintain strength through repeated color work. Consistent use also helps preserve texture and resilience across multiple dye sessions.

7. Schedule Color Sessions Around Seasonal Light Changes For Consistency
Seasonal light shifts often alter how hair appears, so timing color sessions with those changes helps keep shades more predictable. Bright summer sun may reveal warmth, whereas winter light softens tones. Planning with this in mind maintains consistency throughout the year and minimizes unexpected variations.

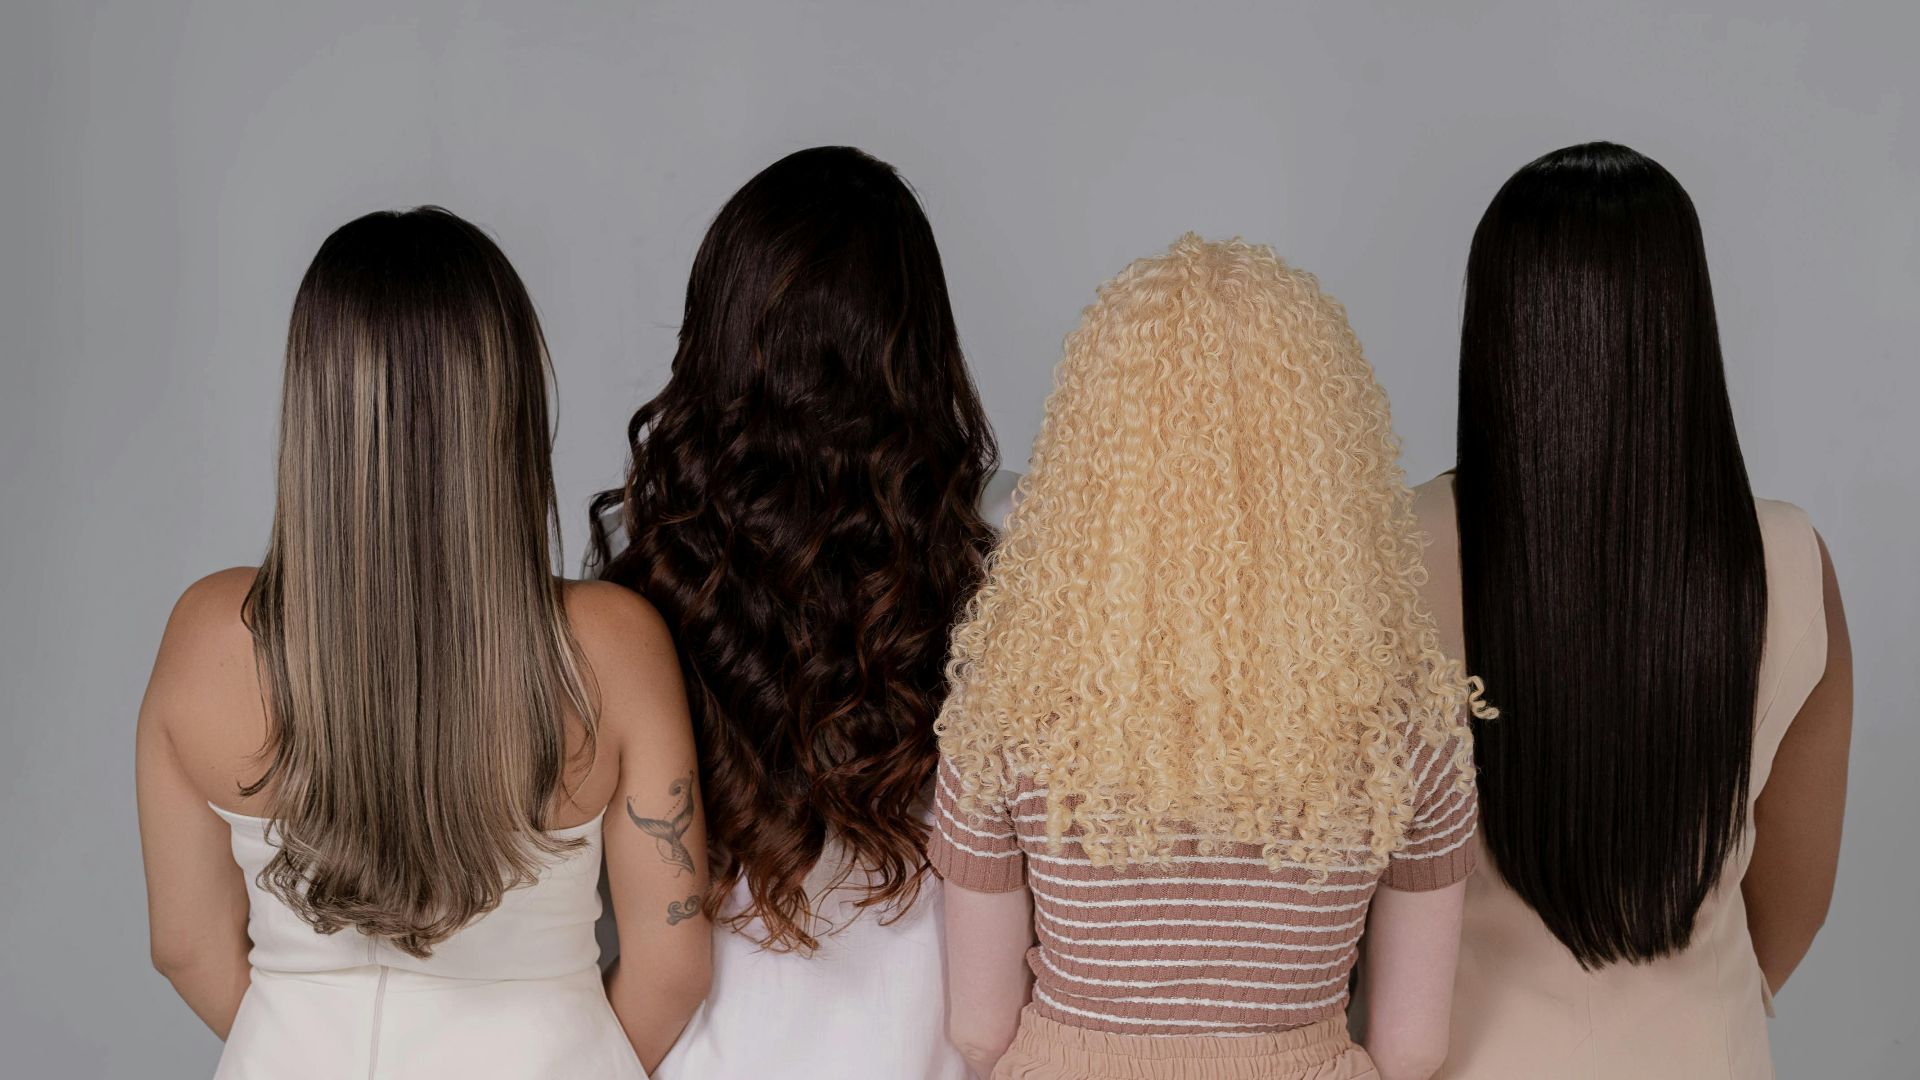
8. Blend Multiple Tones For Dimension Instead Of Flat Color
Color gains life once several tones work together across the hair. Dimension creates movement that flat shades never deliver. Subtle highlights and low-lights build depth, turning a simple color choice into something expressive. The result feels more personal and far richer than a single tone.
9. Choose Ammonia-Free Formulas For Gentler Application
Ammonia-free formulas offer a kinder approach to coloring. Scalp sensitivity decreases, and shine stays intact. Many clients prefer this option because comfort improves without sacrificing pigment. Gentler products support healthier hair over repeated sessions.
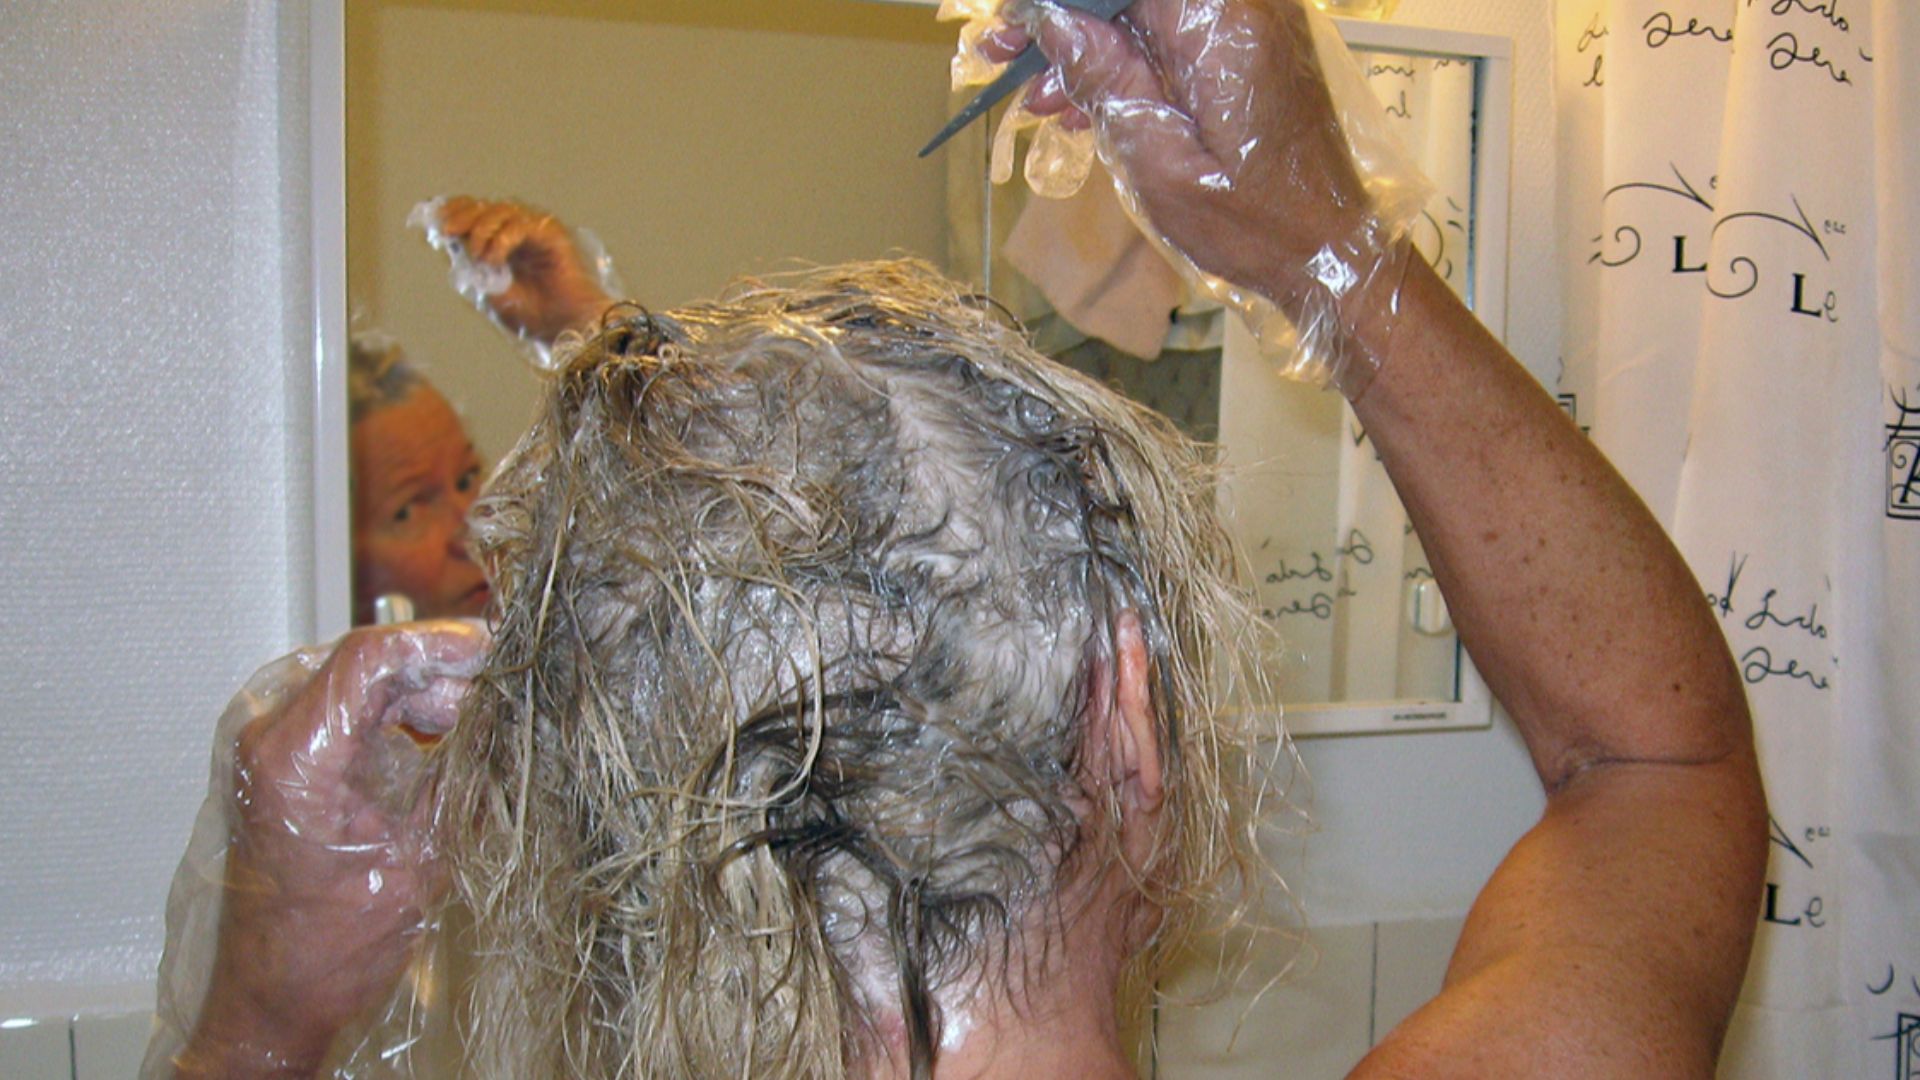 Foto: Jonn Leffmann on Wikimedia
10. Finish With A Ph-Balancing Rinse To Seal Cuticles
A pH-balancing rinse steps in like the hero no one thanks. Cuticles settle, pigment stays put, and smoothness finally returns. Skipping this step invites frizz and faster fading. However, a quick rinse secures the payoff for all that effort.