Master The Fundamentals
Makeup shouldn't feel like rocket science, but somehow it does—especially when you're just starting out. You stare at tutorials and wonder how they make everything look so effortless. The truth is, everyone begins somewhere, fumbling with brushes and wondering if that's too much blush. Learning the basics changes everything. These tips will give you the confidence to create looks you'll actually love wearing every single day. Let's dive in!
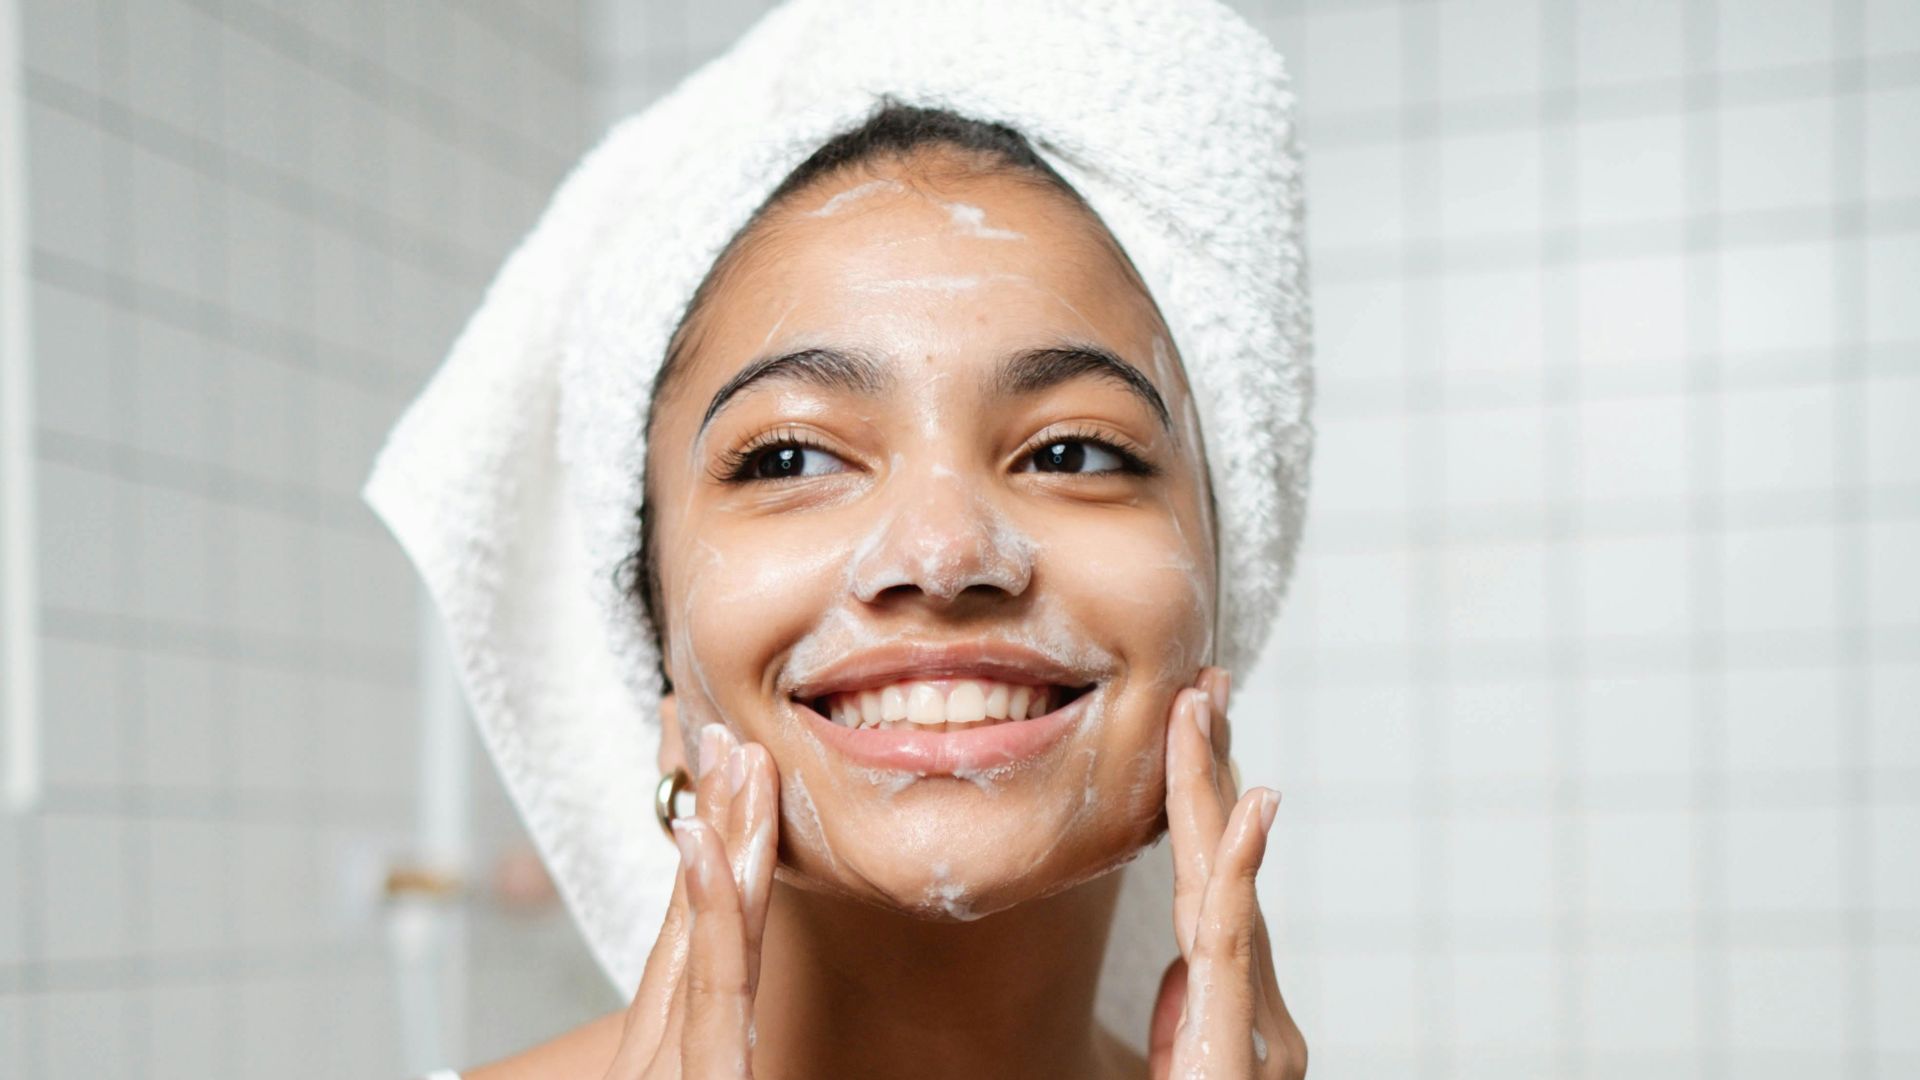
1. Always Start With Clean, Moisturized Skin
Think of your face as a canvas—you wouldn't paint over a dusty surface, right? Cleansing removes all those impurities lurking on your skin. When you apply a light moisturizer afterward, you're creating a smoother base that helps makeup glide on evenly.
2. Apply Primer To Smooth And Extend Makeup Wear
Some primers offer a dewy finish, while others help control shine, so you can choose based on your skin type and desired look. Face primers are designed to smooth skin and help makeup last longer, giving a better base for foundation.
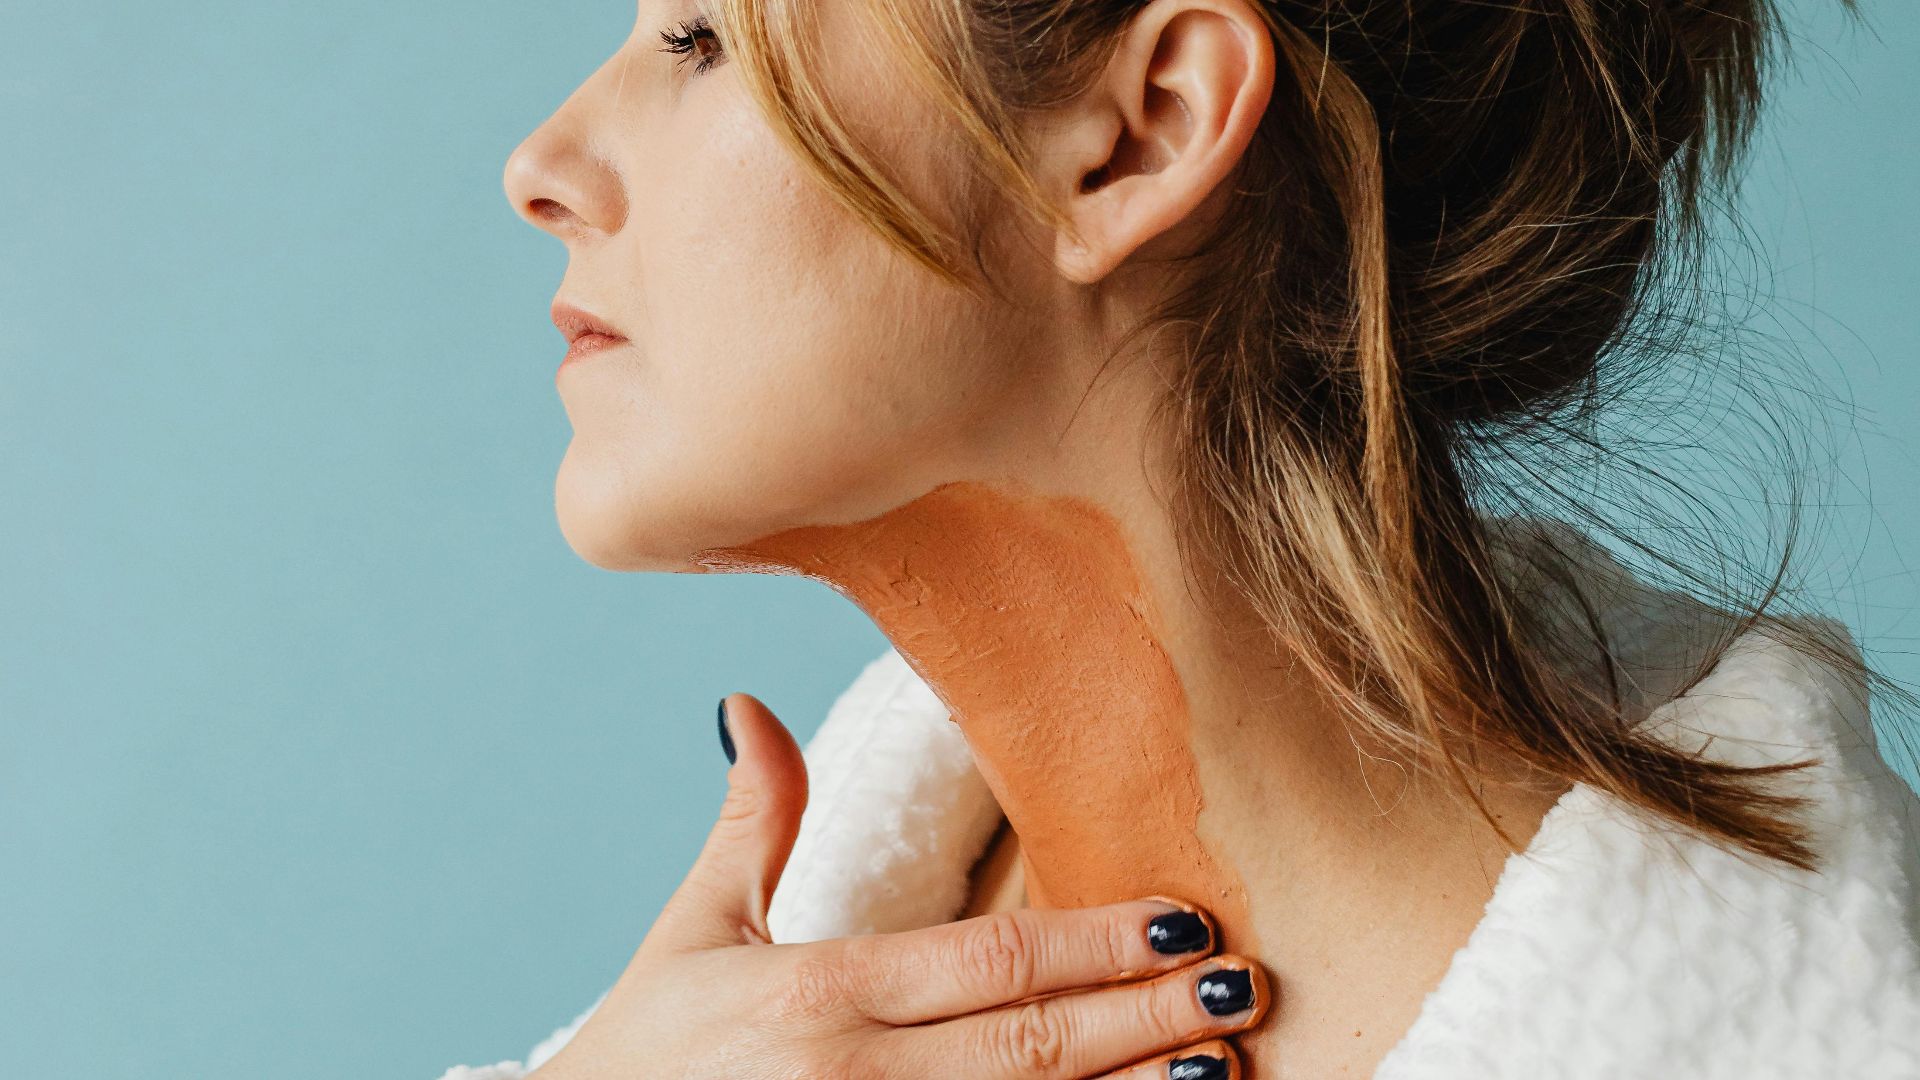
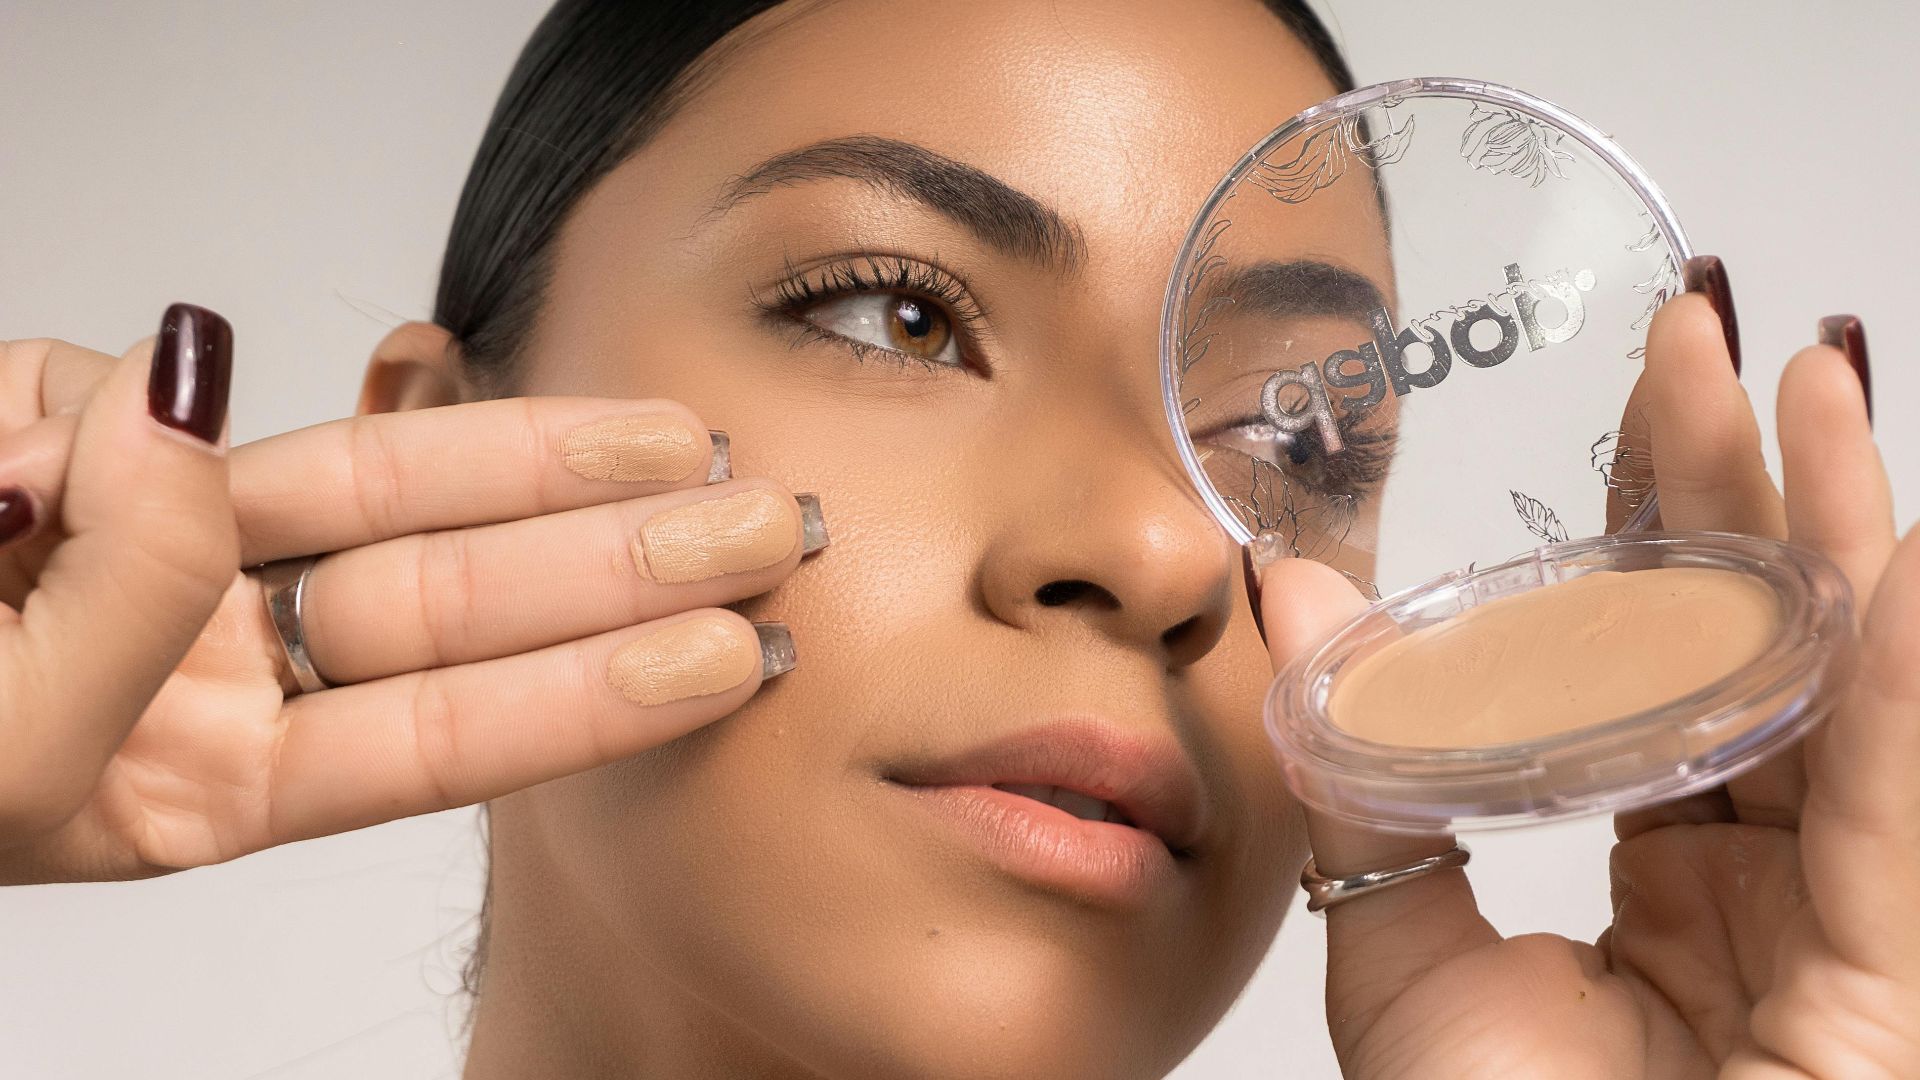
3. Choose Foundation Shade That Matches Neck Tone
Testing foundation on your jawline helps find the right shade because it shows how the color transitions between your face and neck. Foundation shades can oxidize slightly after application, so let it sit before deciding.
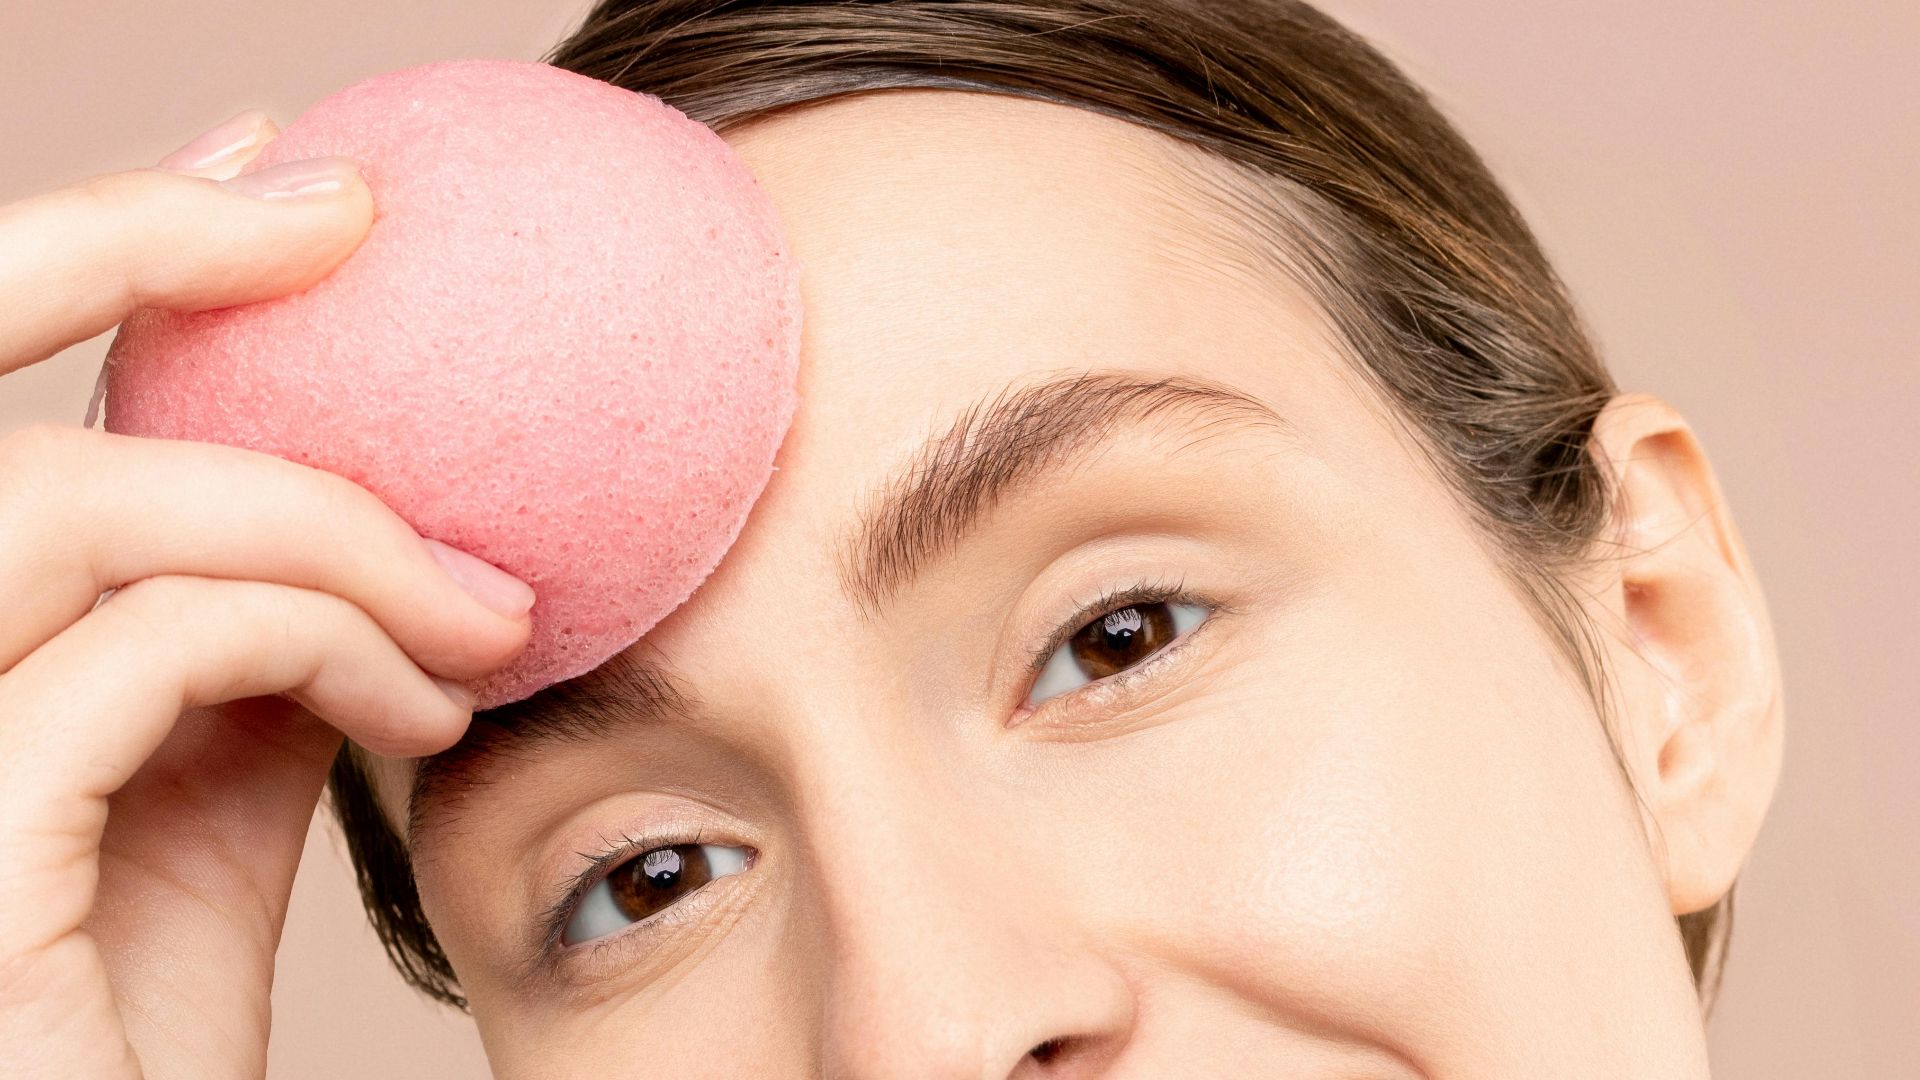
4. Use A Damp Sponge
Sponges can be used to dab, not drag, foundation onto the skin—this bouncing motion is key to that airbrushed effect. A damp sponge always helps blend foundation for a more natural, skin-like finish that looks seamless.
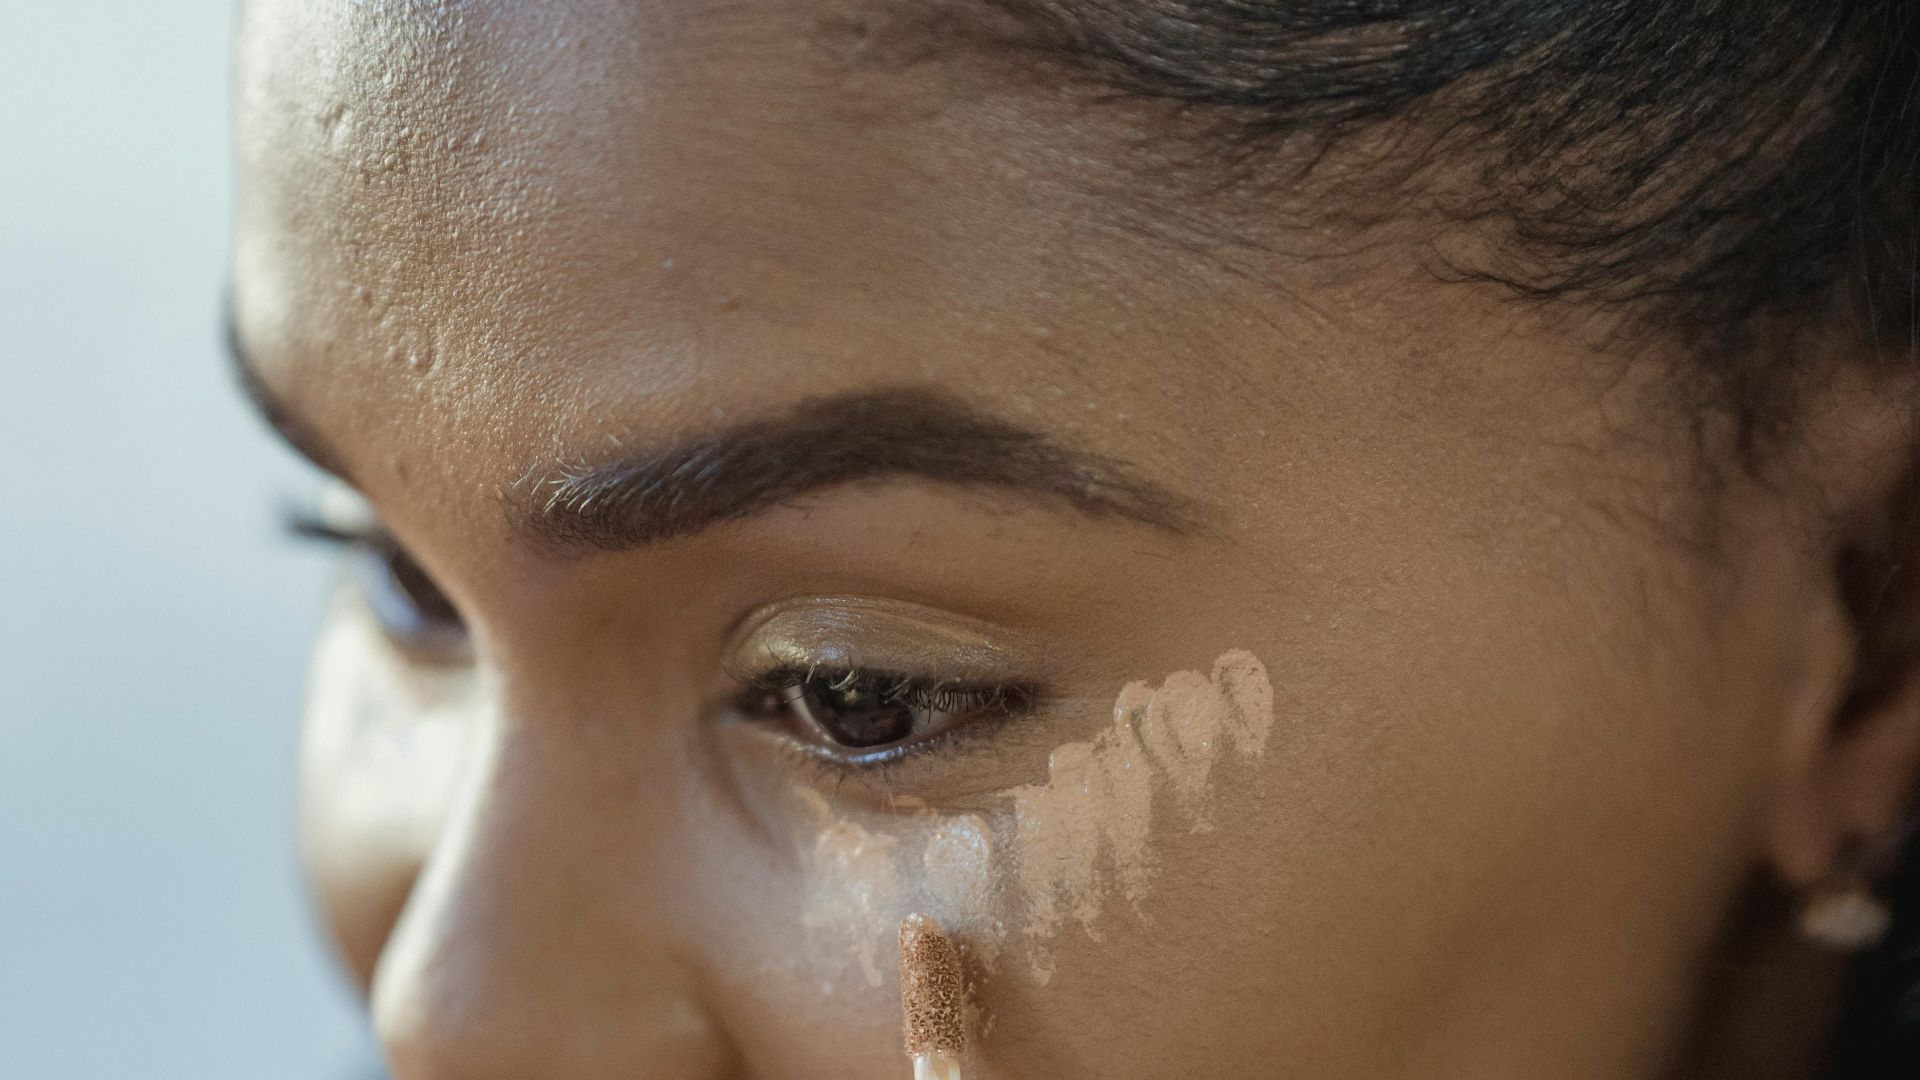
5. Conceal Under-Eye Circles With Lightweight Formula
Using your ring finger to blend concealer applies the least pressure, protecting the delicate under-eye skin from tugging and damage. Dab a lightweight concealer under the eyes and gently mix with your finger or a sponge.
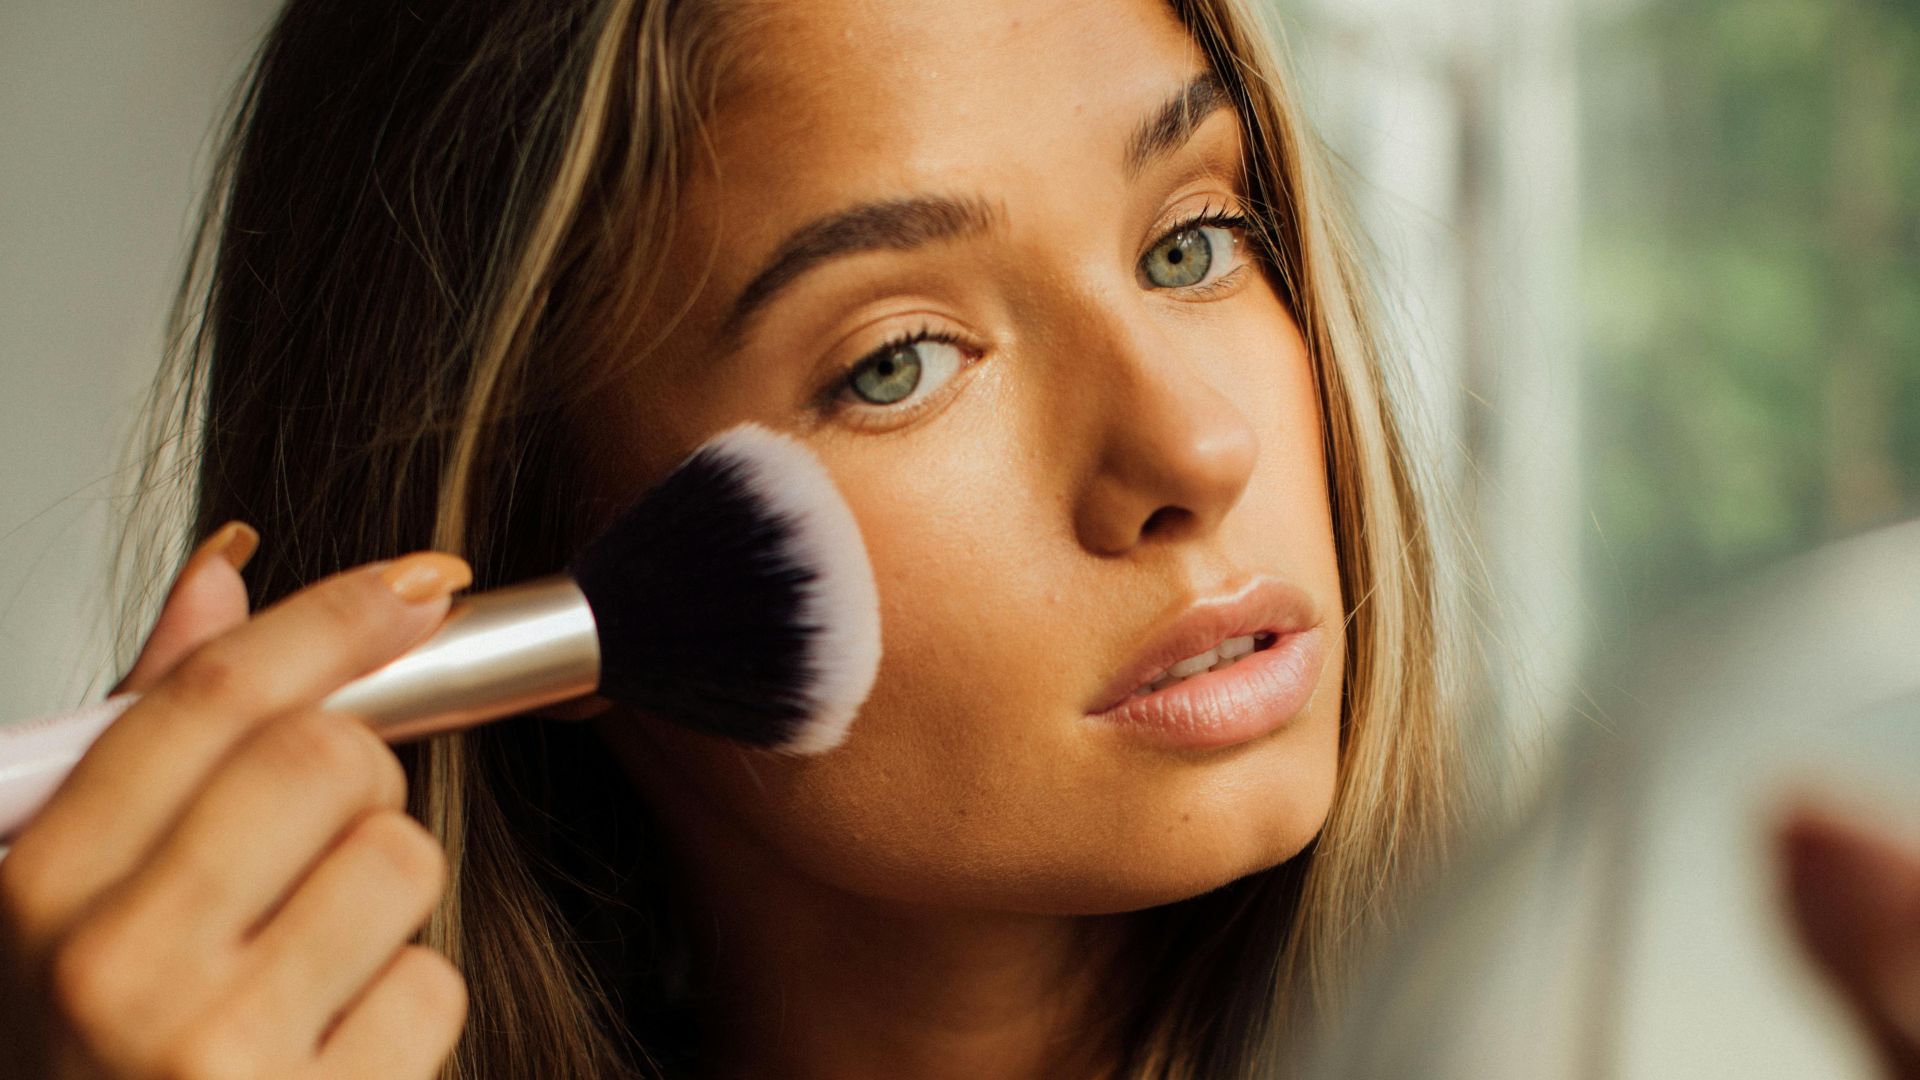
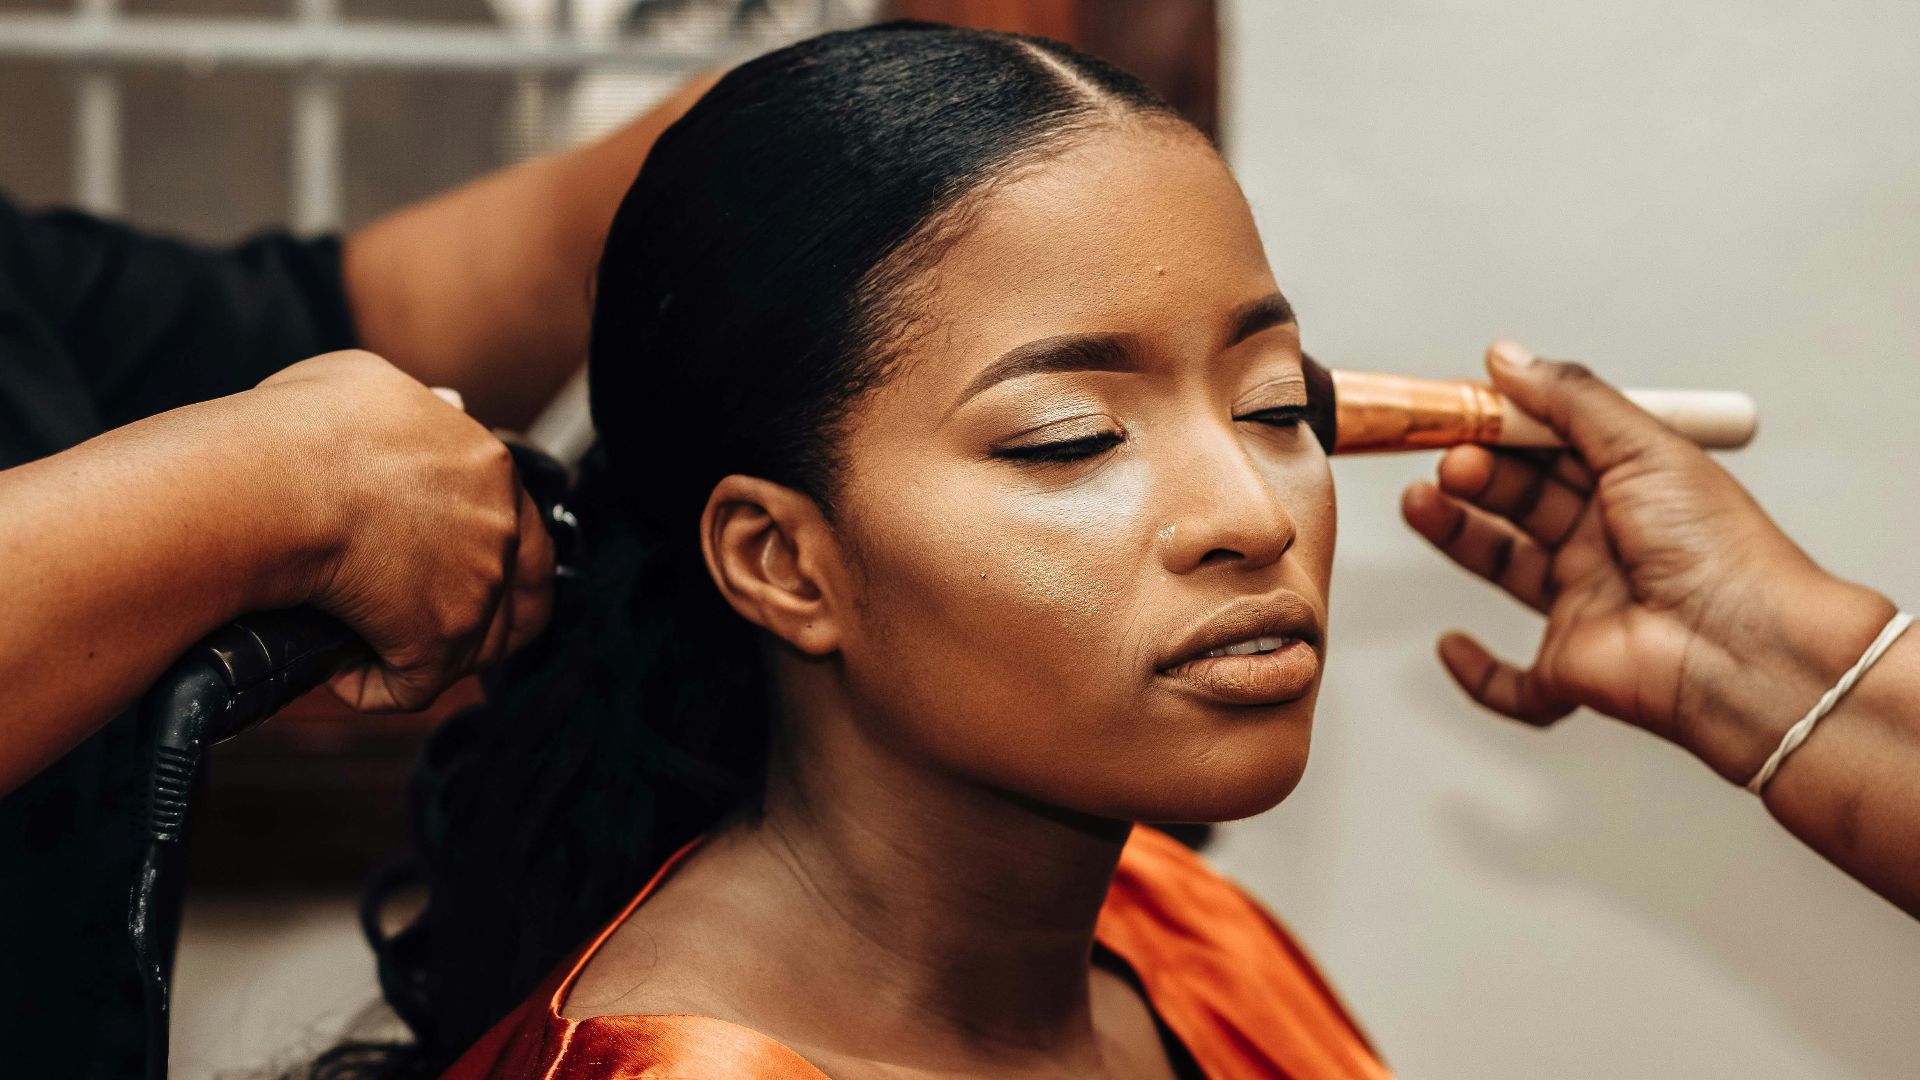
6. Set Base Makeup With Translucent Powder
Over-powdering can make skin look too matte or cakey, stealing away that fresh, natural glow you worked hard to create. Some translucent powders help set makeup and control shine for a smoother finish without adding extra color.
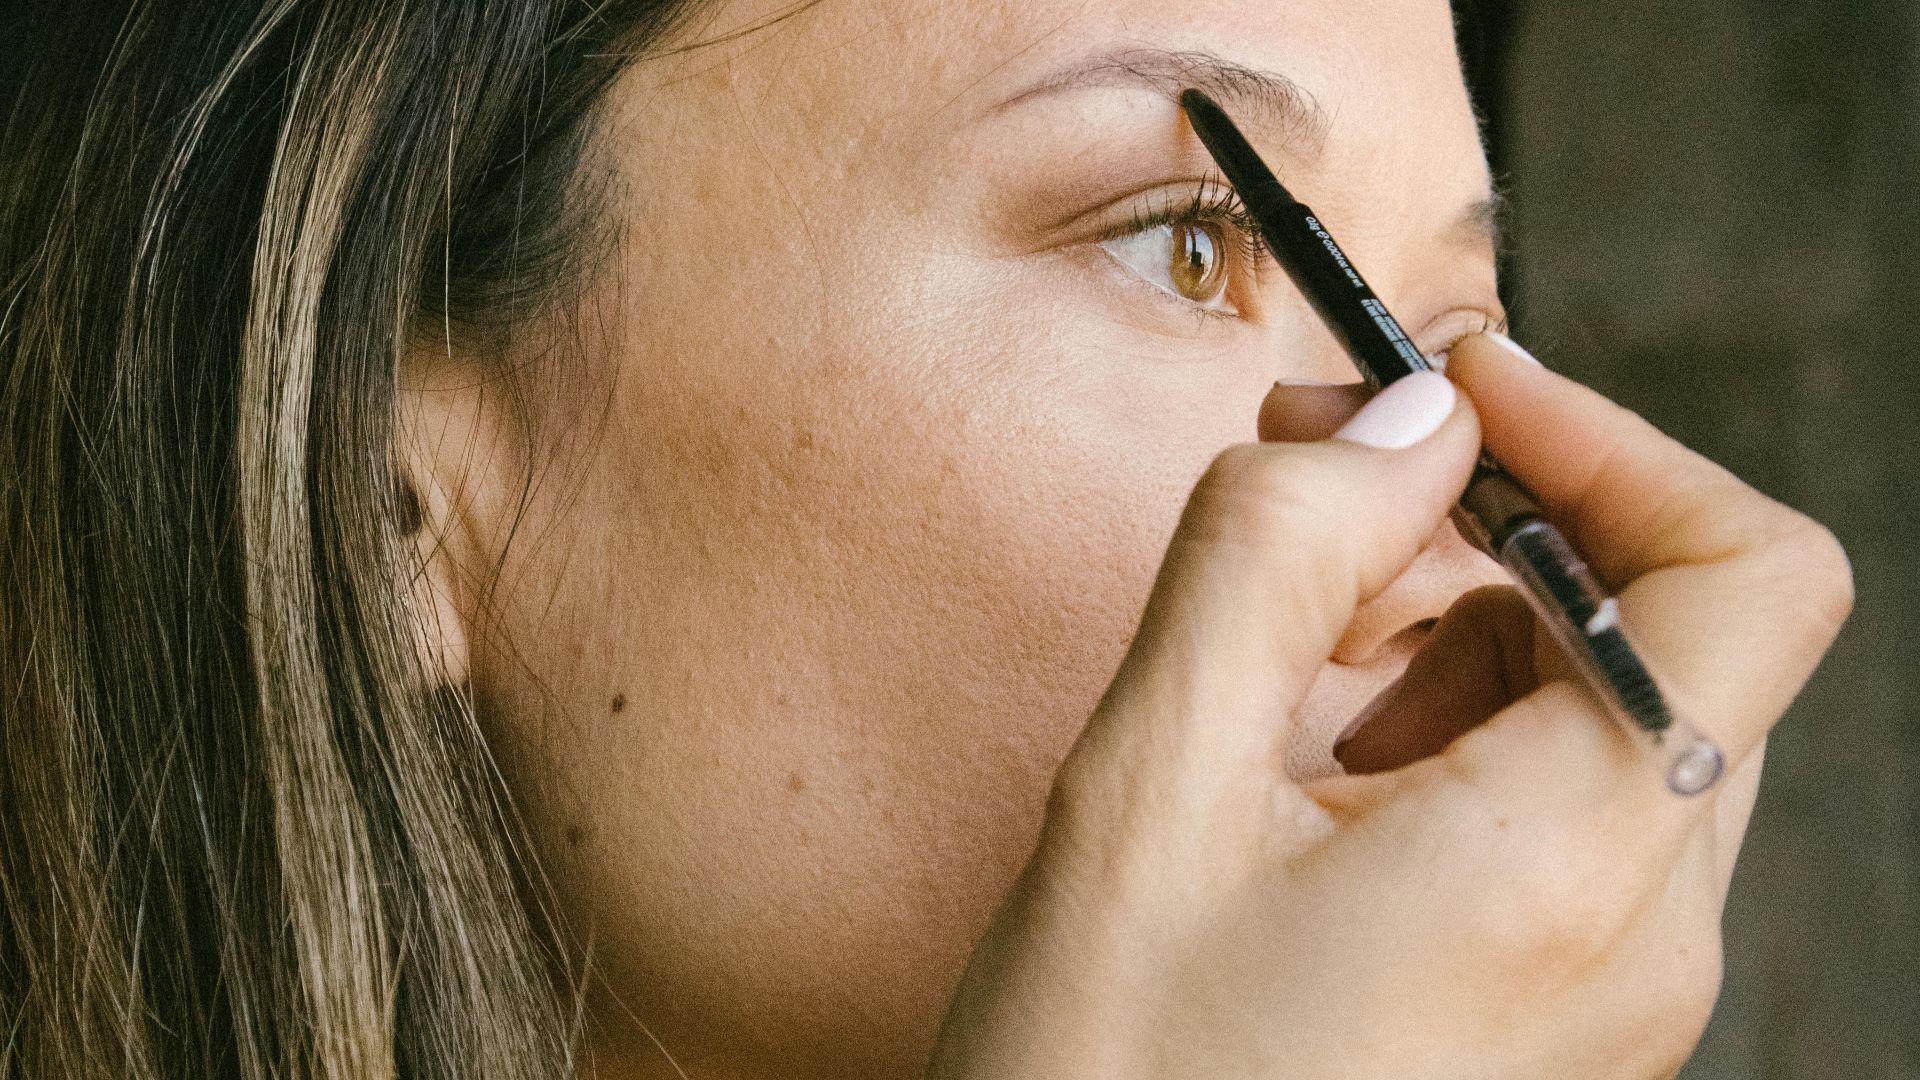
7. Fill In Brows Using Short Strokes
Short, hair-like strokes give a more natural brow appearance compared to harsh lines or blocks of color. You can use eyeshadow as a substitute for brow powder in a pinch, just make sure to match it to your brow color.
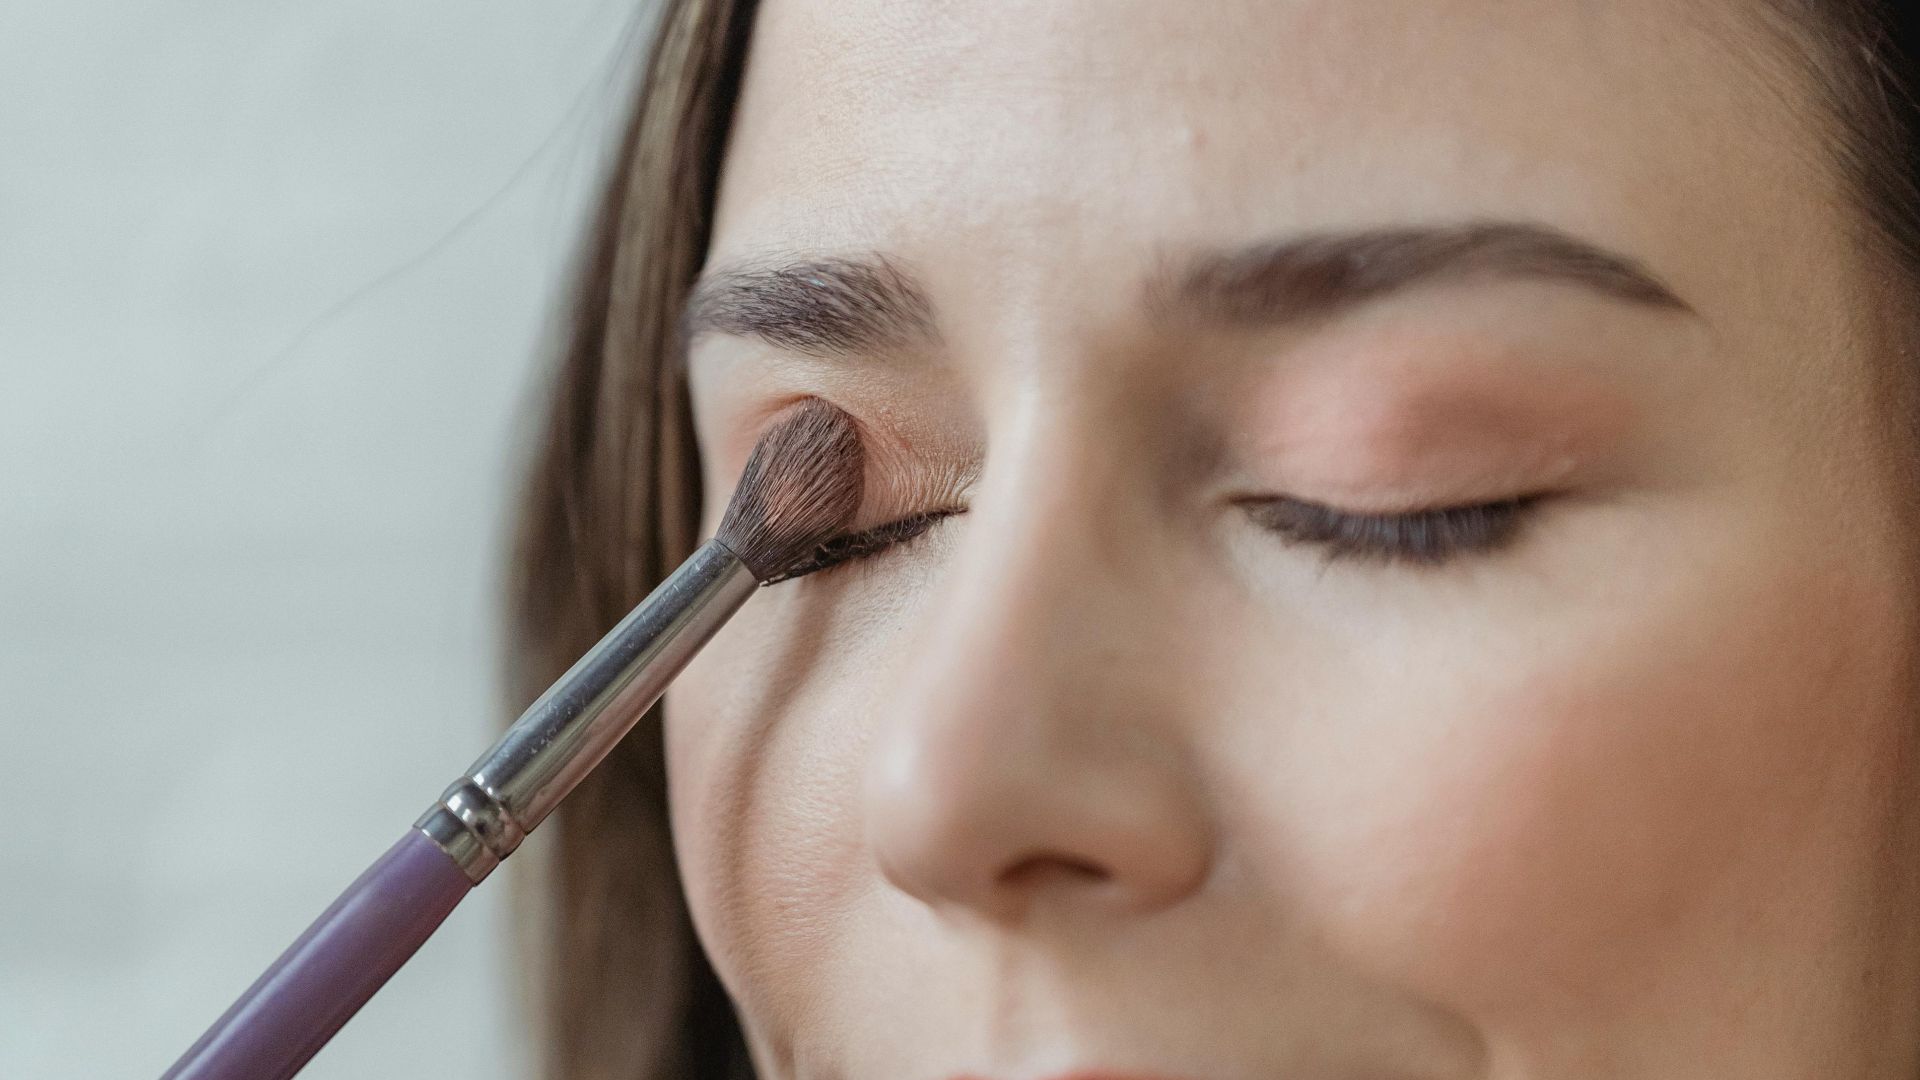
8. Blend Eyeshadow With A Fluffy Brush
Clean brushes help eyeshadow blend smoothly and keep colors true, avoiding patchy or muddy results that happen when old pigments mix with new ones. Blend eyeshadow using gentle back-and-forth or circular motions with a fluffy brush to achieve a soft look.
9. Apply Neutral Transition Shade Before Bold Colors
If you don't have a neutral eyeshadow, you can use a matte bronzer as a transition shade to blend bold colors well. Transition shades help blend bold eyeshadow colors smoothly and make the overall look appear more seamless and natural.
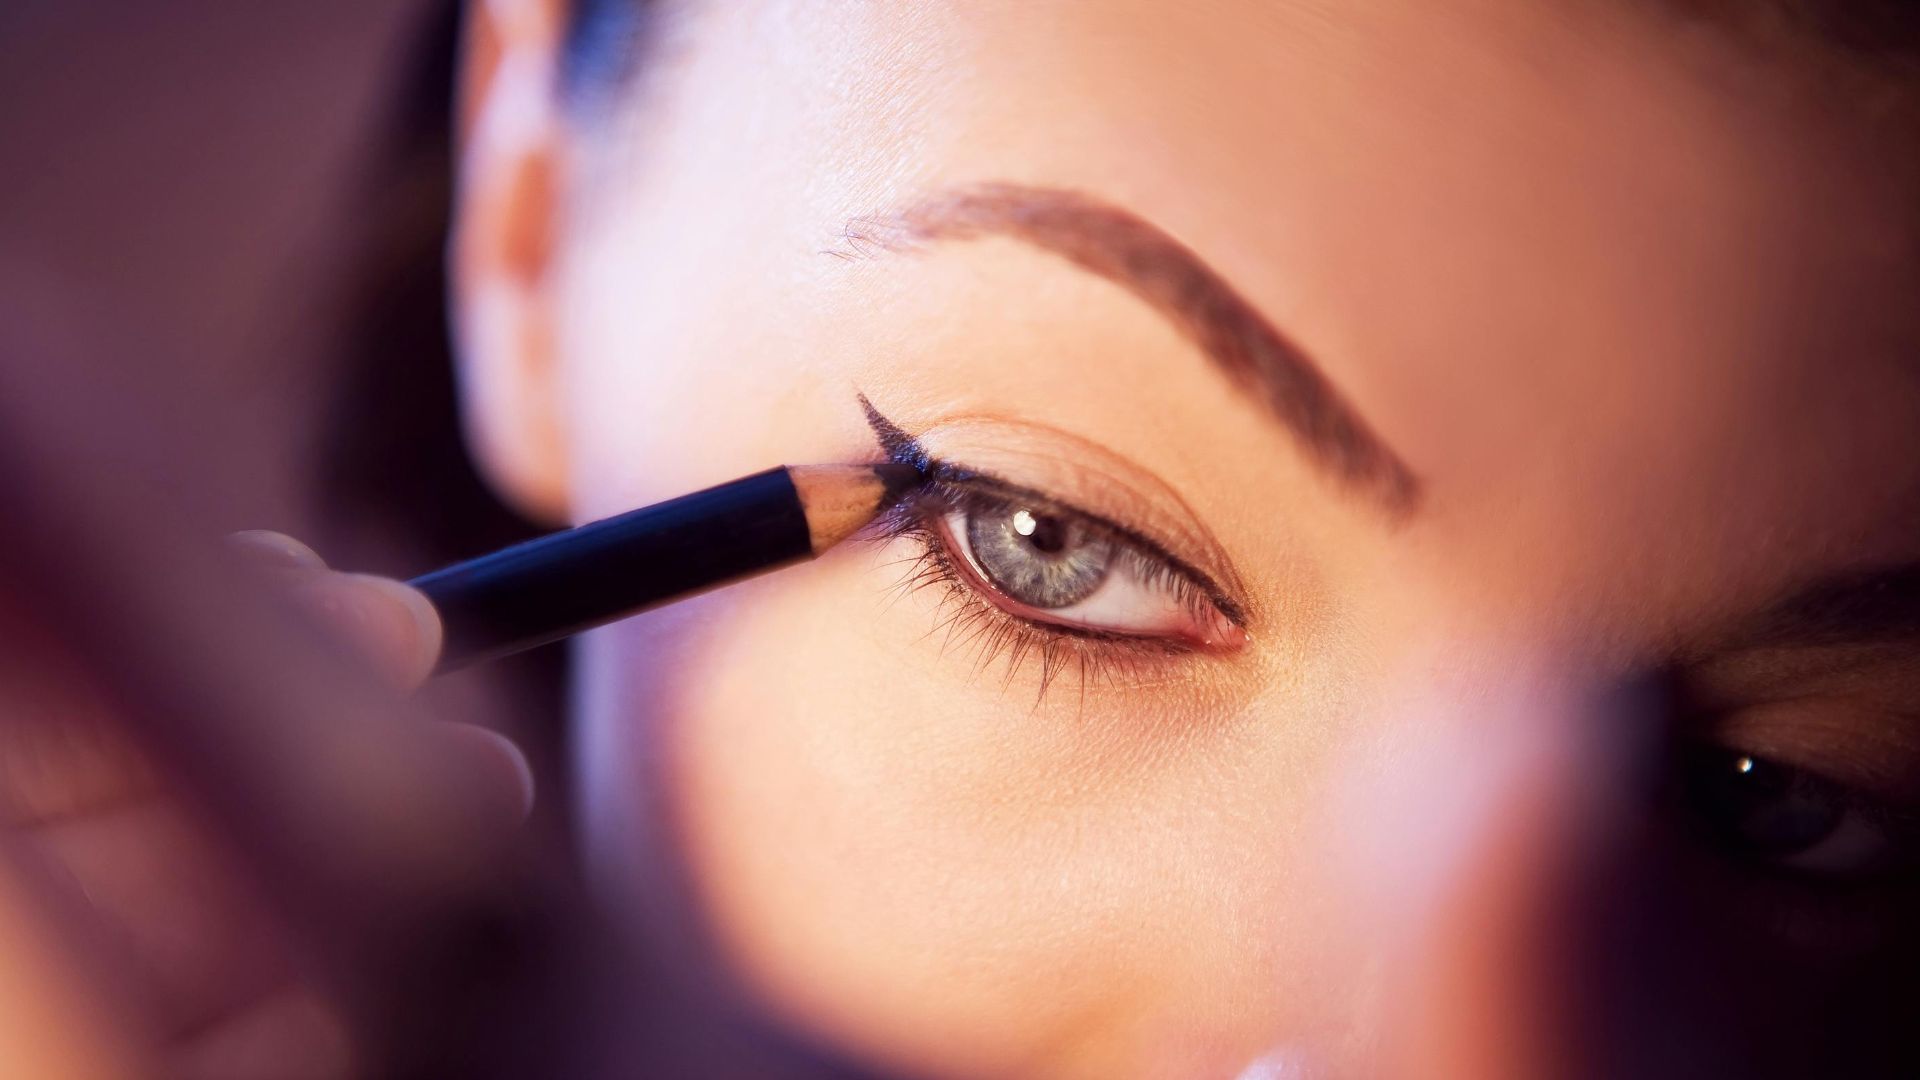
10. Use Eyeliner Close To The Lash Line
For beginners, start with a pencil liner and use small, light strokes for better control than liquid formulas offer. Gel, pencil, and liquid eyeliners each create different effects. Pencil for soft definition, gel for precision, and liquid for drama.
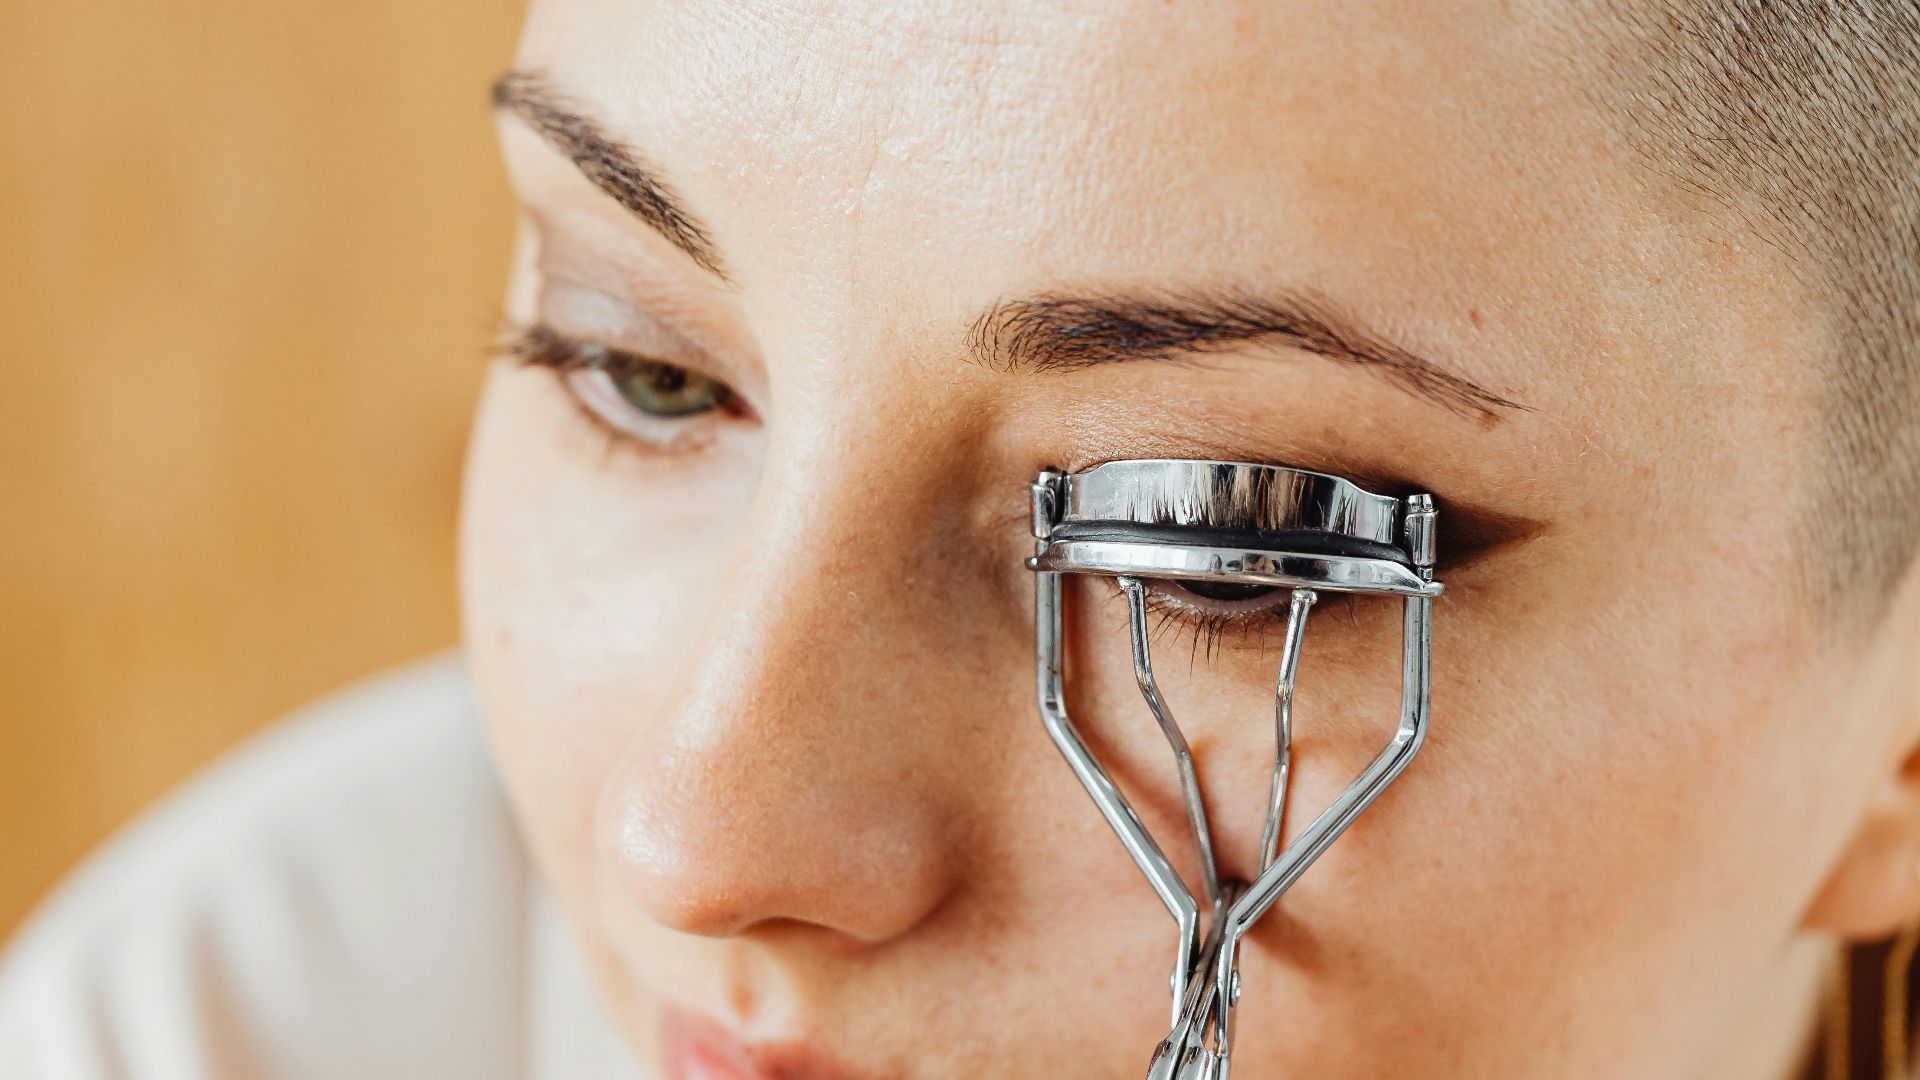
11. Curl Lashes Before Applying Mascara
Curling lashes before mascara helps lift and open up the eyes. Use a lash curler on clean, dry lashes before mascara to help lift and open up your eyes. Never curl after applying mascara, as this can break your lashes.
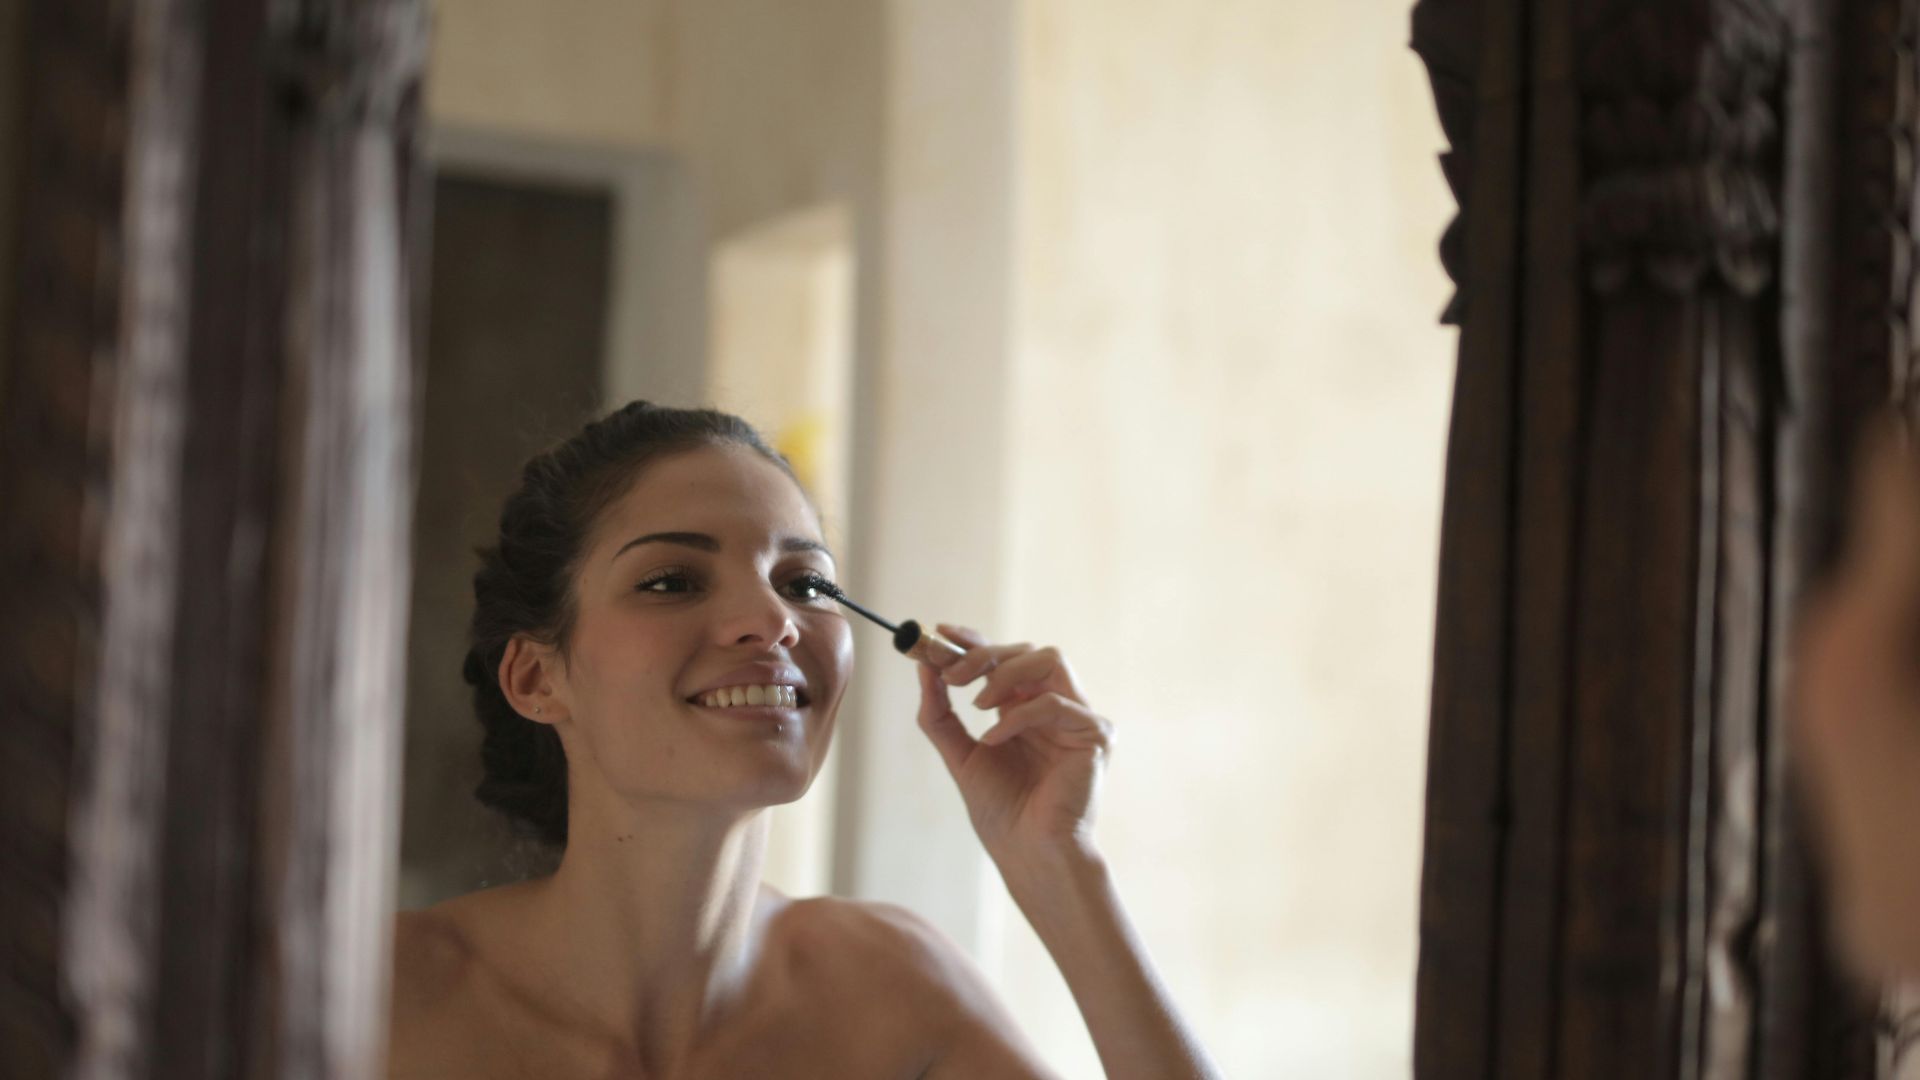
12. Wiggle Mascara Wand At Roots
Mascara can be layered for a more dramatic effect, building volume with each coat without clumping if you let each layer dry slightly. Wiggling the mascara stick at the roots of your lashes gives extra volume and a fuller look.
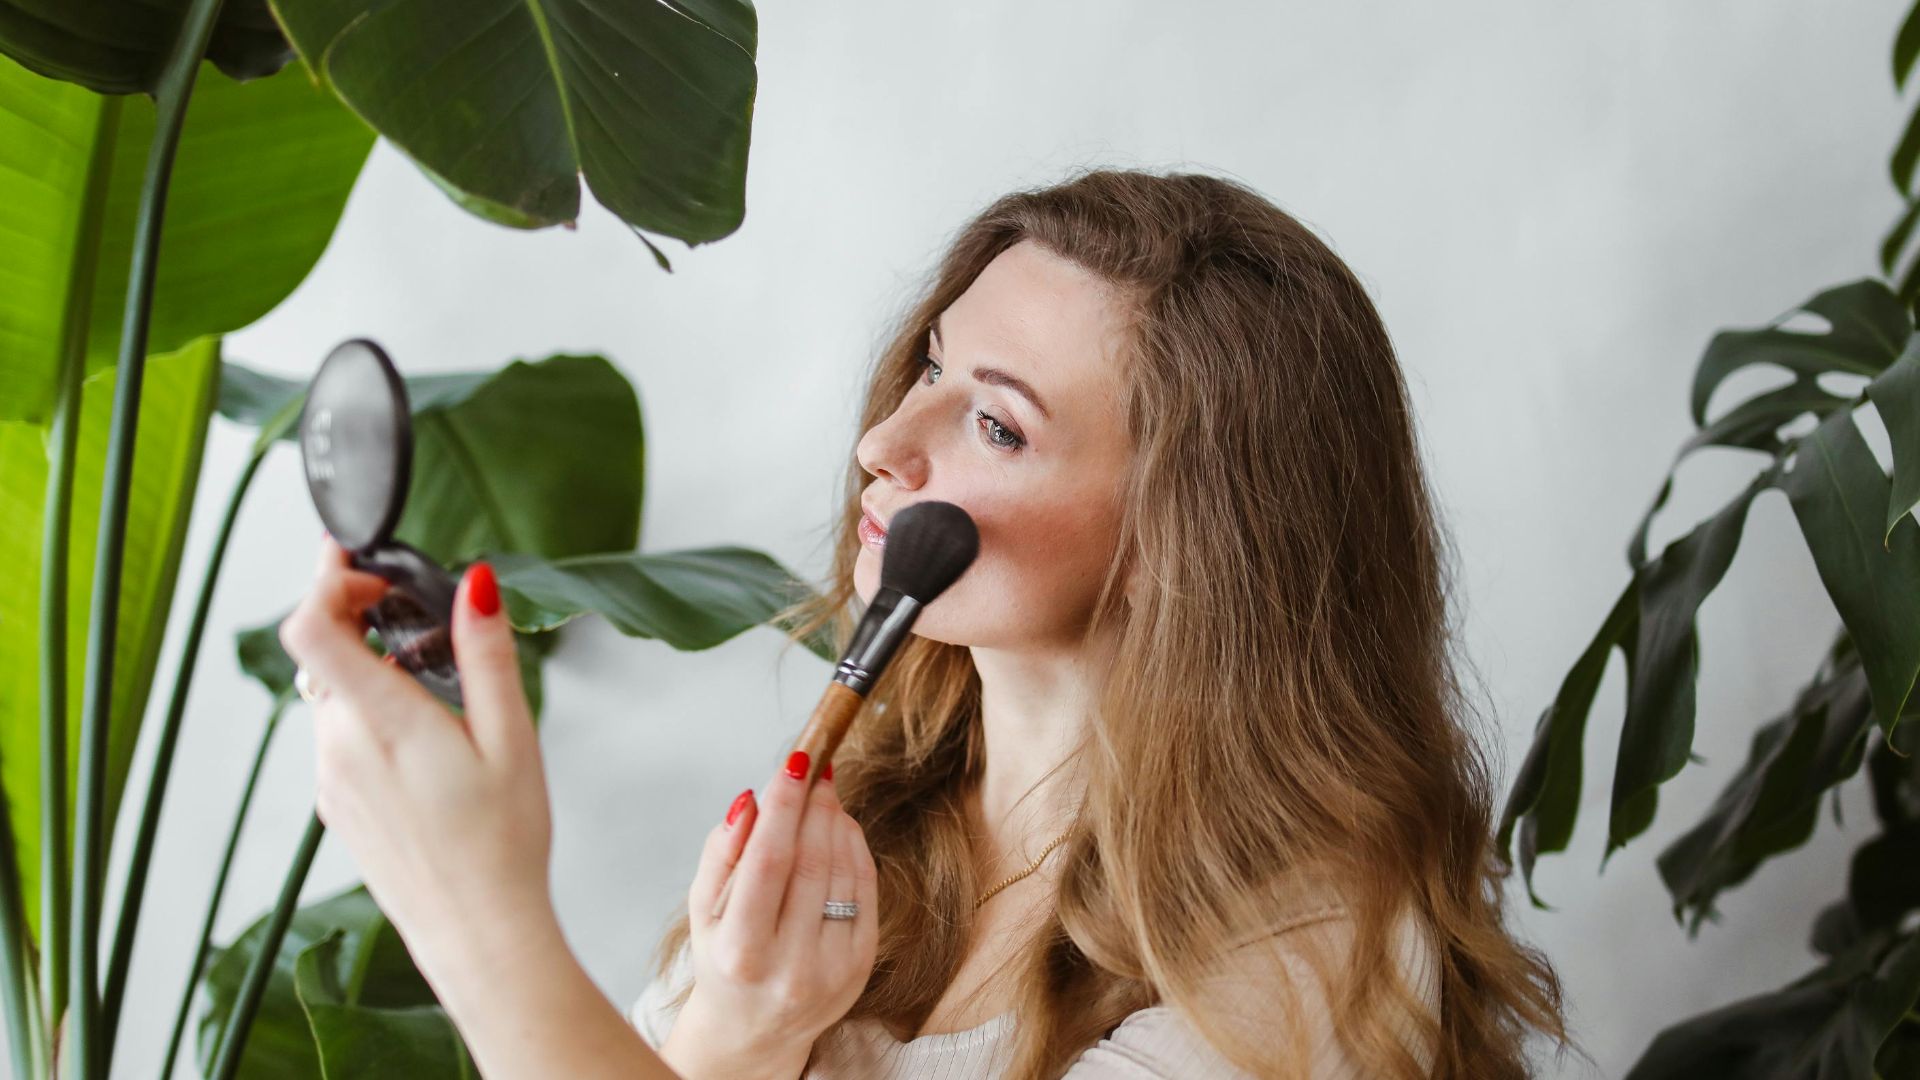
13. Apply Blush On Apples Of Cheeks
Apply blush subtly to the apples of your cheeks for a youthful look that mimics a genuine flush rather than obvious makeup. Cream blushes provide that dewy, youthful look that blends beautifully into the skin, perfect for beginners.
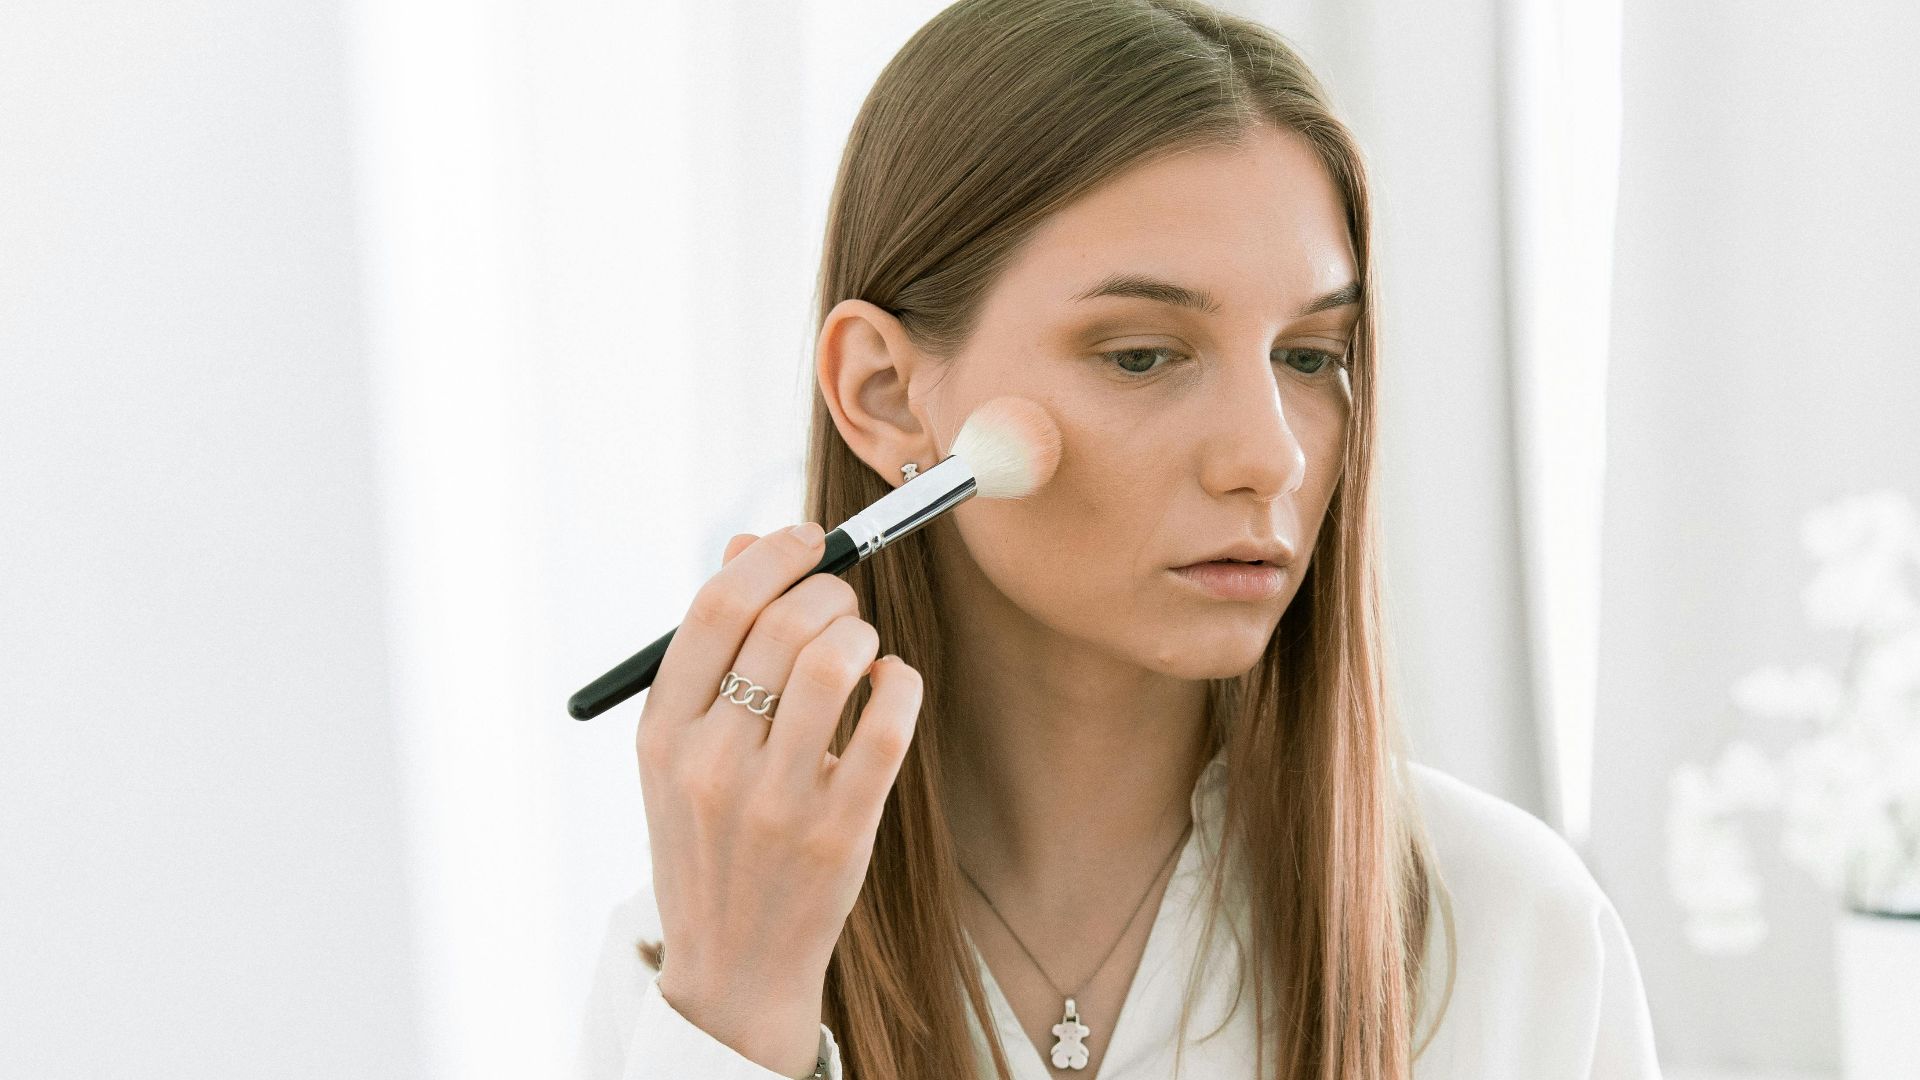
14. Blend Bronzer Along Hairline And Jawline
Applying bronzer where the sun naturally hits your face enhances realism, making your warmth look sun-kissed rather than muddy or dirty. Blend bronzer along your hairline and jawline using a light hand for a sun-kissed look that adds dimension.
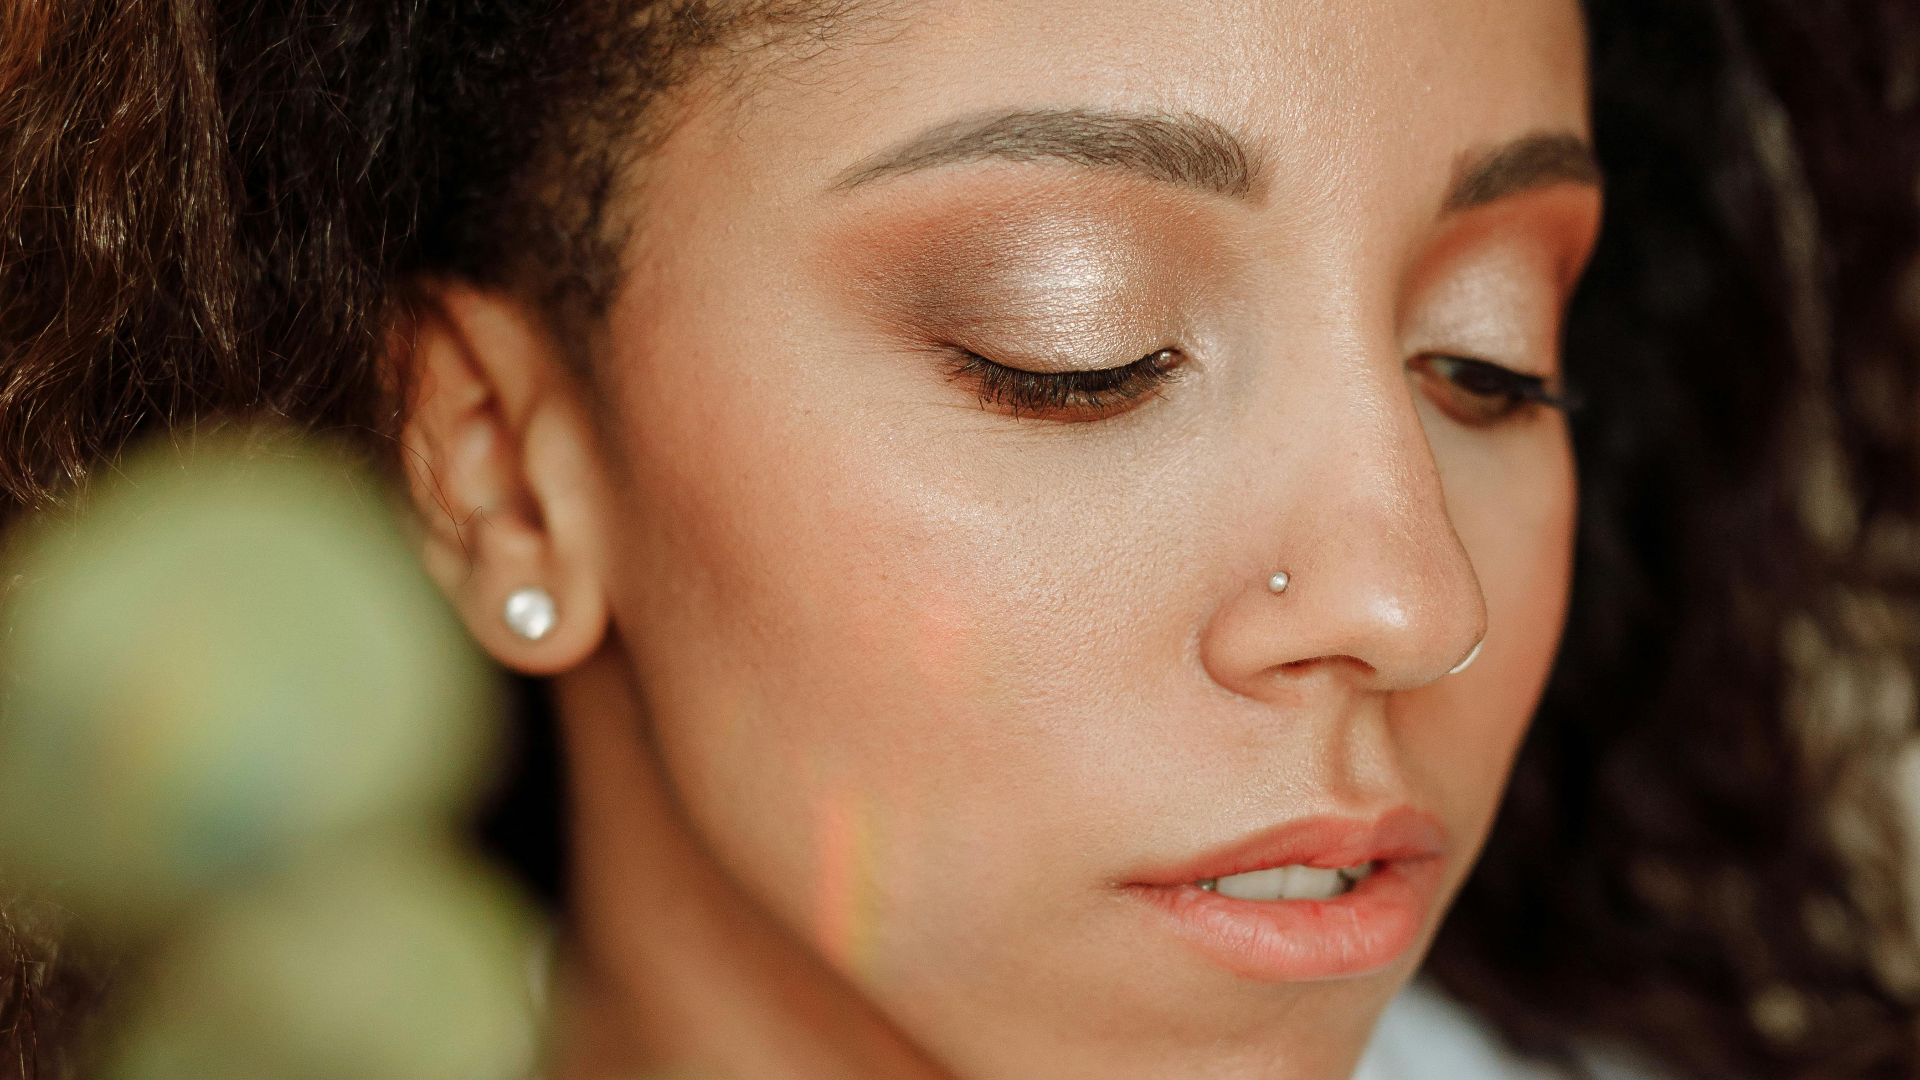
15. Highlight High Points
Highlighter can be liquid, cream, or powder, each offering different intensities and finishes—from subtle glow to blinding shine—so choose based on your comfort level. Put highlighter on the tops of your cheekbones, bridge of the nose, and cupid's bow.
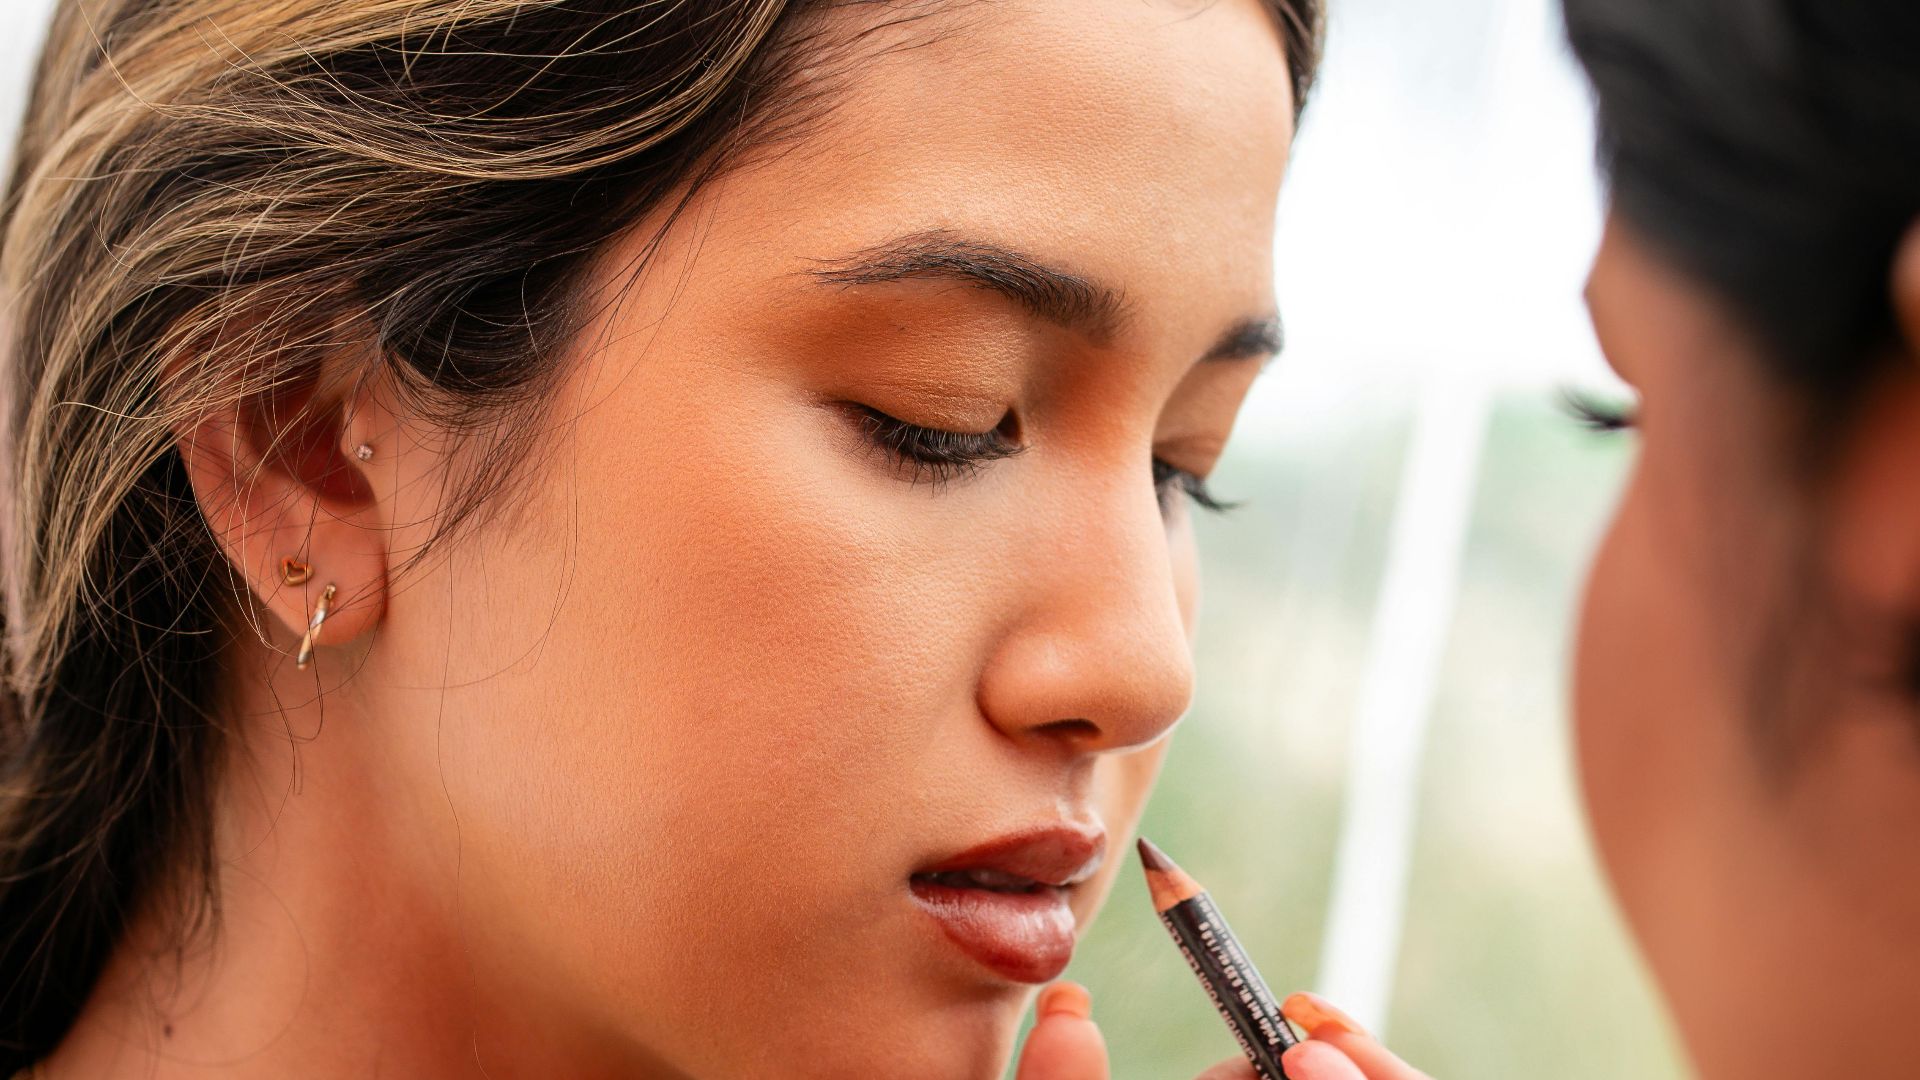
16. Choose Lip Liner To Match Lipstick Shade
Filling in lips with liner before lipstick increases color longevity, forming a base that holds onto your lipstick much longer than bare lips would. Overlining slightly with lip liner can create the illusion of fuller lips without looking obvious or overdone.
 Marcus Queiroga Silva on Pexels
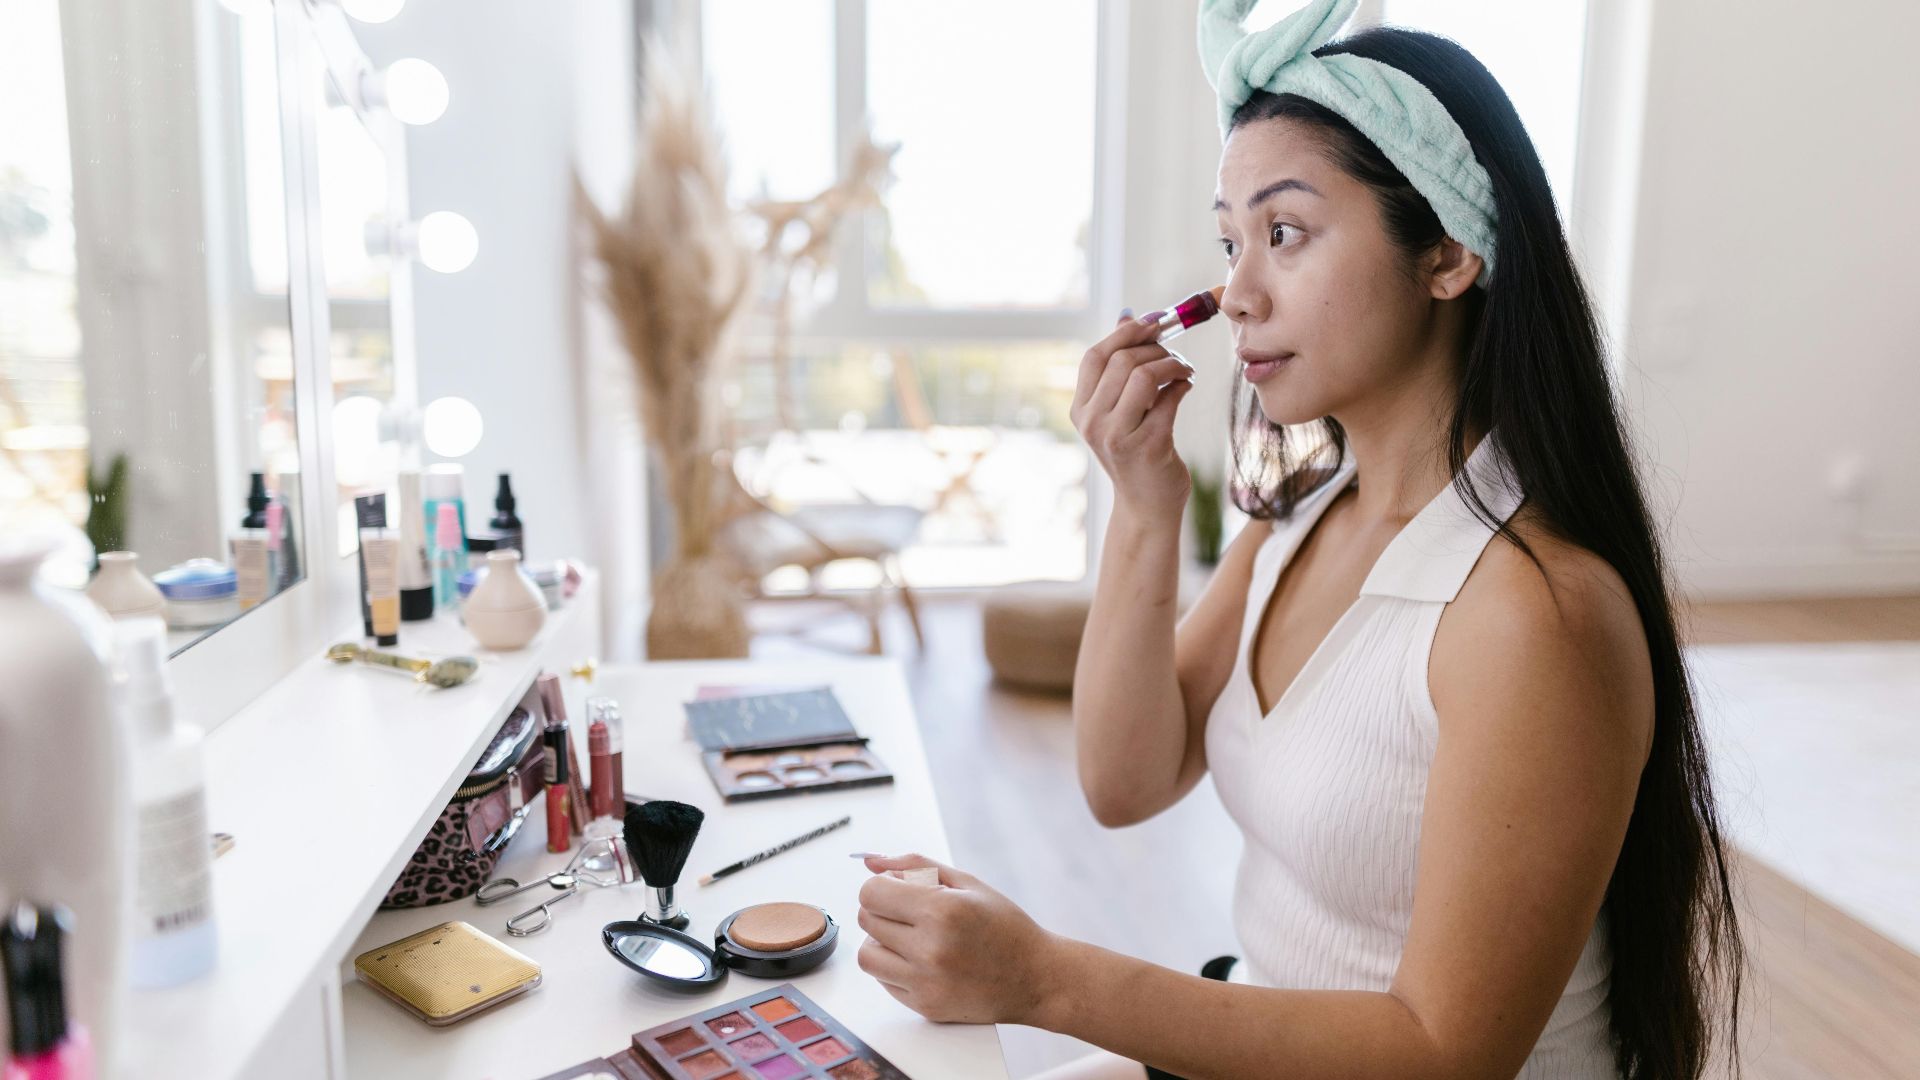
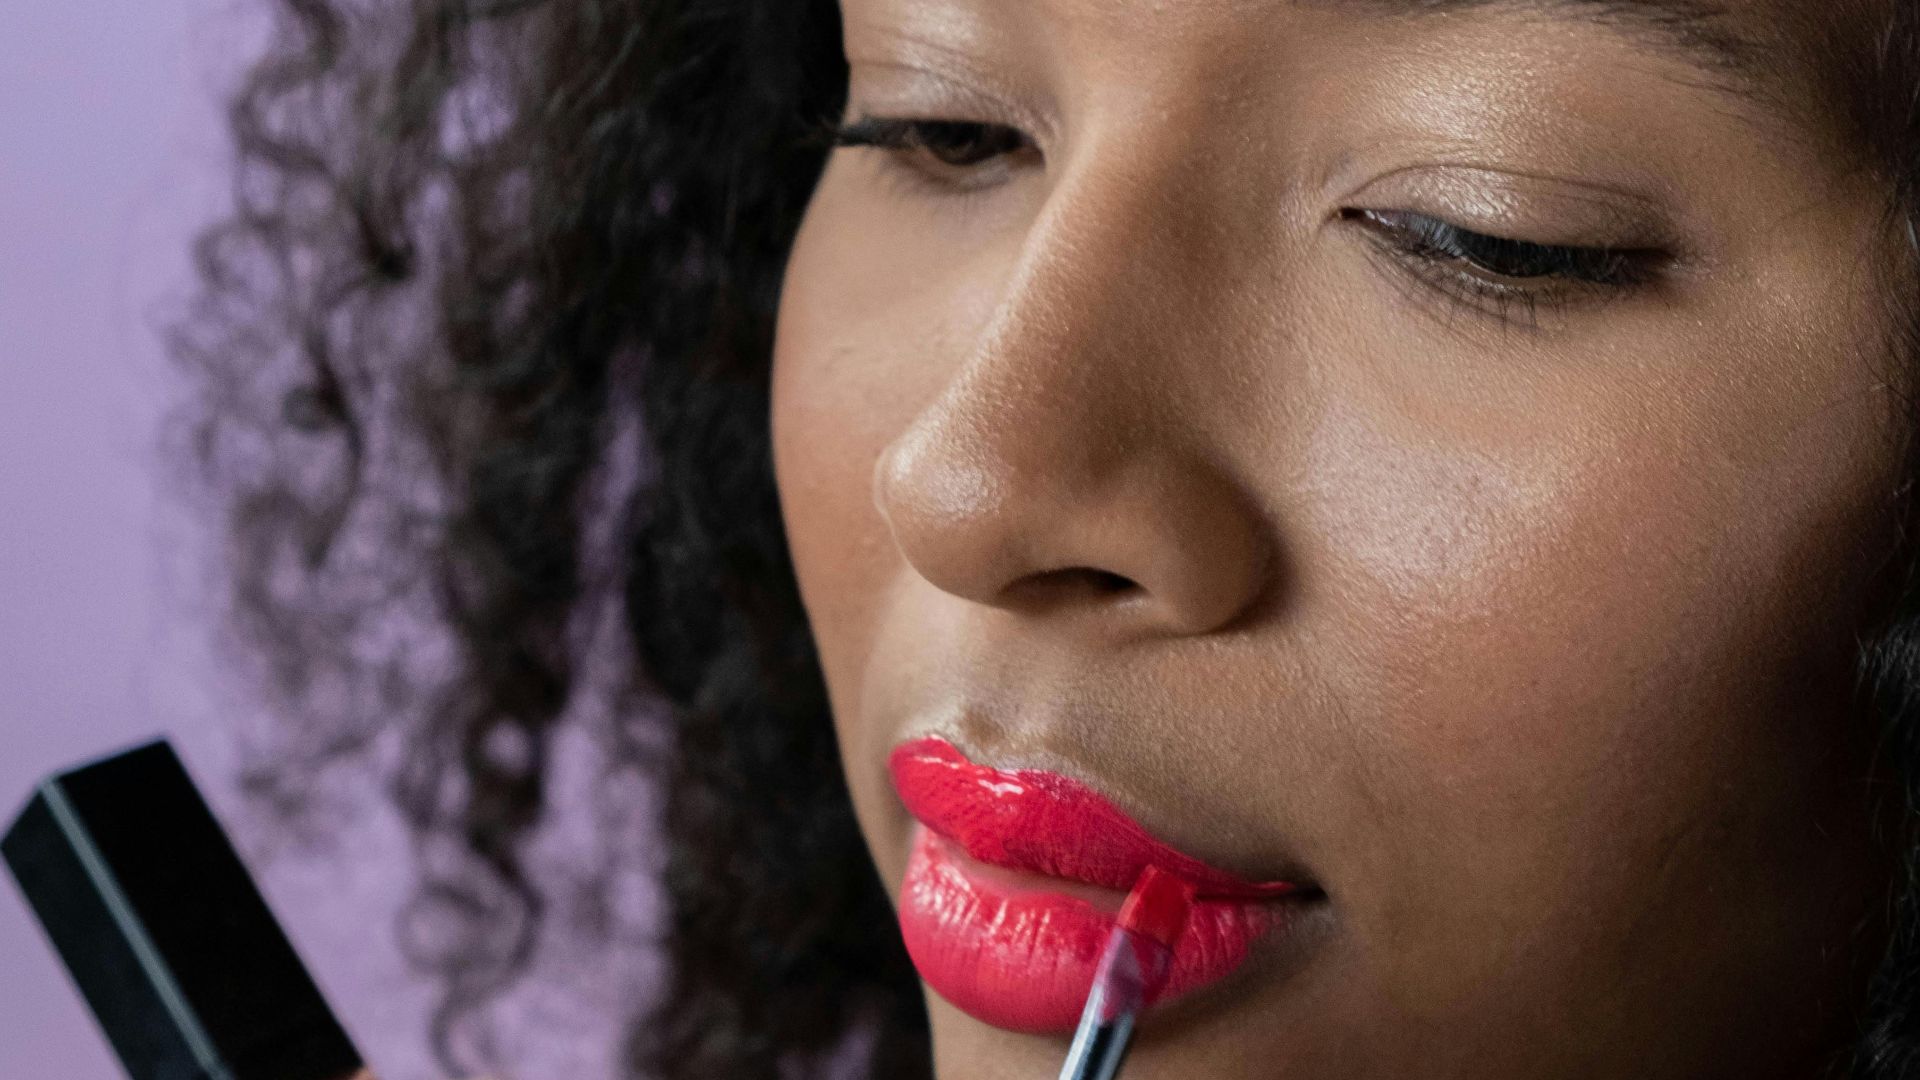
17. Apply Lipstick With Brush
Lip brushes can be used to blend multiple lipstick shades for a custom color, mixing right on your lips for a unique look. A brush helps to define the lip shape and reach corners easily, especially the cupid's bow area.
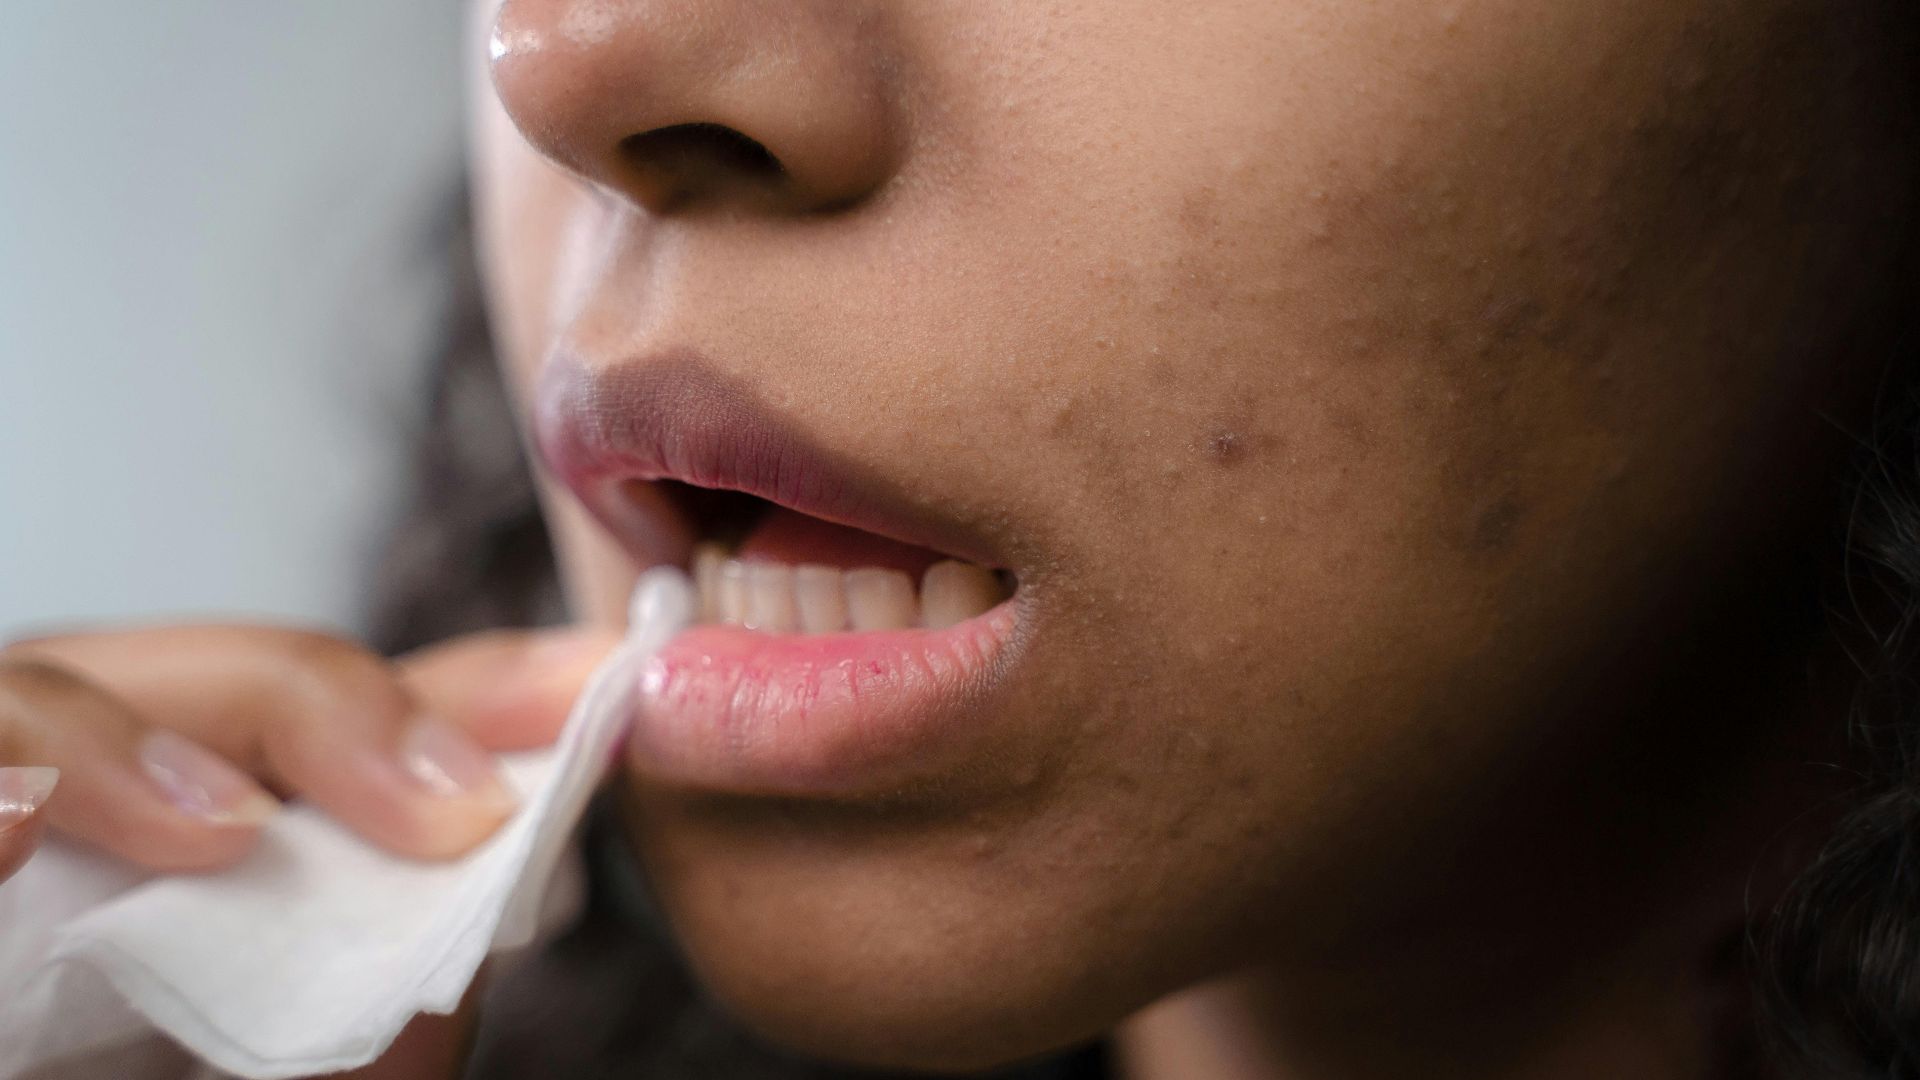
18. Blot Lips With Tissue
Did you know that blotting can prevent lipstick from transferring onto cups or clothing? This saves you from embarrassing stains and constant reapplication throughout the day. Some people use translucent powder through tissue for an ultra-matte finish that absolutely won't budge.
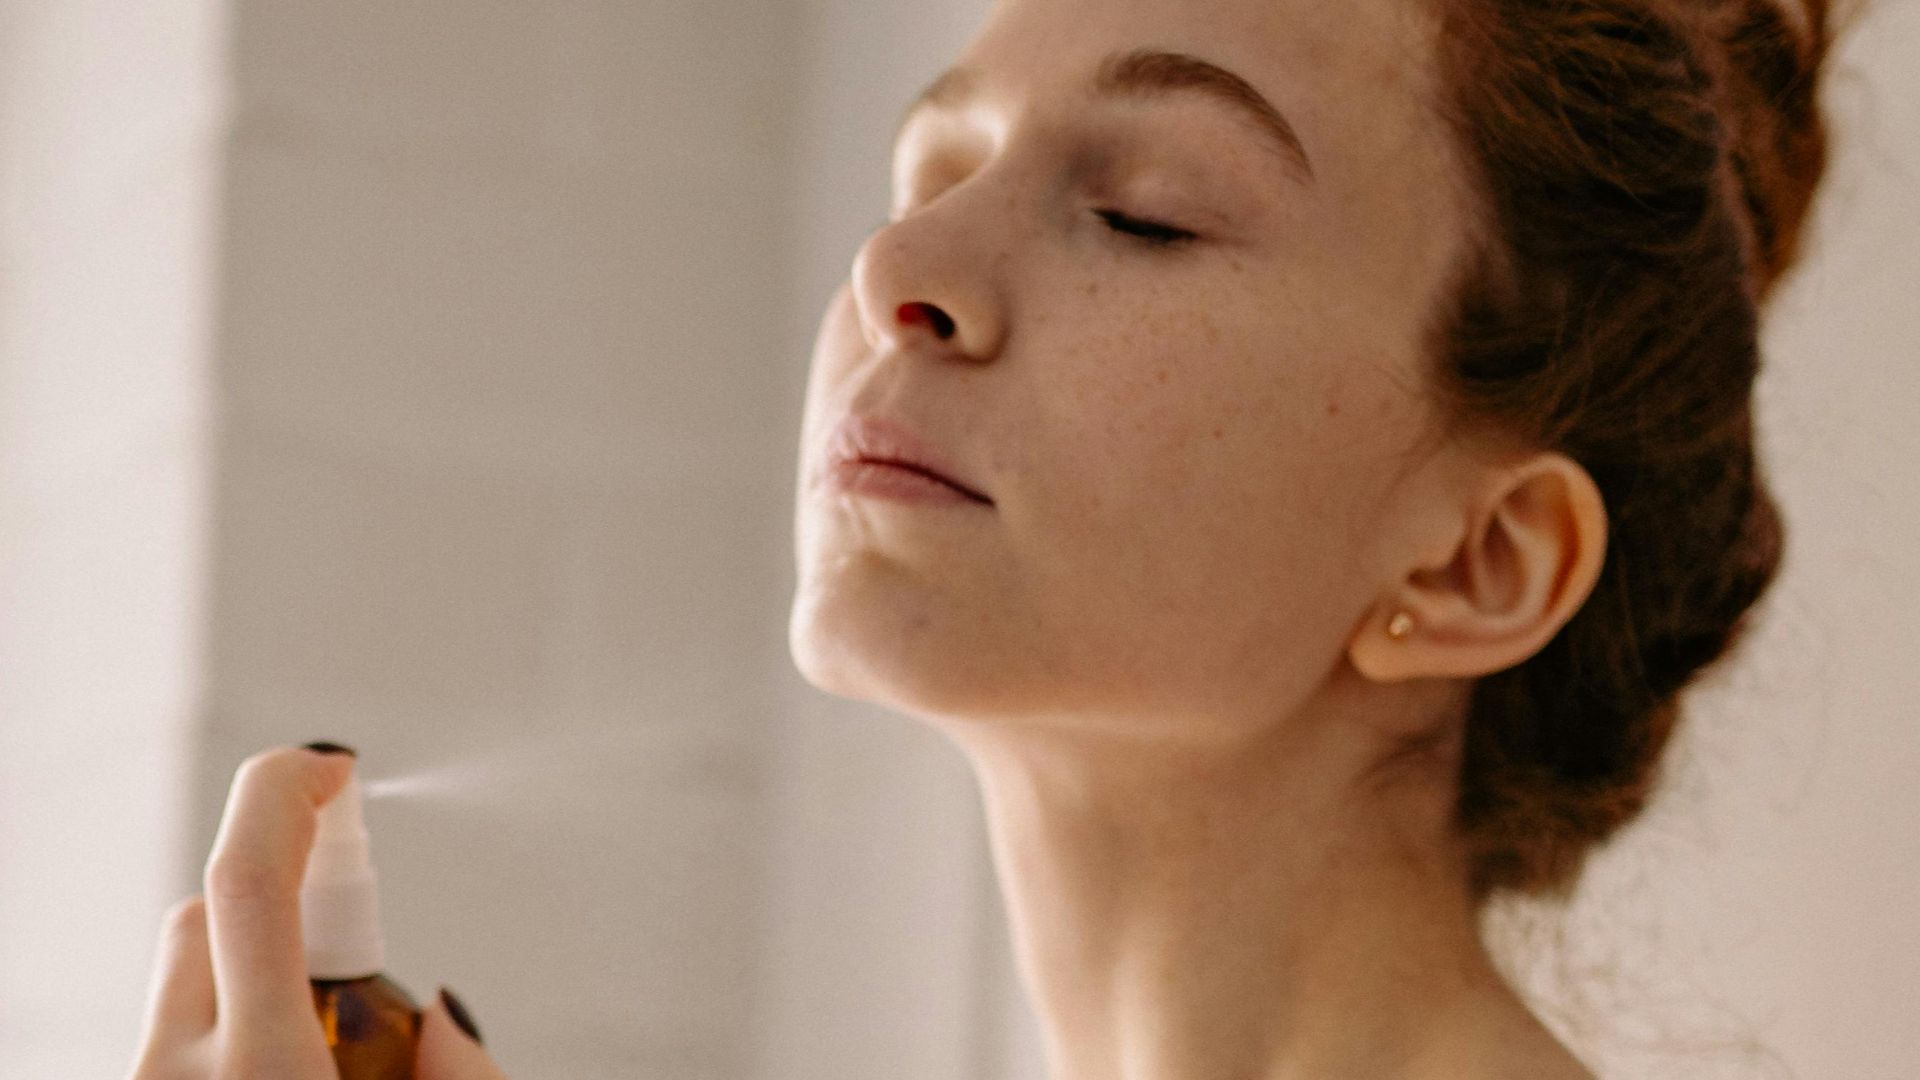
19. Use A Makeup Setting Mist
Setting sprays help lock in makeup and can refresh your look for a dewy finish throughout the day. Some setting sprays contain hydrating ingredients for extra glow, adding skincare benefits while keeping your makeup in place for hours.
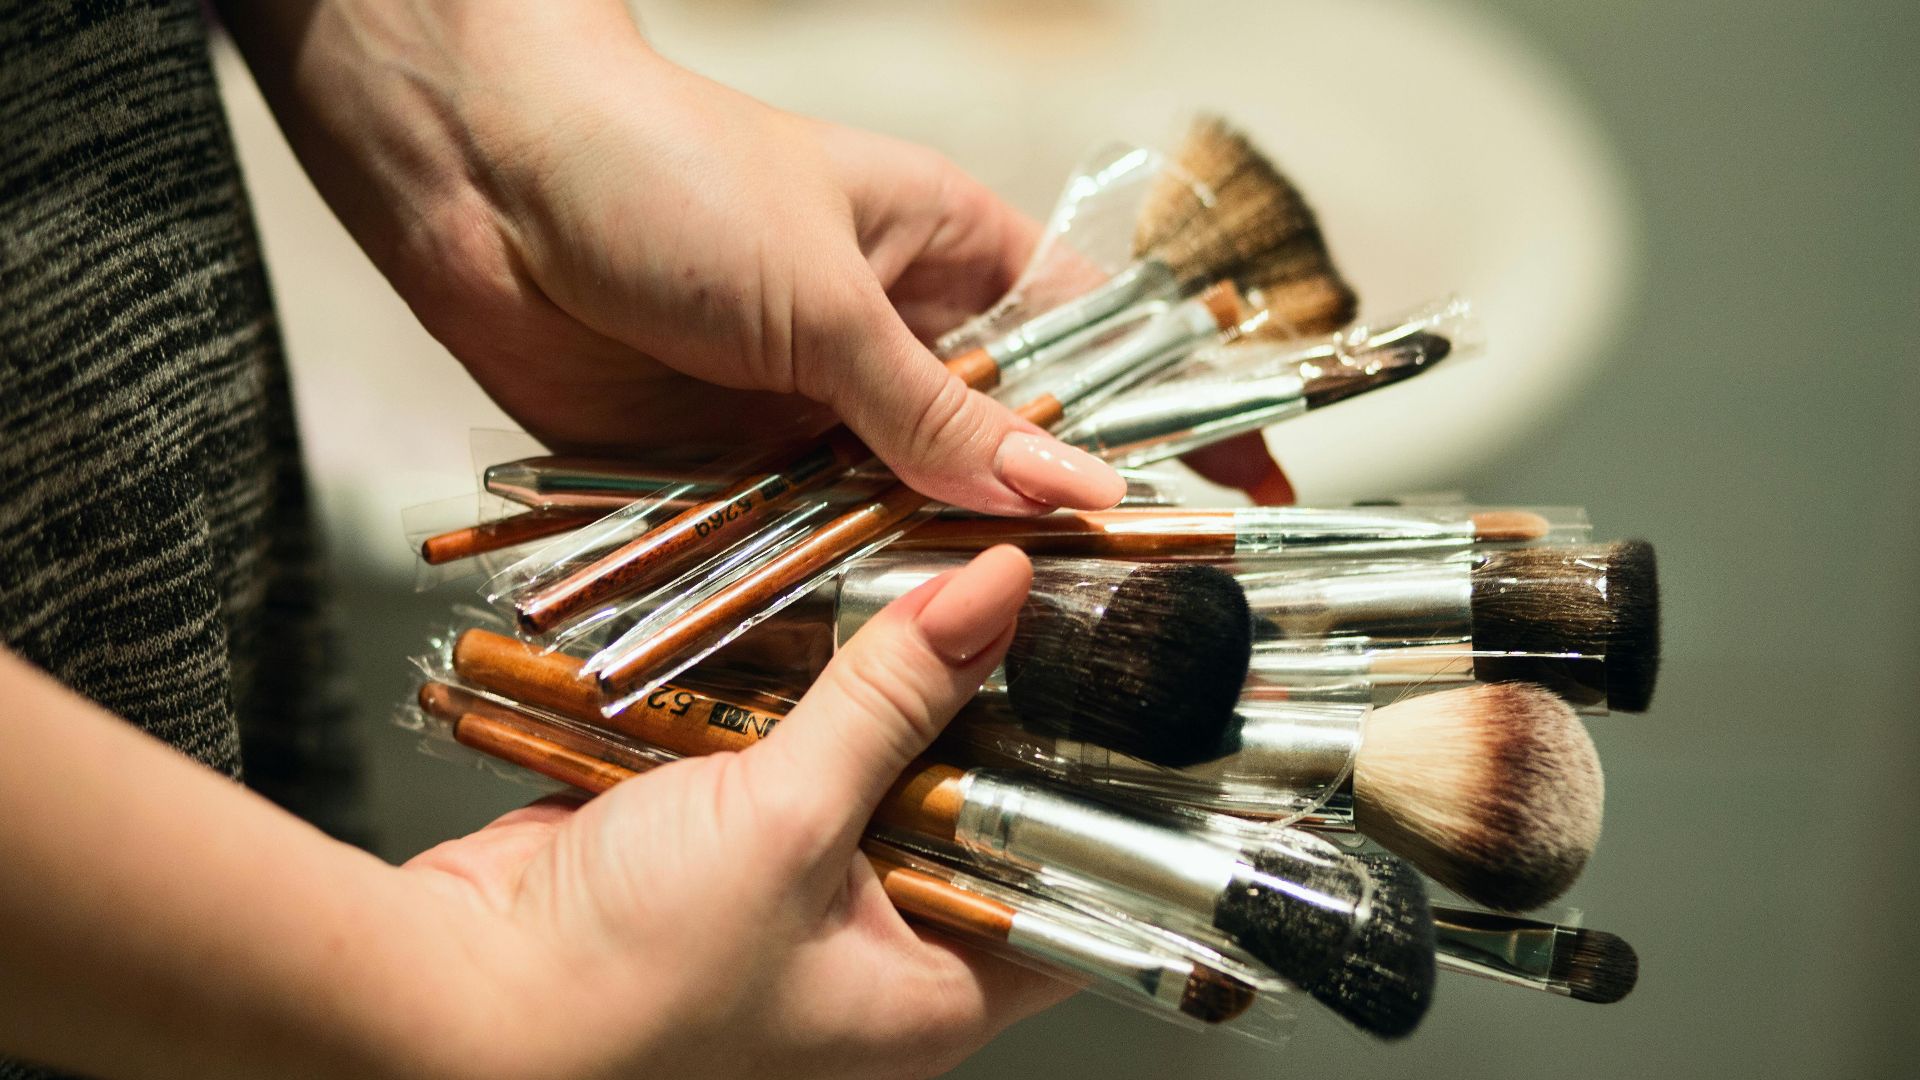
20. Clean Brushes Regularly
Always use gentle soap or a dedicated brush cleanser to clean makeup brushes regularly, ideally once a week for brushes you use daily. Dirty brushes can transfer oil, old makeup, and bacteria to your skin, potentially leading to clogged pores.