Your Tan Blunders End Now
Achieving a flawless sun-kissed glow without sun damage can feel tricky—one mistake leads to streaks or the dreaded orange tint. But a natural-looking bronze is easier to master than you think. With the right tips, you can skip the gamble and enjoy radiant results. We’ve gathered the essential dos and don’ts to help you avoid common self-tanning blunders and turn your faux glow from blotchy to beautiful with confidence. Let's begin with the most common self-tanning blunders.
 Antoni Shkraba Studio on Pexels
1. Using Bar Soap After Tanning
You'll want to reconsider using bar soap after tanning. Harsh soaps often contain sulfates that can strip your new color and affect longevity. To preserve your tone, switch to a gentle and pH-balanced cleanser instead of a bar.
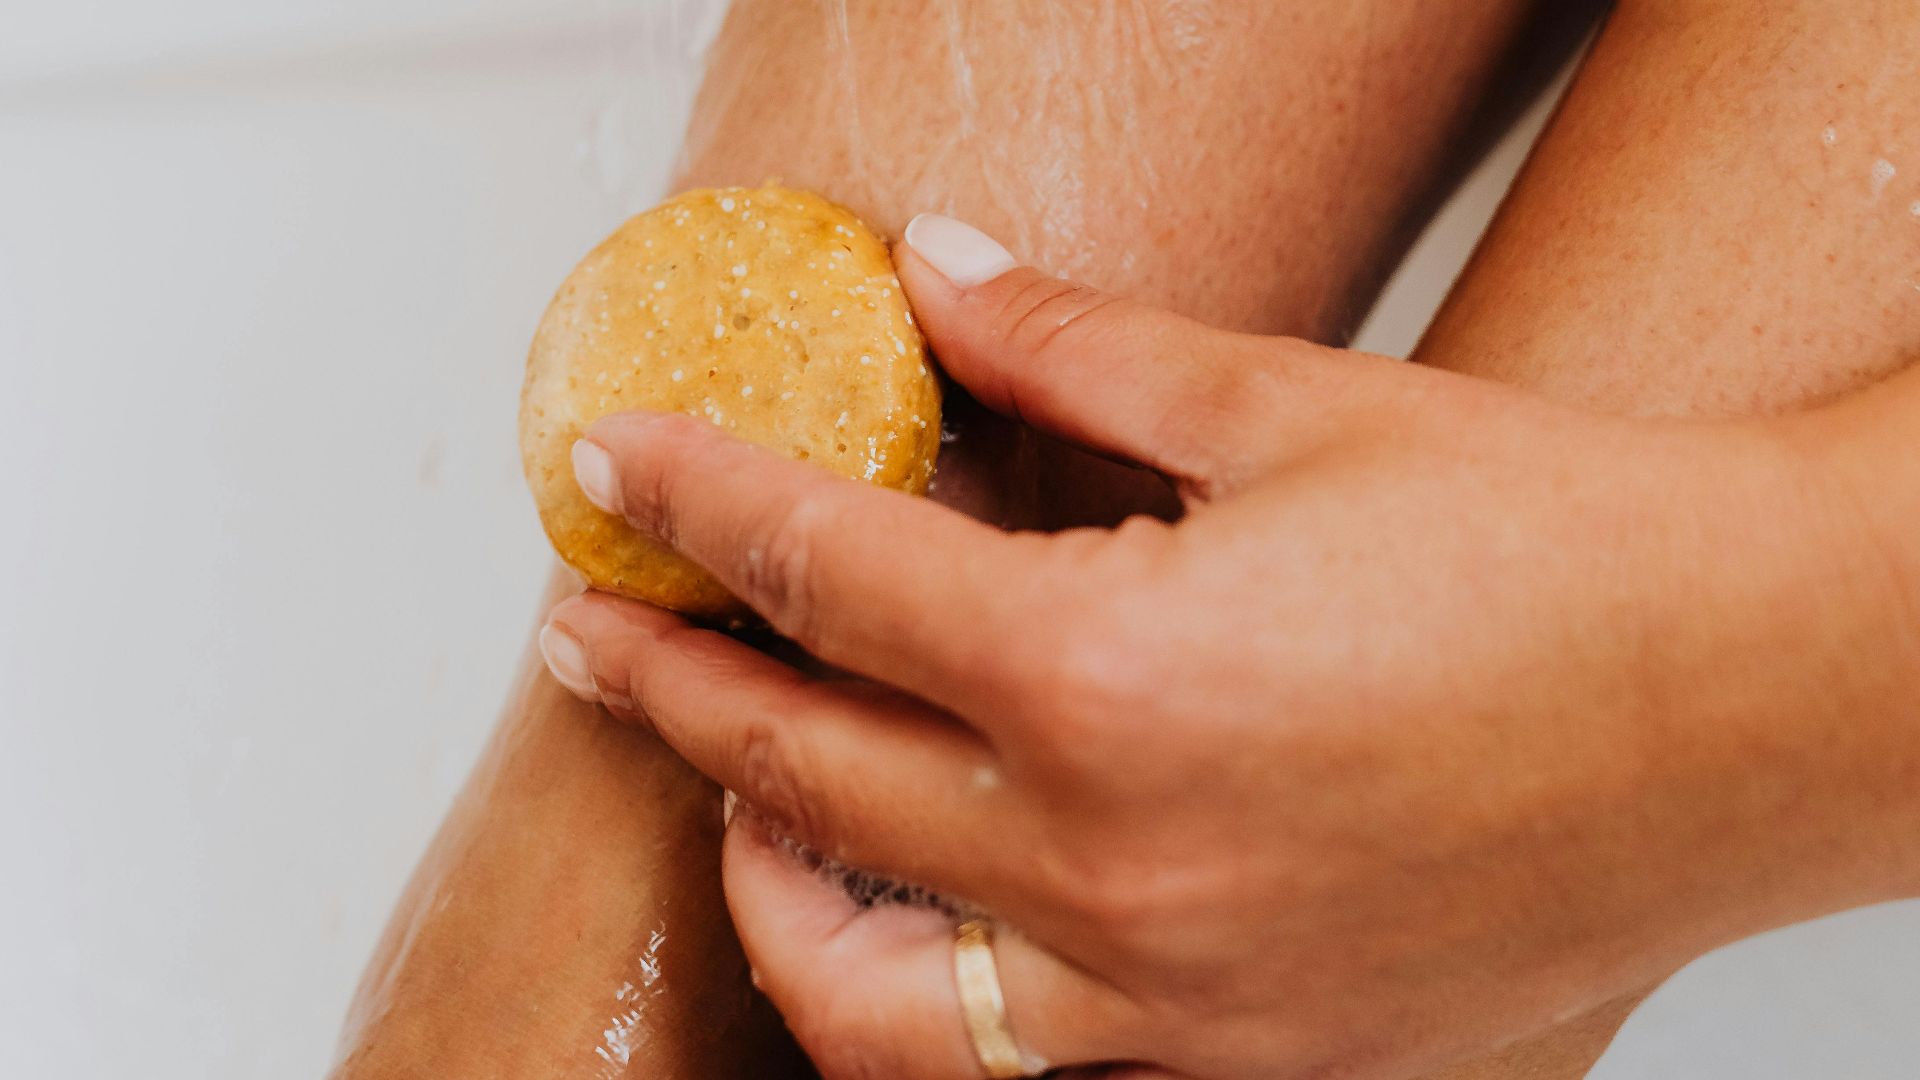 Photo By: Kaboompics.com on Pexels
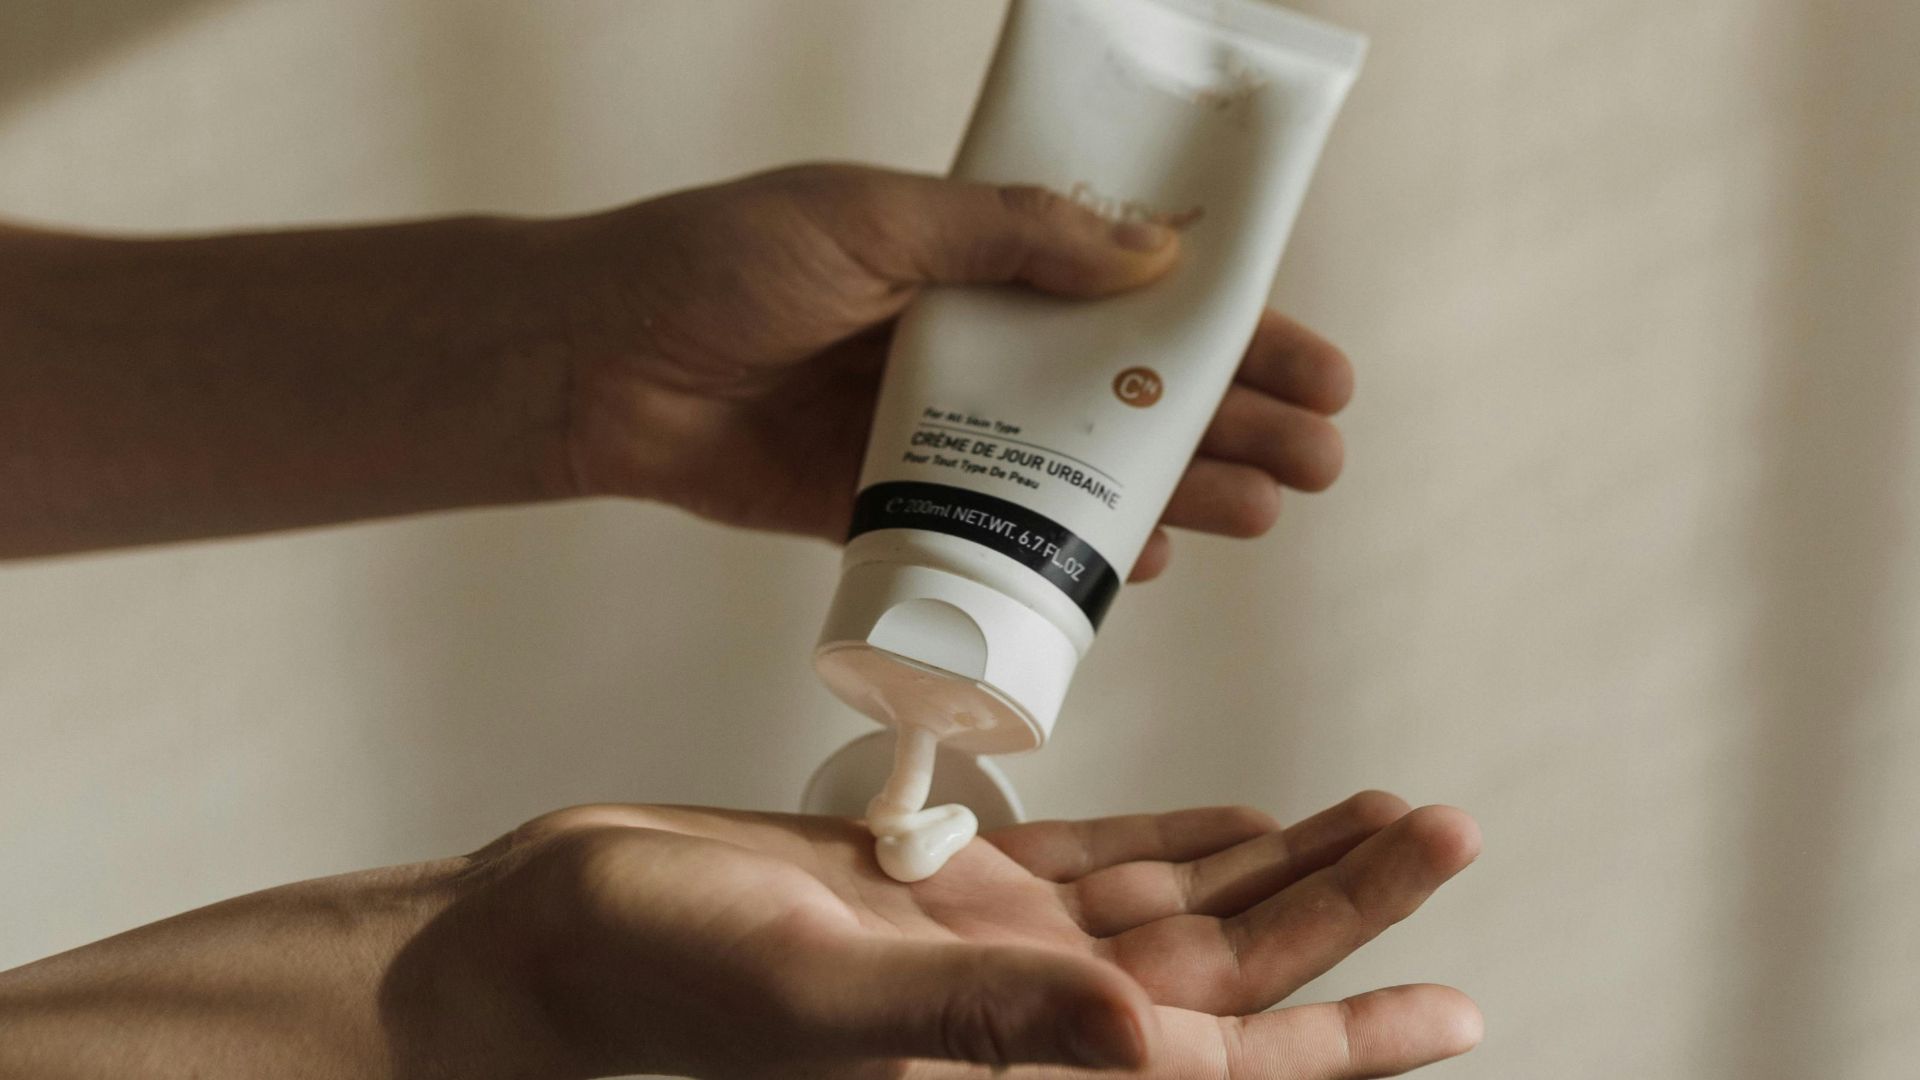
2. Using Too Much Product At Once
When you're aiming for a sun-kissed glow, going overboard with the product can quickly turn your look unnaturally orange. Overapplication not only causes streaking and clogged pores but is also hard to fix. Remember, less is more; buildable coverage offers far better control.
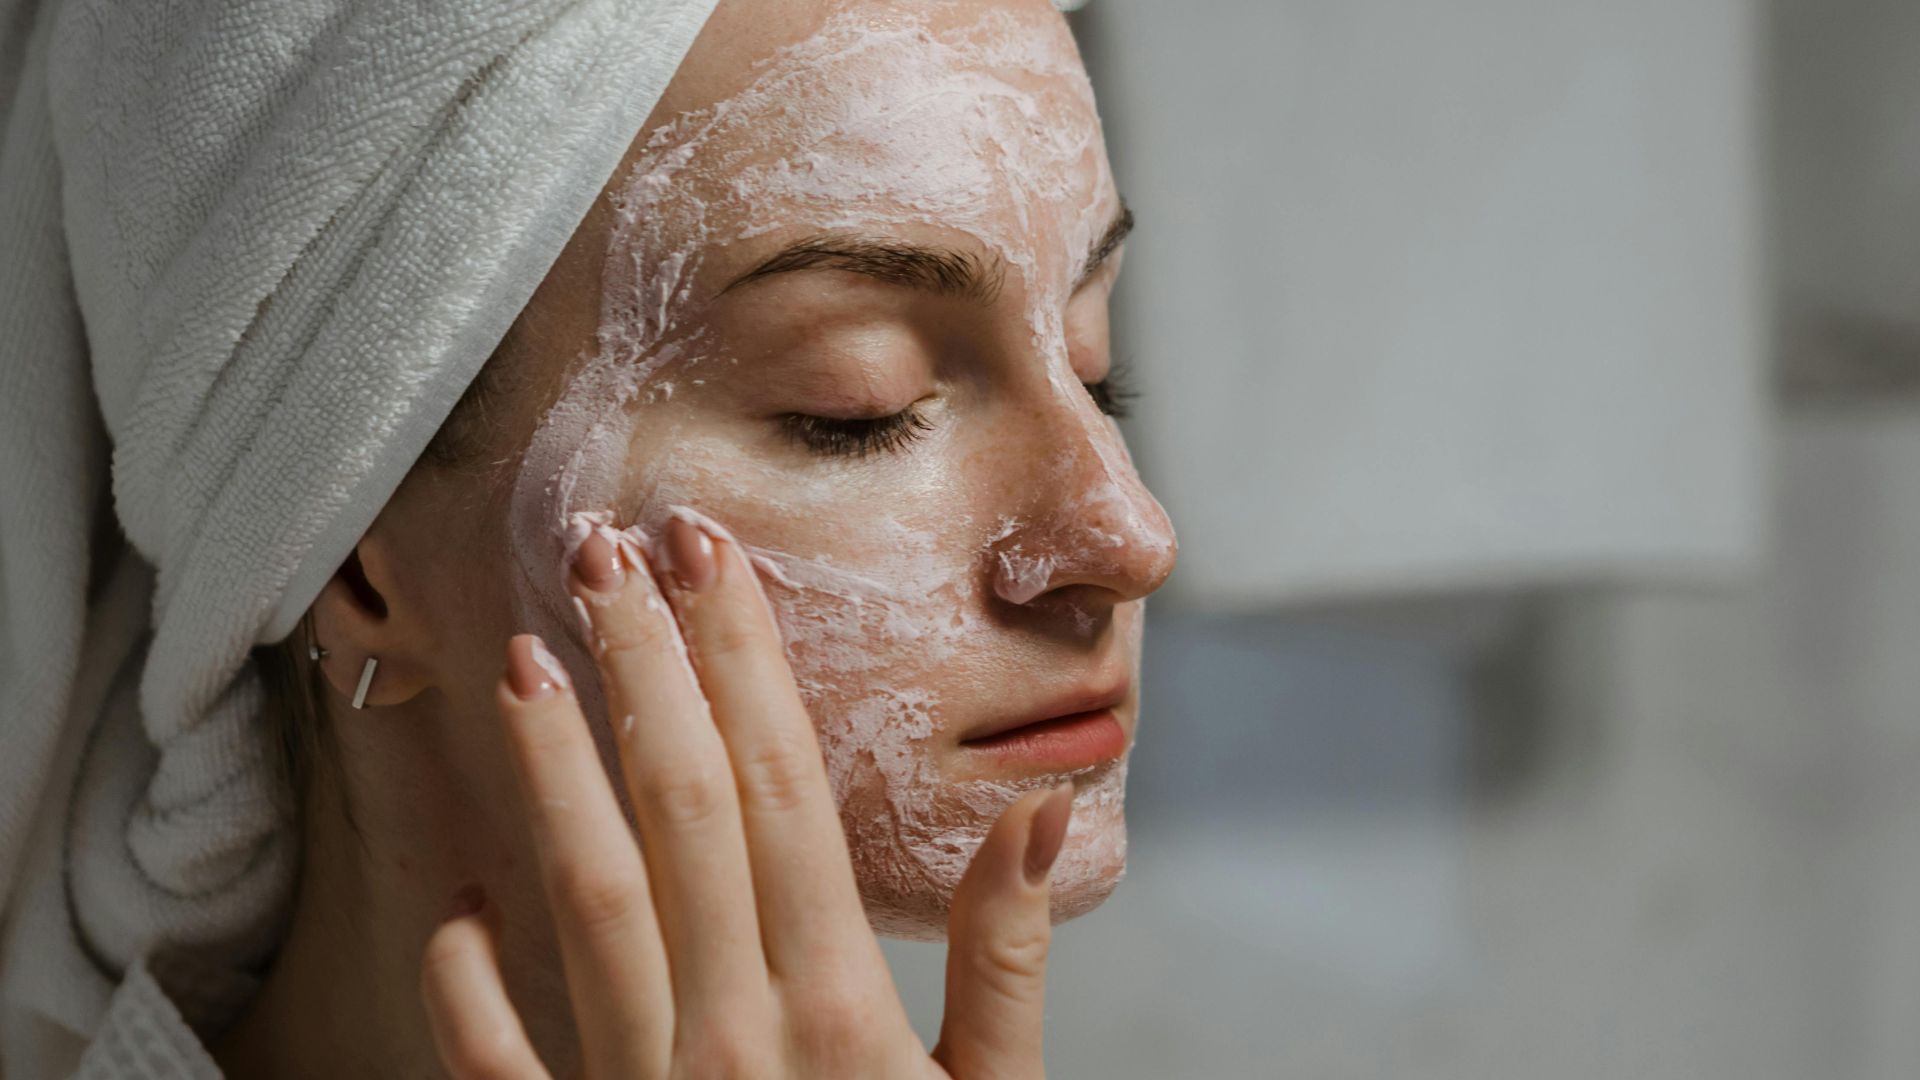
3. Applying Tanner To Wet Or Damp Skin
Patience matters in self-tanning. Tanner applied to damp skin is a recipe for disaster because moisture dilutes the formula and leads to streaks. So, make sure your skin is completely dry for even distribution and activation.

4. Applying Tanner Right Before Bed
Tanning just before hitting the hay might seem efficient, but your sheets and skin will pay the price. Any movement or friction against fabric can cause smudges and uneven patches. Plus, sweat from overnight can interfere with how the color develops.

5. Using Expired Products
Don't reach for that half-empty bottle from months ago when you're planning to self-tan. DHA breaks down over time and becomes less effective at creating even color. Old products can also cause skin irritation that fresh ones typically don't.
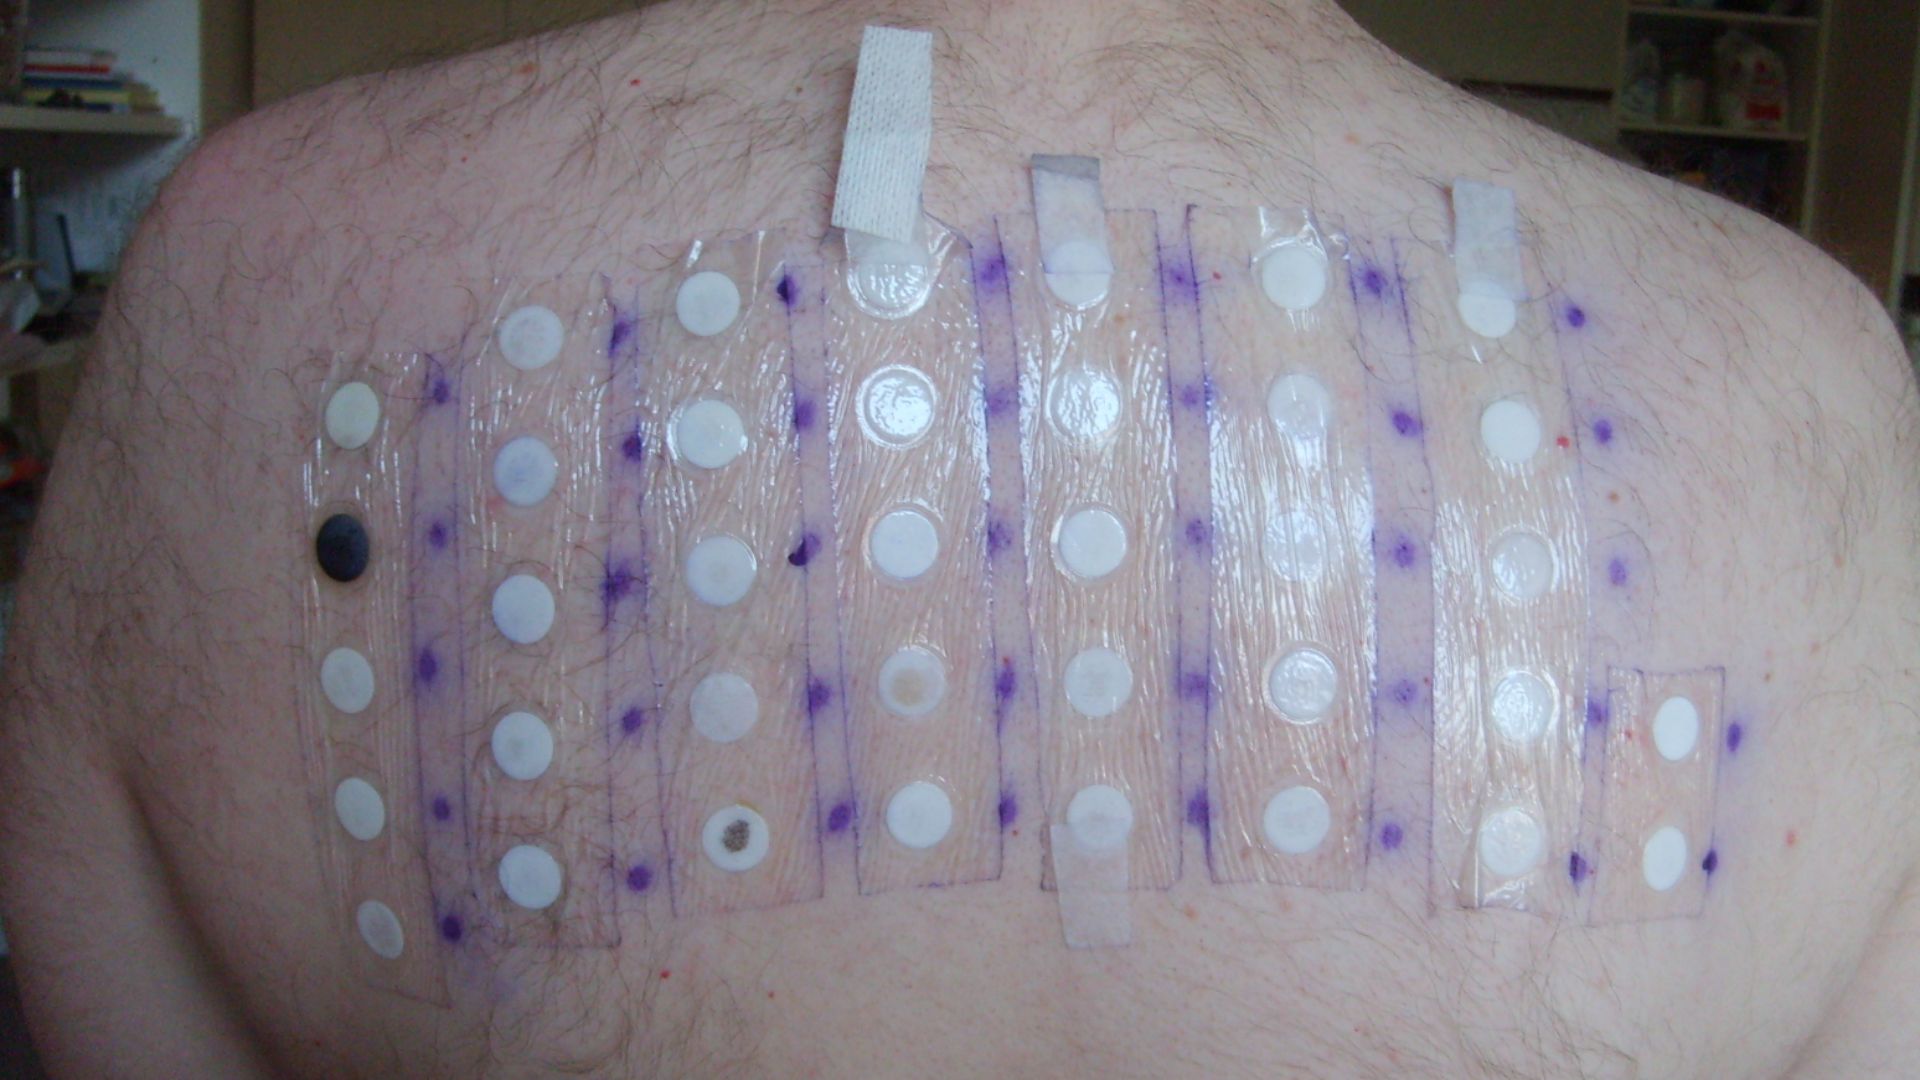
6. Skipping Patch Tests
What seems like an extra step—a patch test—can save you from a full-body disaster. Since skin sensitivity varies, this quick check helps rule out potential allergic reactions and prevents irritation before you commit completely to the product.
7. Applying Tanner In A Humid Environment
Your bathroom post-shower is the worst place for a tanning session. A humid environment will significantly slow down drying time, which often leads to streaks and a blotchy finish. Instead, find a cool space for the best possible results.
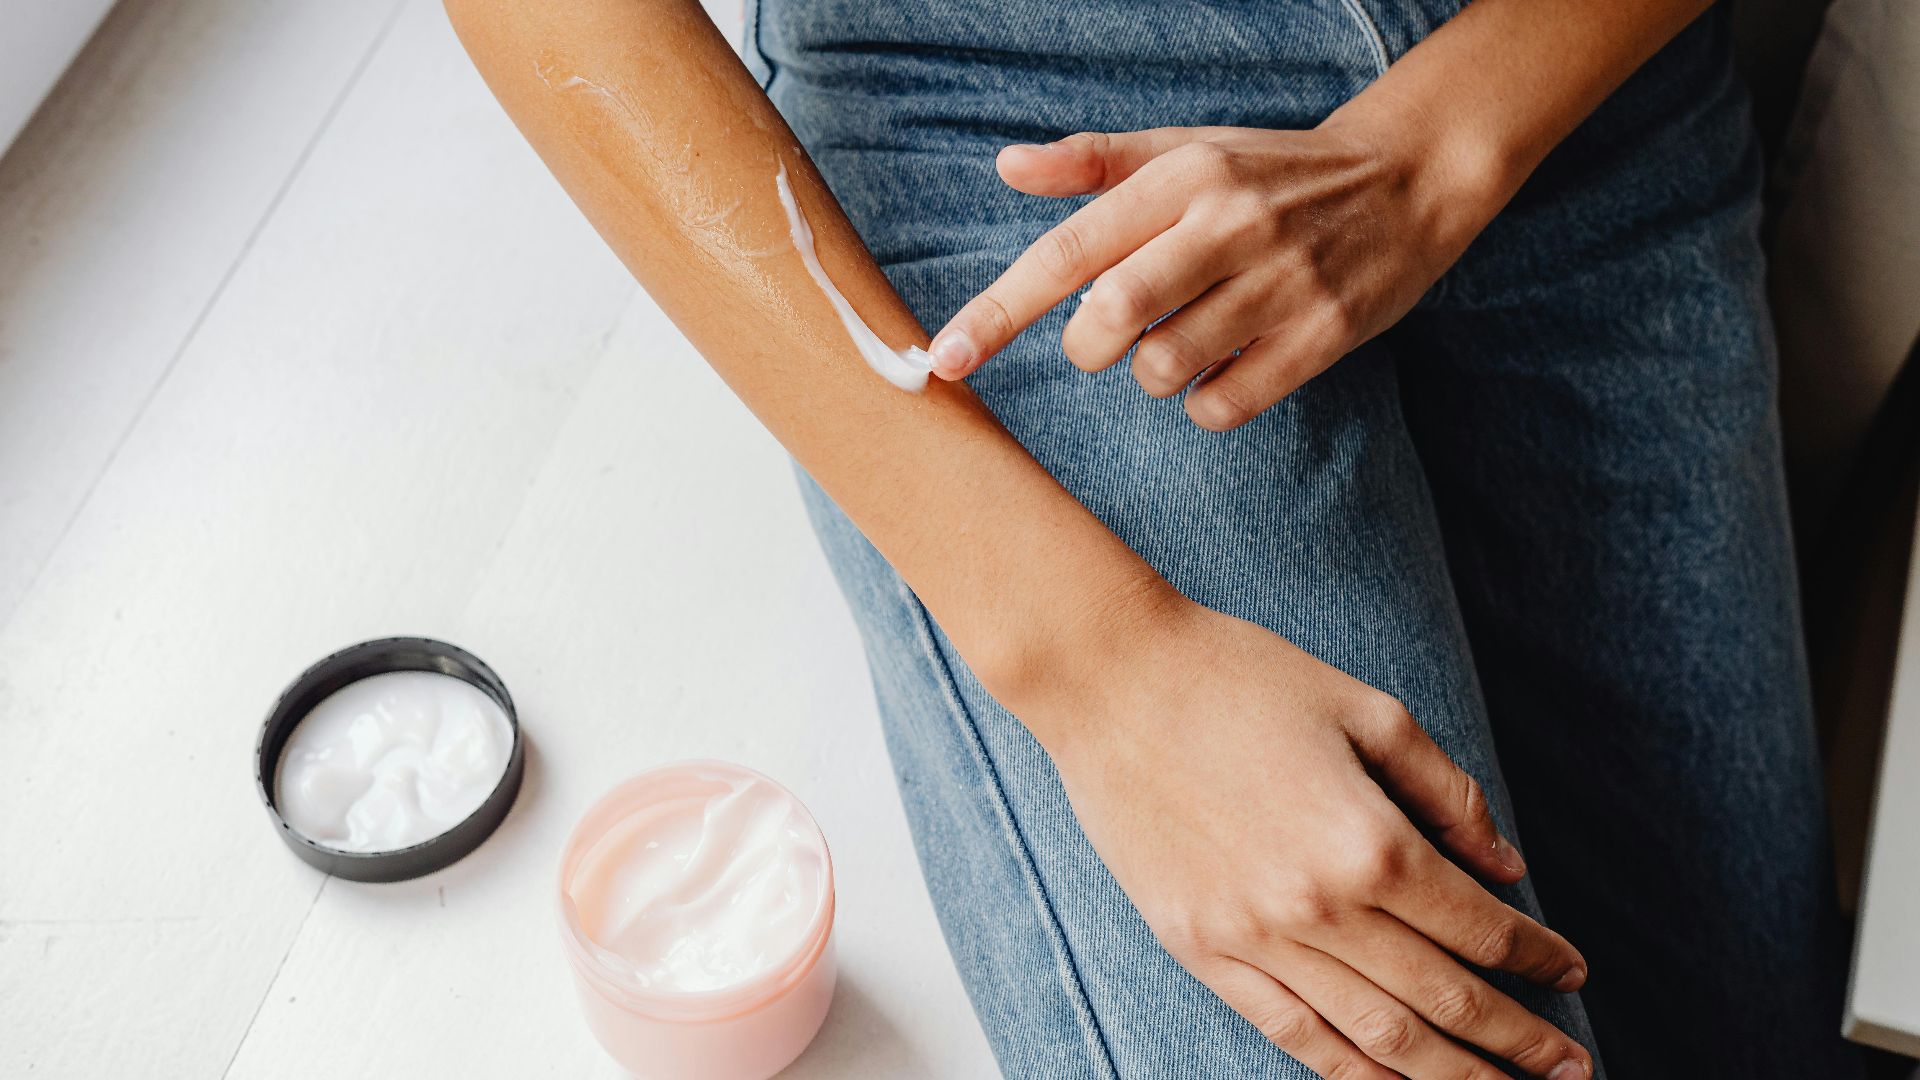 Photo By: Kaboompics.com on Pexels
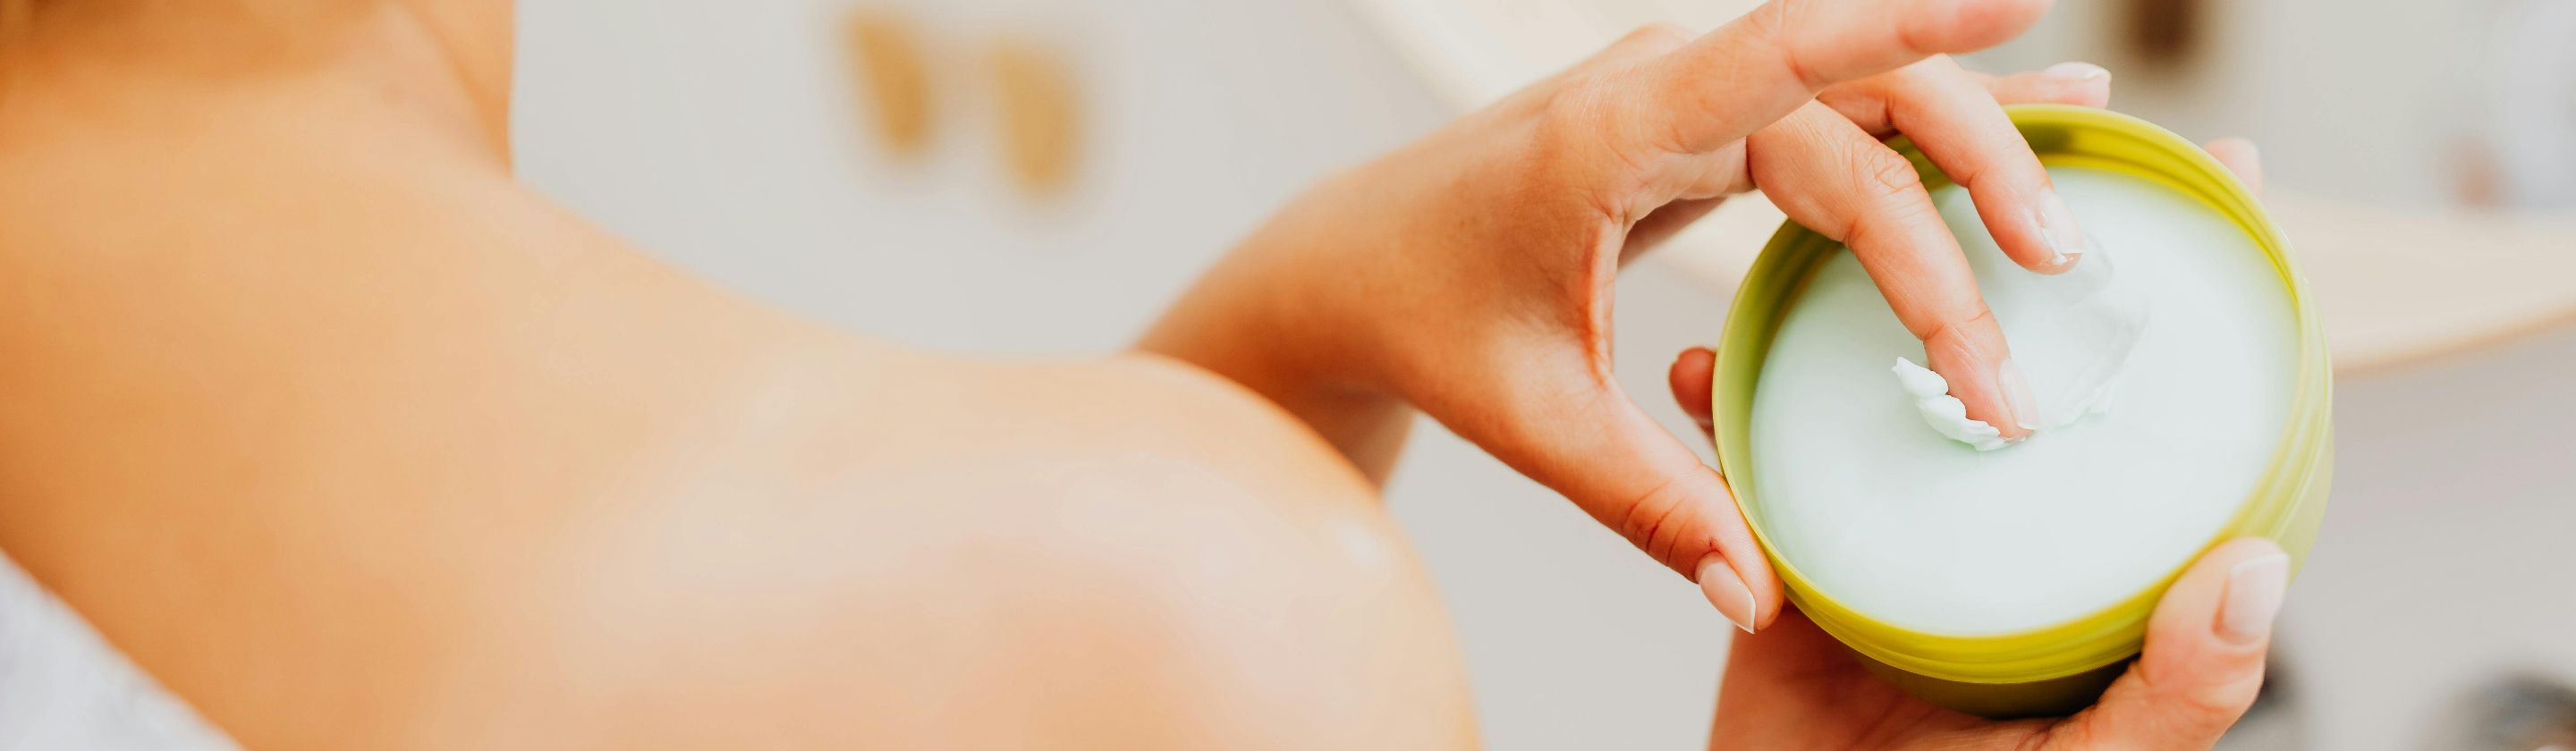
8. Using Oil-Based Moisturizers Before Tanning
Body oils feel great, but they're problematic before self-tanning sessions. The oil sits on your skin surface and prevents DHA from being absorbed where it needs to go. This creates patchy color development and uneven tan distribution.
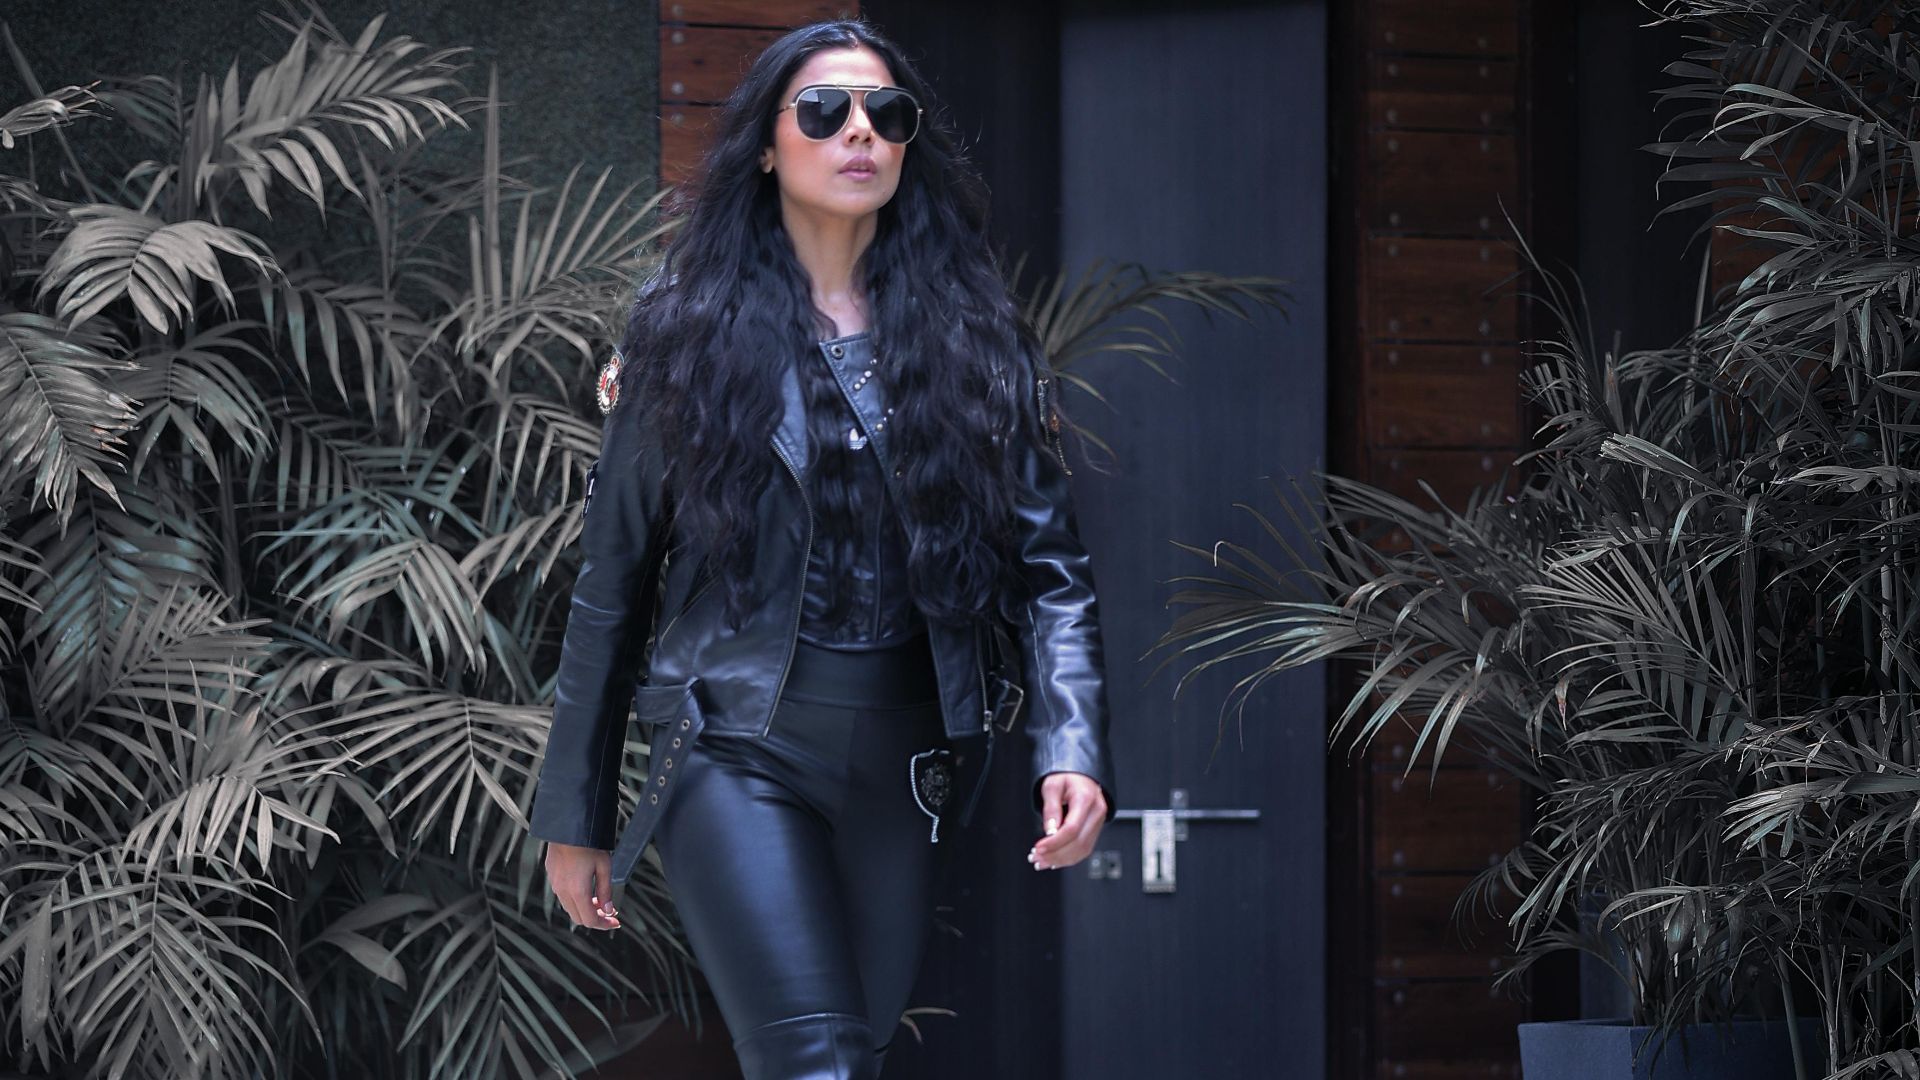
9. Wearing Tight Clothing Too Soon
Squeezing into your skinny jeans right after tanning is a definite no-go. The friction from tight clothing can rub off your fresh tan and result in uneven patches. So, opt for loose and comfy wear to give the color time to set.
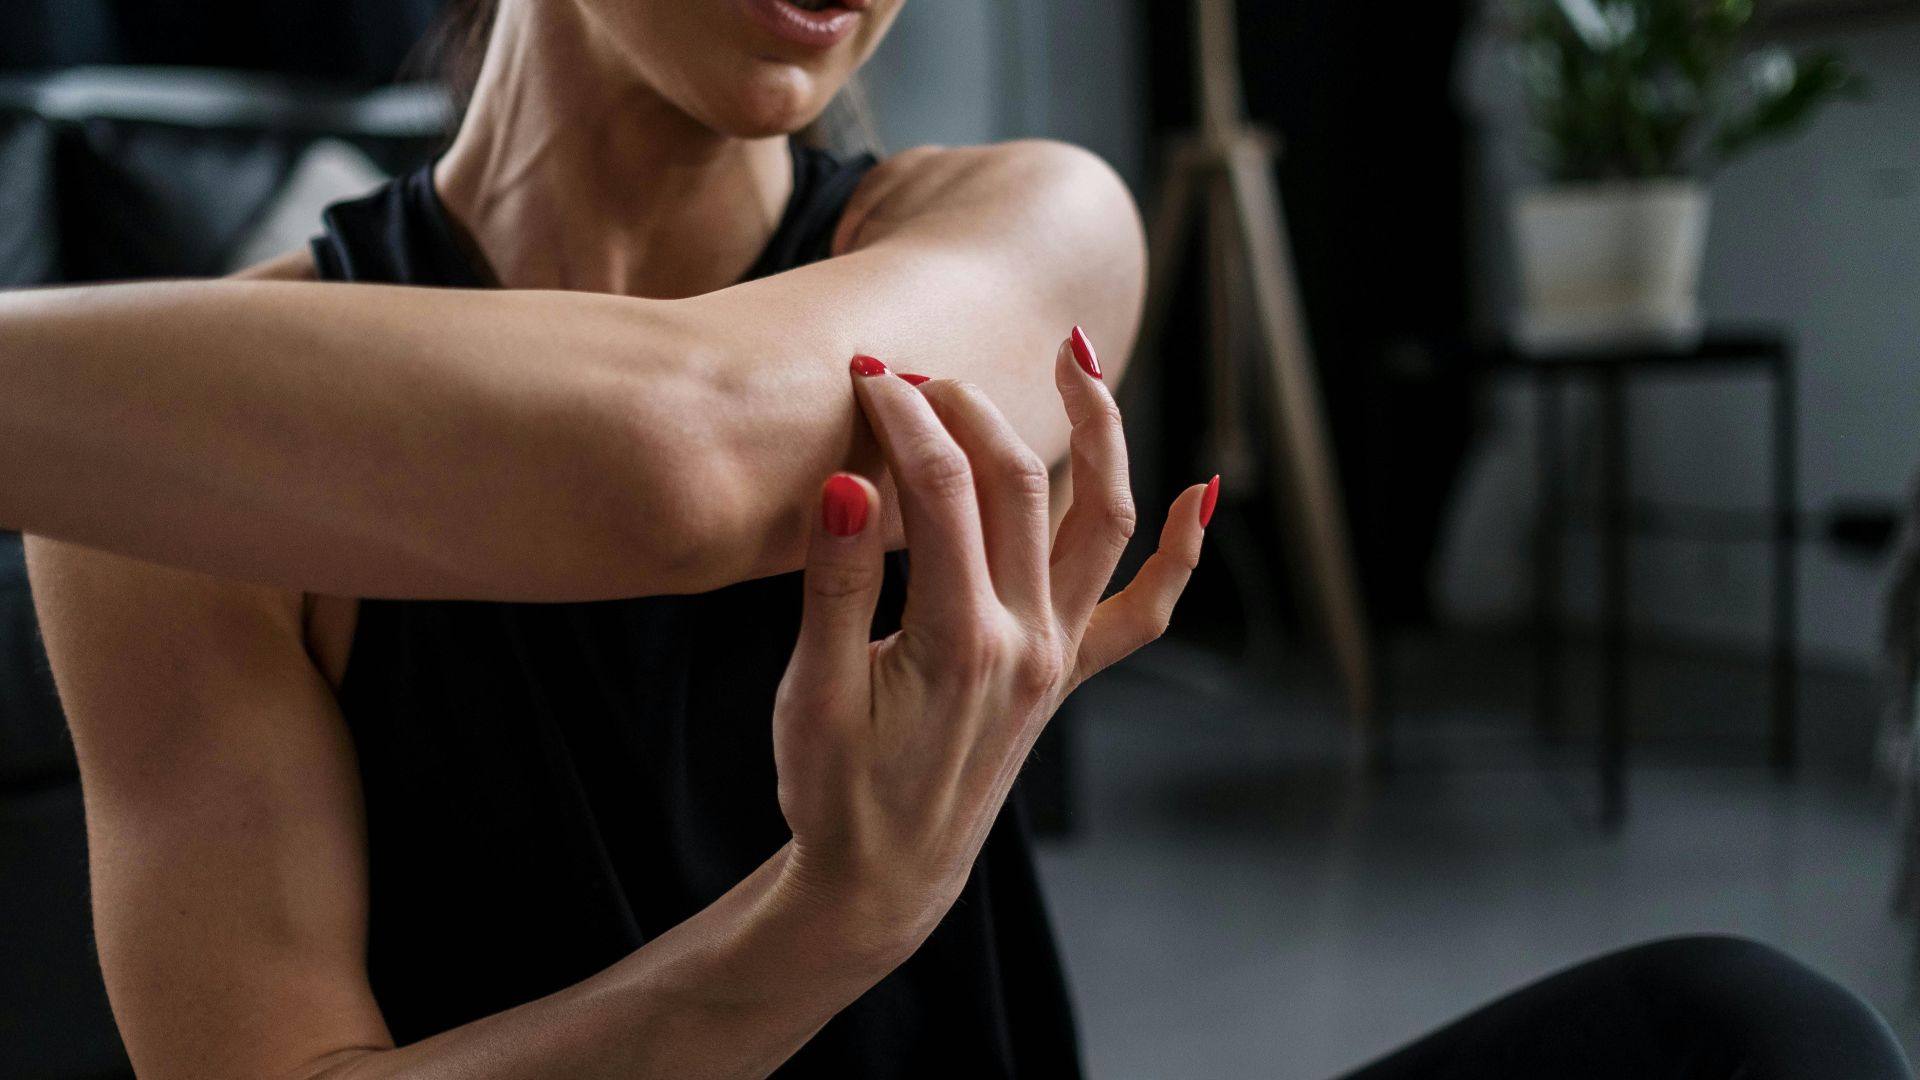
10. Ignoring Elbows, Knees, And Ankles
Your elbows, knees, and ankles are notorious for turning patchy because their dry texture absorbs too much product. Think of a barrier cream as your secret weapon against this. Applying it to these spots first prevents over-absorption, guaranteeing a perfectly seamless finish.
The tanning mistakes are out of the way. Now let’s talk about how to get the golden color done right.
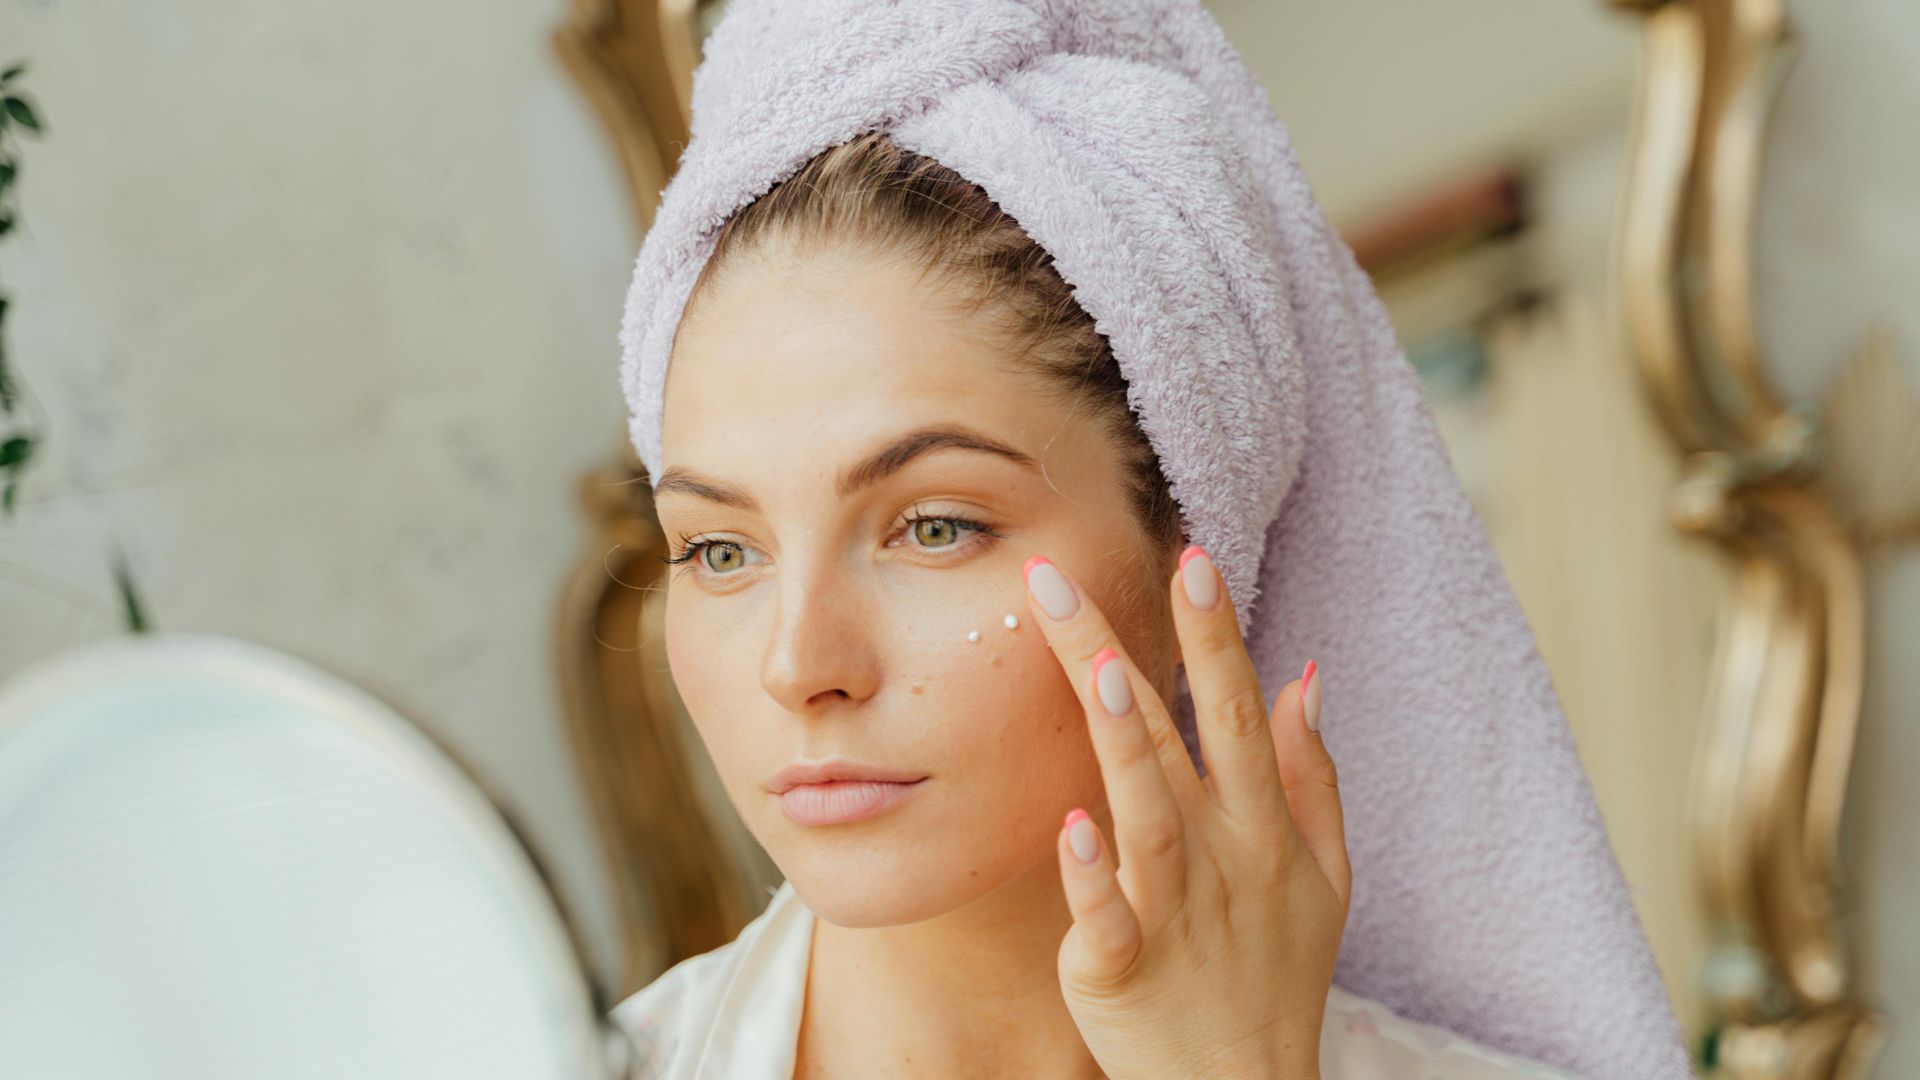
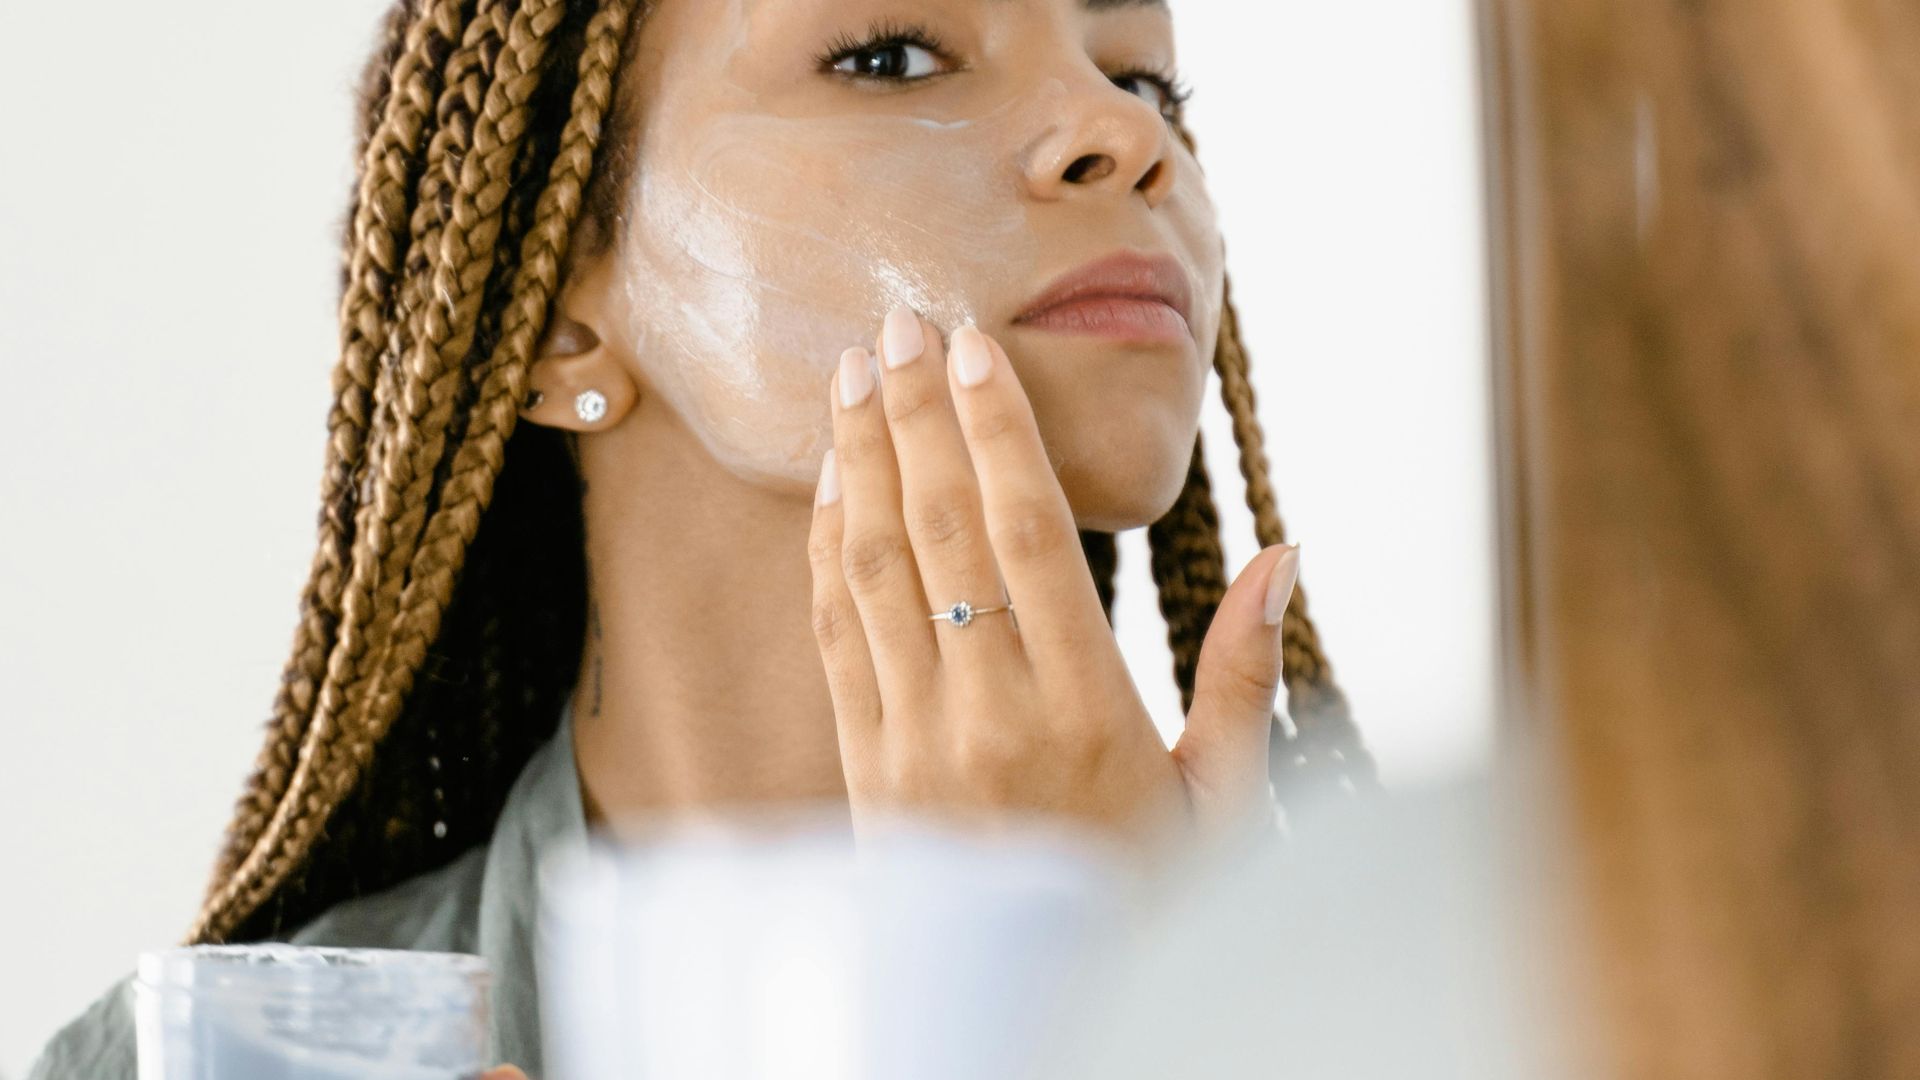
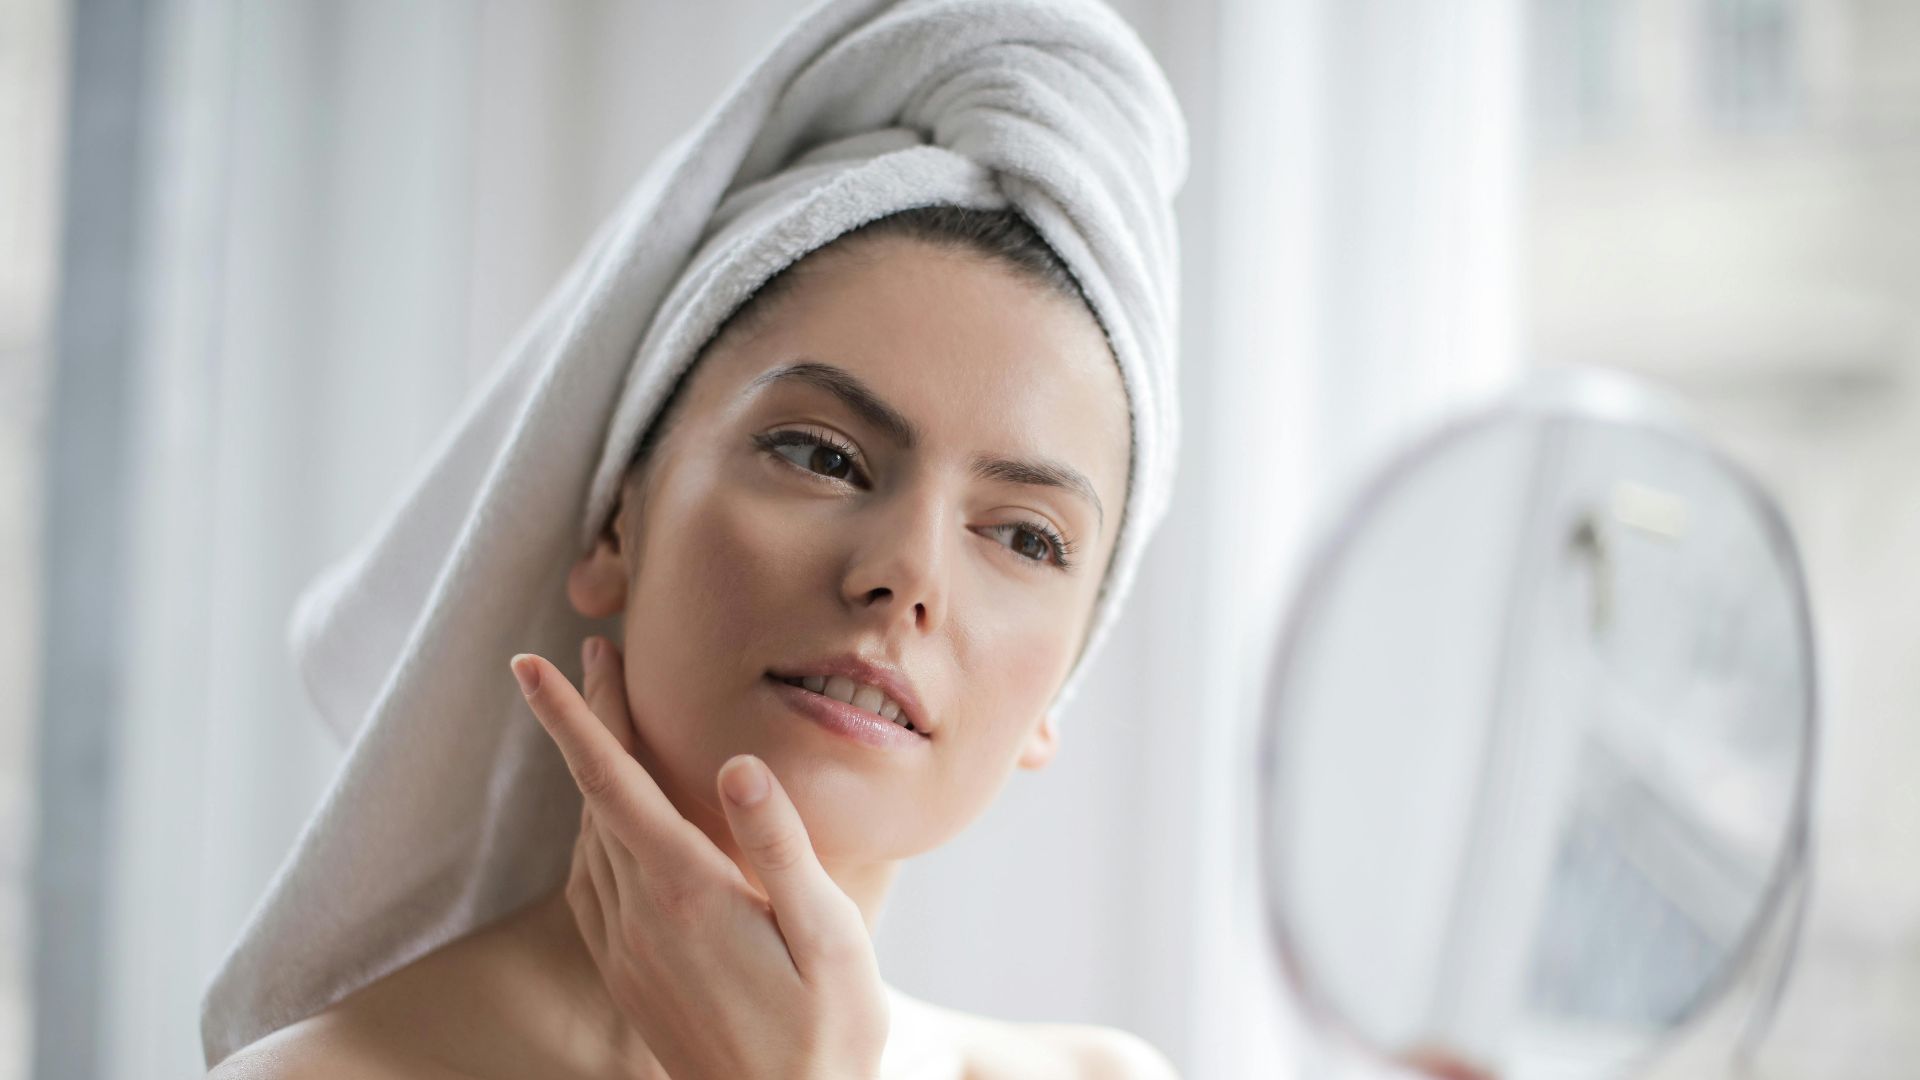
1. Hydrating Skin Daily
Great skin is the foundation of a great tan. Daily hydration helps your skin hold color longer and prevents any fading or flaking. A smooth and moisturized canvas absorbs tanner evenly, so consistent care is key to enhancing your natural-looking glow.
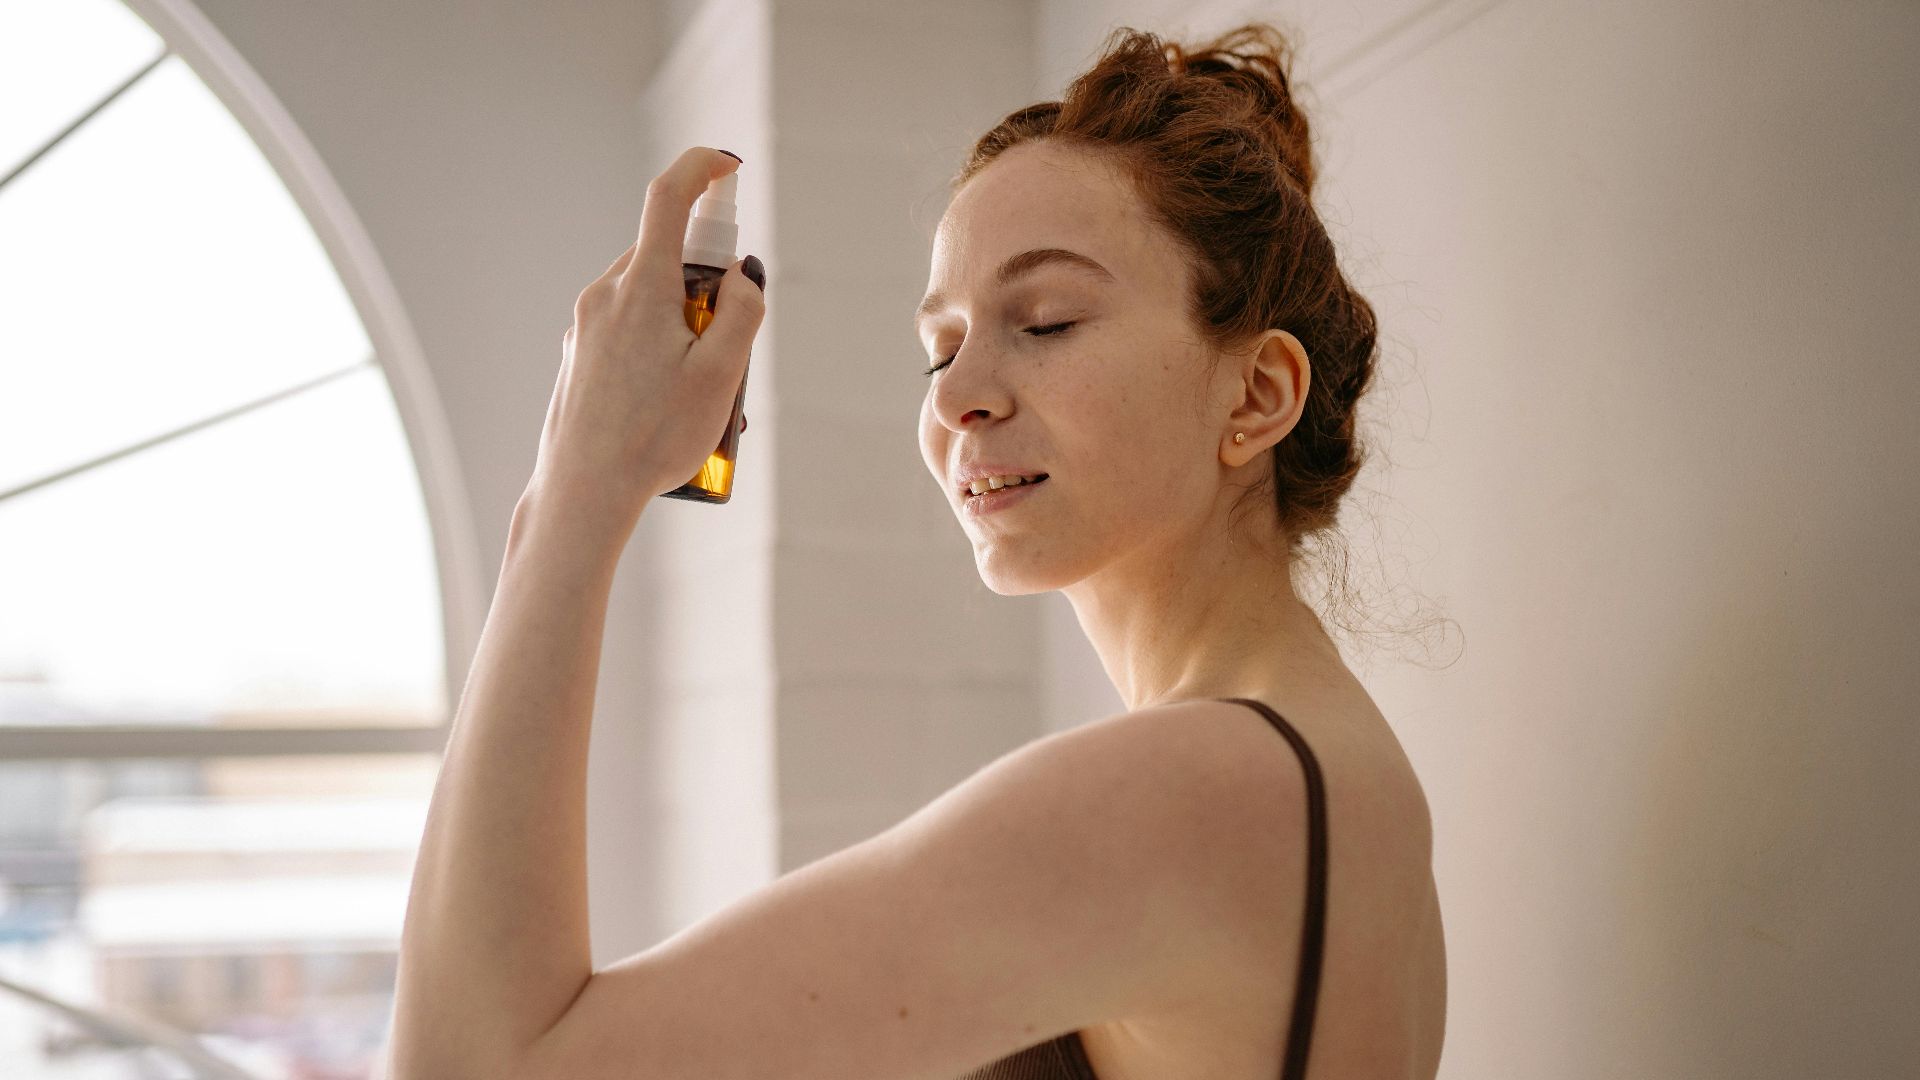
2. Refreshing With Tanning Mists
Tanning mists are ideal for quick touch-ups between full applications. A light spritz over faded areas revives your glow without streaks. Choose a fine mist formula that dries fast and blends easily for a natural finish.
3. Using Gradual Tanning Lotions
Gradual tanners build color slowly instead of giving you an immediate bronze tone. You can stop whenever you reach your desired shade or keep applying for a deeper color. This method feels safer for people who worry about going too dark too fast.
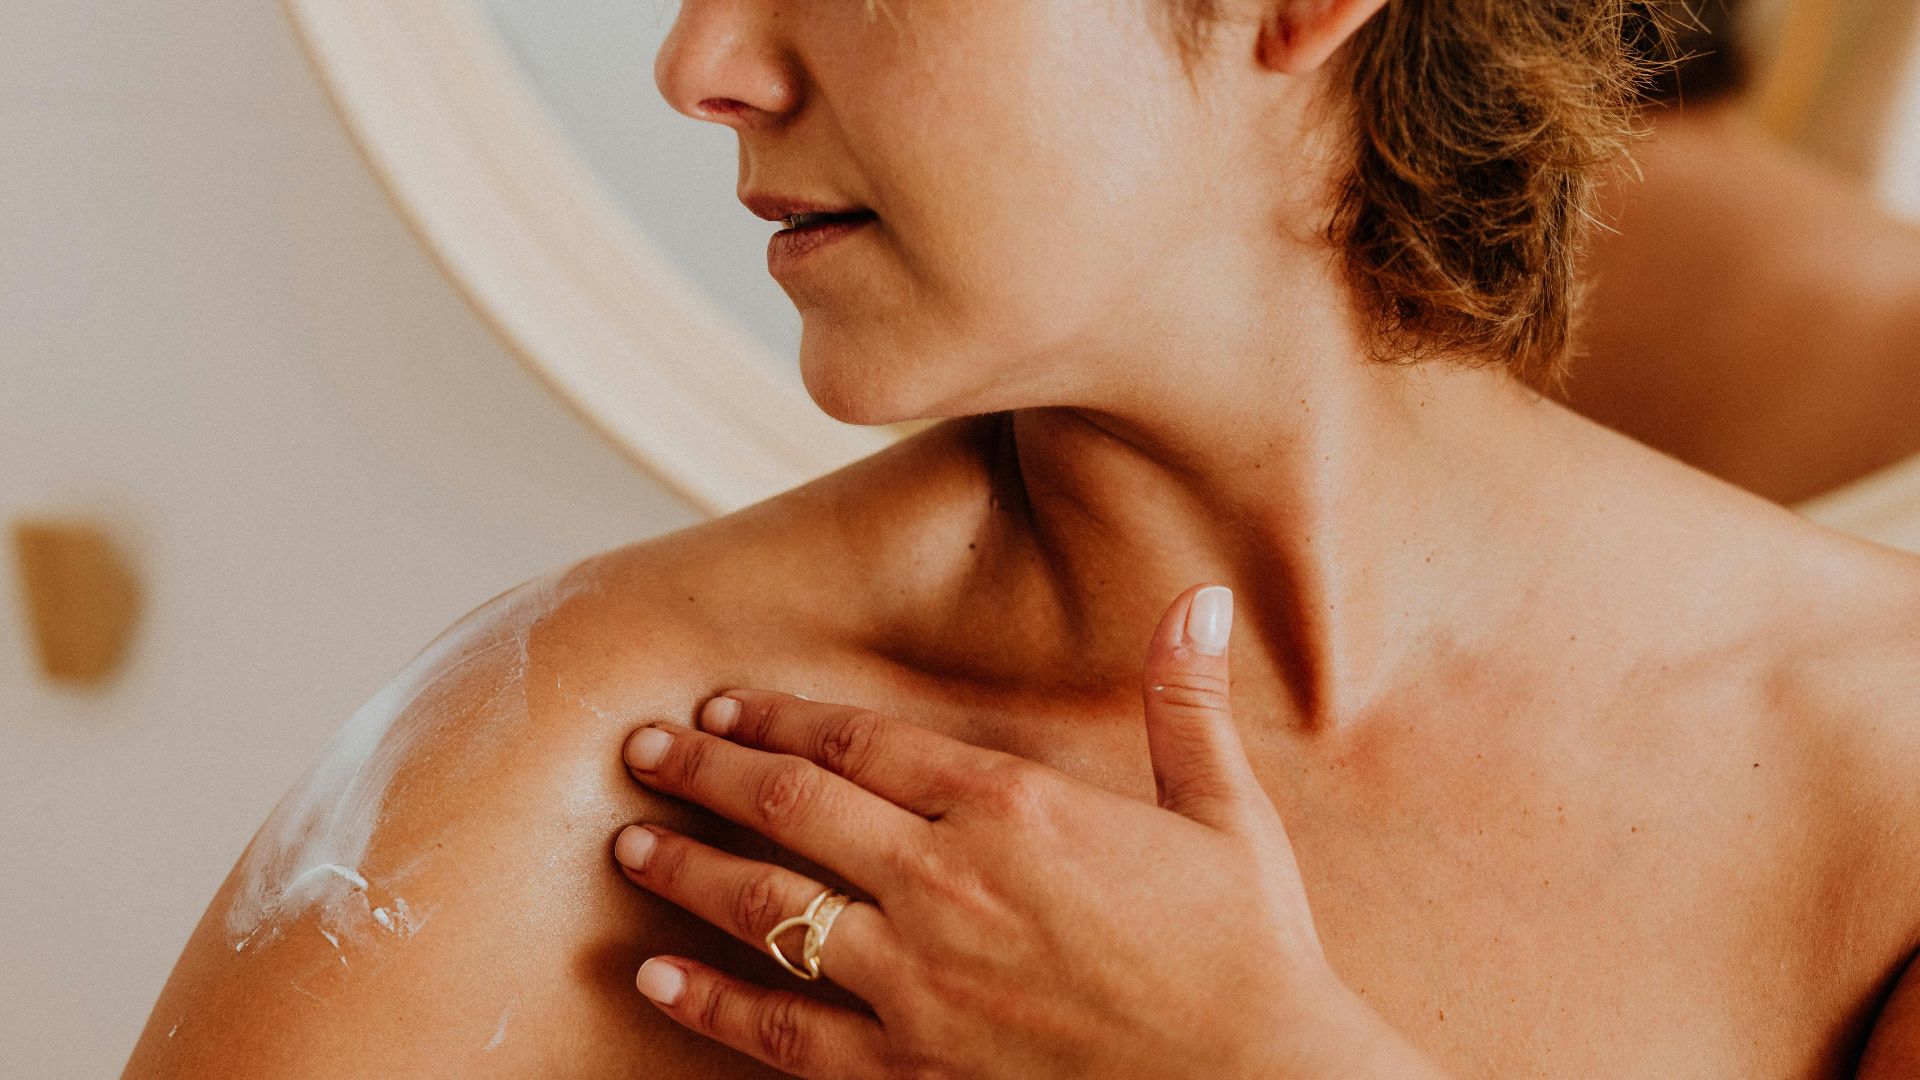 Photo By: Kaboompics.com on Pexels
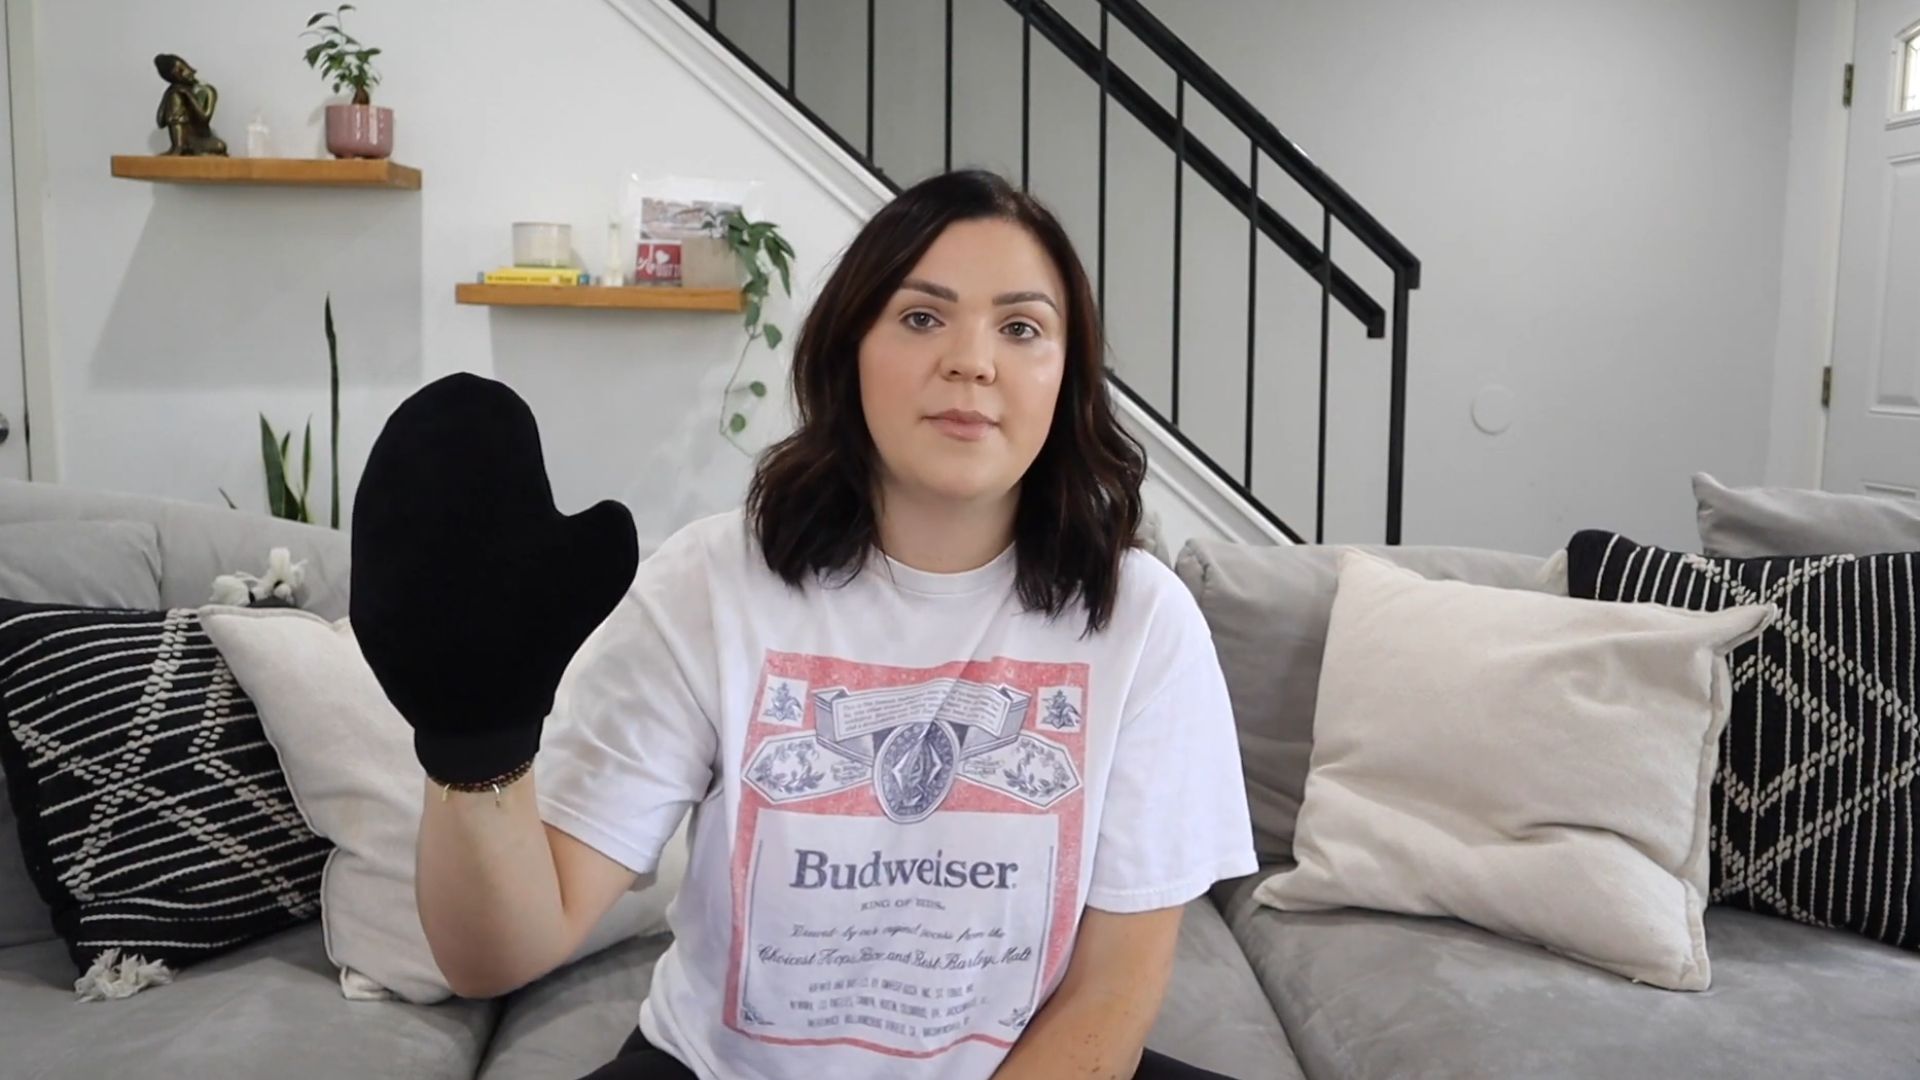
4. Applying Tanner With A Mitt
Application mitts solve the orange palm problem that comes with self-tanning. The mitt spreads the product more evenly than your hands can and keeps your fingers clean throughout the process. Most people find it creates fewer streaks and blotchy spots.
 HOW TO CLEAN A SELF TAN MITT | TIPS AND TRICKS BY A PRO SPRAY TAN ARTIST by Sunless Rae
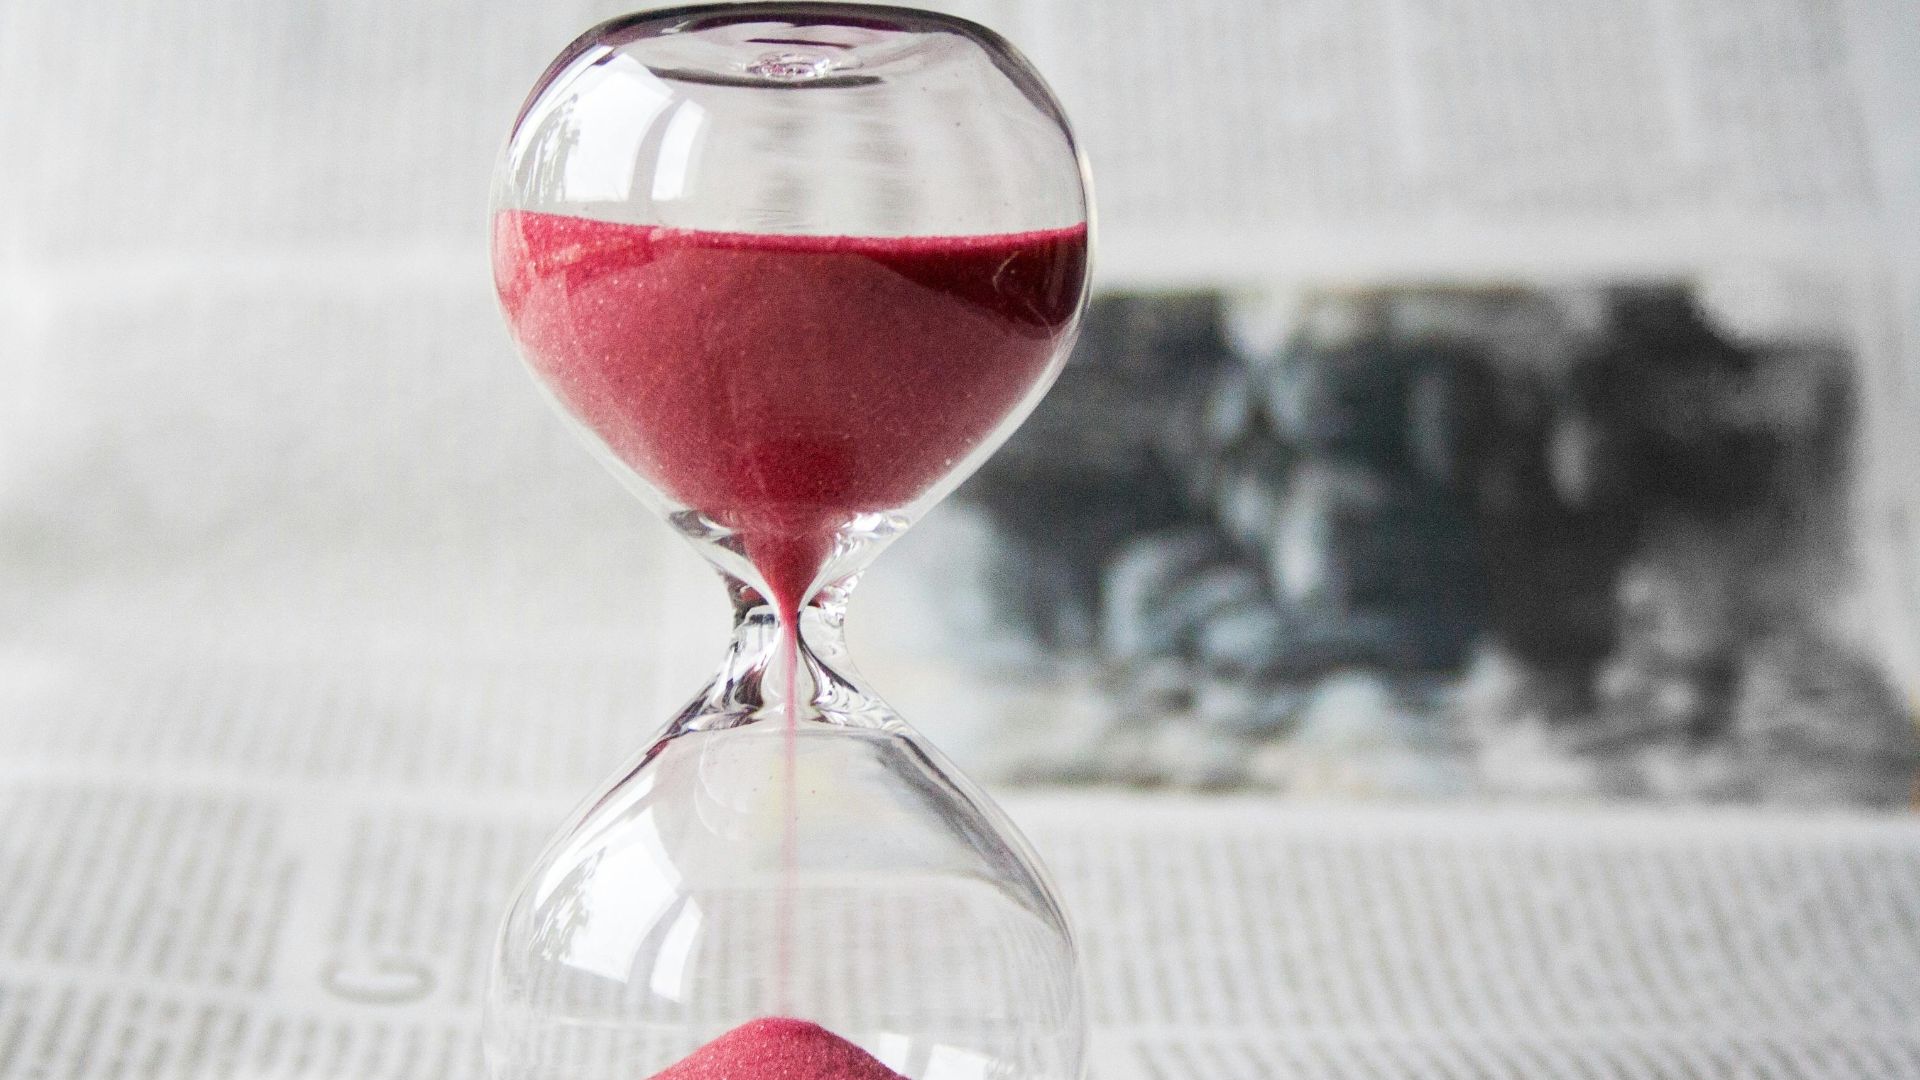
5. Timing Your Tan Before Events
For peak radiance, apply your self-tanner 24–48 hours before a big event. This window allows the color to develop and settle fully, giving you time to correct any uneven spots and ensuring your glow looks fresh—not rushed.
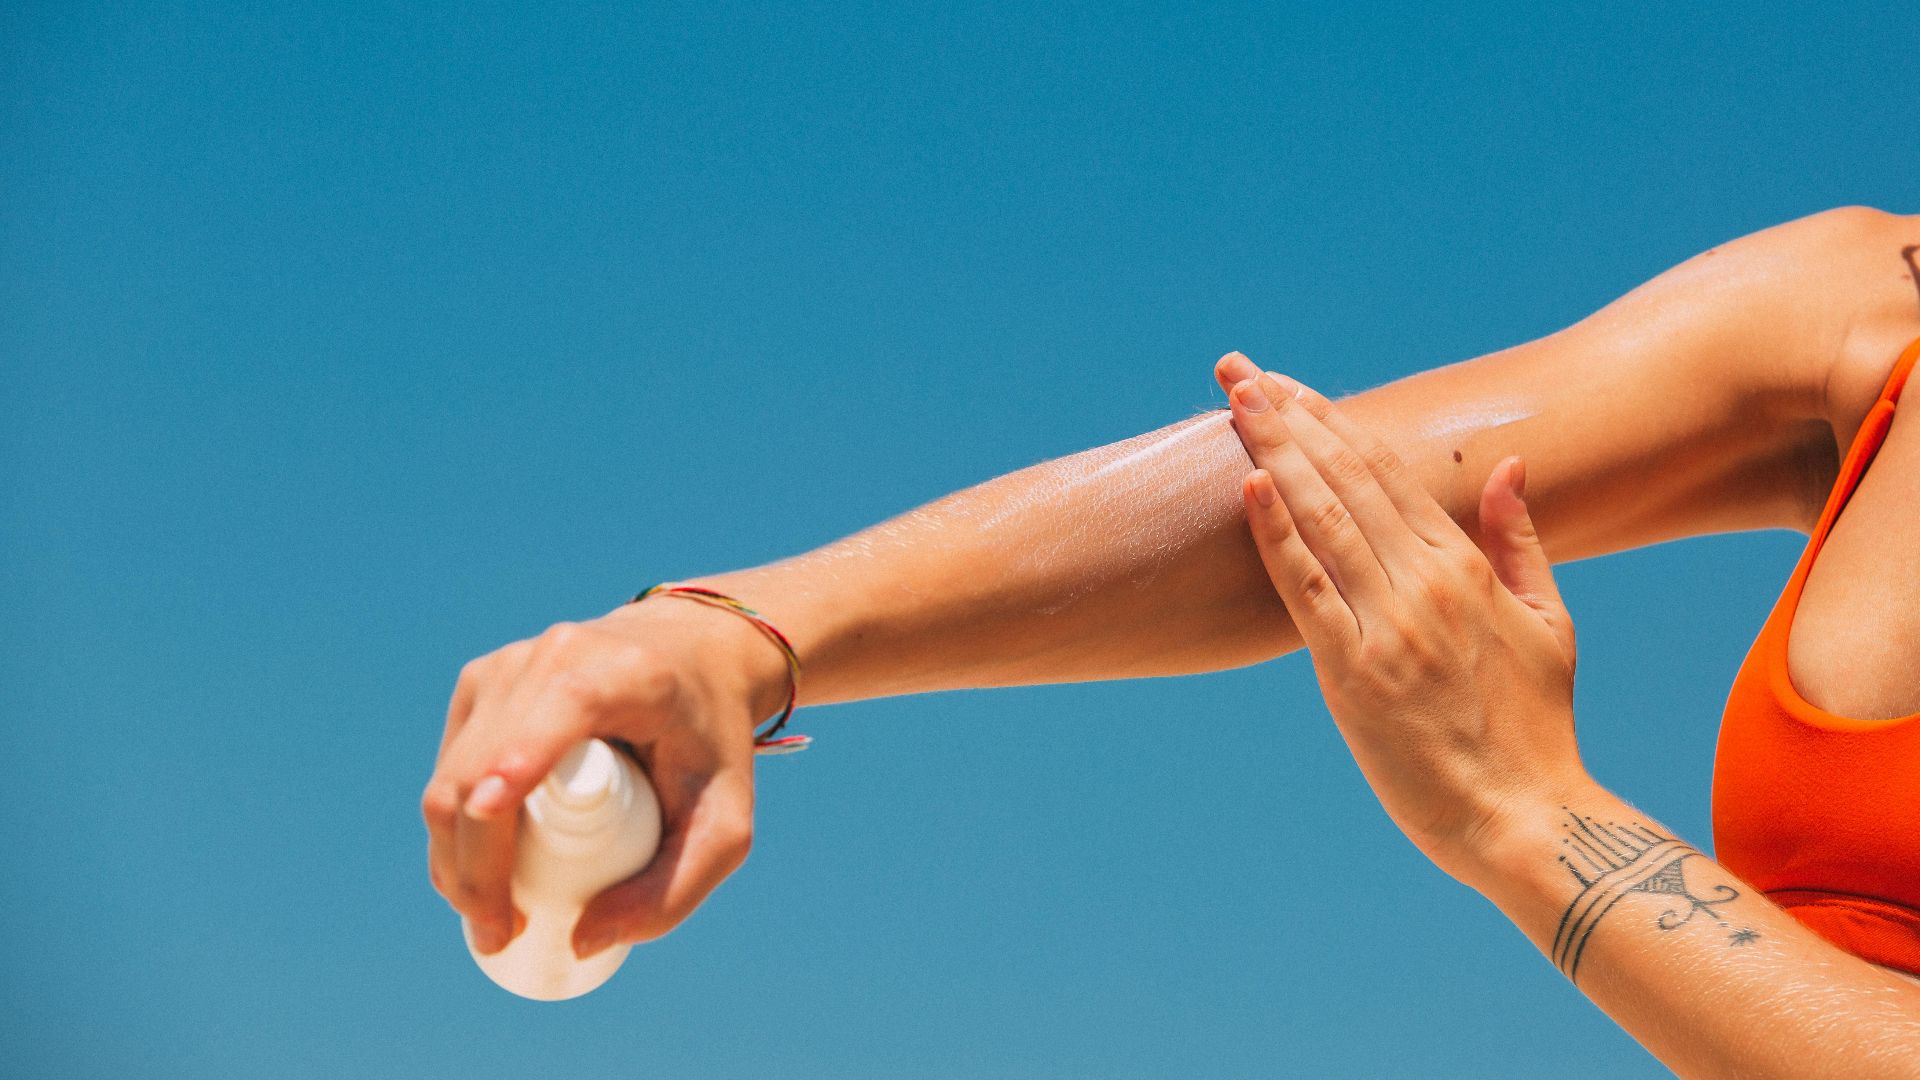
6. Wearing SPF Outdoors
A self-tanner glow is not a shield against the sun. It's important to wear SPF outdoors to protect your skin from UV damage and prevent premature aging. This not only preserves your skin's health but also helps maintain an even tone.
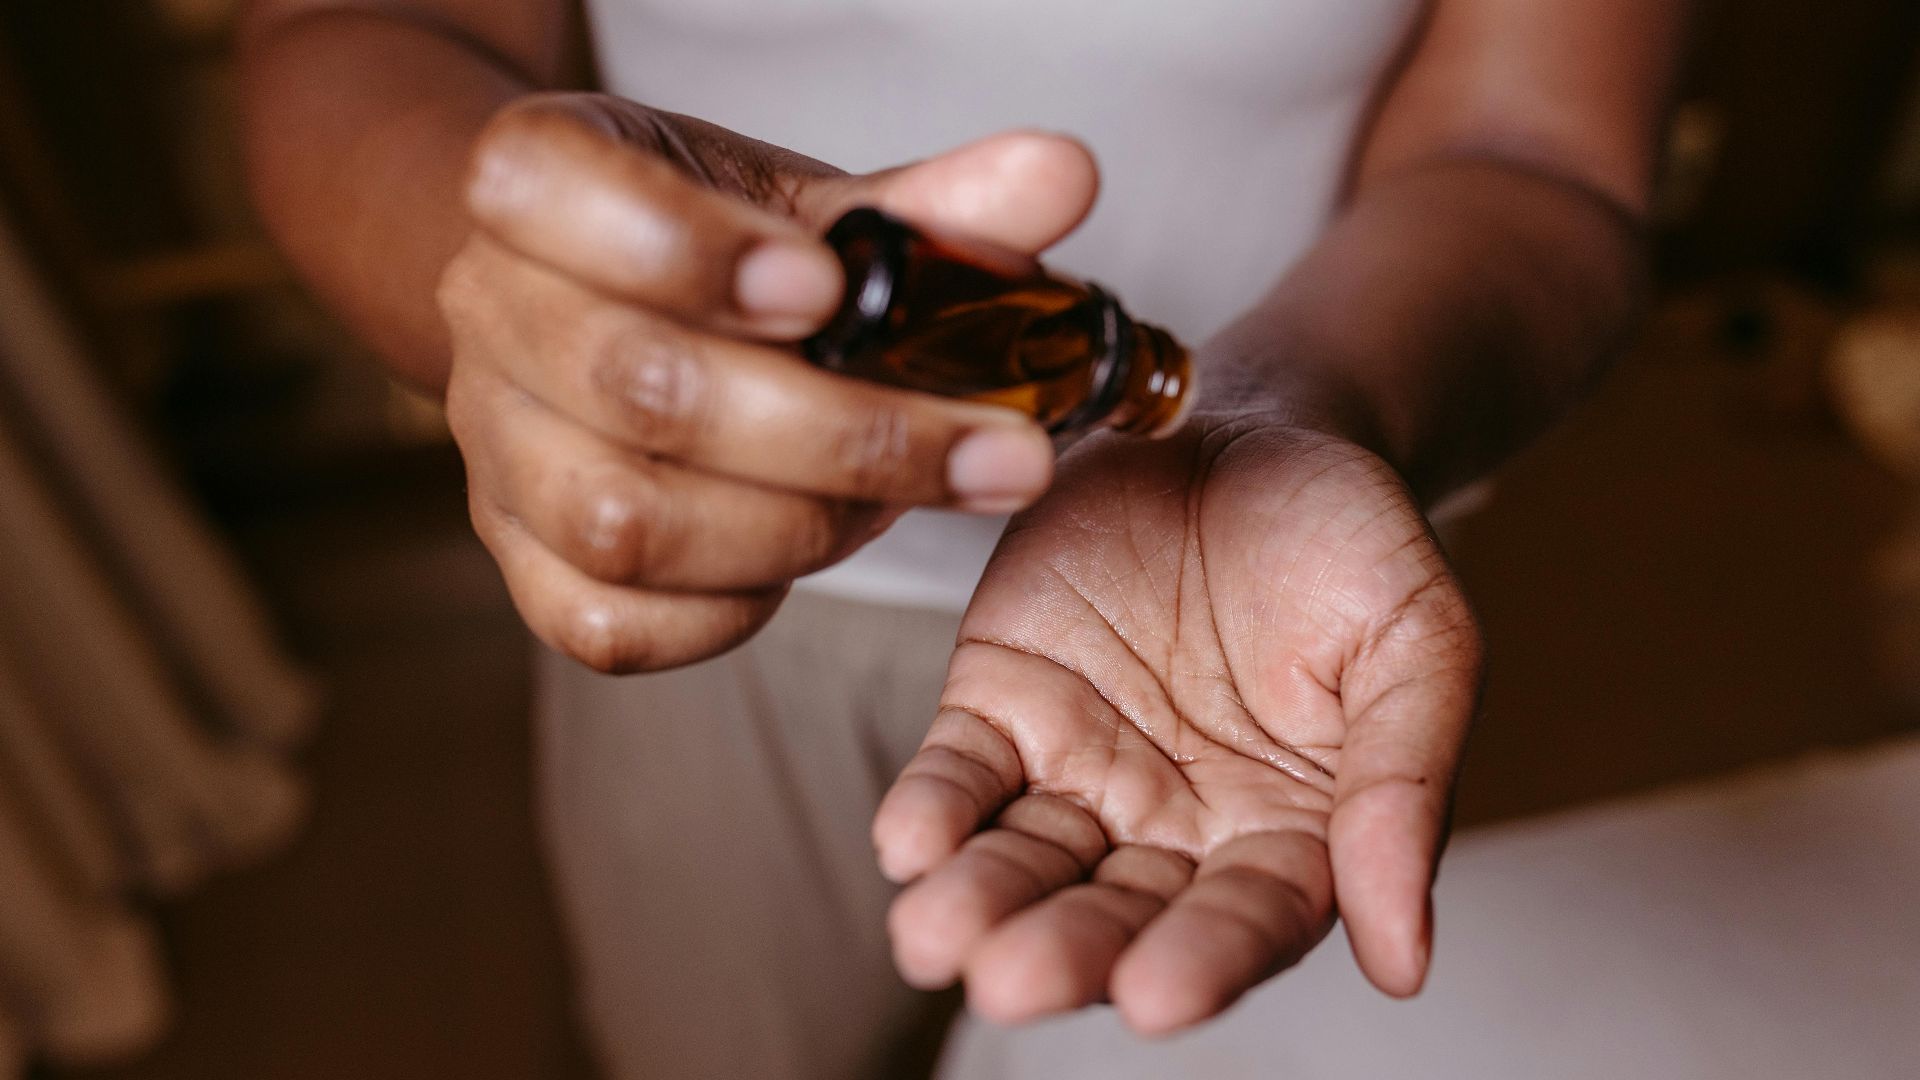
7. Using Illuminating Body Oils
Once your tan has fully developed, an illuminating body oil can take it to the next level. It adds a subtle shimmer that beautifully catches the light for an extra radiant look. Perfectly complementing your tan, the oil delivers lasting hydration for a luminous finish.
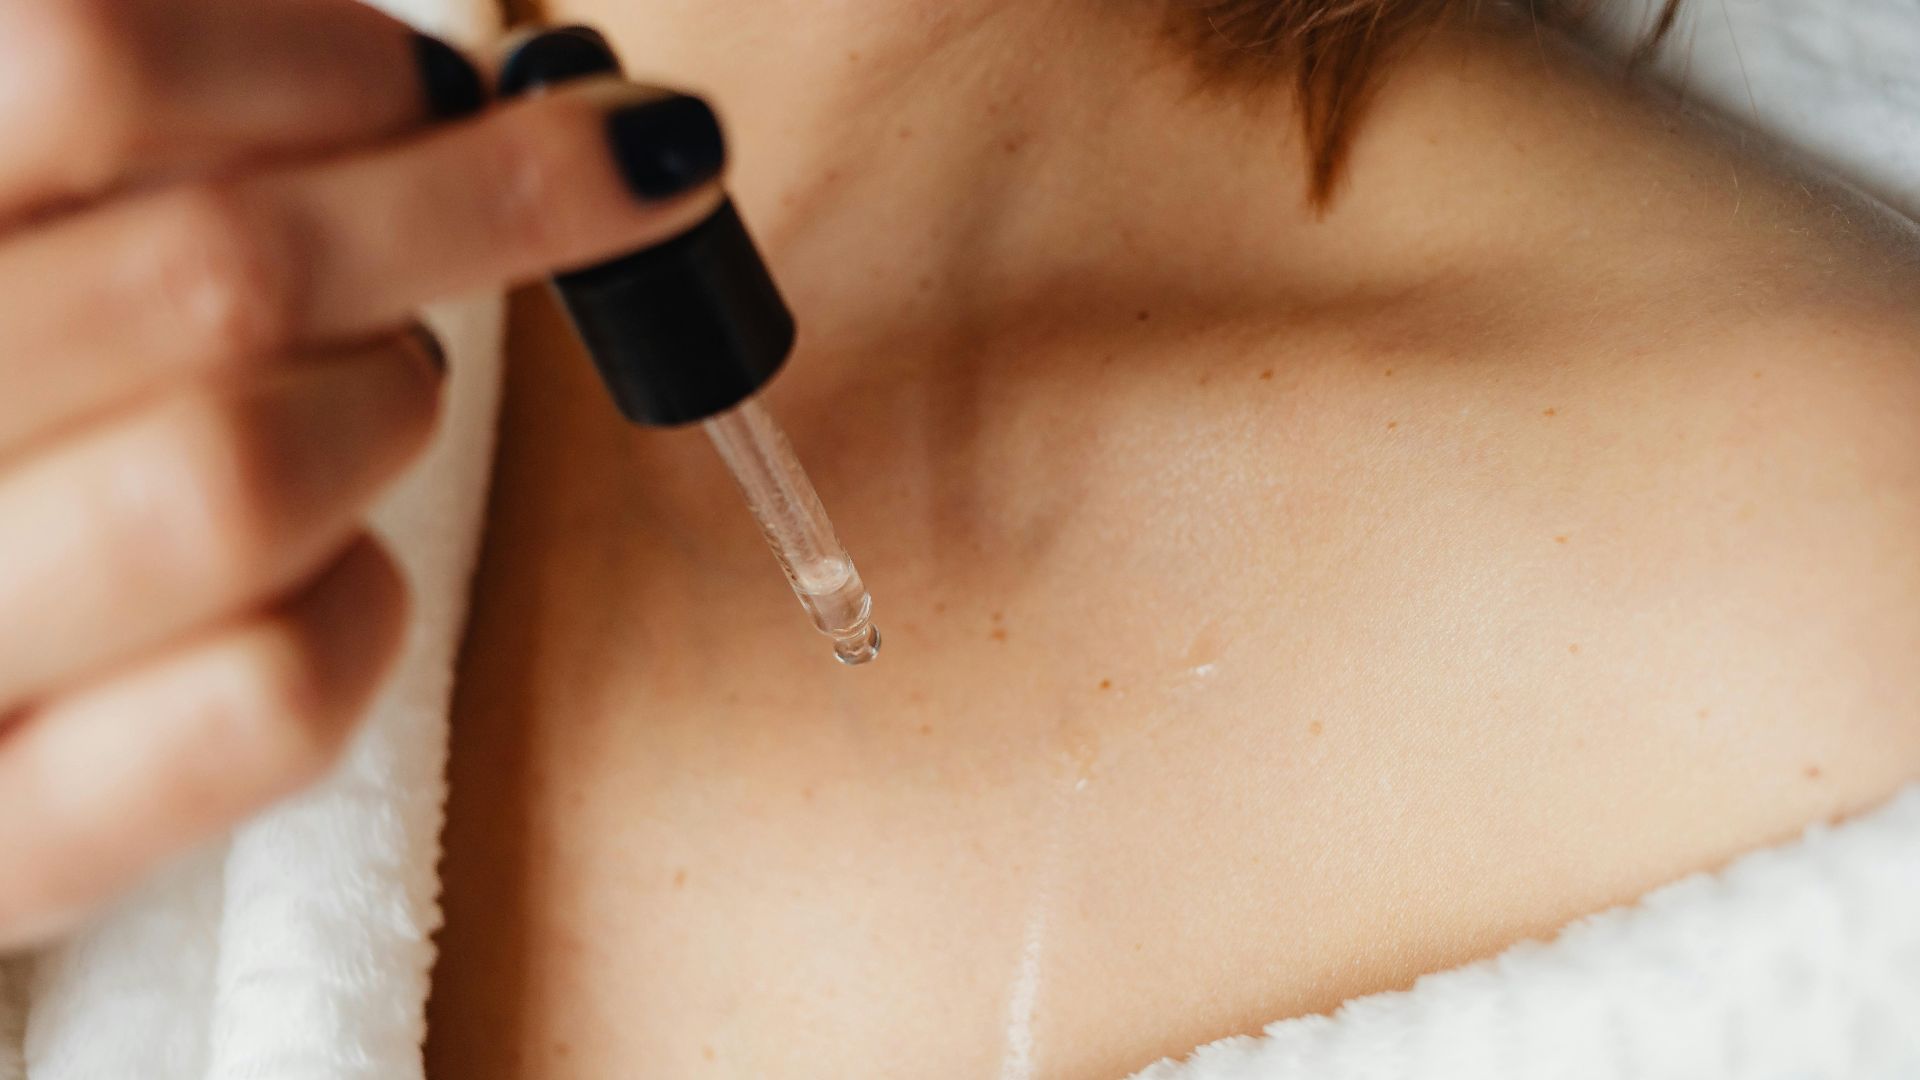 Photo By: Kaboompics.com on Pexels
8. Layering With Bronzing Drops
Mix bronzing drops into your daily moisturizer for a subtle glow that builds gradually. This method gives you control over intensity and tone, making it perfect for customizing your tan without committing to a full-body application.
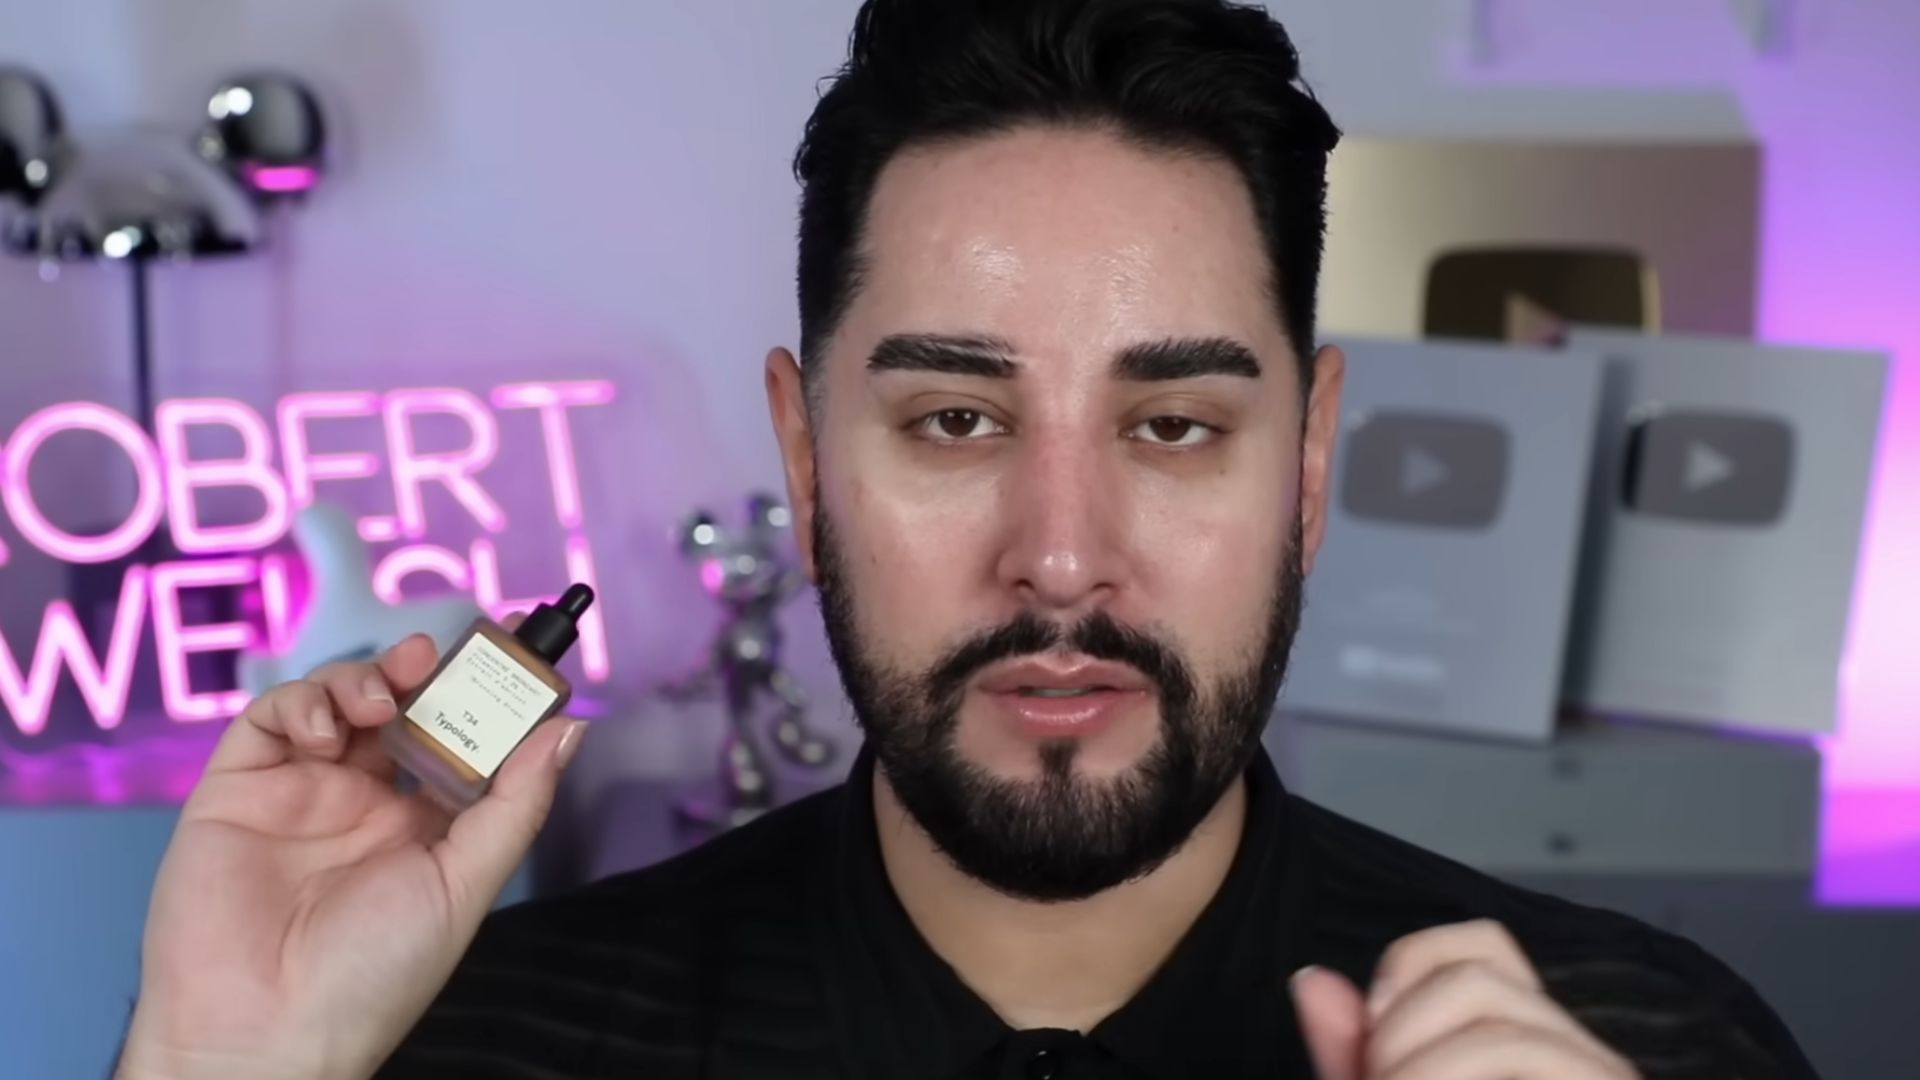 NO ONE CAN USE THIS PRODUCT RIGHT! | How To Use Bronzing Drops Properly! by Robert Welsh
9. Choosing The Right Shade For Your Skin
A tanner that’s too dark is the quickest way to look unnatural. For believable results, you should choose a shade that matches your skin’s undertones. Fair complexions, for instance, always look more realistic when starting with a lighter formula.
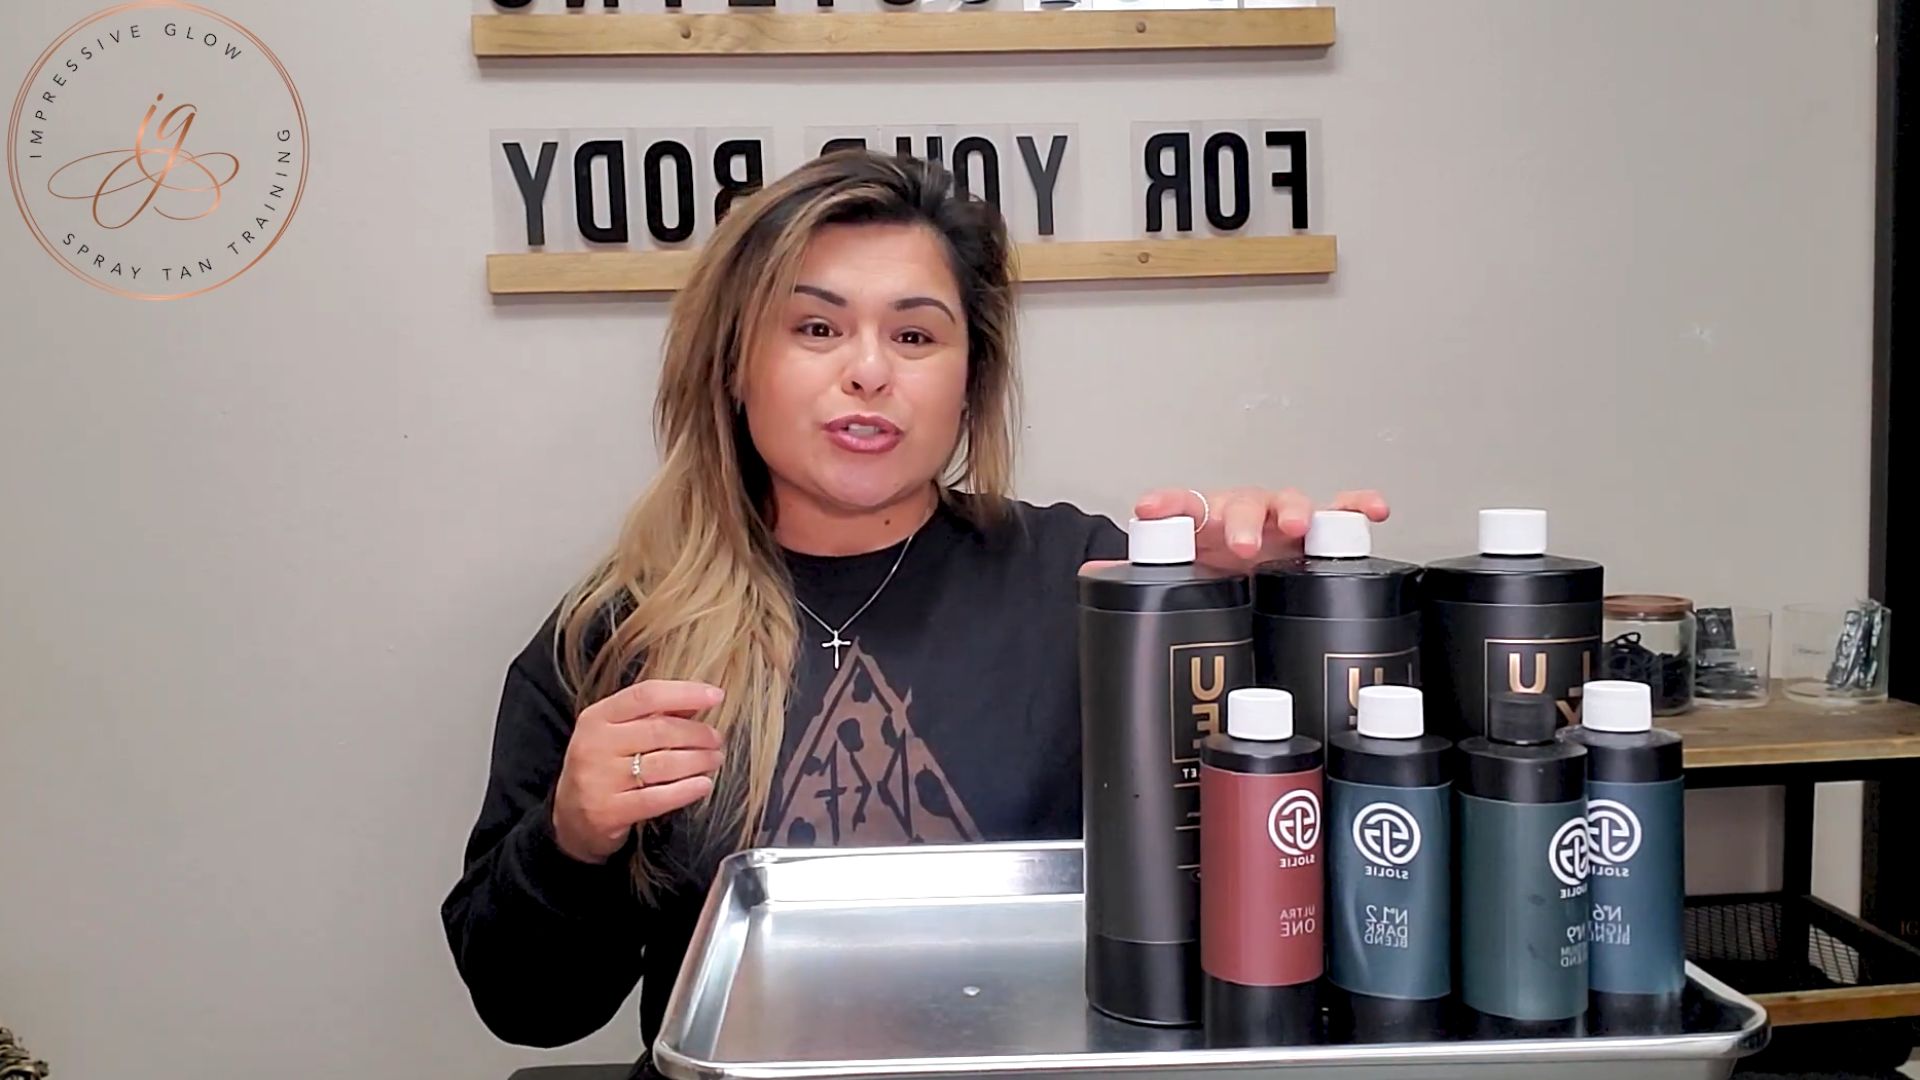 HOW TO CHOOSE SPRAY TAN SOLUTION FOR EACH CLIENT | SPRAY TAN TRAINING by Impressive Glow
10. Exfoliating Before Applying Tanner
A quick exfoliation session makes all the difference. It refreshes your skin, clears away buildup, and ensures the tanner blends smoothly for a consistent golden tone without the uneven patches that often ruin the look.