

Because Patchy Isn’t The Plan
Why does your foundation look amazing in the mirror, but not so much in daylight or photos? That cakey finish can be frustrating, especially when you’ve followed every tutorial. The issue isn’t usually your products, but the small steps most of us skip. A slight misstep can make all the difference. So here, we reveal what it really takes to build a smooth, seamless makeup base that stays put and looks just like skin. Let’s get started.

1. Begin With Clean, Prepped Skin
Makeup doesn’t sit well over dry flakes or leftover moisturizer. A good base begins with fresh, exfoliated skin that’s clean but not stripped. Ensure your skin is also hydrated for better spread, and exfoliate weekly to keep the rough texture at bay.

2. Warm Up Foundation Before Application
Cold foundation spreads with difficulty. Warming it on the back of your hand helps it blend more easily and settle smoothly. This trick especially helps with high-coverage or thicker formulas. Makeup artists backstage at runway shows use it constantly.
 USING FIRE ON MY FOUNDATION?! | INSTAGRAM MAKEUP HACK by Leyla Rose
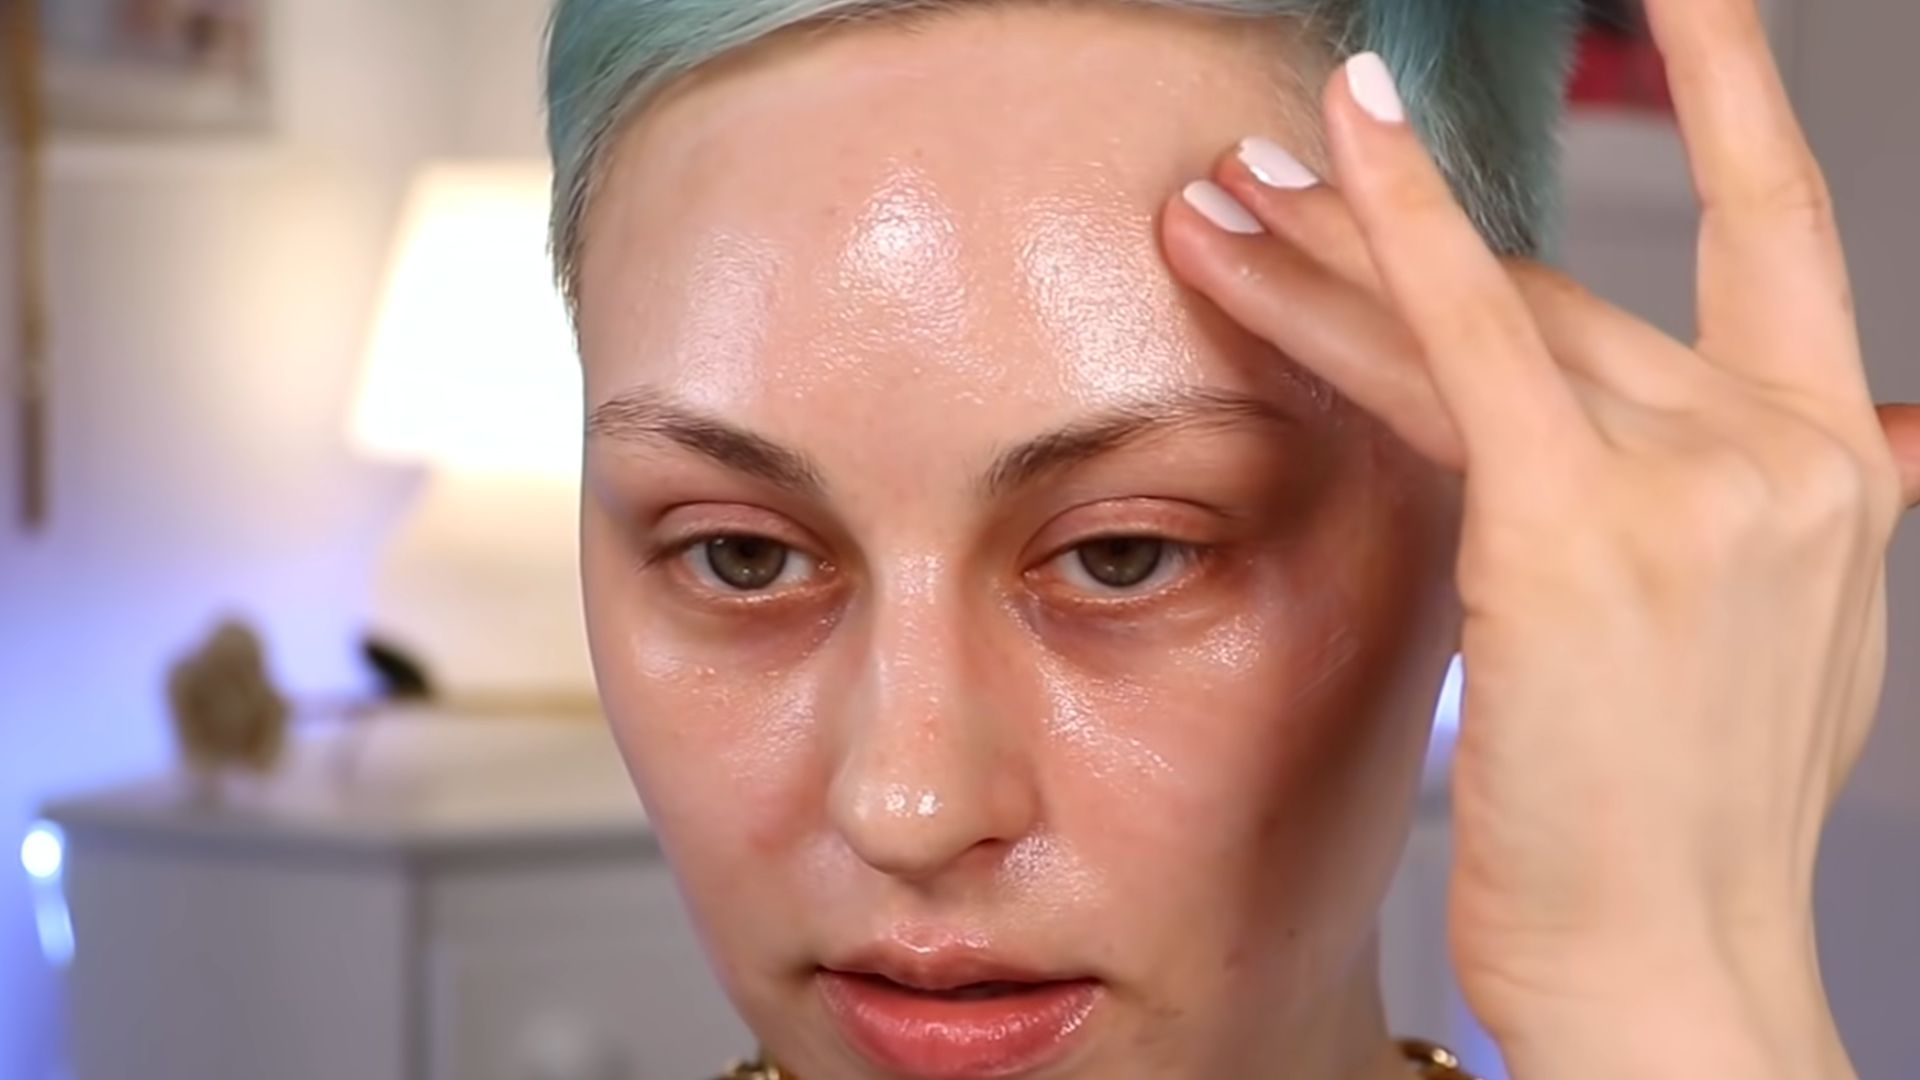
3. Moisturize According To Your Skin Type
Using the wrong moisturizer is like wearing winter boots to the beach—confusing and uncomfortable. Creams nourish dry skin, while oily types fare better with fast-absorbing gel textures. For combination skin, mix and match where needed.
4. Use Primer To Create A Smooth Canvas
Pros swear by primer for a reason—it’s the pass to a smooth, even skin texture. Silicone-based ones blur pores, and hydrating ones soften dry patches. They create a grip that holds the foundation in place.
 The absolute basics of face primer by Alexandra Anele
5. Choose The Right Foundation Formula
Finding a foundation that feels right starts with its texture. Liquids are the most versatile and forgiving, while sticks achieve maximum coverage with minimal effort. Once you’ve nailed the finish, dialing in your undertone—cool, warm, or neutral—locks everything into harmony.
6. Apply Foundation With Controlled Coverage
Dumping a full pump on your face is a fast track to looking overdone. Start light, then layer only where needed. Let each pass settle before adding more—cheeks and chin often need extra help. Controlled coverage feels lighter and lasts longer.

7. Match Foundation To Your Neck
A perfect foundation match won’t do much if it stops at your jawline. Faces get more sun than necks, which throws off the shade. To get it right, swipe along your jaw and check it in natural light after a few minutes. That small step saves you from awkward lines in photos.

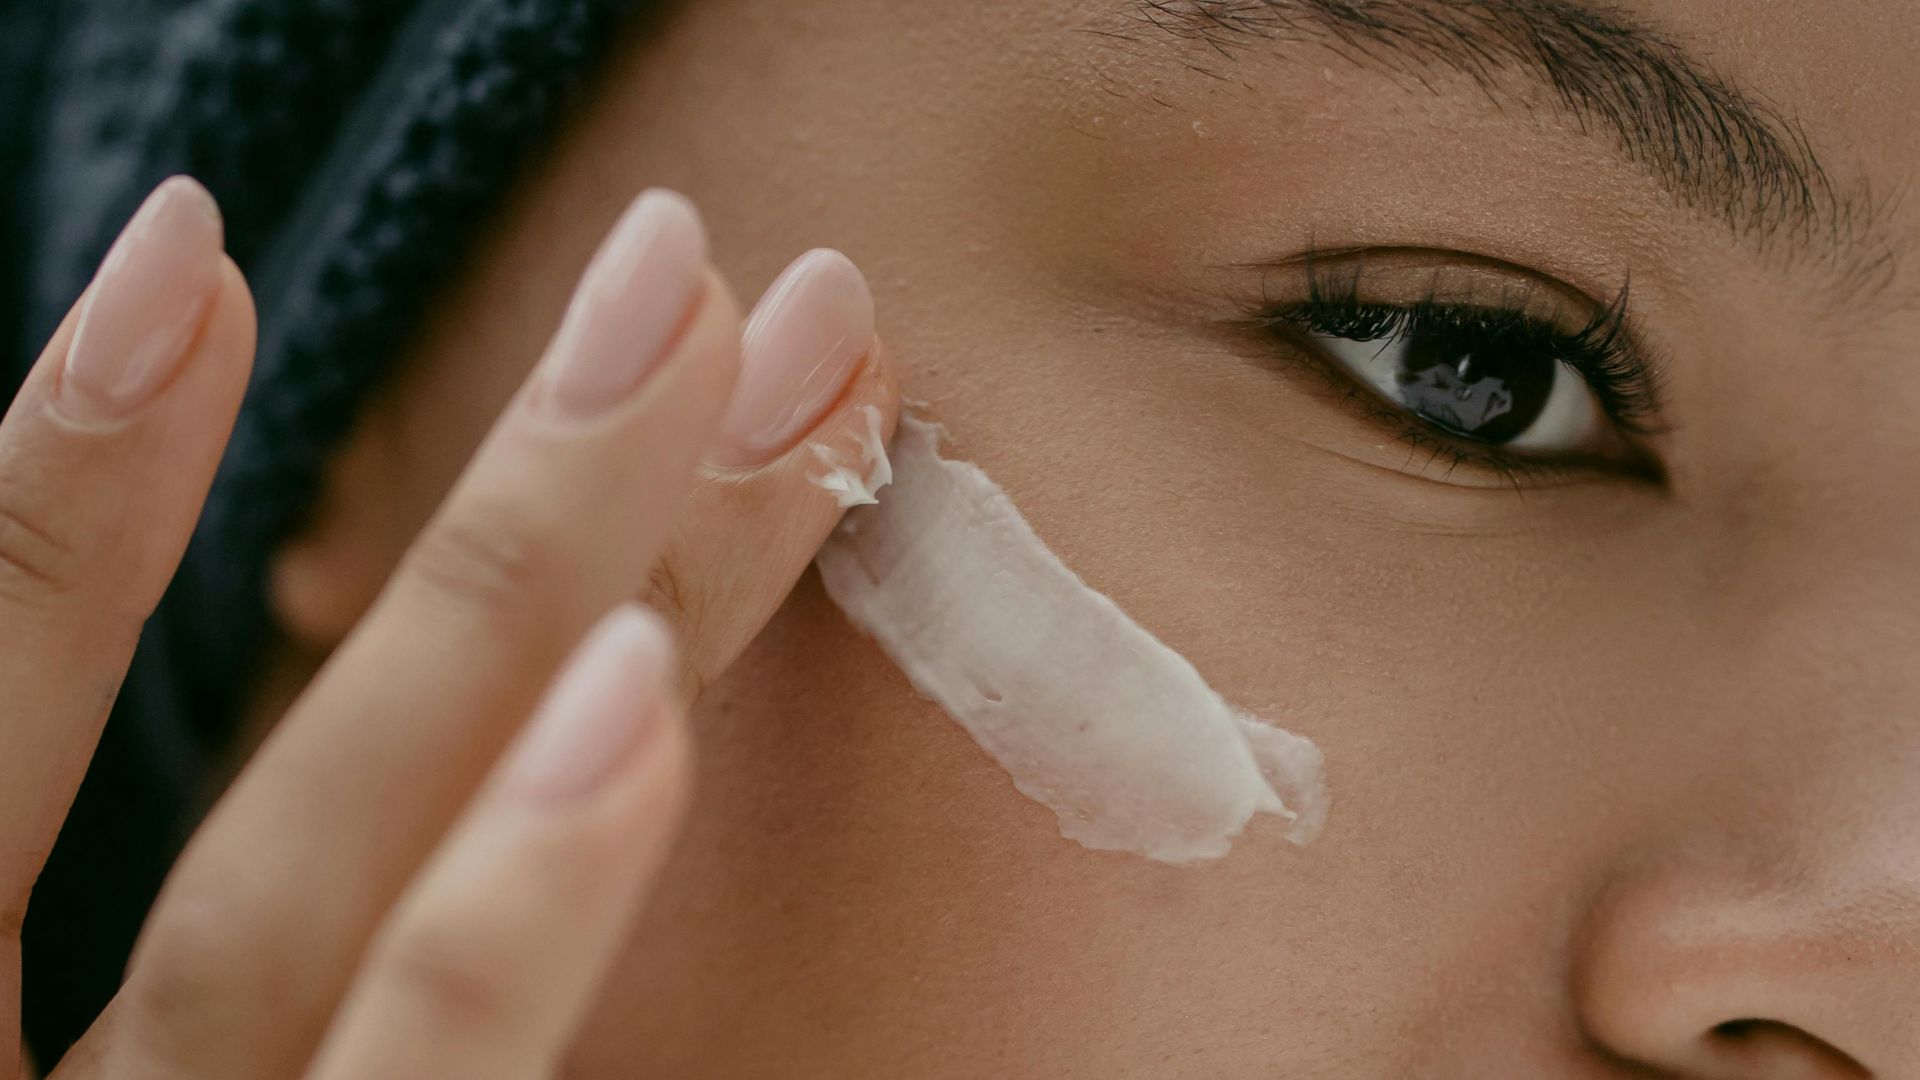
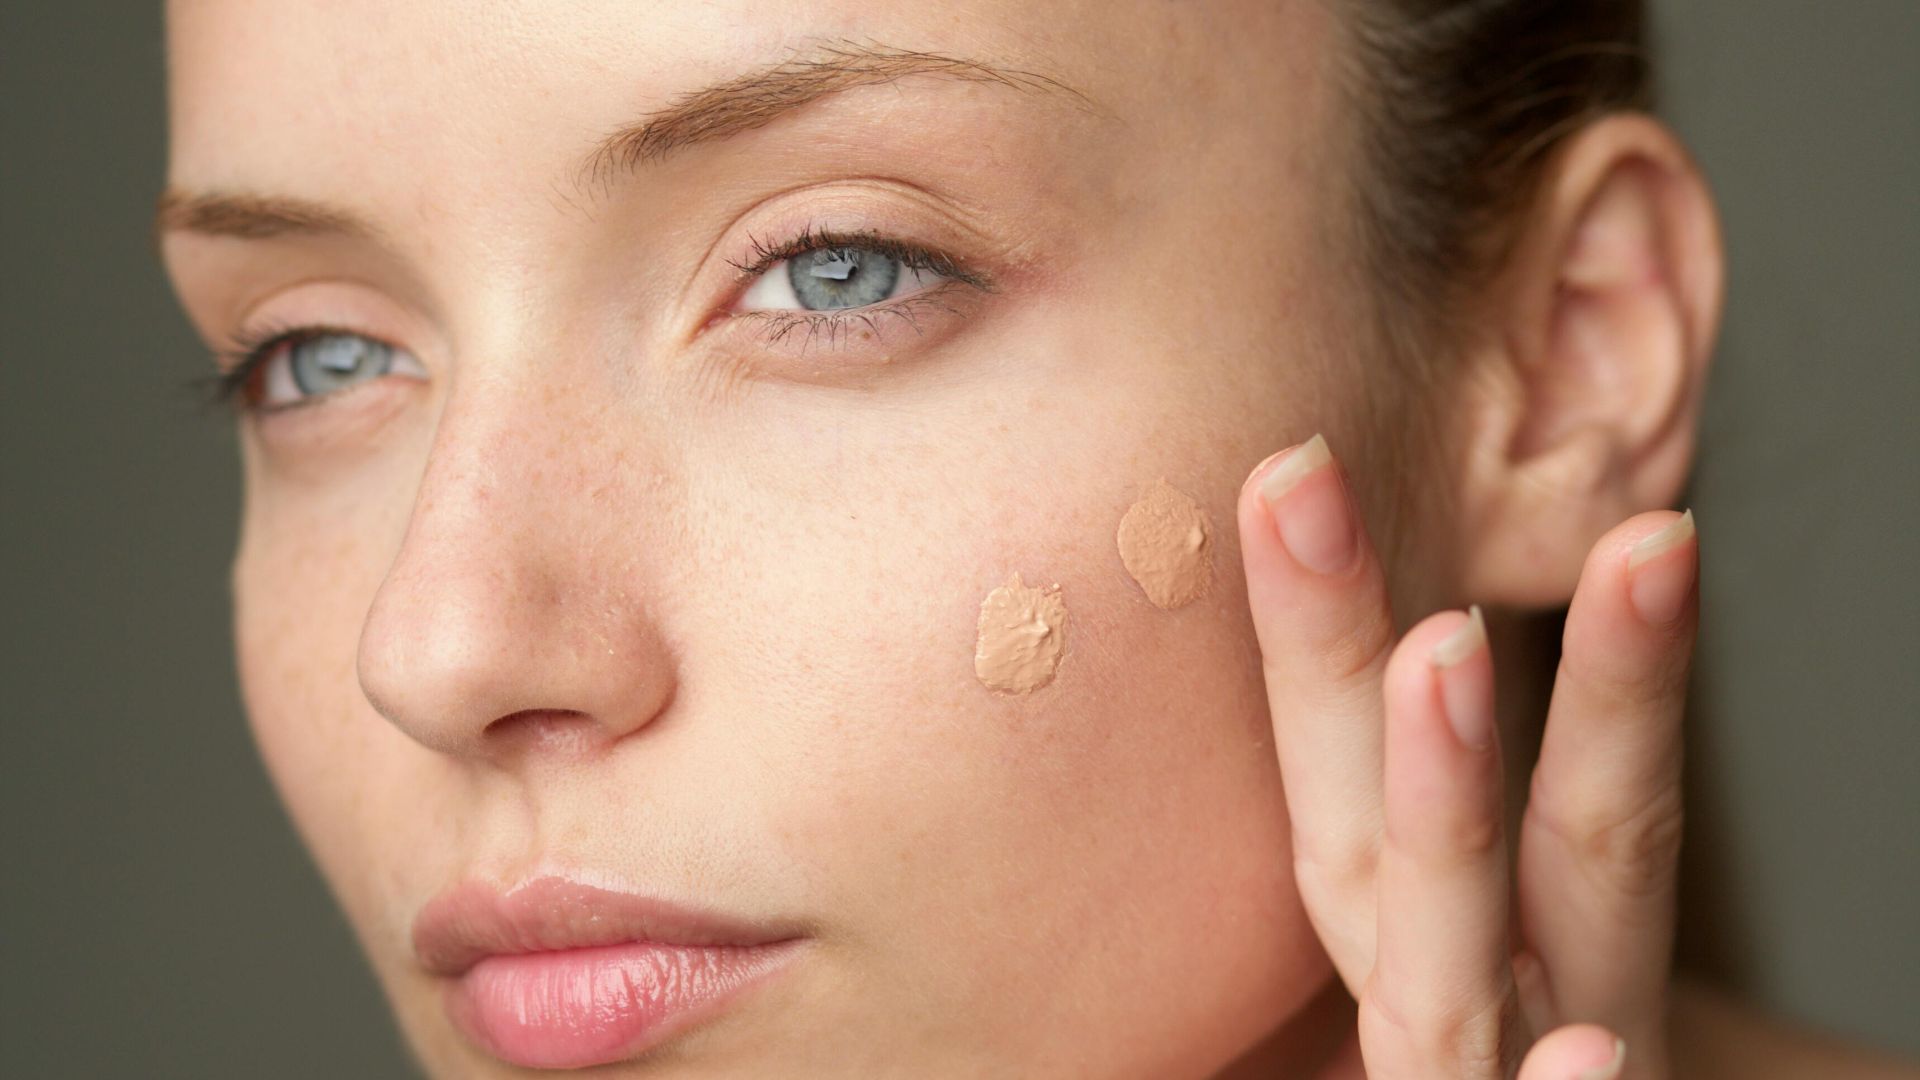
8. Apply Concealer After Foundation
Concealer first is a no. That’s like patching a wall before seeing what the paint covers. Let foundation do the heavy lifting, then spot-correct what’s left. A lighter shade under the eyes, using your fingertip or a detail brush, adds brightness.

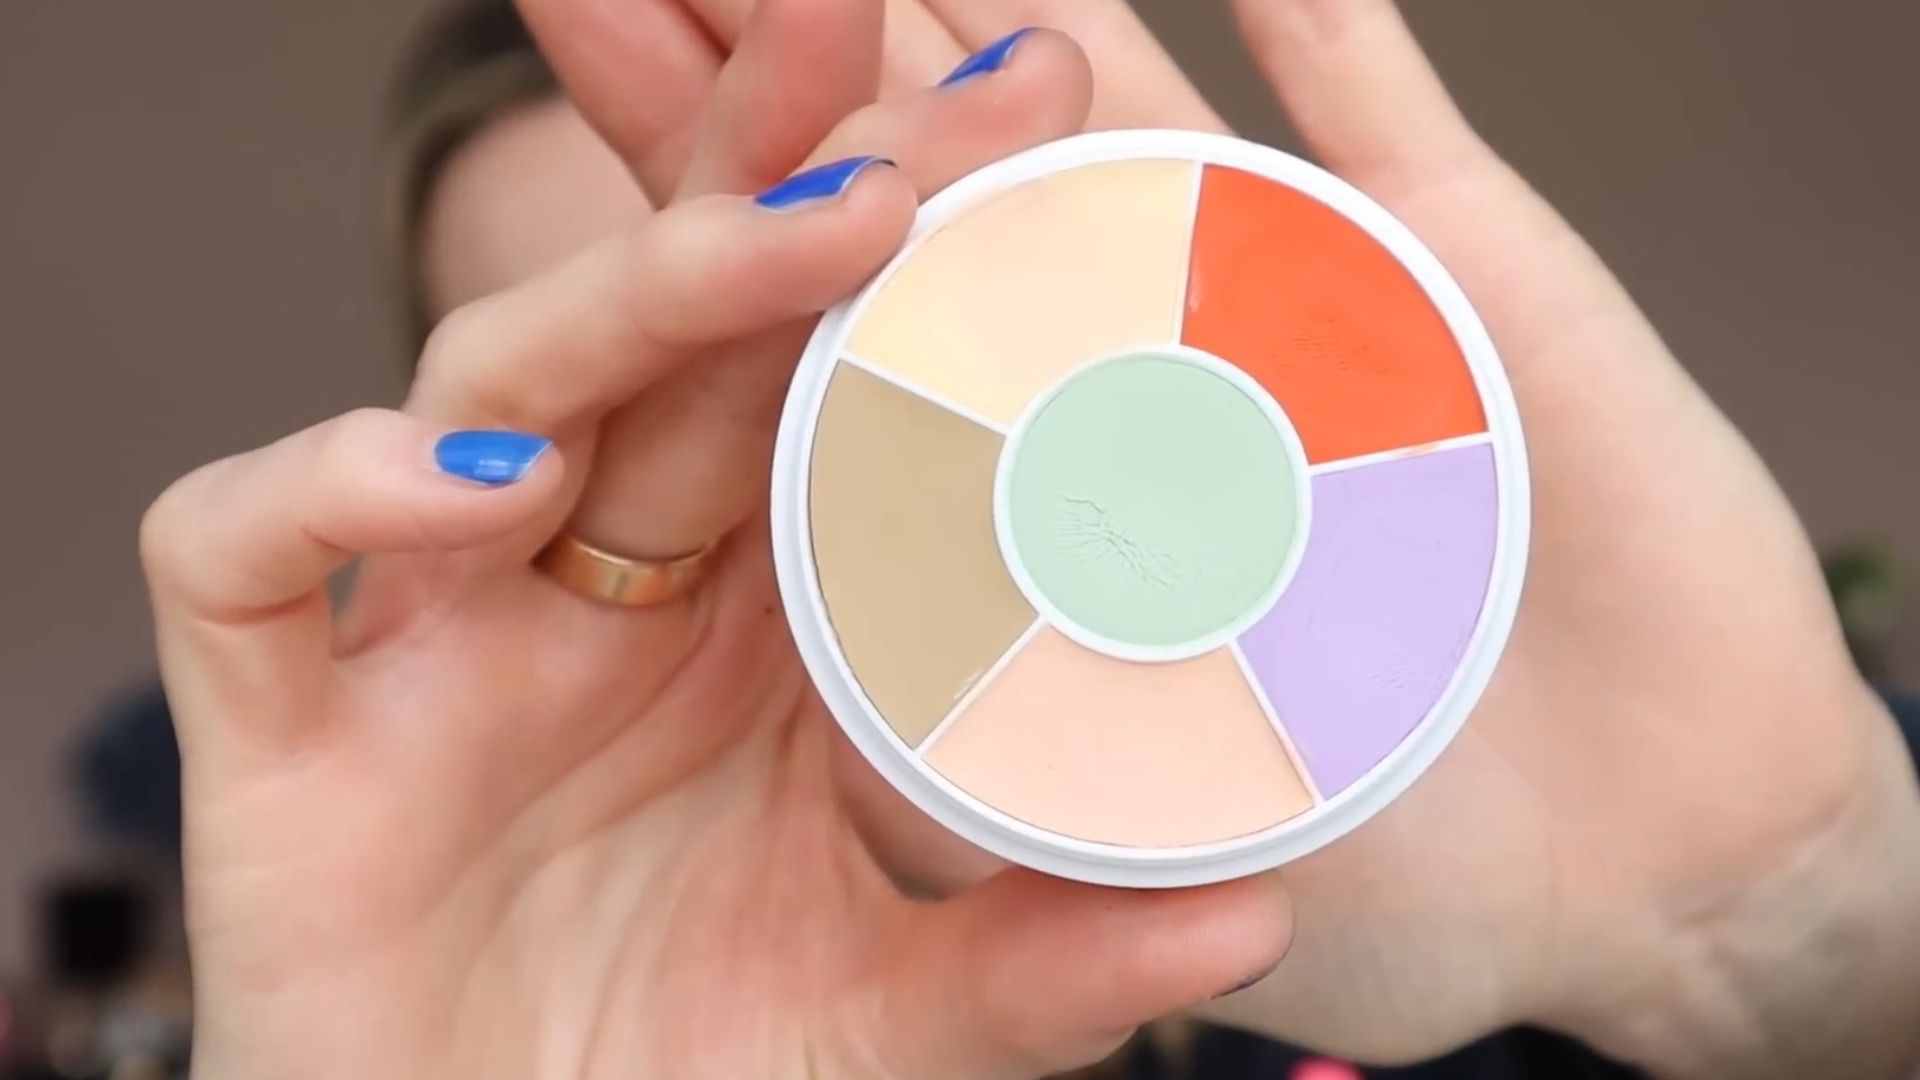
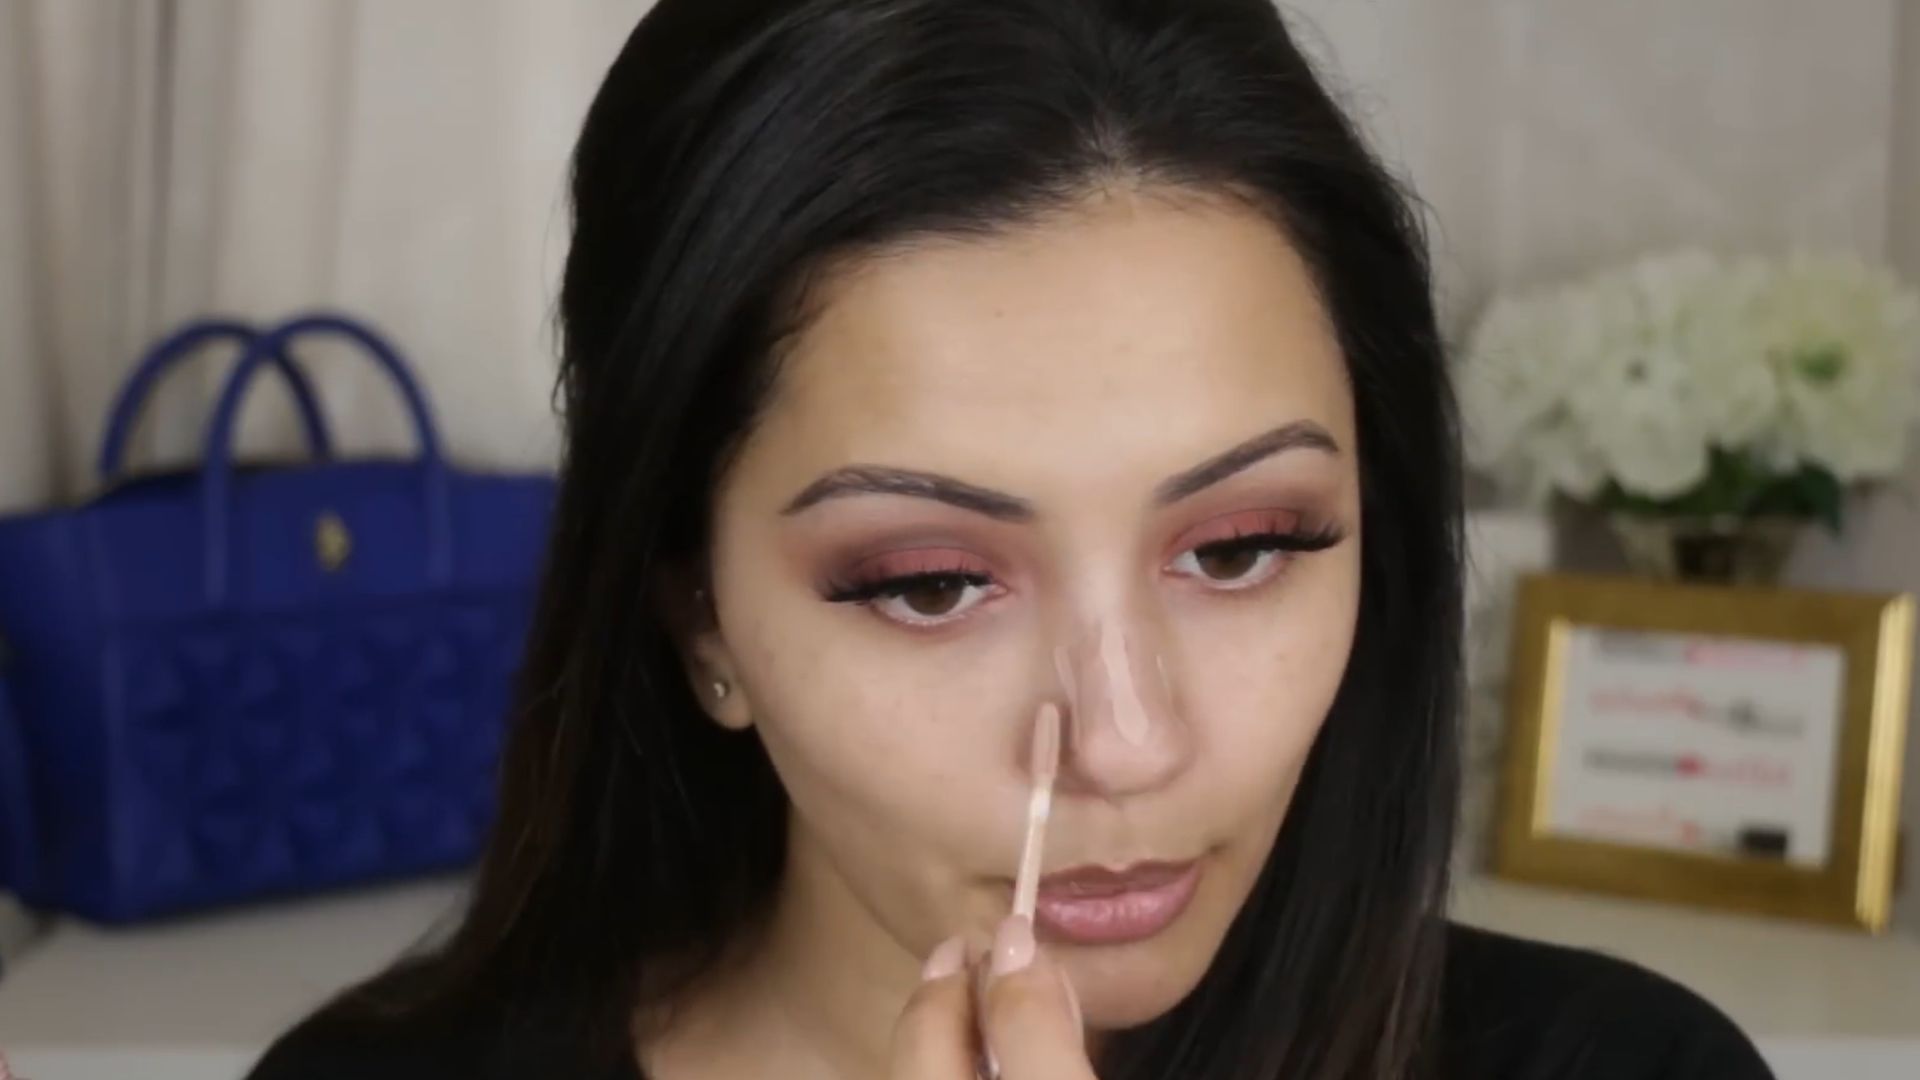
9. Use Color-Correcting Products Strategically
Color correcting sounds intimidating until you see what a swipe of green can do for redness. Peach tones erase dark circles, especially in deeper skin, while lavender perks up dullness. The trick is to keep it subtle.
 Enhancing Skin tones with colour correcting makeup by Speed Beauty by Caroline Barnes
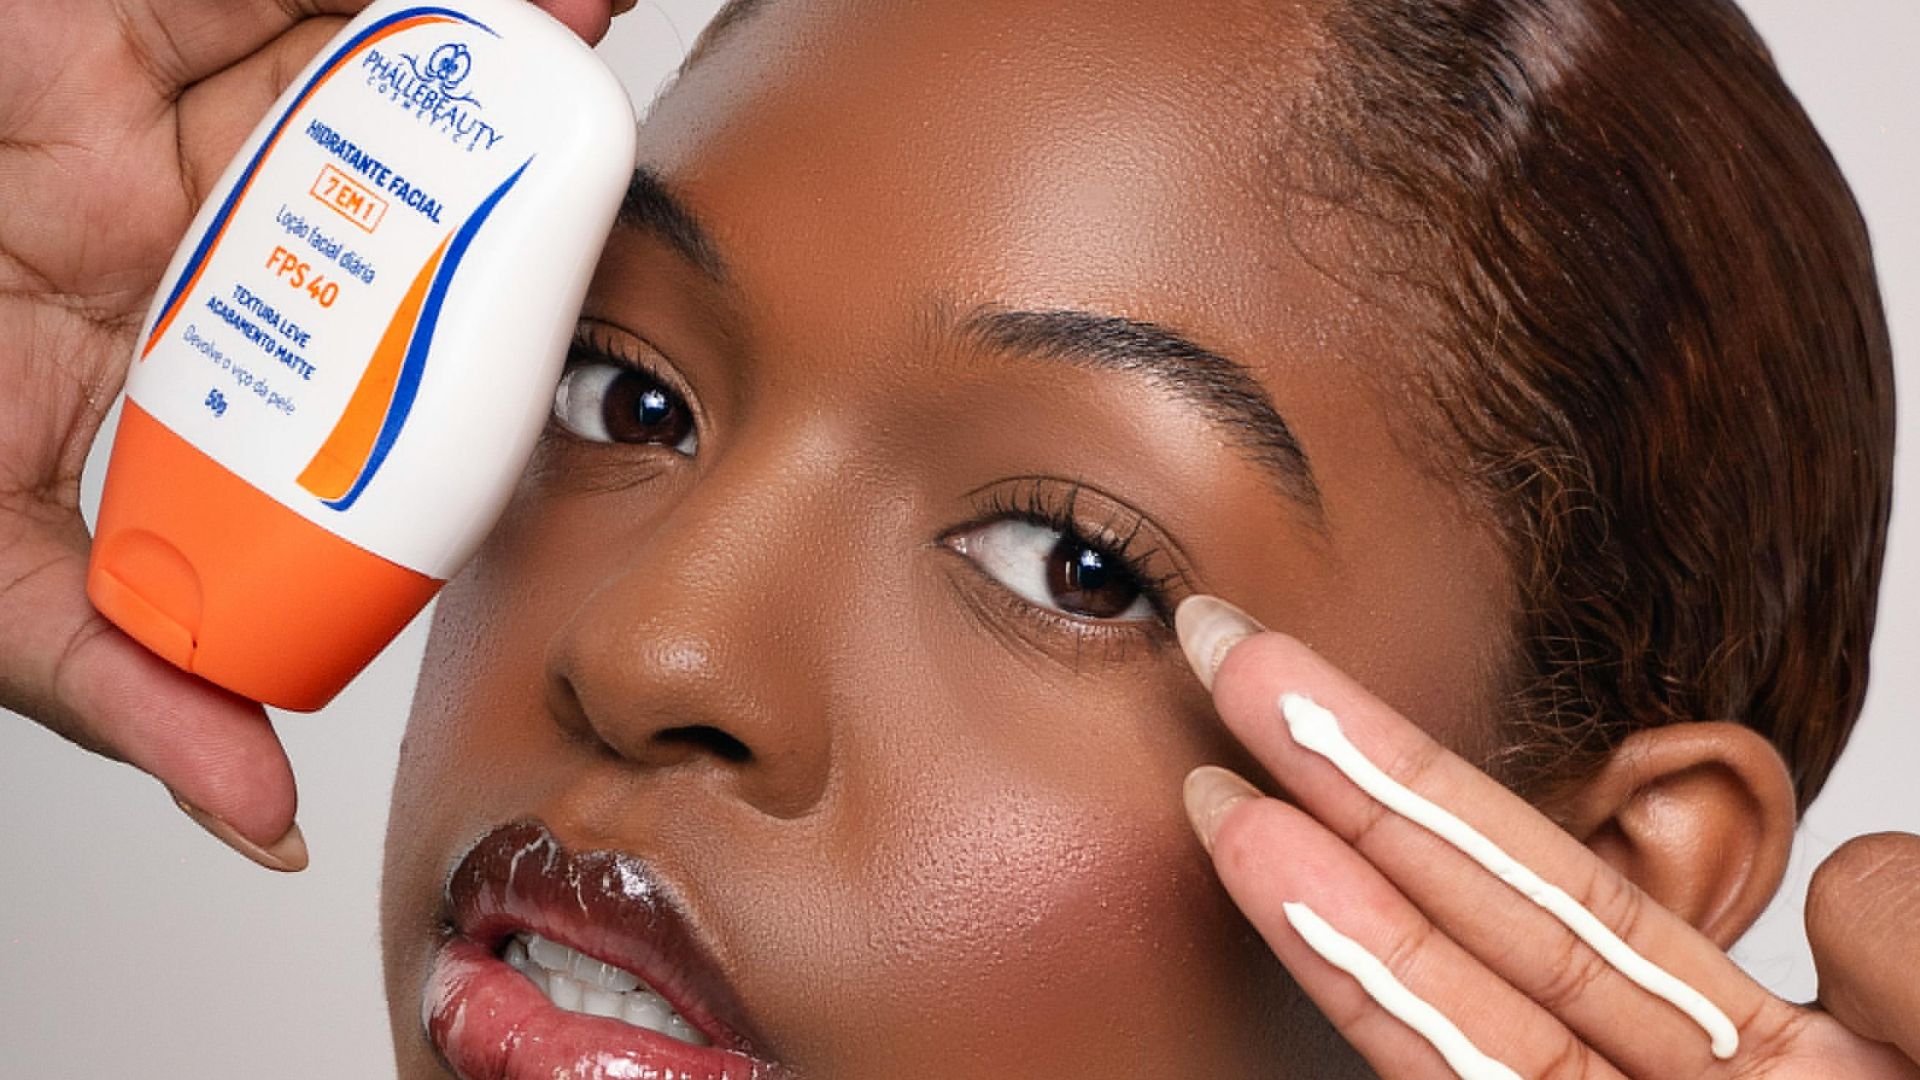
10. Don’t Skip Sunscreen
Makeup doesn’t cancel out UV rays, so SPF is non-negotiable. Dermatologists recommend at least SPF 30, broad-spectrum, daily—even indoors. Opt for formulas made for layering, like Supergoop! or La Roche-Posay.
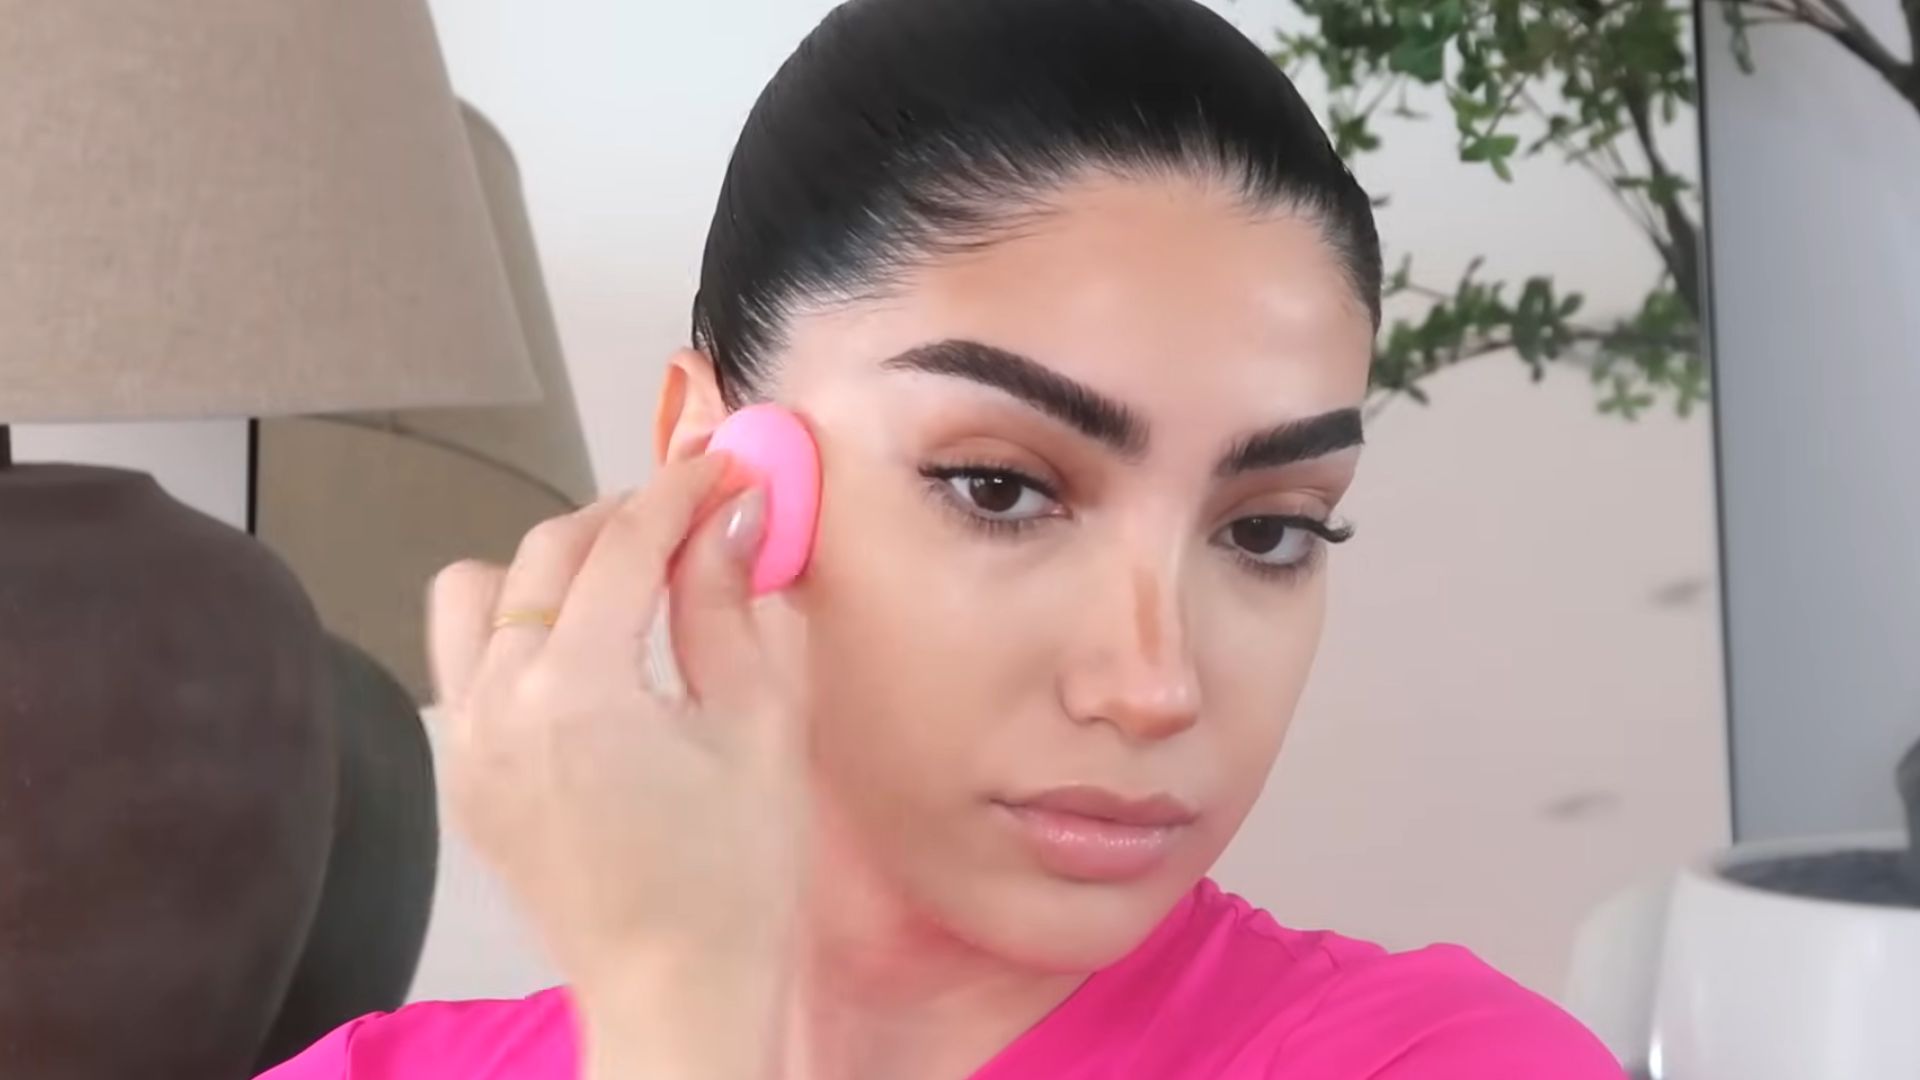
11. Blend Foundation With Purpose
Don’t rush a sponge across your face and call that blending. Blending is an art form. After you've warmed the product on your hand, press it in with tapping motions. This prevents streaks and ensures your base looks like skin, not a mask.
 how to ACTUALLY use a makeup sponge by Sagonia Lazarof
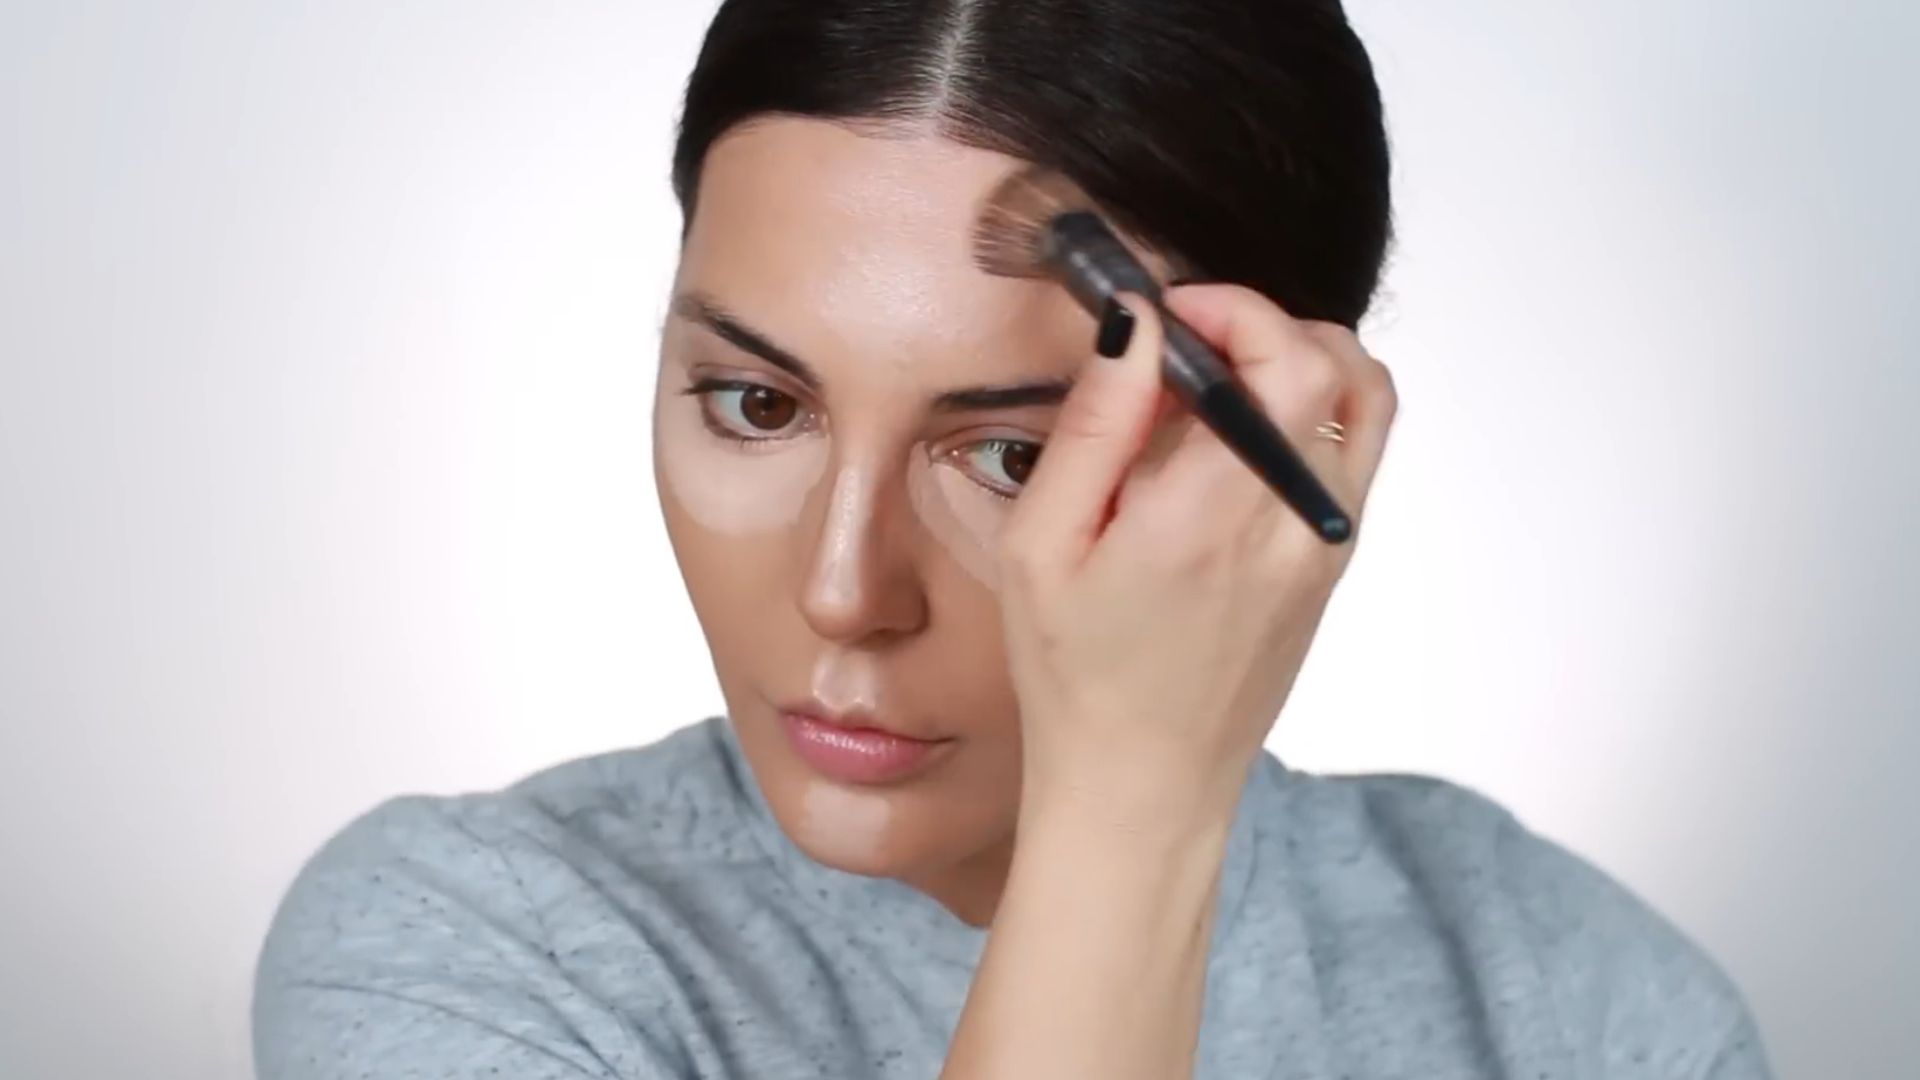
12. Avoid Flashback With The Right Powder
Flashback happens when light-reflective powders—especially those with silica—bounce harshly under camera flash, leaving a white cast in photos. It’s common under artificial lighting or flash photography. For event-ready makeup, test powders with your phone and opt for HD formulas explicitly made for on-camera use.
 Loose Powder Flashback Test! Battle Of Maybelline vs Coty Who will win? by Rebecca Lyn Oberstadt
13. Use Setting Spray To Finish
If you’re still finishing with powder alone, then you’re missing the magic trick. Setting sprays fuse all your layers together and make everything look seamless. Spray in an “X” and “T” motion, and watch your makeup suddenly feel complete.

14. Anchor Makeup Around Key Wear-Off Zones
Makeup fades first where the skin moves most—around the nose, mouth, and chin. So, give these spots extra primer or a thin second layer before setting. This proactive approach keeps your base intact, where breakdown usually starts.
 NOSE PRIMER?! 🤔 WEIRD way to keep foundation on your nose?! by Kaushal
15. Let Each Layer Set Before Adding More
Rushing product layers is like stacking wet paint—it slides and doesn’t last. Take a few seconds to let the foundation or concealer settle. This gives each formula a chance to do its job correctly. And if you’ve no patience, use a fan.
 Flawless Foundation Routine + Makeup Tutorial | Sona Gasparian by Sona Gasparian
16. Use Brushes For Precision
When detail matters, brushes give you the control that fingers can’t. The right shape allows you to reach areas like the corners of the nose or under the eyes with ease. Denser brushes pack on product smoothly, while fluffier ones distribute powder evenly.

17. Opt For Breathable Coverage For Daily Wear
Some days call for a full face—others, just a hint. Lightweight formulas like BB creams, skin tints, and tinted moisturizers are perfect for a fresh look without the weight. They’re especially popular in cities where the vibe leans minimal. If you want more coverage, just build it where you need it.
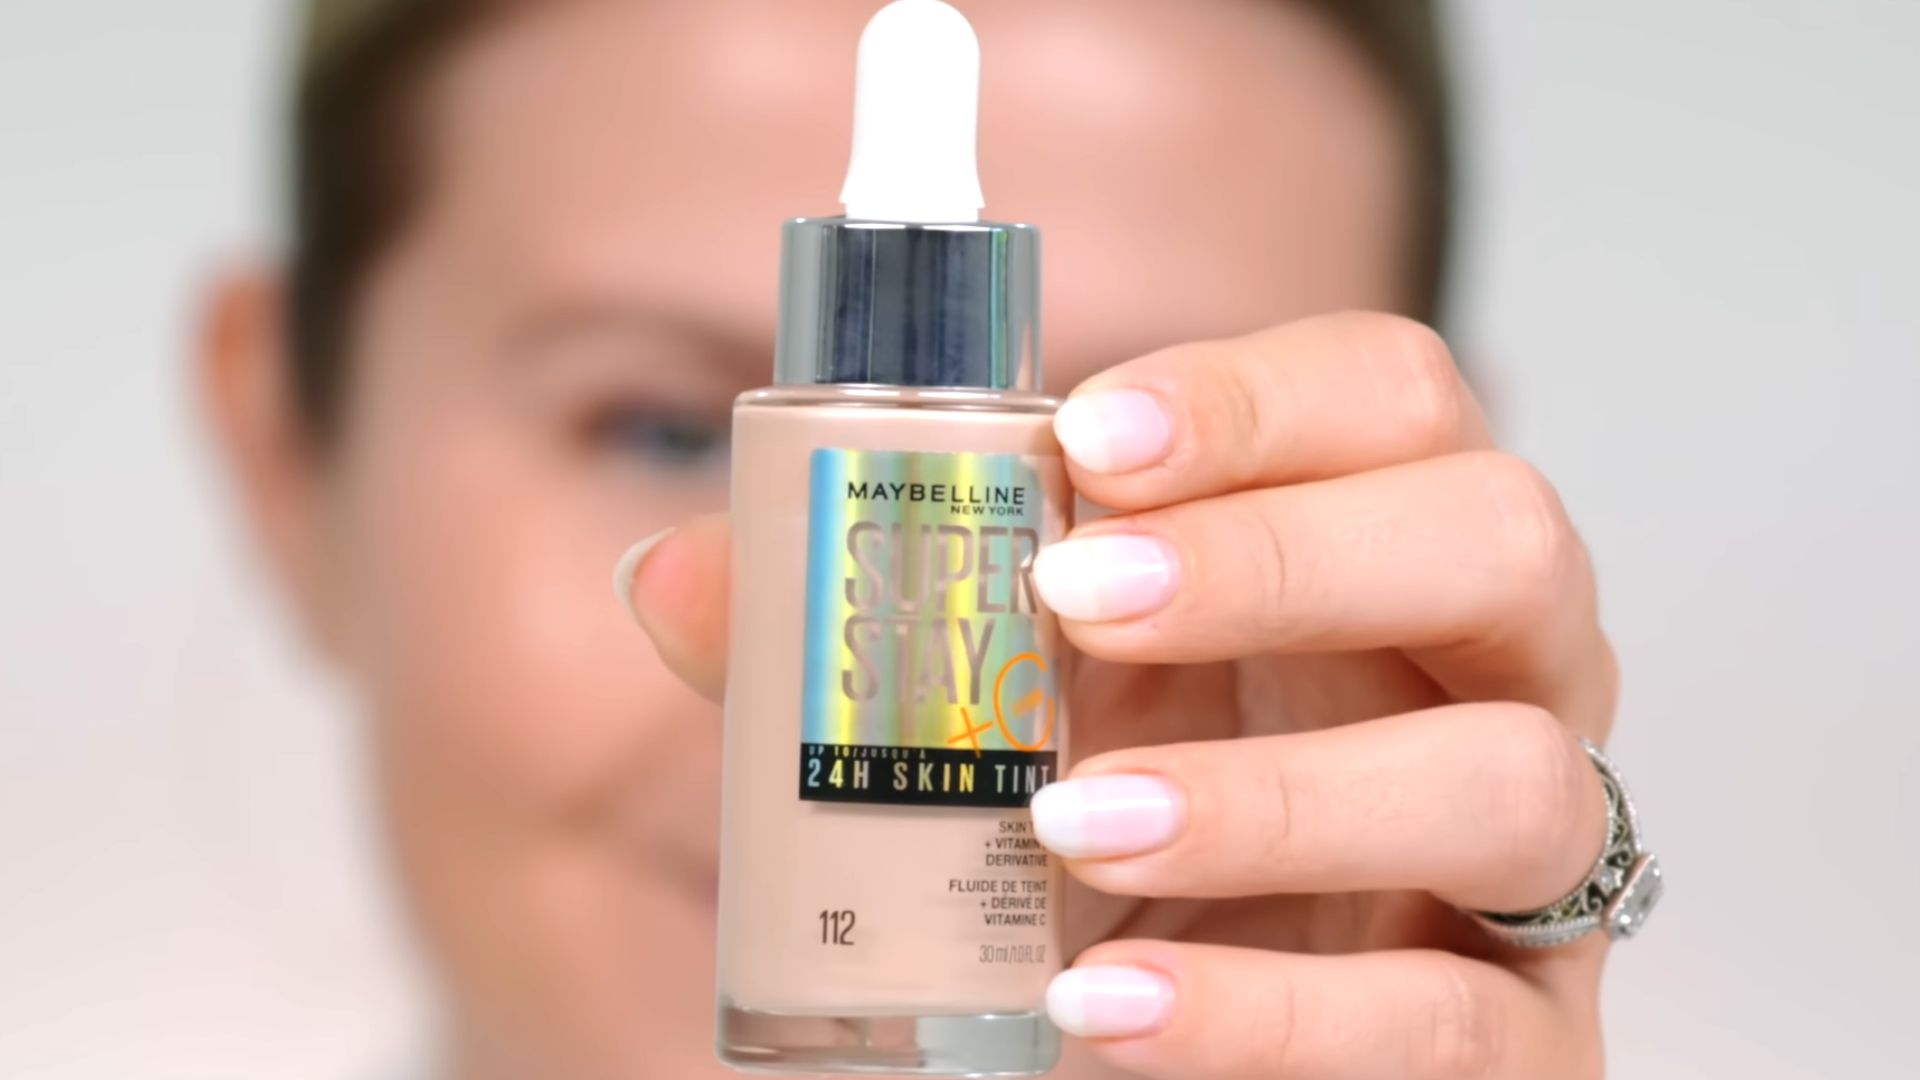 New Maybelline Skin Tint Going Viral by Milabu
18. Use Hydrating Mist To Refresh During Application
Spritzing a hydrating mist between layers helps cream and liquid products melt into skin. This is gold in dry weather or during long-haul flights. Don’t swap it for setting spray, though—they don’t do the same job. For a gentle touch, go for rosewater-based mists.
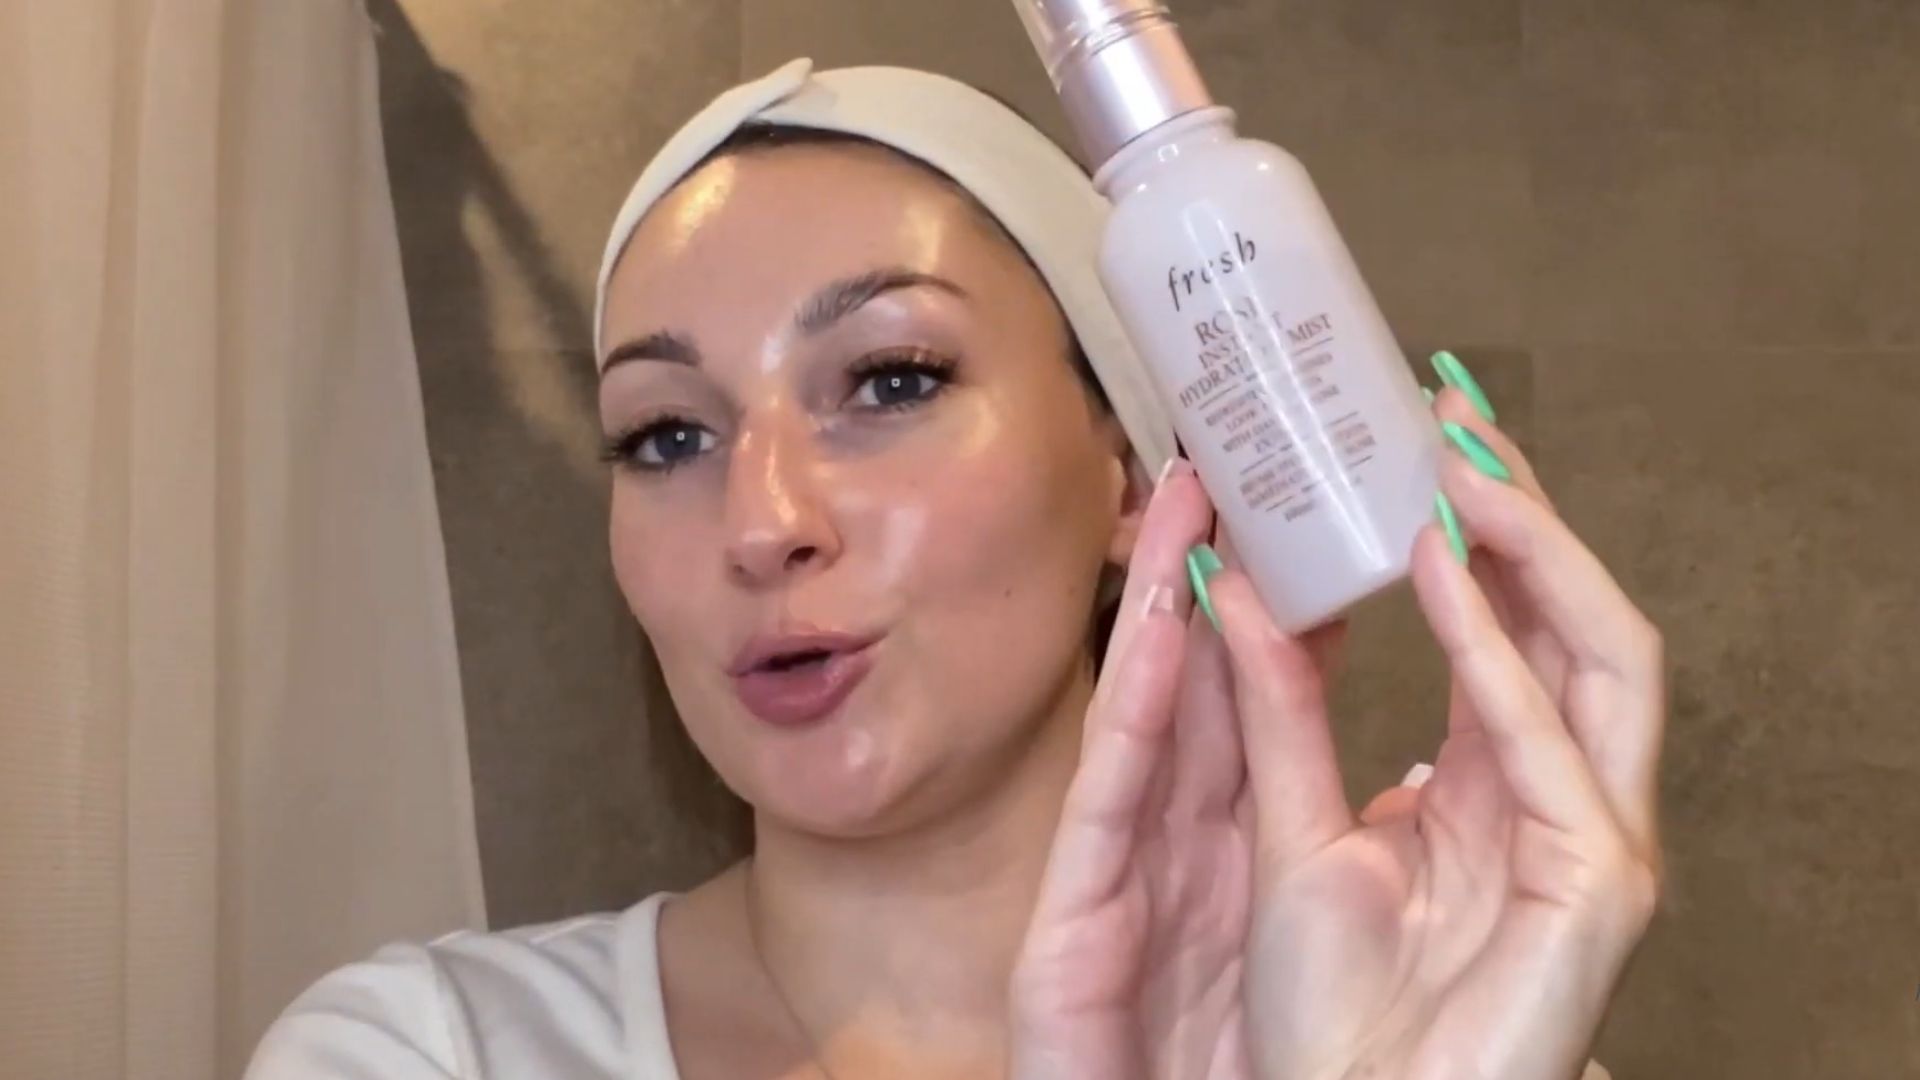 Hydrating Face Mist | Rose Pore-Minimizing Hydration Mist by Fresh Beauty
19. Choose Non-Comedogenic Products
No one signs up for breakouts with their foundation. Non-comedogenic products are effective in preventing clogged pores, which makes them ideal for acne-prone or sensitive skin. Look for one with ingredients like niacinamide or dimethicone.
 What is Non Comedogenic? + How to choose skincare products to avoid Breaking Out. by Anne Sibal
20. Customize Your Base With Mixing Techniques
Sheer out your foundation with a bit of moisturizer or amp up the glow with a drop of illuminator. Adjust shades between seasons with custom blends. Think of it as a skincare-meets-paint palette. What works for your skin today might need a remix tomorrow.
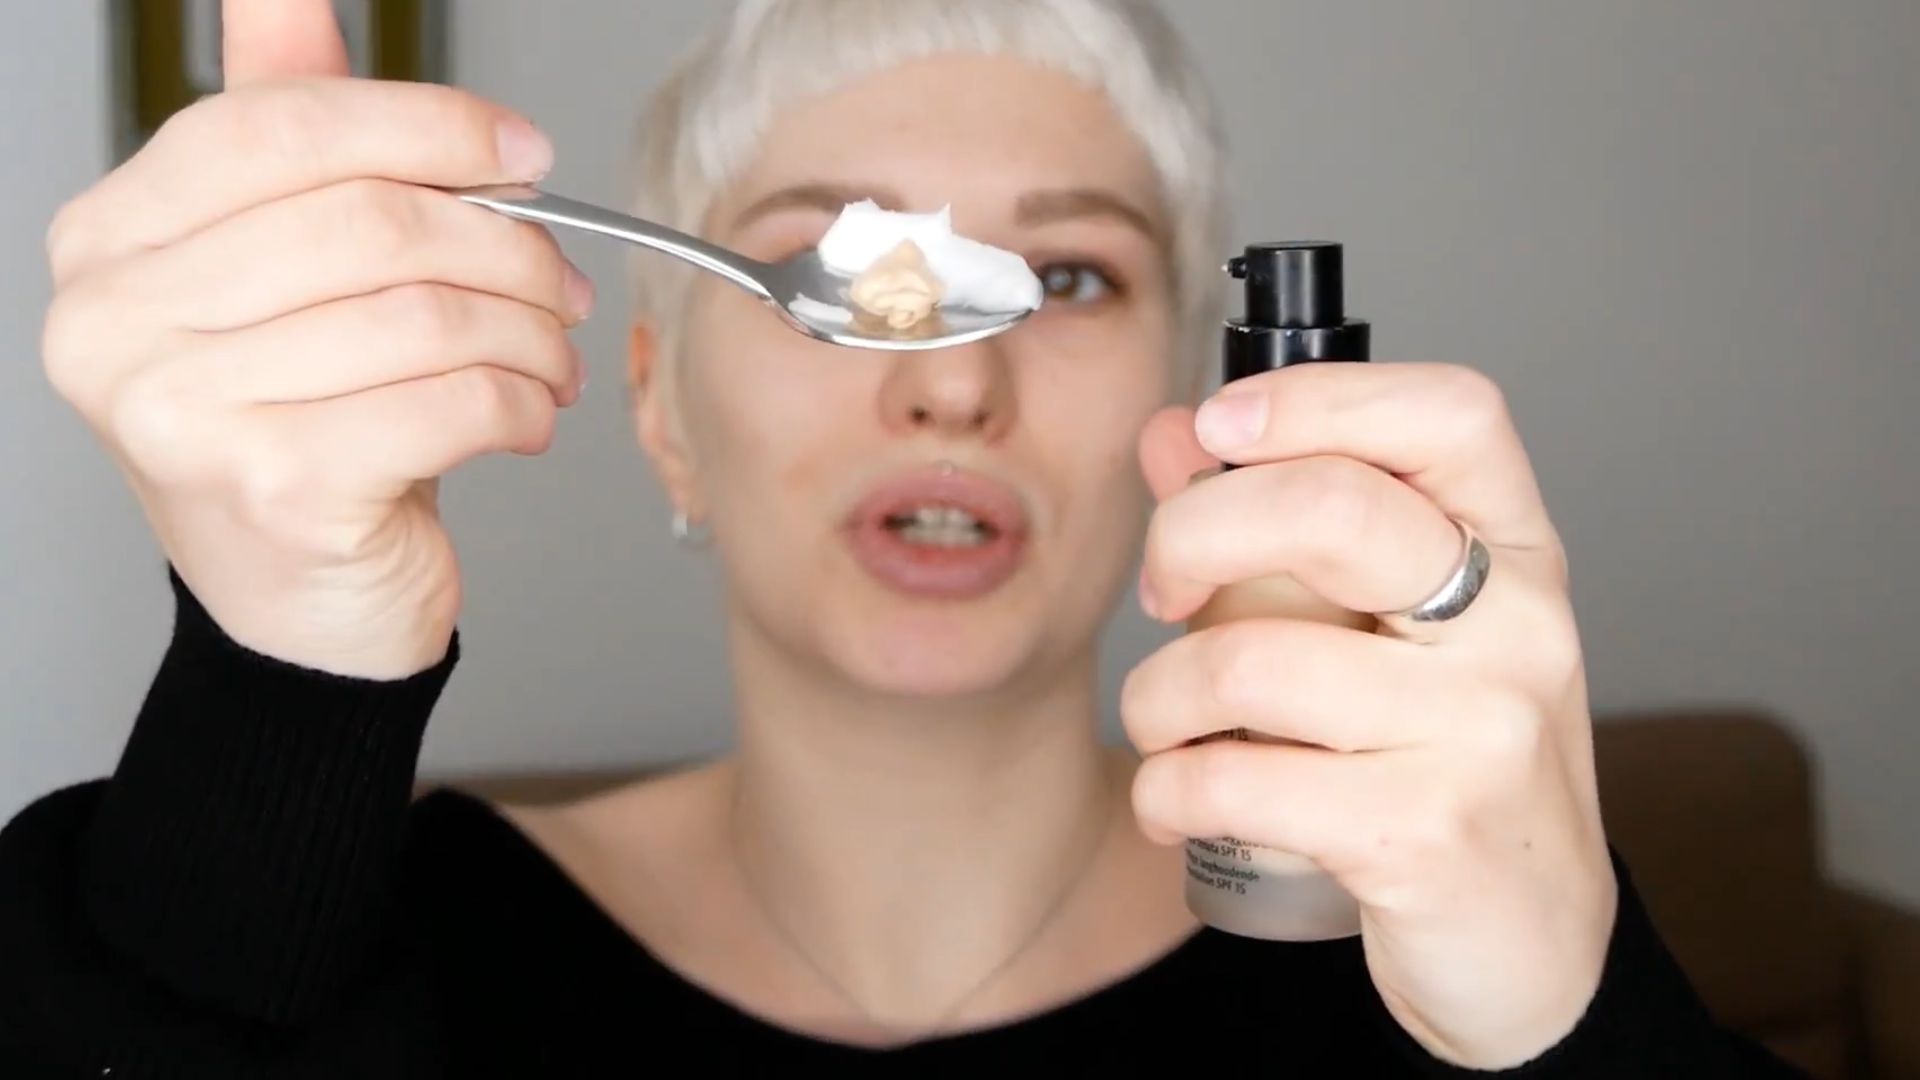 How to make Tinted Moisturizer with Liquid Foundation | Quick & Simple Steps by Melissa Van Dijk